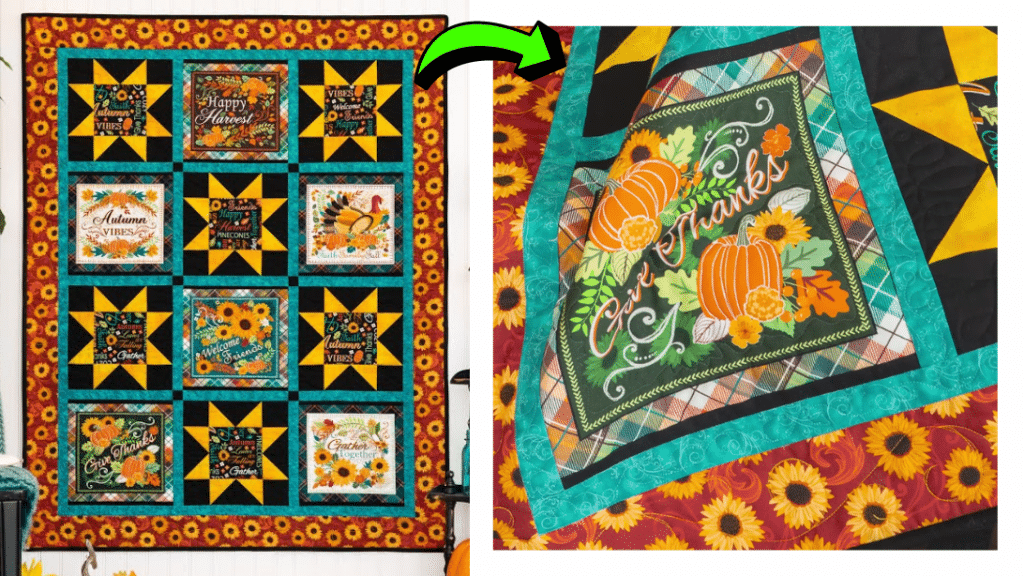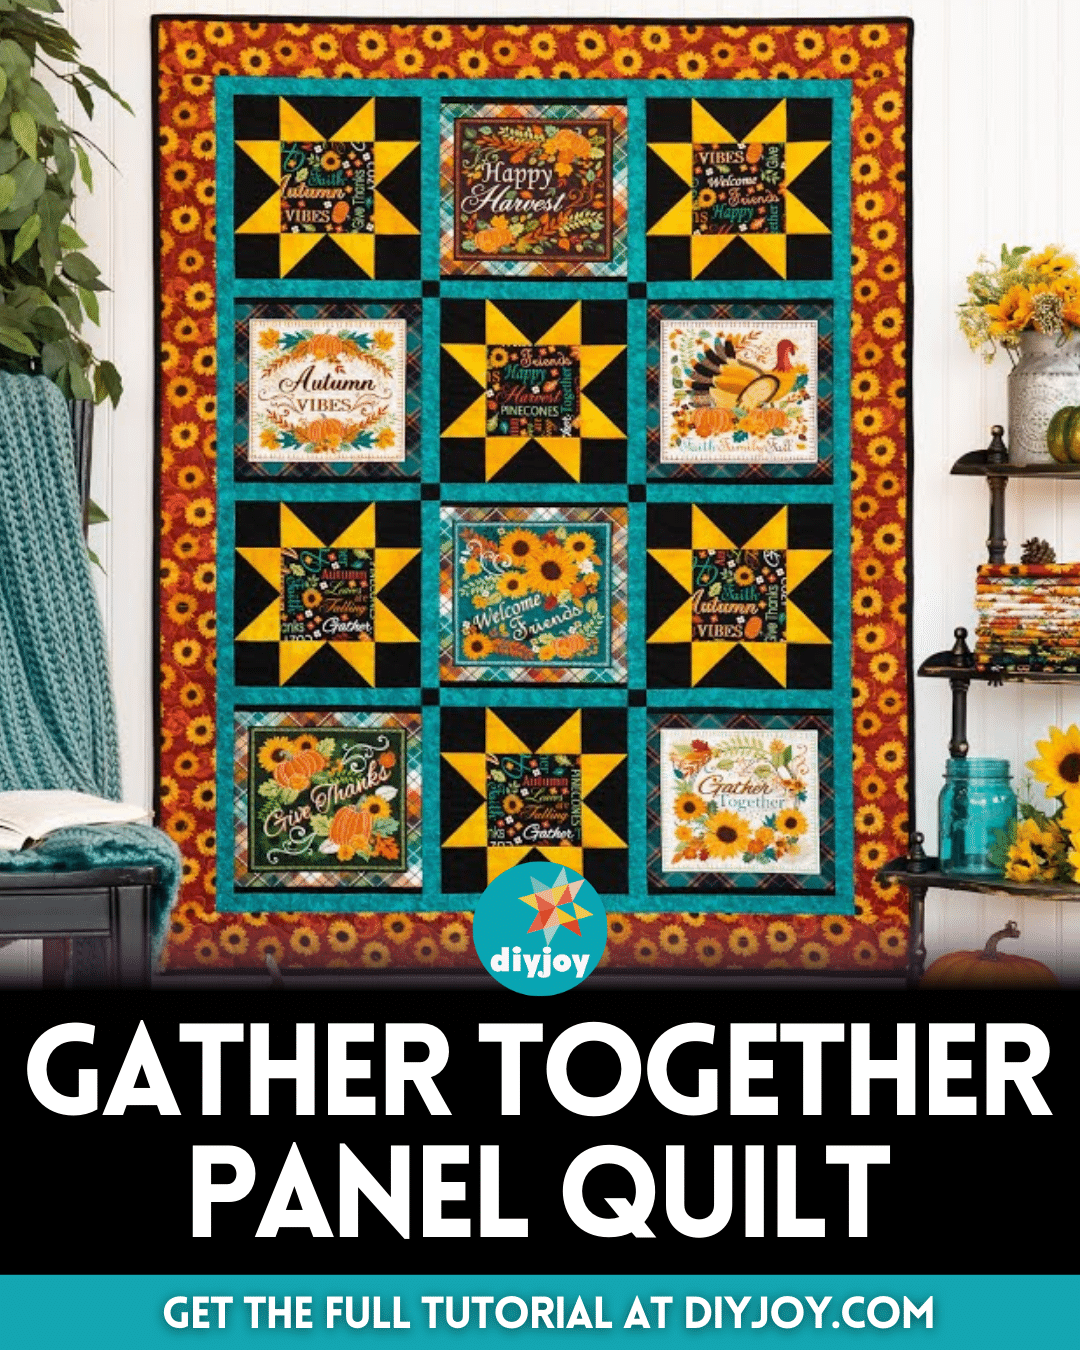
I love working with fabrics that have intricate details or nice large prints on them because I find them enjoyable to quilt, and my favorite panel quilt to make is this one by Shabby Fabrics on YouTube. This quilt project was very beautiful and I loved how the colors complemented each other which made the print pop out even more.
RELATED: Donna’s “French Door” Panel Quilt Tutorial (For Any Size)
You might think that this quilt is complicated to make, but you will be surprised how easy the steps are, and even beginners can surely perfect this on their first try. So, if you’re looking for a quilt to practice your skills with or simply want to make something to pass the time, then I highly recommend that you give this a try.
Materials for Gather Together Panel Quilt:
- Panel fabric
- Sashing fabric
- Borders fabric
- Binding fabric
- Marking pen, pencil, or chalk
- Ruler
- Scissors or rotary cutter and a cutting mat
- Fabric pins
- Needle and thread
- Iron, for pressing
- Sewing machine
- Pattern (Click here to download the pattern)
How to Make Gather a Together Panel Quilt:

Step 1
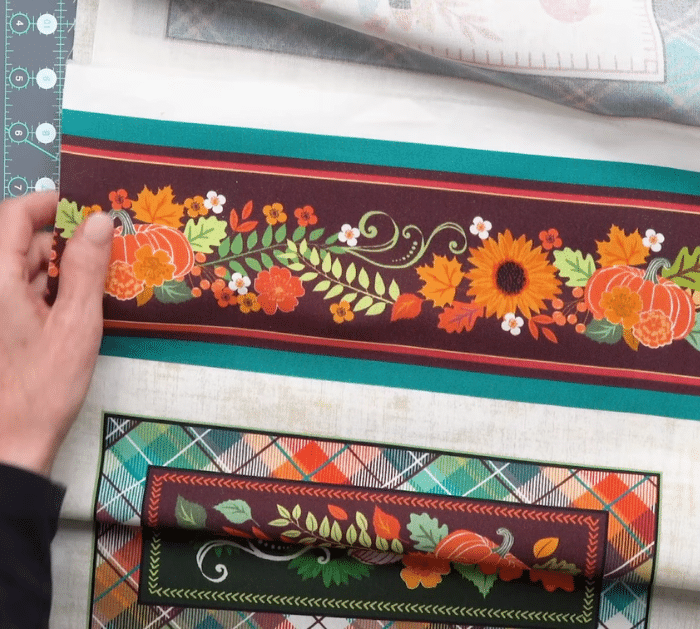
Cut the panel fabric and square the pieces, then cut the rest of the fabric pieces as instructed, and place the black strips on the top and bottom making sure the right sides are facing and the edges are lined up. Pin the strips to the panel fabric to prevent them from moving, then stitch them with ¼ inch seam allowance, and press the seams toward the panel. Trim off the excess making sure that the black pointing out on both sides is the same size. Repeat adding coping strips to the other panel blocks and set them aside.
Step 2
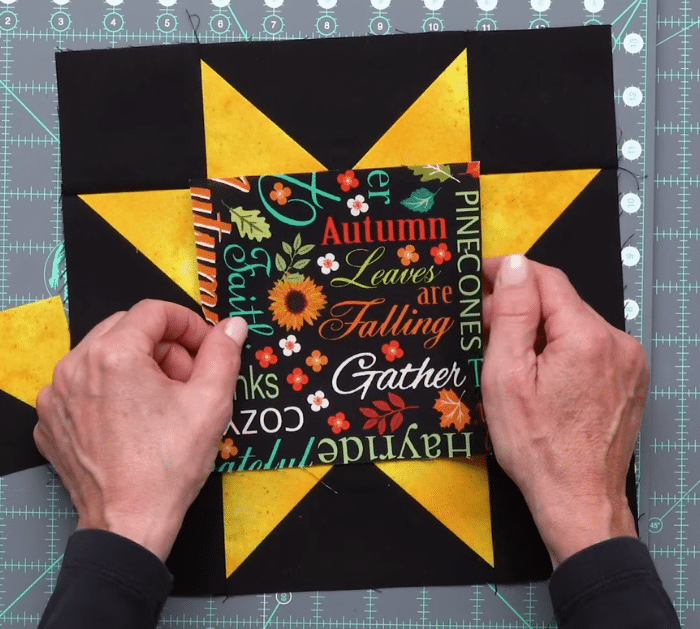
Get the solid black square, then place a yellow square on opposite corners, and line them diagonally at the center from corner to corner. Stitch them with ¼ inch seam allowance on either side, then press the seams toward the yellow fabric, and cut off the excess. Make more flying geese units, then put one on each side of your center fabric piece, and fill the corners with solid black squares. Stitch them per row, then the rows to each other, and press the seams as you go. Make more of this block, then assemble all of the blocks together as shown in the video tutorial, and finish your quilt however you want.

*All image credit belongs to Shabby Fabrics via YouTube. Follow and subscribe to her channel for more!


