If you don’t have these, I’m really sure this is something that you need…we all do! Oh, you’re gonna feel like a new person after you’ve done this DIY project! I know I have been so relieved since my husband and I built ours. It’s amazing to have these at our fingertips. It’s made a world of difference in all areas of our household. As a matter of fact, I find that I take more and more stuff out there to store!
All you need is 2x4s and plywood. Nothing special there. This will change your life. Seriously. It’s already changed mine.
So you start with your wall. It has to be a wall that you can screw into studs or otherwise anchor in to the wall. If you don’t have that kind of wall, Ana White provides plans for that.
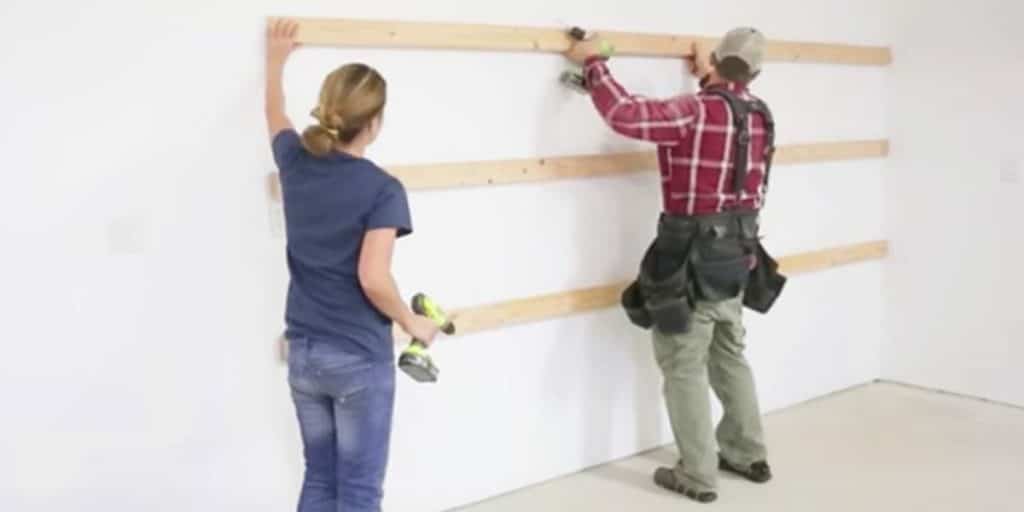
Mark out all the studs in the wall and attach a 2×4 in the desired shelving length to the studs in the wall. You can also piece 2x4s (for example use two 8 foot long 2x4s instead of a 16 footer) – just make sure you adequately attach to studs in wall.
TIP: Consider making your shelves 8, 12, 16 or 20 feet long to optimize plywood and wood use.
Use 3″ or longer screws (depending on wall construction). Use a level to make sure you attach the 2×4 to the wall level. I highly recommend self tapping wood screws to make your life alot easier.
Once you have the first one up, you can just measure off of it to attach your remaining shelf boards. I suggest figuring shelf heights to fit totes or whatever you may be storing in these shelves.
TIP: You can cut two scrap wood 2x4s and uses as spacers to find the height between the 2×4 shelf boards.
Watch how Ana White and her husband builds this shelf in her step by step tutorial and enjoy your extra storage in your garage!


