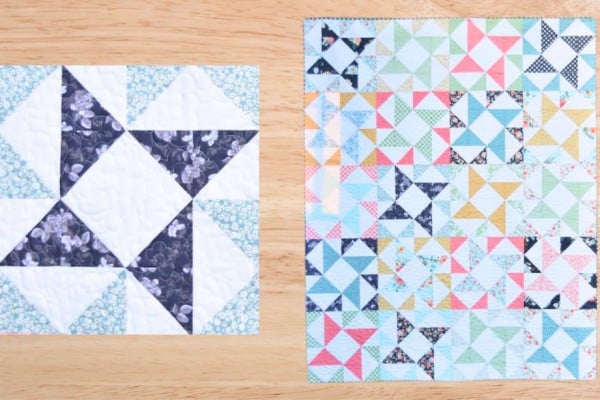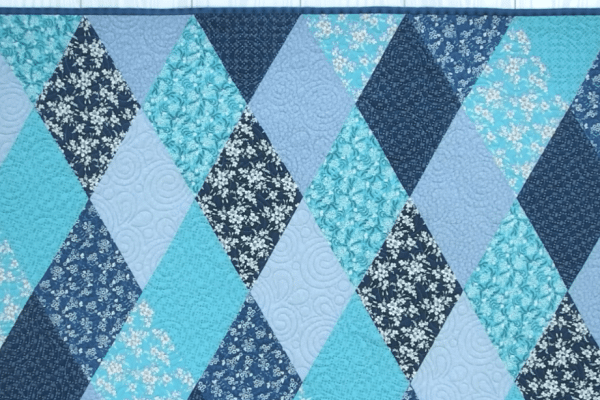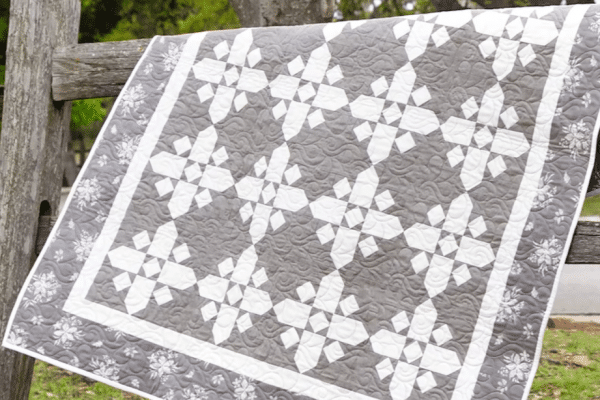
Quilting is one of the best hobbies to pick up and a way to take your mind off of something, it’s perfect to pass the time and you can make beautiful projects out of it. The only disadvantage of quilting is that once you start, you won’t be able to stop, before you know it you’ll buy lots of fabric for future projects.
RELATED: 12″ Poinsettia Quilt Block Tutorial
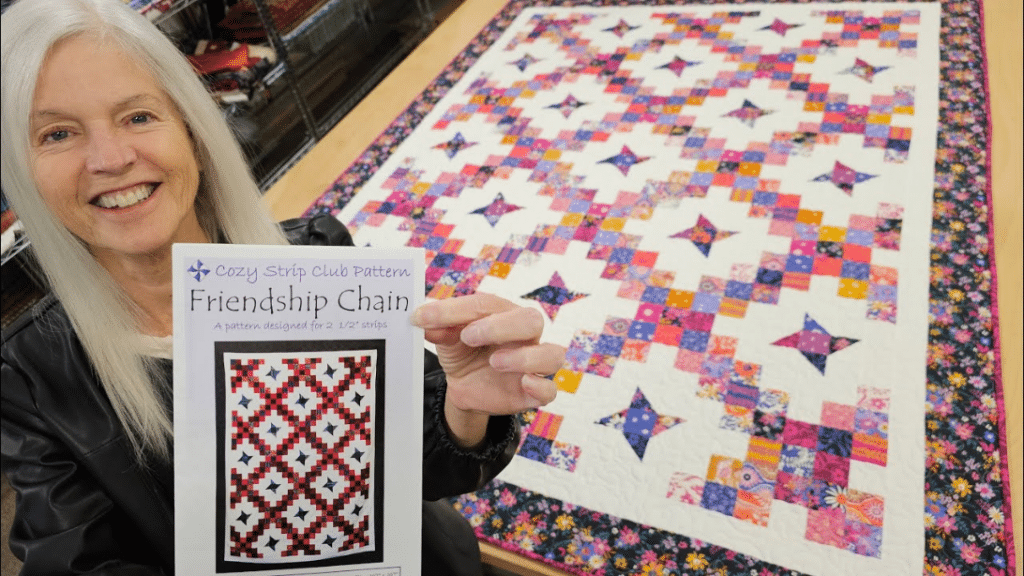
This quilt project by Jordan Fabrics on YouTube is perfect for newbie quilters who are looking for a challenge and experts who want to try a new project over the weekend. This quilt is both easy and challenging, but you don’t have to be intimidated because I’m sure that you can make this perfectly even on your first try. Learn how now to see for yourself.
Materials for Friendship Chain Quilt:
- Print fabric strips
- Background fabric
- Inner border and outer border fabric
- Backing fabric
- Binding fabric
- Marking pen, pencil, or chalk
- Ruler
- Scissors or rotary cutter and a cutting mat
- Fabric pins
- Needle and thread
- Iron, for pressing
- Sewing machine
- Pattern (Click here to download the pattern)
How to Make Friendship Chain Quilt:
Step 1
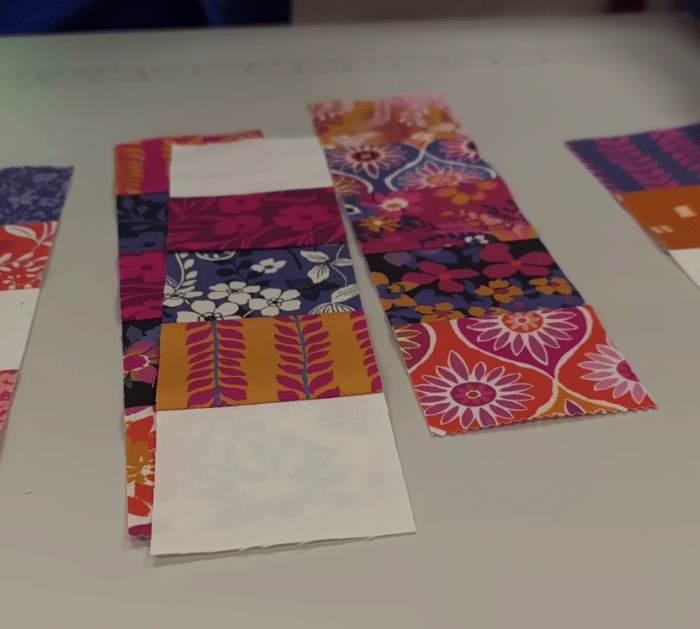
Cut the strips and fabrics to size, then lay 2 print strips together with their right sides facing, and stitch them down one side. Press the seams to one side, then add a background strip followed by 2 print strips, and press them smoothly. Do the same steps for the next pieces, then make sure to follow the pattern as shown in the video, and sub-cut them into strip units.
Step 2
Arrange 5 strips together, then stitch them, and press as you go. For the next block, line a background square diagonally from corner to corner, then stack it together with a print square with their right sides facing, and stitch on either side of the drawn line. Cut them apart in half, then press the seams toward the darker fabric, and trim off the excess.
Step 3
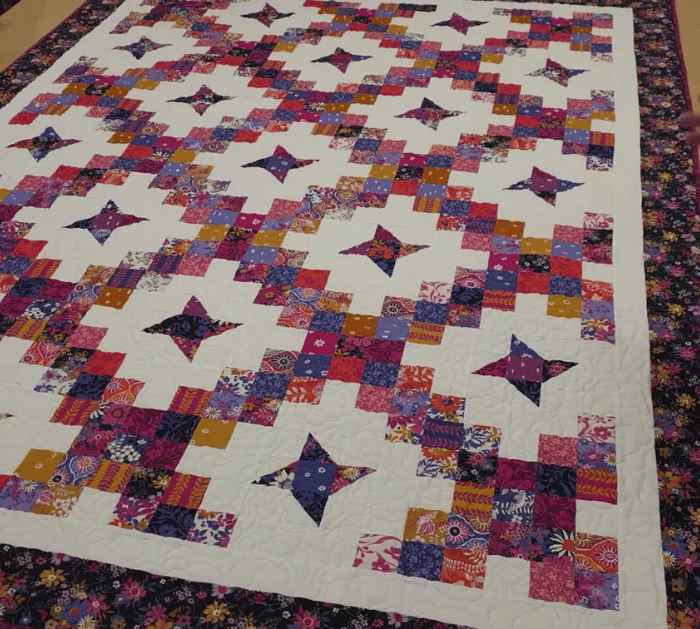
Arrange the pieces as demonstrated in the video, then stitch them together, and add the border and corner squares around it to complete the second quilt block. Assemble all of the blocks together, then stitch them per row, and then the rows to each other making sure to press as you go. Add the inner border, outer border, binding, and backing, then finish your quilt however you want.
*All these images are credited to Jordan Fabrics via YouTube. Give her channel a visit and subscribe for more!


