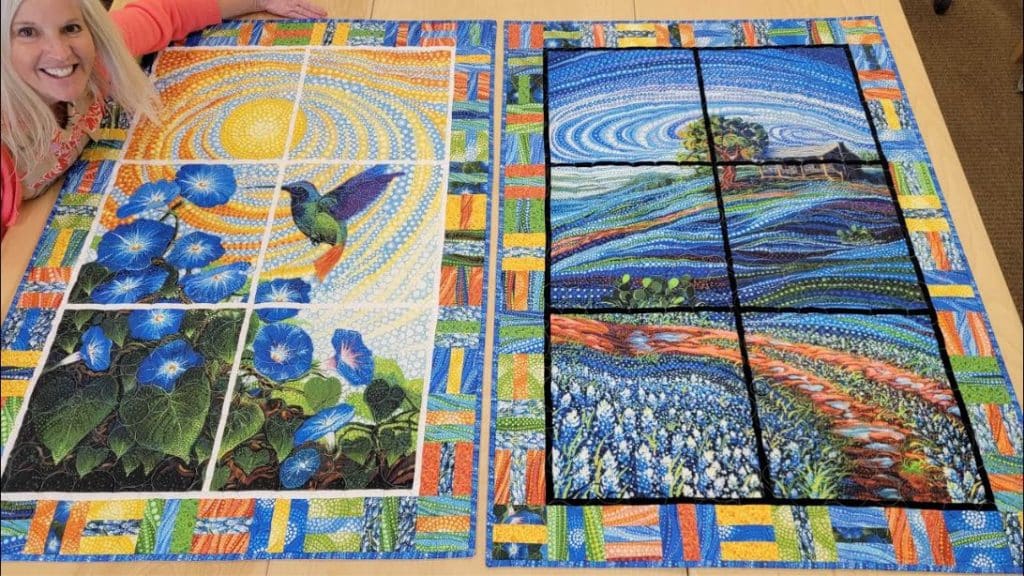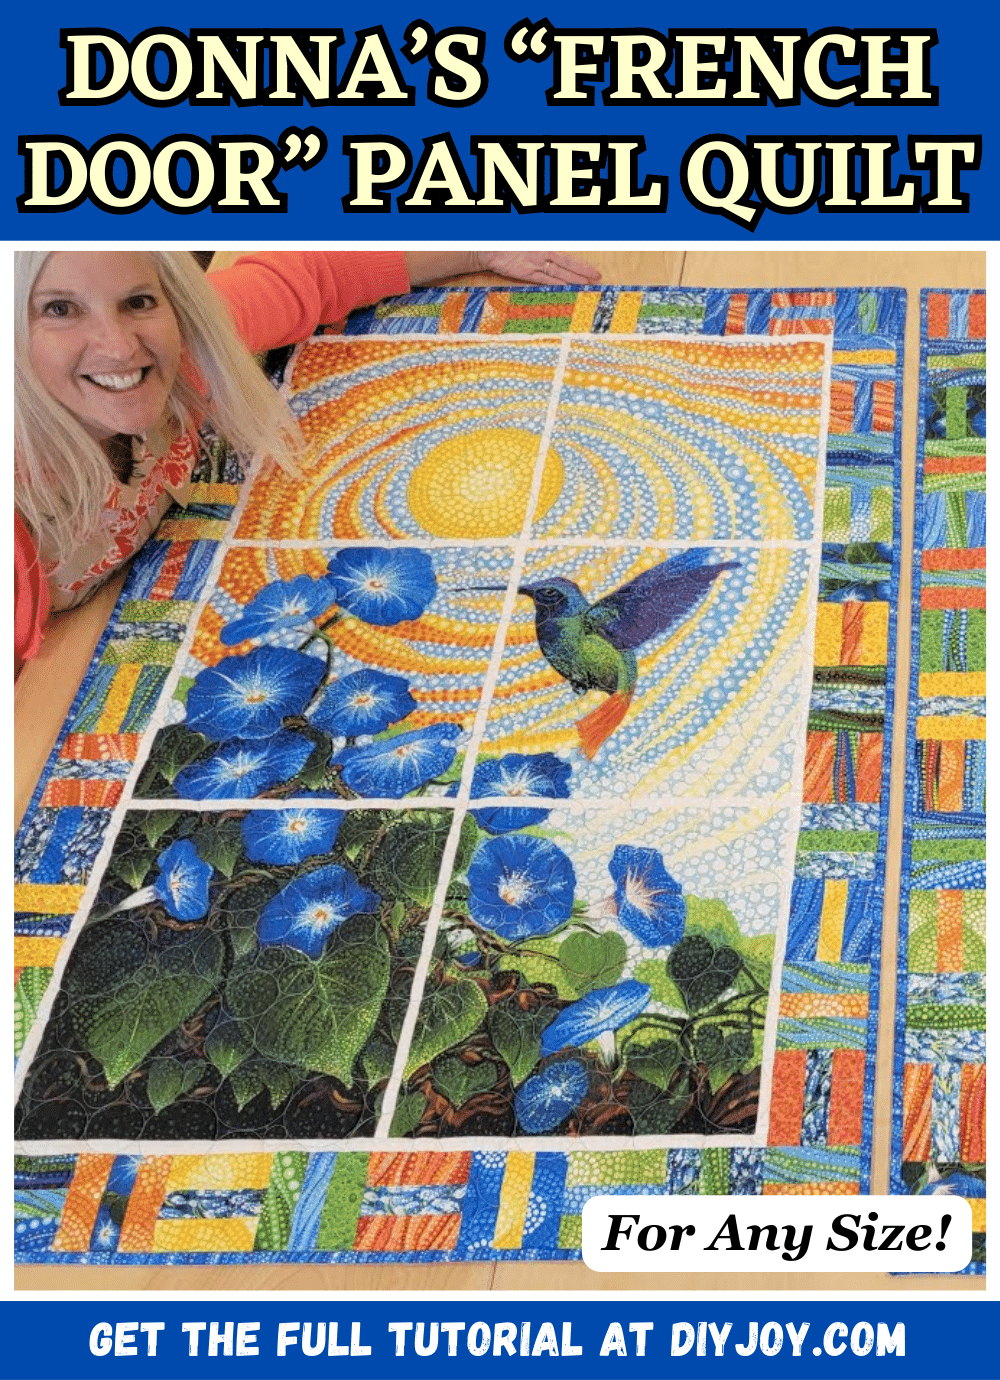
Panel quilts are one of the easiest and most gorgeous quilts that I’ve seen, there are a lot of ways that you can quilt them, and they also make great gifts! If you haven’t tried them yet, then this is the perfect time for you to start your first panel quilt with the help of this video tutorial by Jordan Fabrics on YouTube. You don’t have to worry about making a mistake on this project because this is super simple and easy to make and even beginners can perfect this on the first try.
Materials:
- Quilt fabric panels
- Background fabric
- Charm squares
- Scissors or rotary cutter and a cutting mat
- Ruler
- Needle and thread
- Fabric pins
- Iron, for sewing
- Sewing machine
Directions:
Step 1
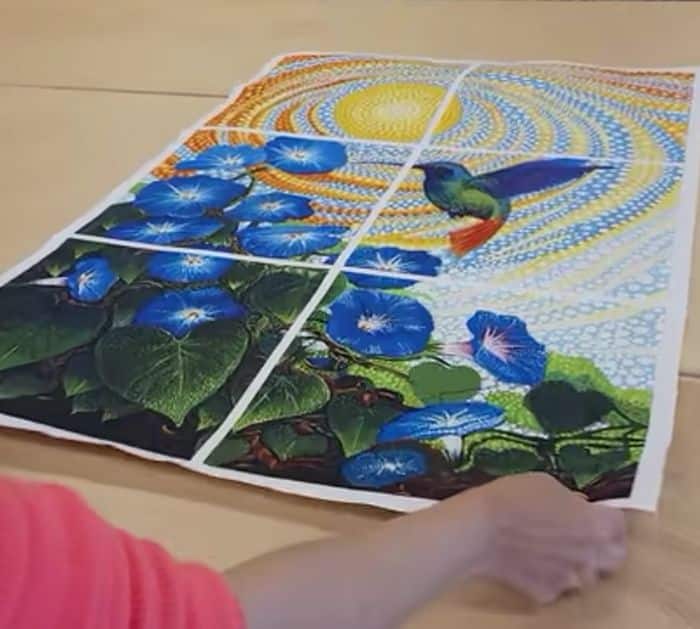
First off, iron up your panel, then trim off the edges straight (folding them in half will make cutting easier), and then cut the panel right down the middle. Unfold the fabric, then rotate and stack them together nicely, and cut them into thrids equally. Now, cut the background fabric into strips, then place them vertically in between each panel as well as the outer sides, and start stitching them together per row using a ¼ inch seam allowance.
[social_warfare]
Step 2
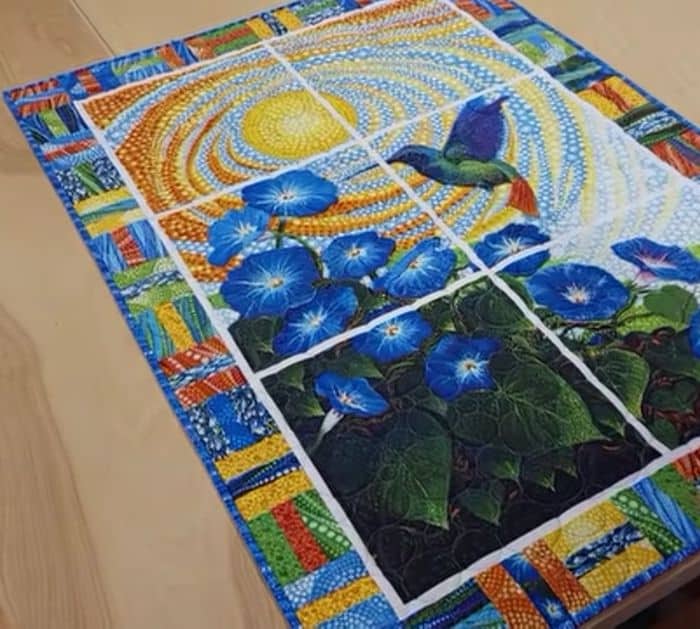
Make sure to press them open every now and then with the seams going toward the darker fabric, then iron the rows flatly, and then start cutting the long strips that would go in between each row horizontally. Sew the strips to each row while sewing the rows together in the process, then press them open as you go with the seams going toward the darker fabric, and iron them nicely.

Step 3
Make the patchwork border blocks using the charm squares as shown in the video, then lay the blocks around the bottom however you want, and sew the blocks together. Trim off the excess, then sew the patchwork border to the bottom edge of the panel, and press it open flatly. Repeat the same process with the rest of the sides, then finish the quilt however you want, and you’re done!

*All image credit belongs to Jordan Fabrics via YouTube. Follow and subscribe to her channel for more!


