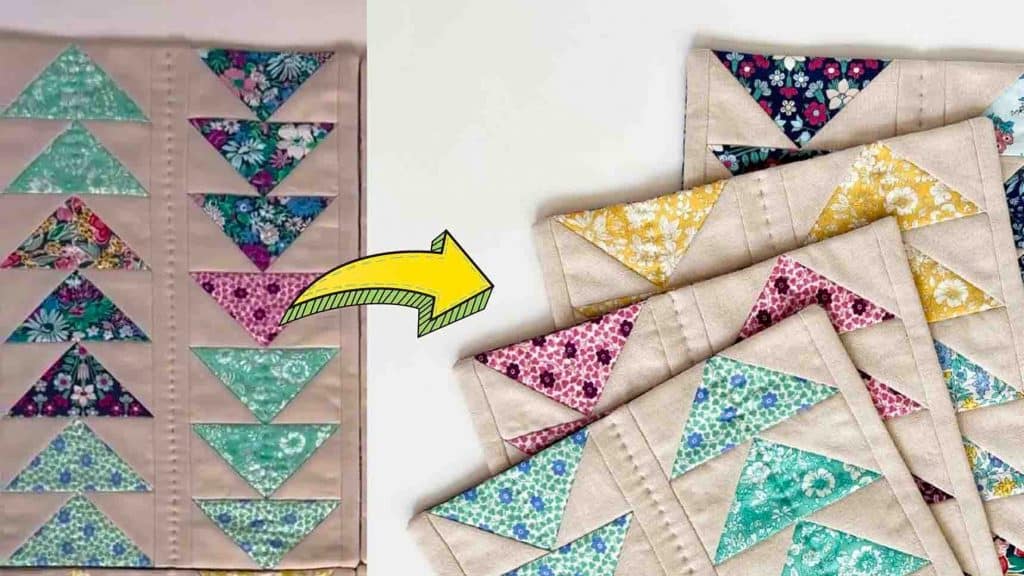
Are you looking for your next quilt project? This quilted flying geese placemat from Minki Kim on Youtube is the perfect project for you to try. It doesn’t matter if you’re a beginner or not; this project is easy and beginner-friendly – perfect if you’re also new to quilting. It’s also the perfect gift to give to your friends or family! Watch the video tutorial below for the full description of each step.
Materials:
- Accent fabric for large triangle: (4) 6’’ x 6’’
- Linen or solid quilting cotton for small triangle: fat eighth
- Backing fabric: fat eighth (18’’ x 11’’)
- Cotton batting: fat eighth (18’’ x 11’’)
- cutting mat
- ruler
- rotary cutter
- pins or clips
- fabric marker
- scissors
Directions:
Step 1
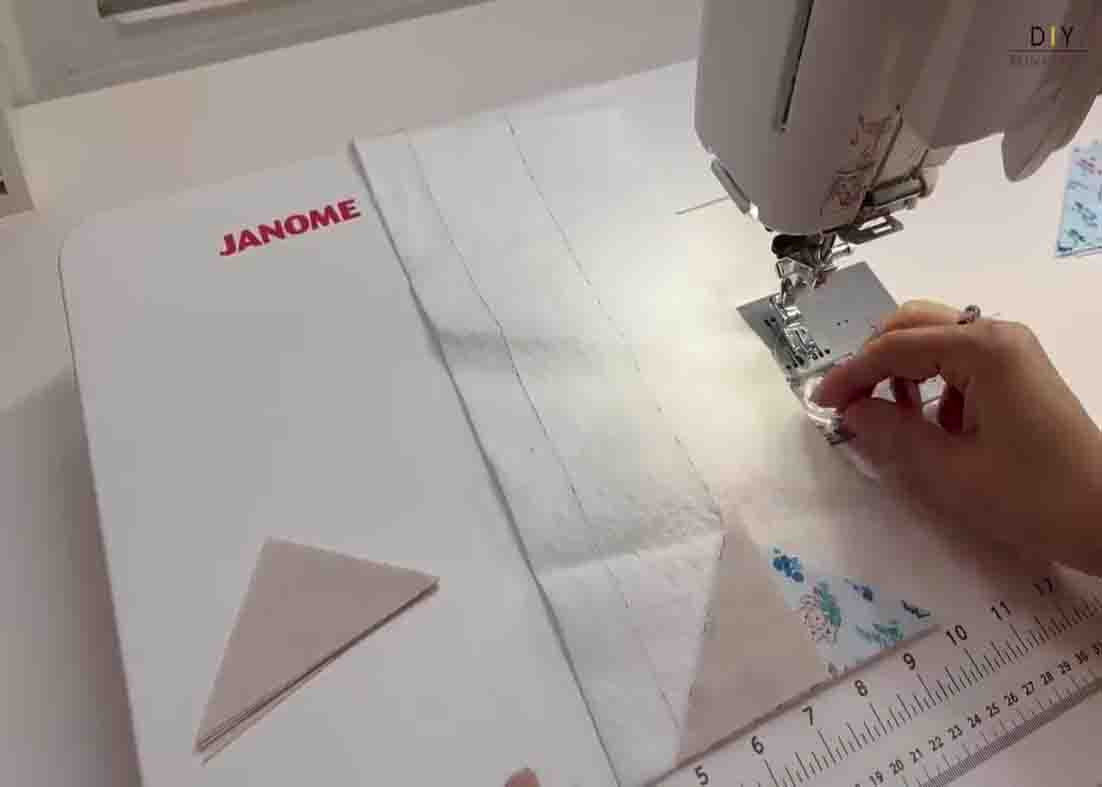
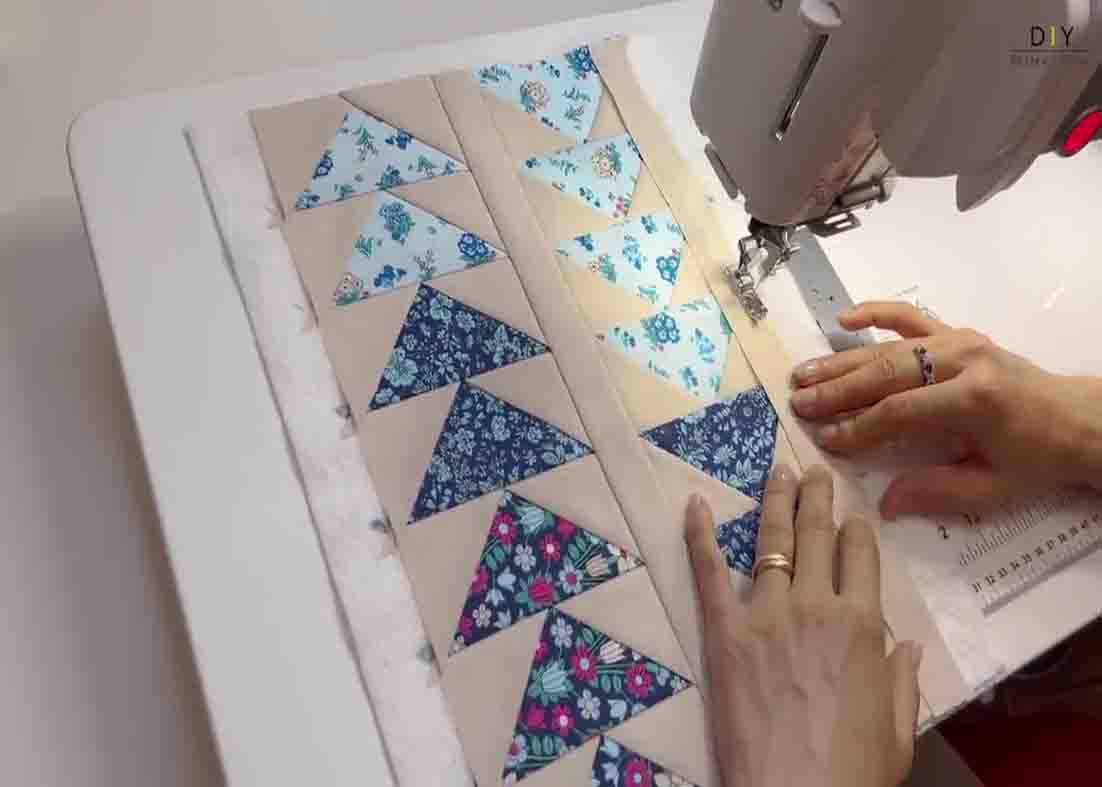
(Please refer to the measurements above.) Start by cutting your linen or solid quilting cotton for your small triangles, then cut your accent fabric for your large triangles. Next, draw lines to your cotton batting on where you will place the large triangles, take them to the sewing machine, place 1 little triangle on the top half of the large triangle, then sew them together. Finger press it then sew another small triangle on the other half of the large triangle. Finger press it also to open up. Get another large triangle and place it, upside down, right side facing down, on top of the sewn triangles. Sew it. Just like the first batch, do the same process, sewing two small triangles on both sides. Repeat this process until you reach the end of the cotton batting. (Make two sets of this.) After this, press it using an iron, then trim down the excess batting on top.
Step 2
Next, cut down a strip (with the same length as the placemat) from the same fabric you used in the small triangles. Sew it on one side of the placemat, then press it open with an iron. After this, place the other half of the placemat on top, line it with the strip fabric, then sew them together on the sewing machine. Press them again with an iron to smoothen them out along with the seams on the back. Get another 2 strips (the same size as the one in the center) and sew them on both sides of the placemat. After sewing, press them both to open. Cut the excess batting on both sides. Now, grab your backing fabric, place it on top of the placemat with the right side down, and clip it to secure. Sew it along the edges, leaving a gap. After sewing, flip the placemat, right side out. Press it, then sew the gap to close it.
Easy Quilted Placemat Tutorial


