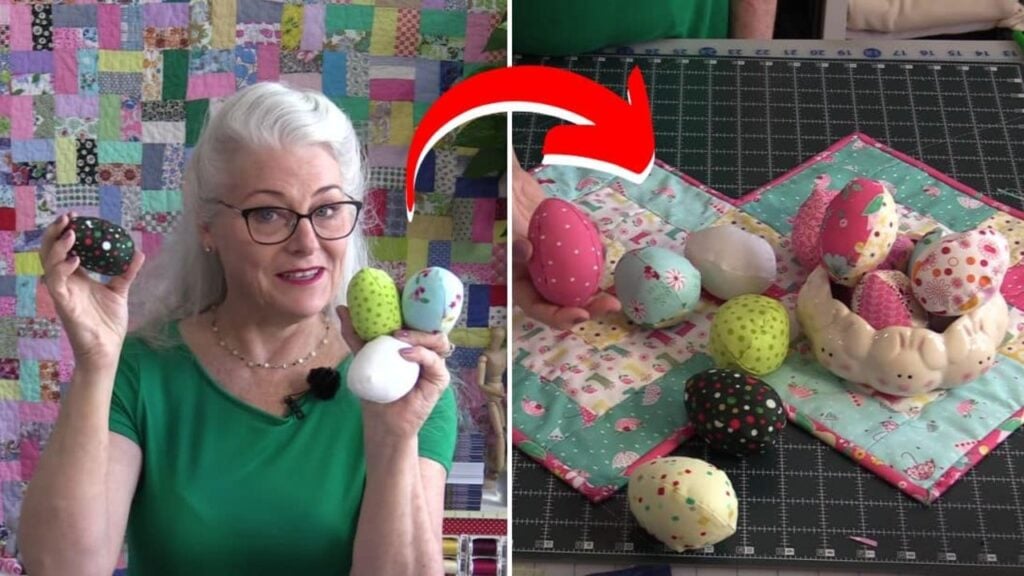
Just in time for Easter, this sewing project by SewVeryEasy on YouTube is sure to make your decoration and Easter egg hunting incredibly fun! If you want to opt out of using real eggs and are looking for a great alternative, then these fabric eggs are definitely a must-try. You can also use fabric scraps and combine a range of different colors and patterns for a more fun-looking design. Try it out now and learn how by watching the video tutorial down below.
Materials:
- Fabric
- Fabric pins
- Scissors
- Needle and thread
- Iron, for pressing
- Sewing machine
- Pattern (Click here to download the pattern)
Directions:
Step 1
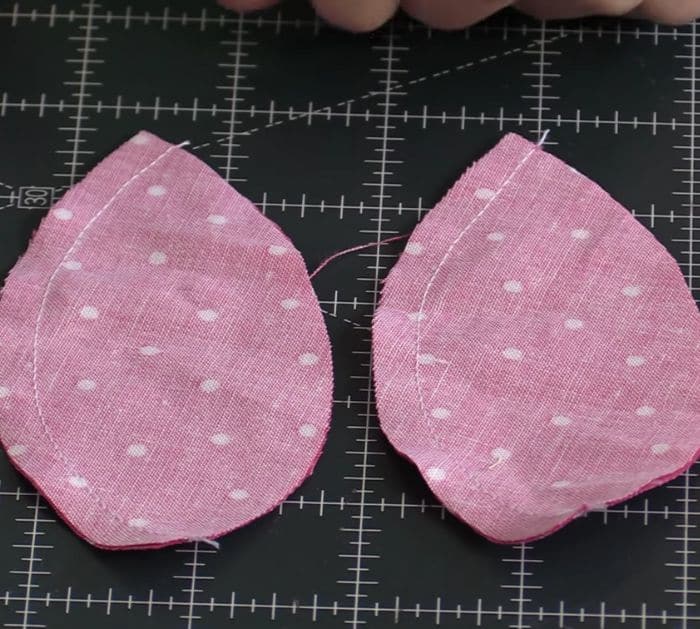
Print out the pattern then cut the egg template nicely and lay it on top of a fabric that’s folded 4 times, make sure to press the fabric first before working on them. Pin the egg template in place, then cut the fabric out following the shape of the egg, and divide the 4 pieces into 2 sets. Make sure each set has its right sides facing and edges matching, then pin them around, and stitch down one side with a ¼ inch seam allowance.
[social_warfare]
Step 2
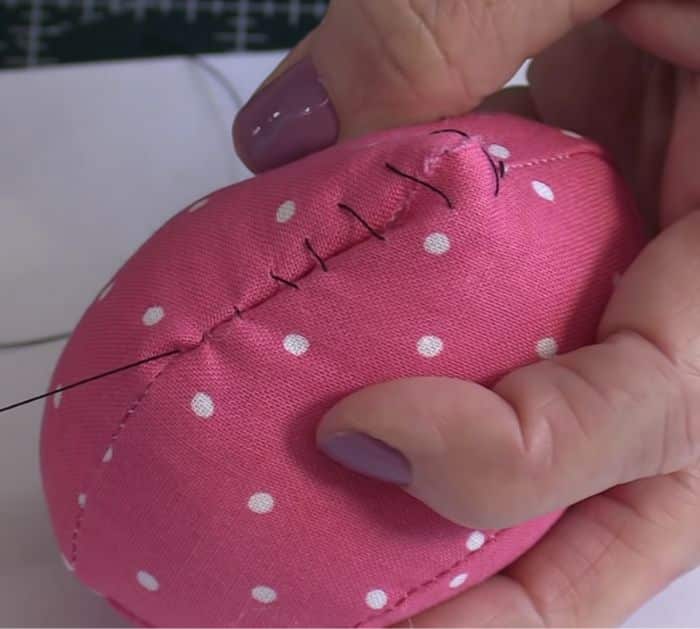
Get one piece and turn it right side out, then insert it into the other pieces, and make sure to match their edges nicely as shown in the video. Pin the pieces together all around in place, then sew them together leaving a small gap, and turn it right side out through the unsewn space. Stuff it with a stuffing of your choice, then sew the gap close with a ladder stitch, and you’re done!
*Thanks to SewVeryEasy via YouTube for all images used here. If you loved this sewing project, then you’ll surely love her other video tutorials too, so give her channel a visit and subscribe!
Easy Fabric Eggs Sewing Tutorial


