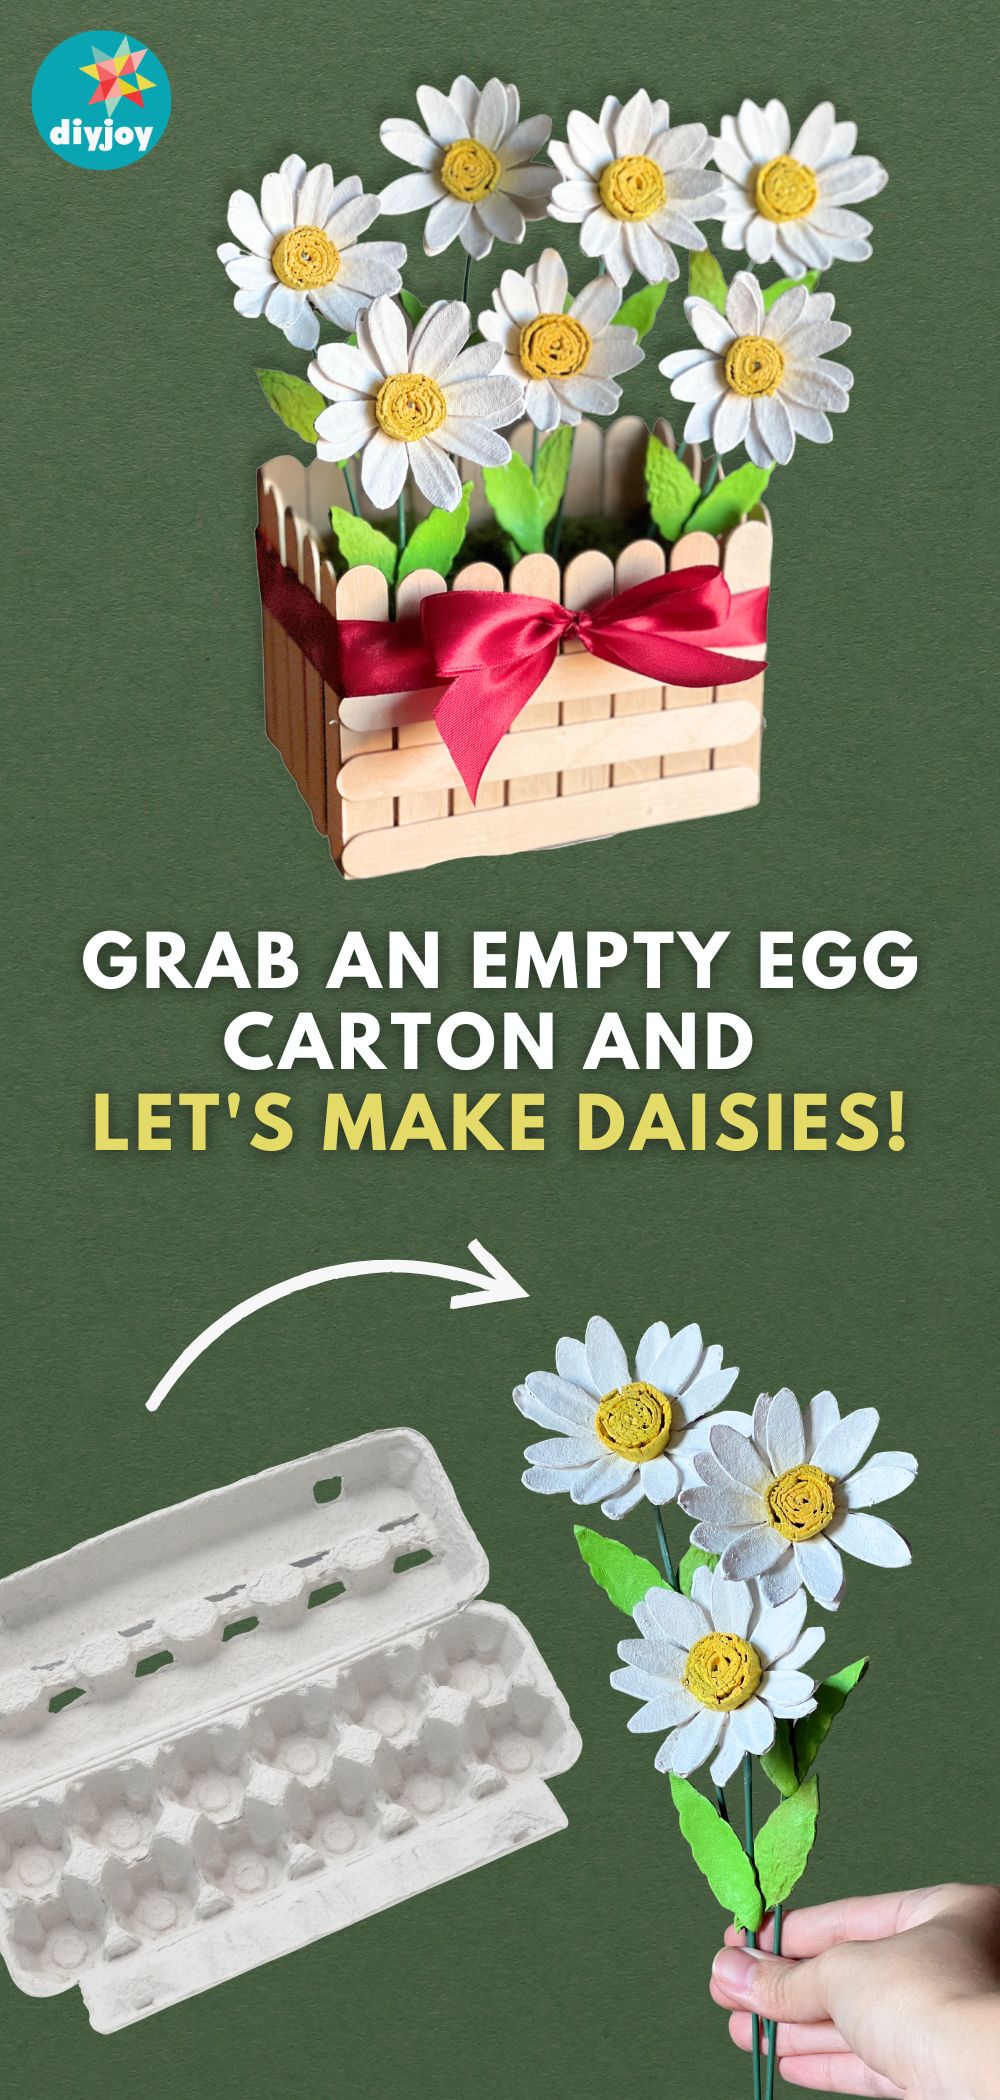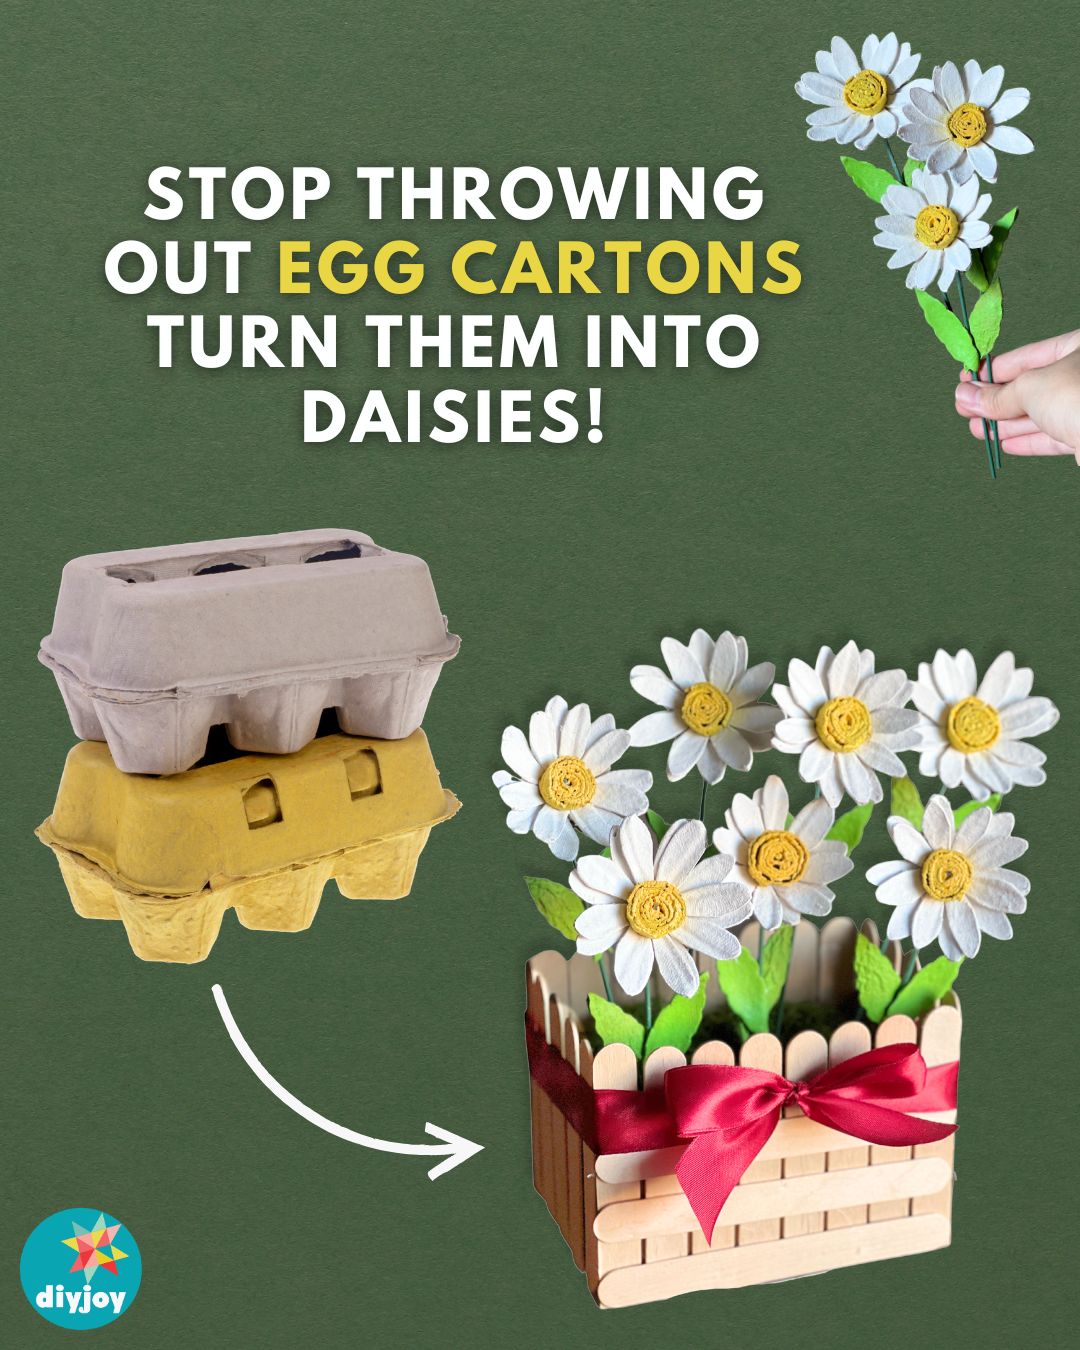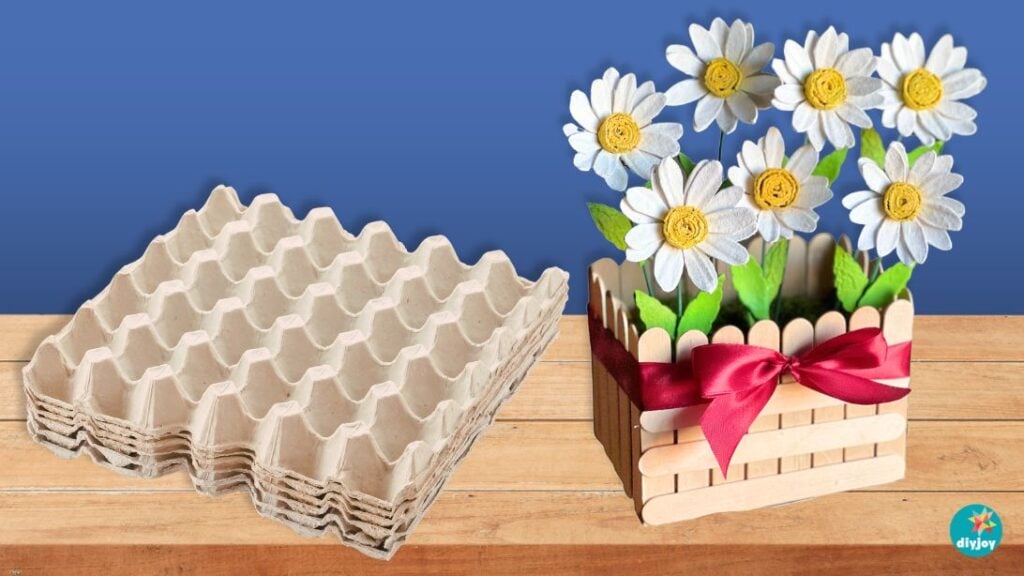
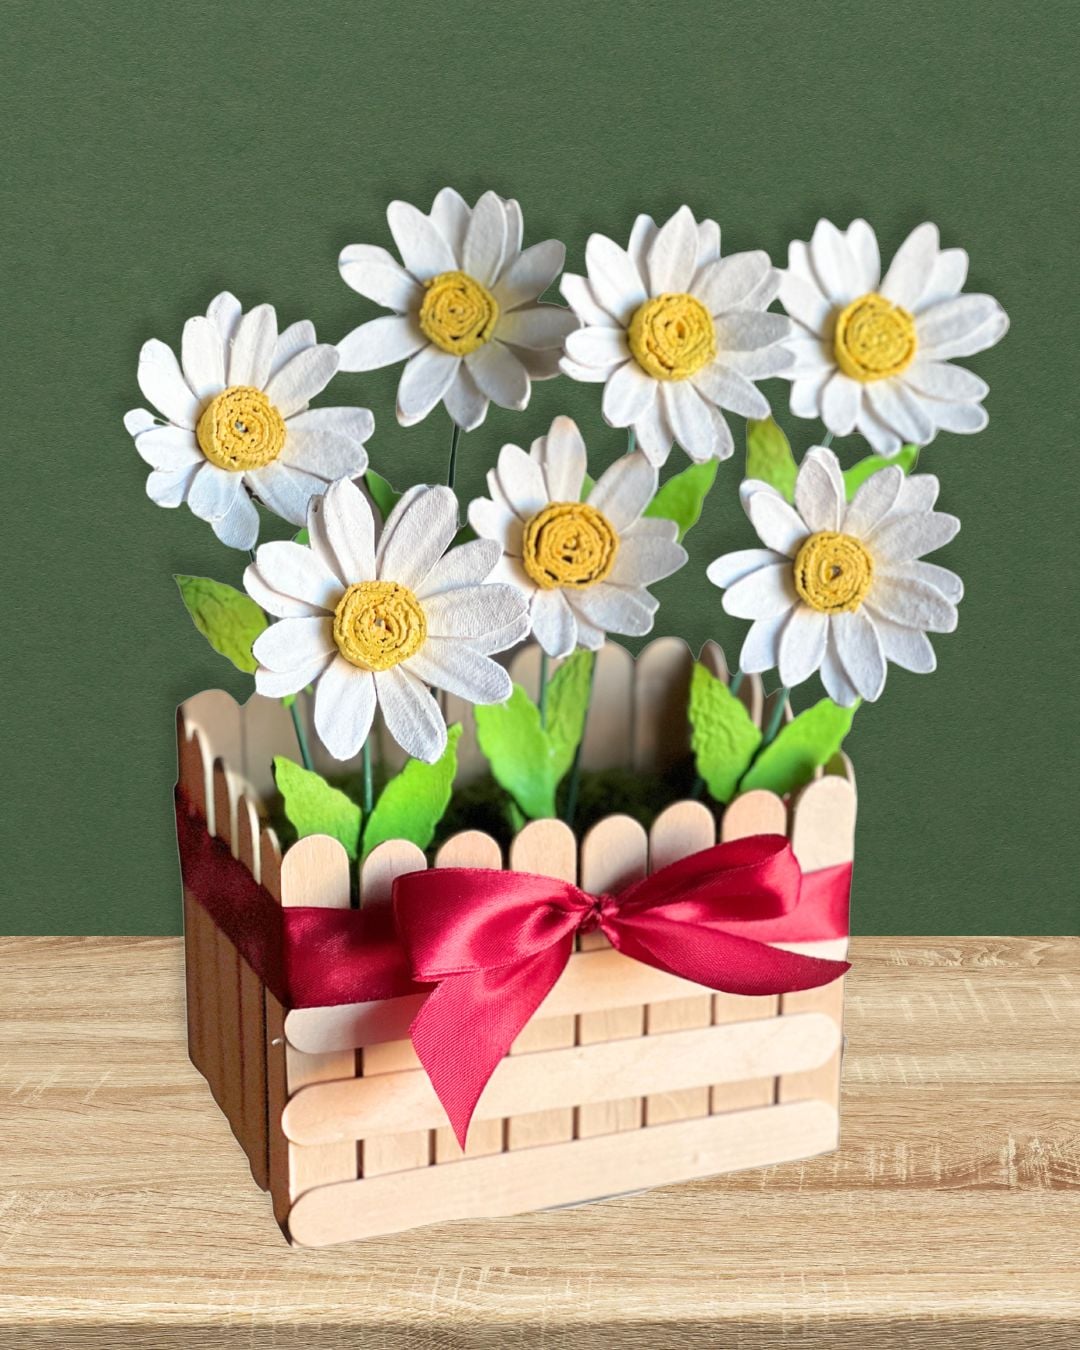
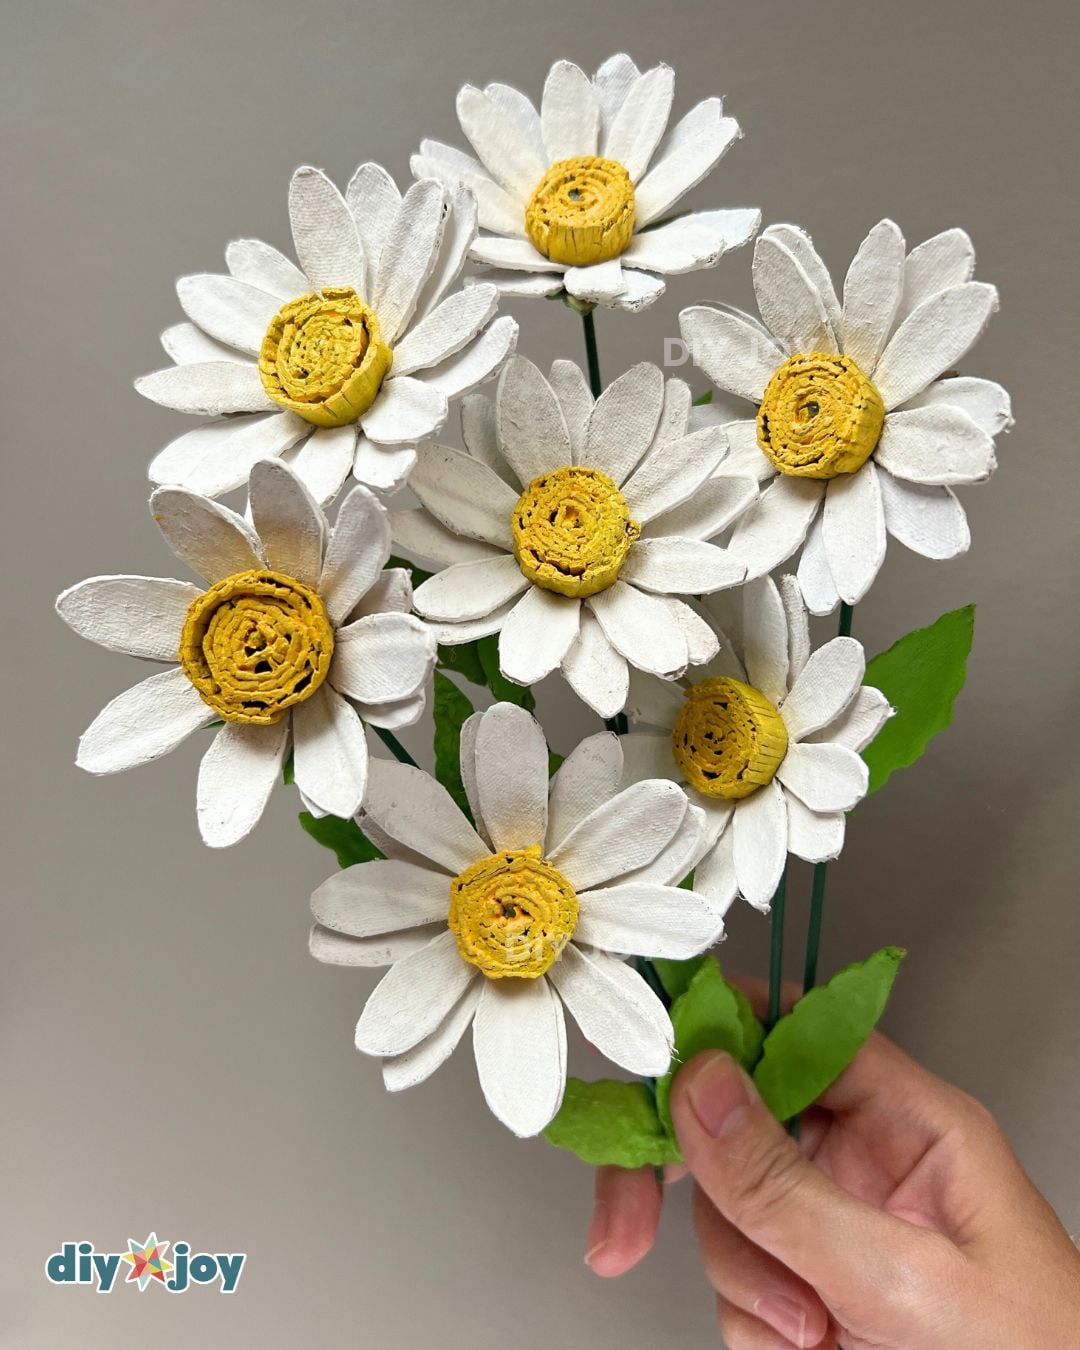
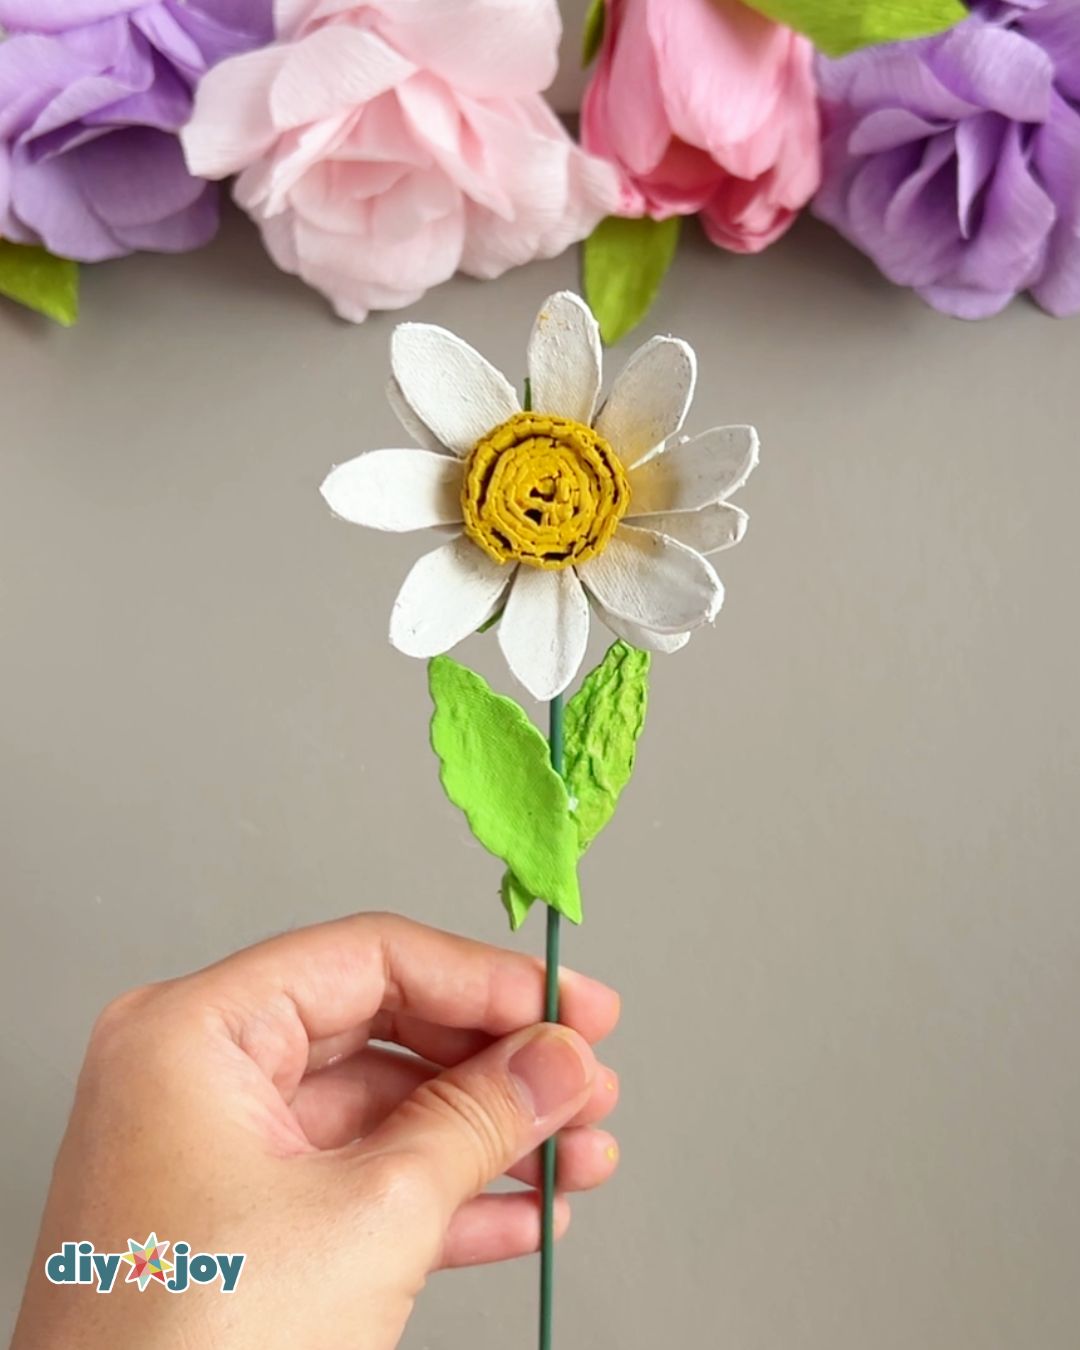
Don’t throw away those egg carton trays just yet! You can turn them into these beautiful egg carton daisies! These DIY flowers are so easy and fun to make, and look absolutely gorgeous. If you’re looking for a spring craft, definitely try this project. You’ll be able to recycle these trays and have fun at the same time.
RELATED: DIY Air-Dry Clay Egg Tray
Our family loves eating eggs for breakfast, so we quickly collect many egg trays in a week. That’s likely the case for those who love to bake as well. Since Easter is coming, people will also be buying eggs for decoration and games. If that is you, make sure to keep your egg trays! There are many things you can do with them, and this DIY daisy flower is a great start. I made this flower tutorial for you so you can easily follow the step-by-step instructions below.
How to Sanitize Egg Cartons For Crafts
To make sure your egg cartons are bacteria-free and odorless for crafts, here are the things you can do:
- Using a dry cloth or soft brush, remove any visible dirt or residue.
- To remove odor and bacteria, sprinkle baking soda over your carton trays and place them in a sealed bag for a few days or you can leave them in direct sunlight for 1-2 days.
Short Video Tutorial
List of Supplies for the Egg Carton Flowers
- Liquitex paint
- Craft sticks
- Floral wire
- Fake moss
- Paintbrushes
- Egg carton trays
These products are all listed on our DIY JOY Amazon store, so you can order and know exactly what you will get, and when. We do earn a small commission on these links and very much appreciate your support ❤️
How to Make Egg Carton Daisy Flowers
Learn how to make daisy flowers from an egg carton tray with this step-by-step tutorial.
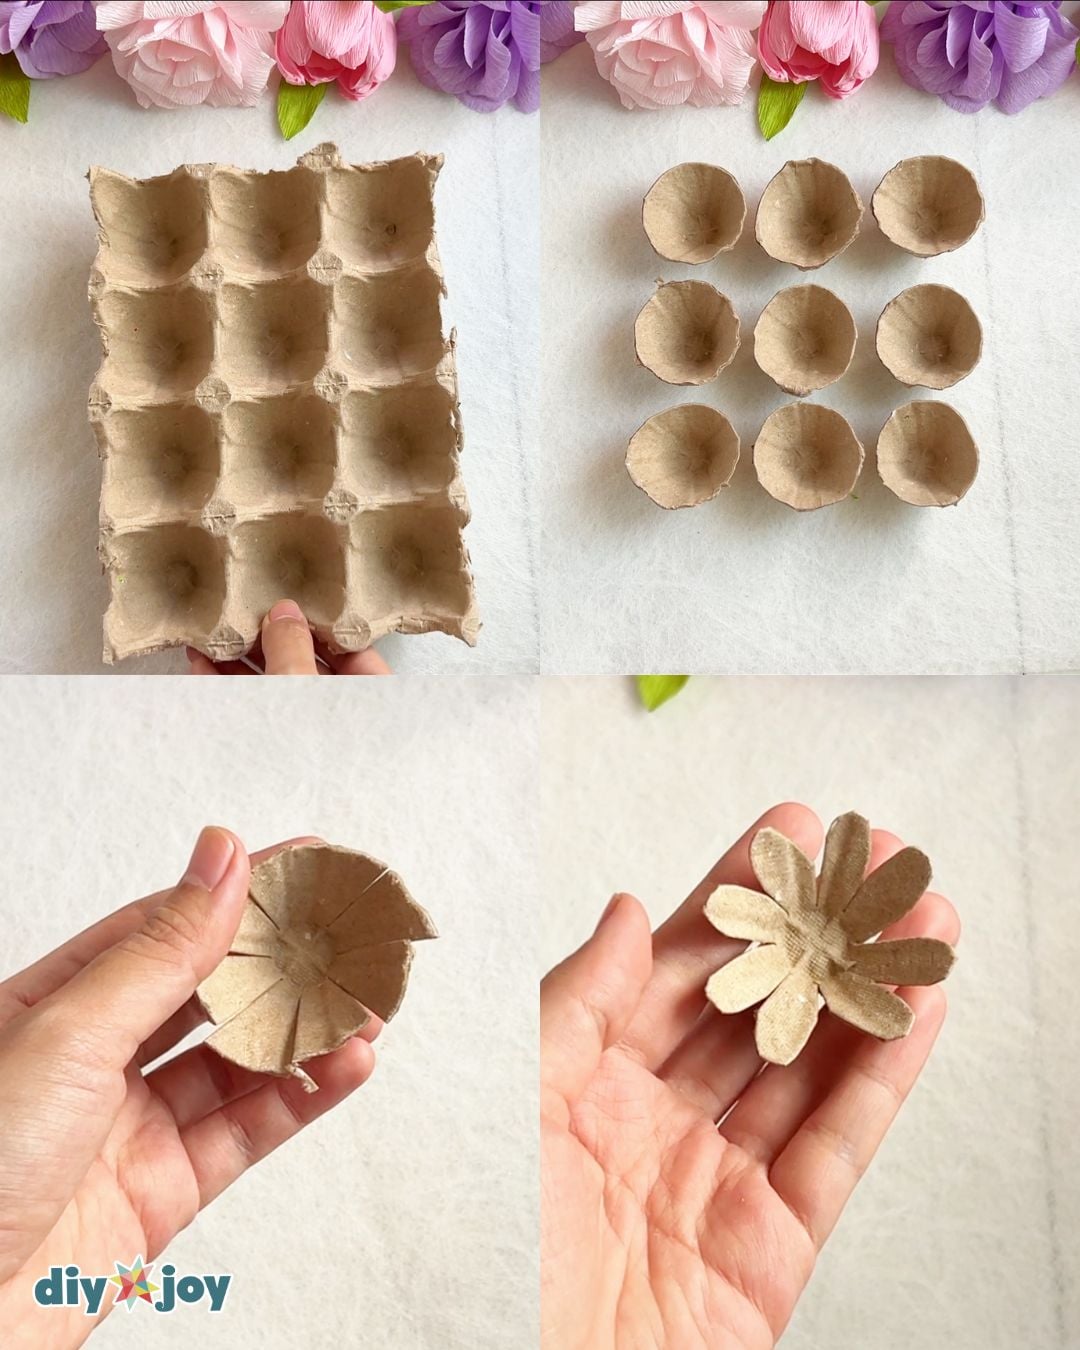
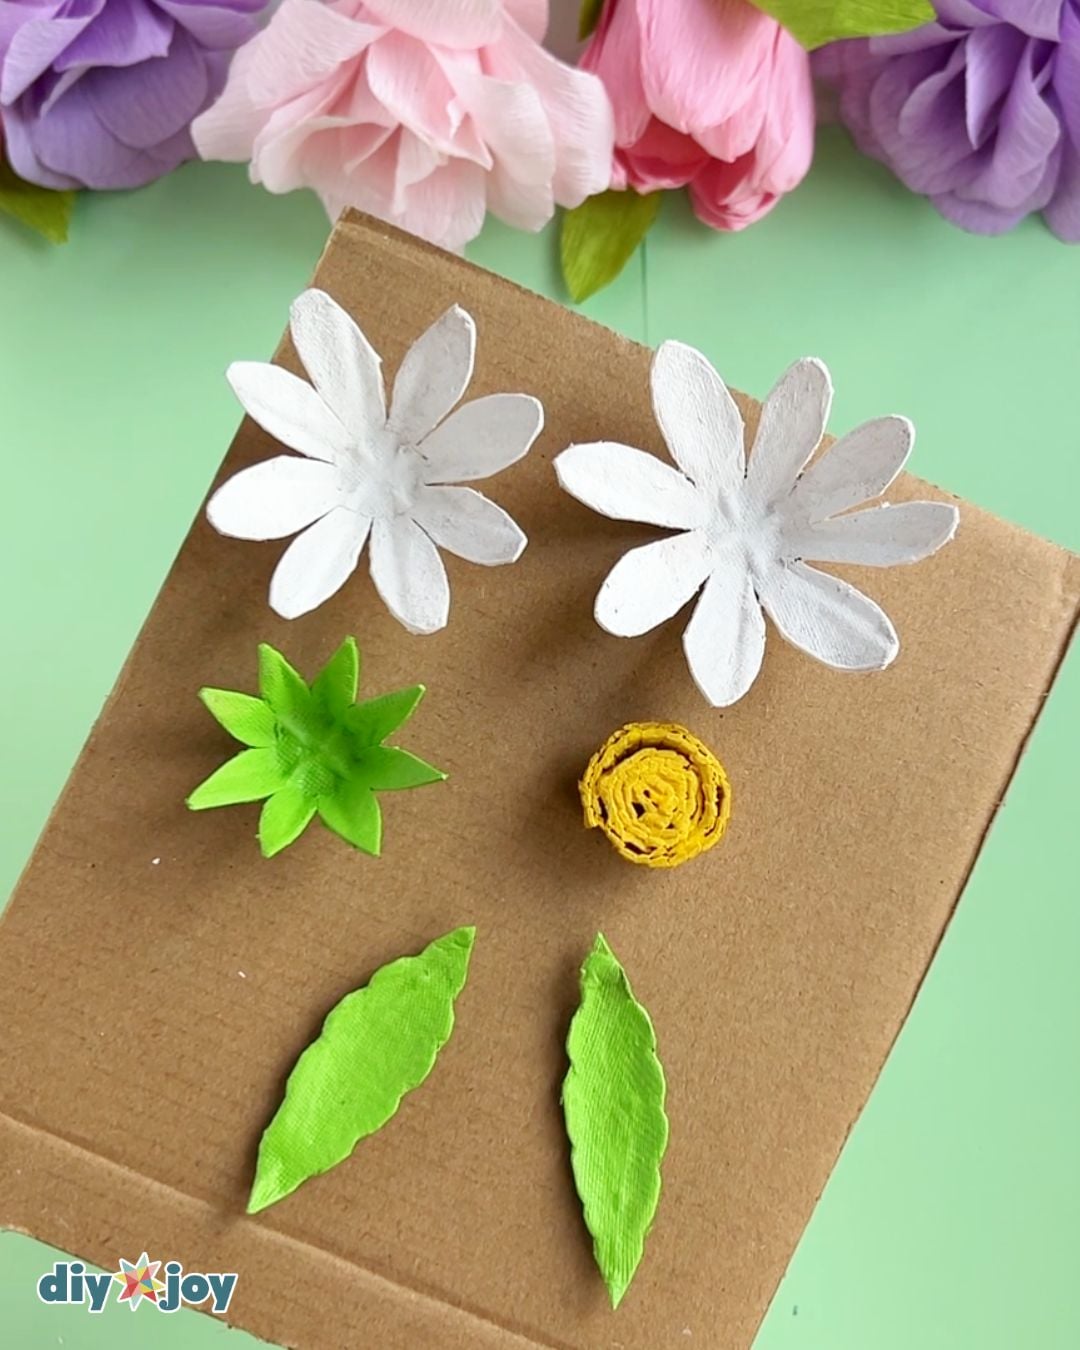
Cut individual cups from your egg tray. You will need about 4 cups for each daisy.
Take two of the cups. Divide the sides into 8 sections, and cut those sections into petal shapes to make two flowers.
Take another cup and cut half of it. Set the top part aside, as you will use it later. Now, take the bottom cup, divide the sides into 8 equal sections, and cut each into a point.
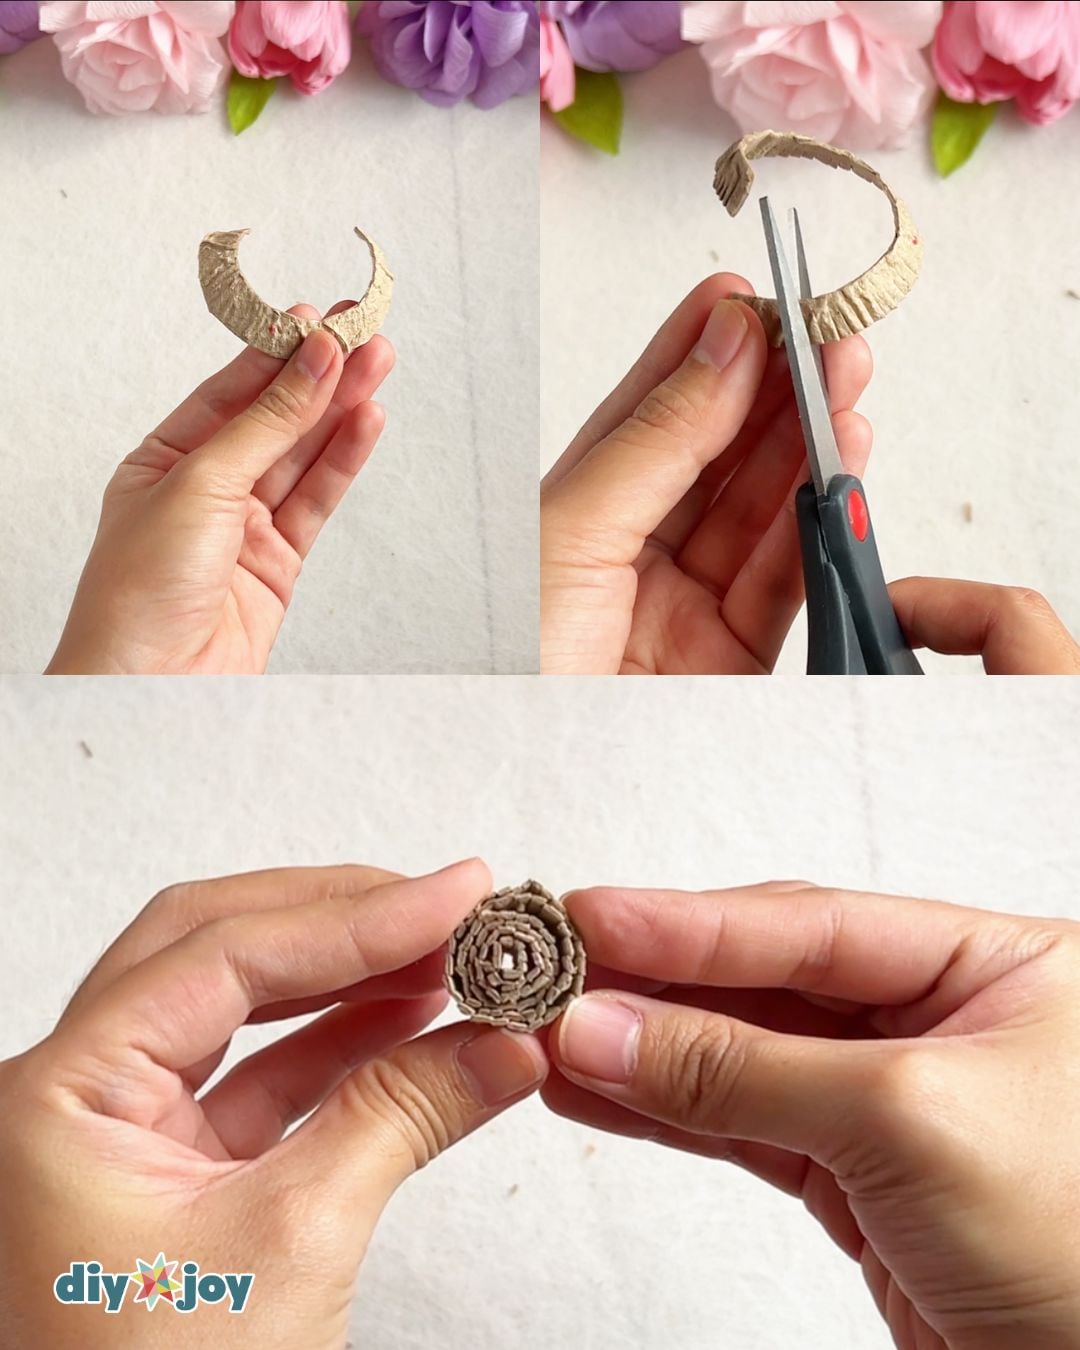
Take the top part from step 2, trim it a slighlty, and cut thin slits into it. Make 2 of these pieces.
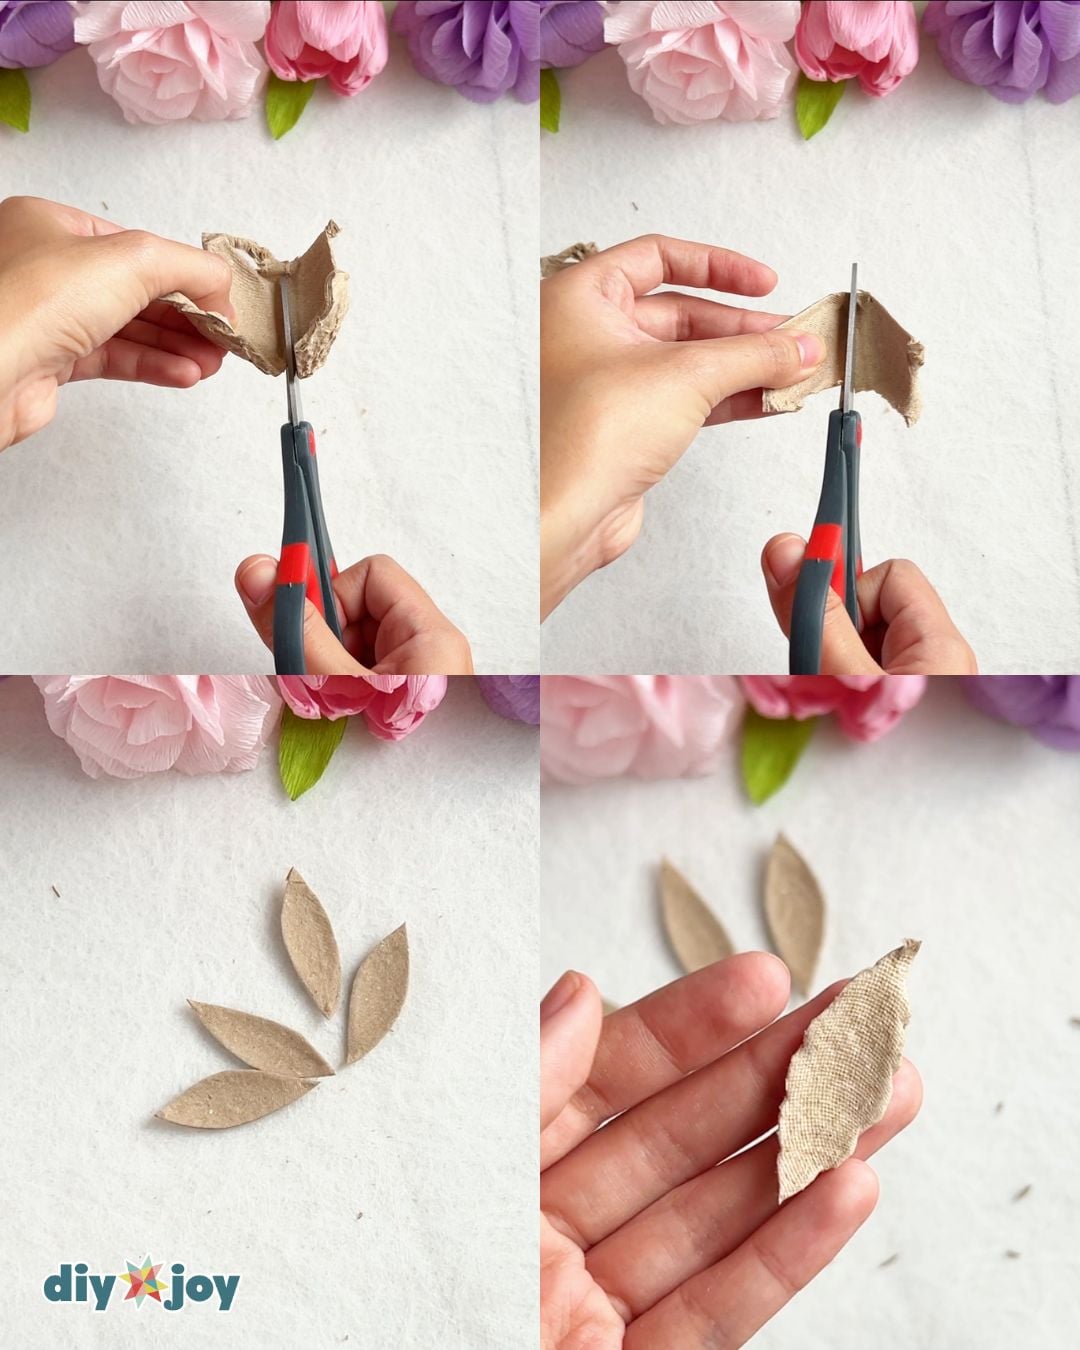
Roll the first piece, making sure to leave a small hole in the center for the stem, and glue it to secure. Wrap the other piece around to make a larger circle. Glue as needed.Cut a whole cup from your egg tray, including the pointed sides. Cut it in half, and then in half again. Shape the pieces into leaves, as shown below.
Paint the pieces.
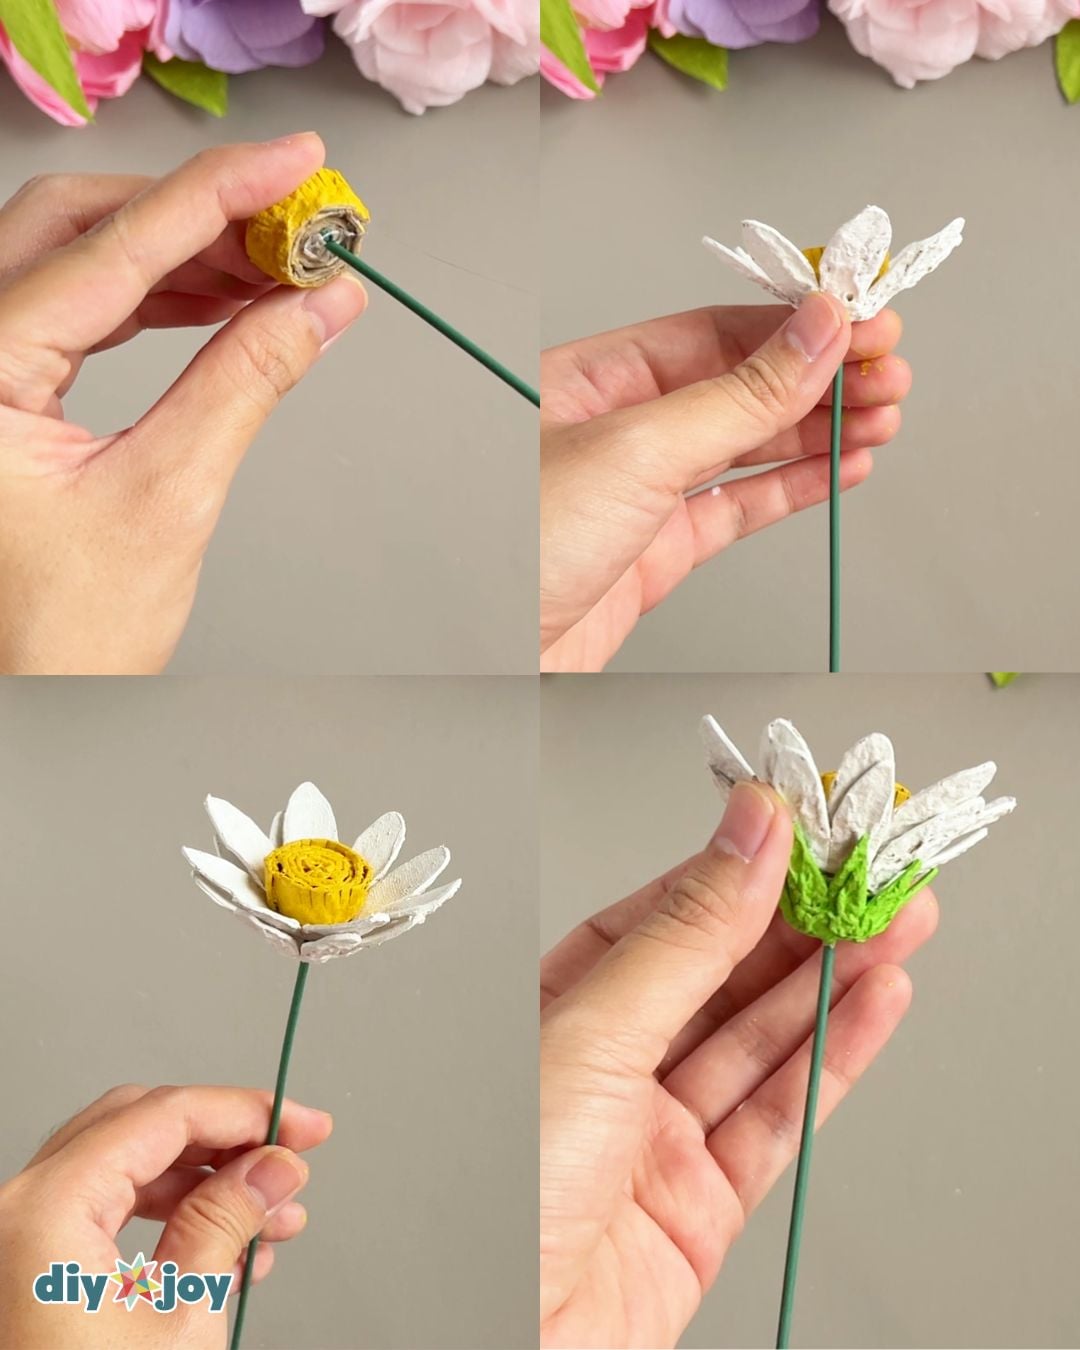
Using a small pointed object, make a hole in the center of each flower and sepal.Assemble the flower by inserting the stem through the pieces and gluing them together.
Glue the leaves and slightly bend the top part of the flower.

Tools
- glue gun
- scissors
- paint brush
Materials
- egg carton tray
- acrylic paint
- floral wire
- glue sticks
DIY Cardboard Plant Pot
For the DIY planter, you will need:
- popsicle sticks
- cardboard
- styrofoam
- artificial moss
- ribbon
![]()
Crafting Tip
A sharp pair of scissors will make the cutting process easier and quicker!
Creative Ideas and Variations
- Colors. Daisies come in many different colors, not just the usual white petals and yellow centers. You can paint them pink, violet, orange, red, or any color you like.
- Size. Since we are using egg trays, there are limits to the size. You can make smaller daisies with this same process. If you want to make larger ones, you will need to cut the petals separately and glue them one by one.
More Easy Craft Ideas


Egg Carton Daisises Step-by-Step Video Tutorial