Easter is just around the corner and that day will arrive quicker than you know it, and the best way to prepare is to start with your decorations and gifts ready early on. That way, you can cross that task off of your checklist and tackle other things that you have to prepare once Easter comes.
RELATED: Easy Bunny Treat Bag Sewing Tutorial
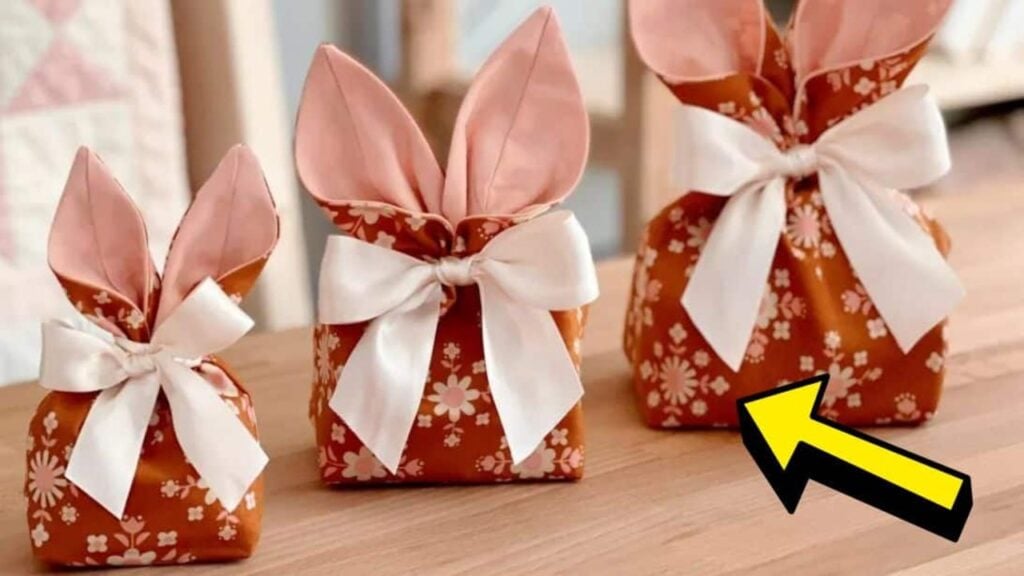
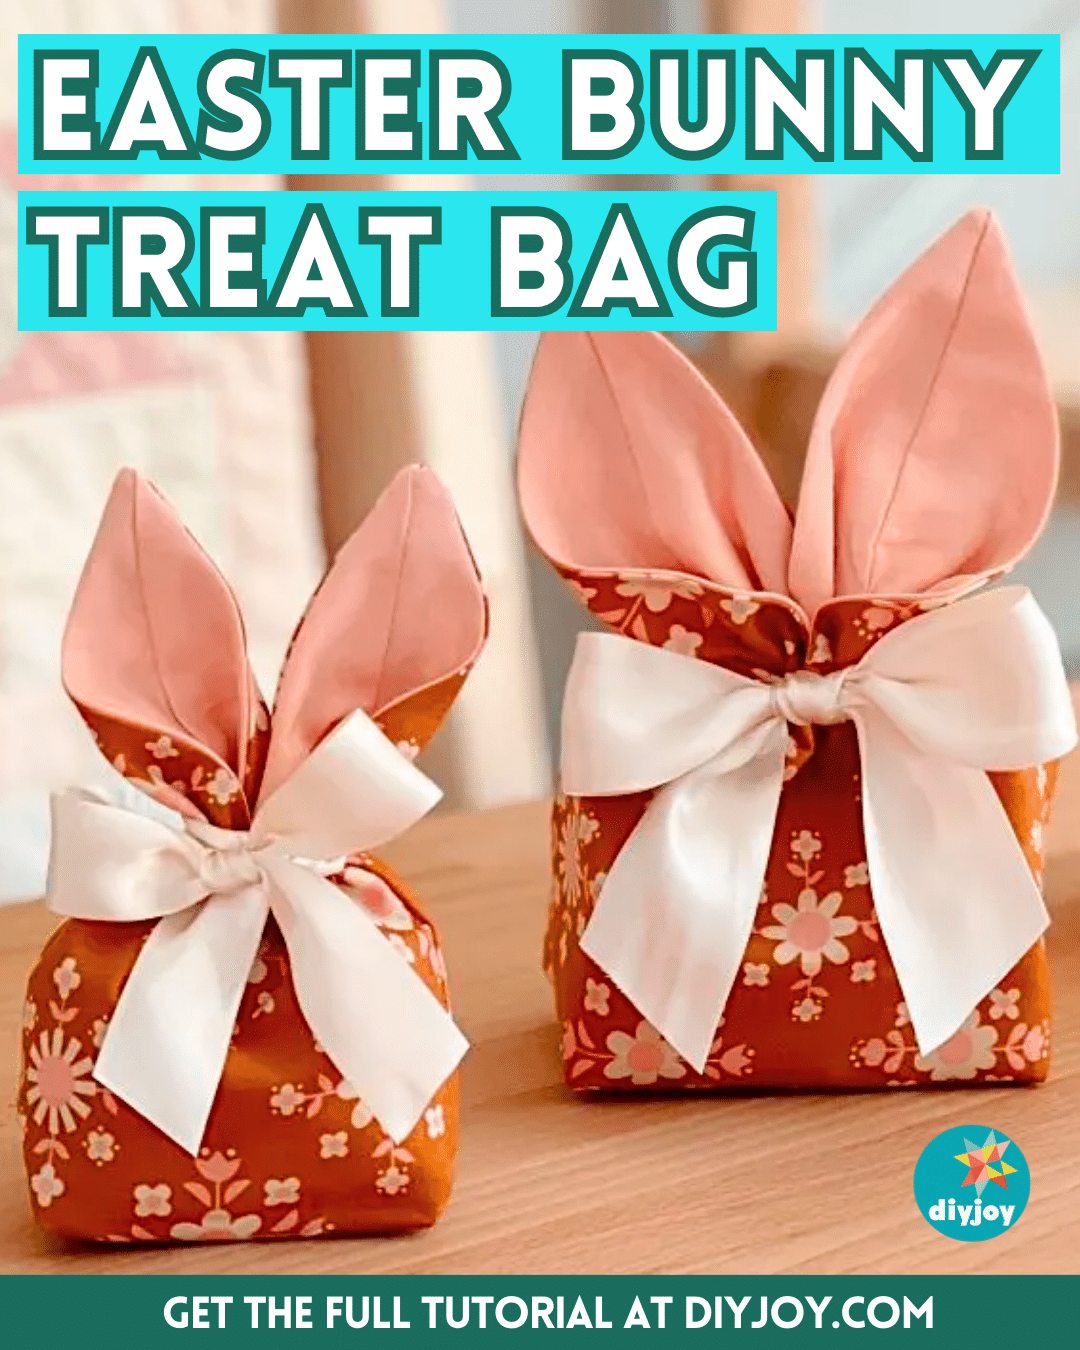
If you’re planning to give away treats and gifts to kids, friends, family, or your loved ones, then make sure to store them in these adorable bunny treats bags that you can sew easily in just a few simple steps. Learn how in this video tutorial by Stacey Lee Creative on YouTube!
Materials for DIY Easter Bunny Treat Bag:
- Quilting cotton fabric, printed, for the exterior
- Quilting cotton fabric, solid, for the lining
- Ribbon
- Ruler
- Marking pen, pencil, or chalk
- Fabric pins
- Scissors or rotary cutter and a cutting mat
- Needle and thread
- Iron, for pressing
- Sewing machine
- Pattern (Click here to download the pattern)
How to Make a DIY Easter Bunny Treat Bag:
Step 1
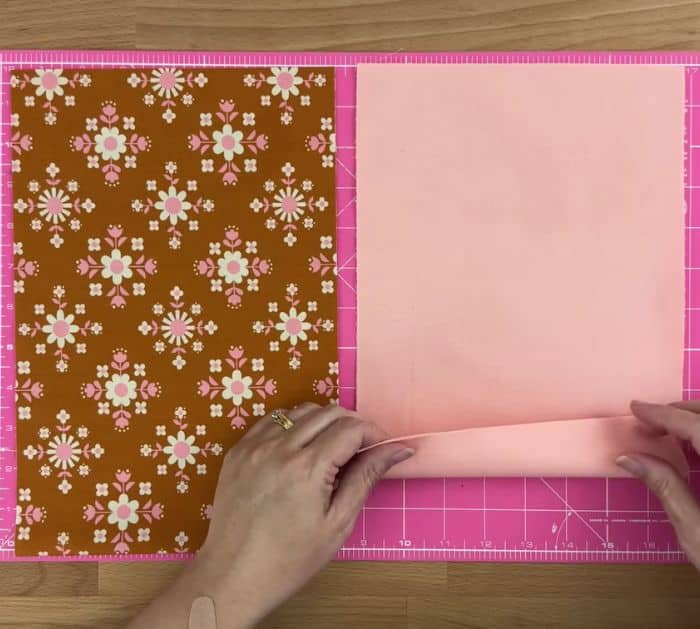
Fold both fabrics in half with their wrong sides facing, then take the lining fabric, measure 5 inches down, and mark at the center of the width. Draw a line from the dot up to the top left corner about ¼ from the edge as shown in the video, then repeat on the opposite side, and then lay the lining fabric on top of the print fabric making sure their edges are matching.
Step 2
Pin them in place to prevent them from sliding or moving out of place, then cut along the marked line, and remove the pins. Refold the lining so that their right sides are facing, then mark 4 inches and 7 inches from the bottom, and refold the main fabric as well to match the right sides.
Step 3
Start stitching the lining fabric on the sides with ¼ inch seam allowance stopping at the 7-inch mark, then skip to stitch at the 4-inch mark until you reach the end, and stitch the main fabric on the sides as well.
Step 4
Open up the bags, and square the bottom as demonstrated in the video, then after stitching and trimming off the boxed corners, turn the lining bag right side out, and insert it into the main bag lining up the seams.
Step 5
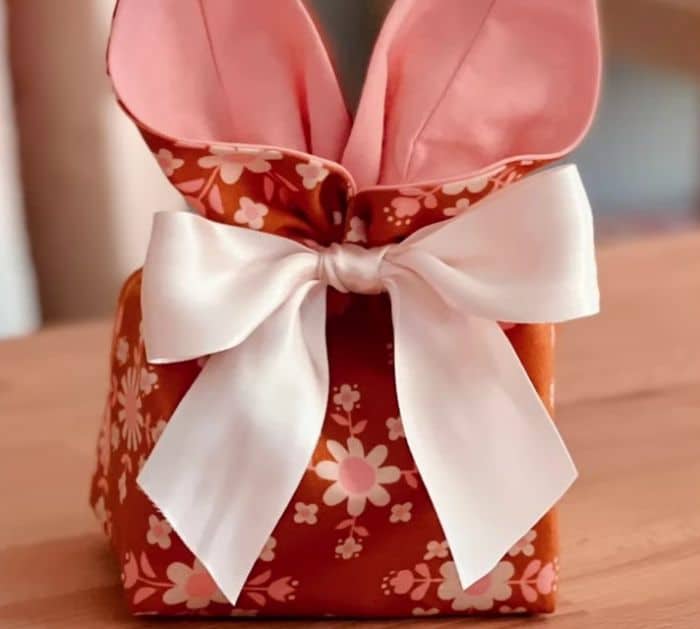
Pin them securely, then stitch them together all the way around, then tuck the seams of the opening, and topstitch it closed. Press the seams nicely, then stuff the bag with treats and gifts of your choice, and tie the ears of the bunny with a ribbon.
*All image credit belongs to Stacey Lee Creative via YouTube. Follow and subscribe to her channel for more!
Easy DIY Easter Bunny Treat Bag Tutorial


