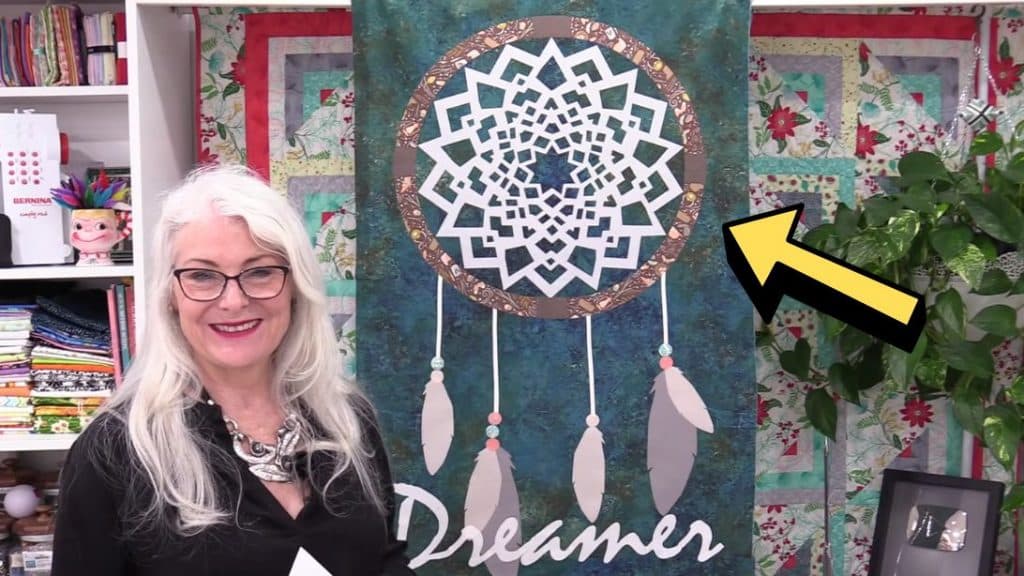
This lovely project by SewVeryEasy on YouTube is definitely on the list of my all-time favorite quilts, not only is this super fun to make, but it is also very easy to put together that even beginners can do it on the first try. If you’re new to quilting, then this is a good project to start on, plus, the finished product is so pretty that you can sell it, or give it as a gift. This easy-to-follow video tutorial makes it even more simple, so proceed to read the written instructions down below, and watch the video tutorial as well. Enjoy quilting!
Materials:
- 1 and 1/3 yards of dark background fabric
- Fabric pieces for the dream catcher applique
- Pattern (Click here to download the pattern)
Directions:
Step 1
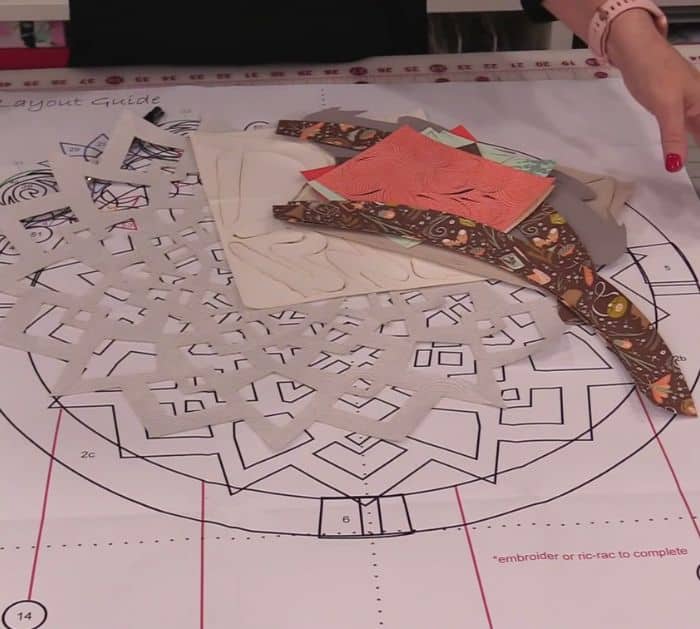
Unpack and prepare the pre-cut fusible pieces, then mark the back so you need where they go later, and press them on the fabric pieces that you’re going to use. Cut out the pieces, then lay the largest piece or the dream catcher shape on top of the background fabric, and fuse it making sure to peel off the paper at the back before pressing.

[social_warfare]
Step 2
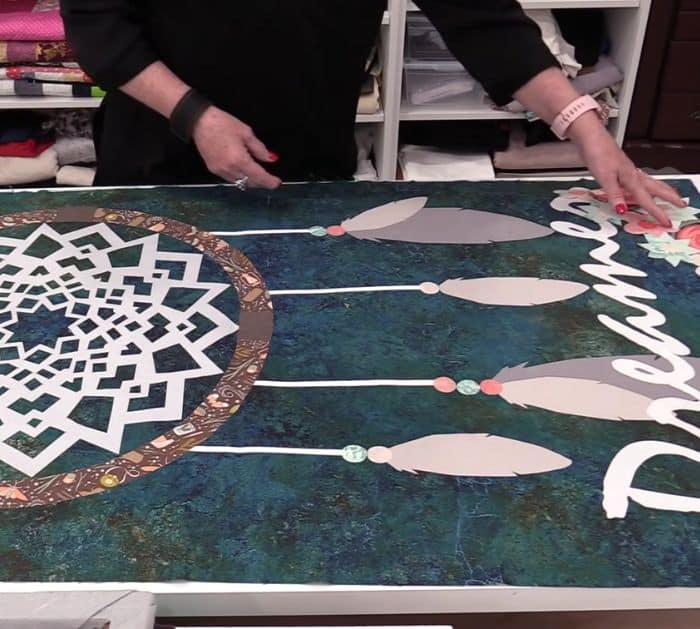
Next, press the rest of the applique pieces on the background fabric nicely until the shape of the dream catcher is complete, then flip the patchwork over, and press all over the back as well. To finish this quilt, secure the pattern pieces down with a satin or blanket stitch, then add batting, backing, binding, and quilt however you want.

*Thanks to SewVeryEasy via YouTube for all images used here. If you loved this quilt project idea, then you’ll surely love her other video tutorials too, so give her channel a visit and subscribe!


