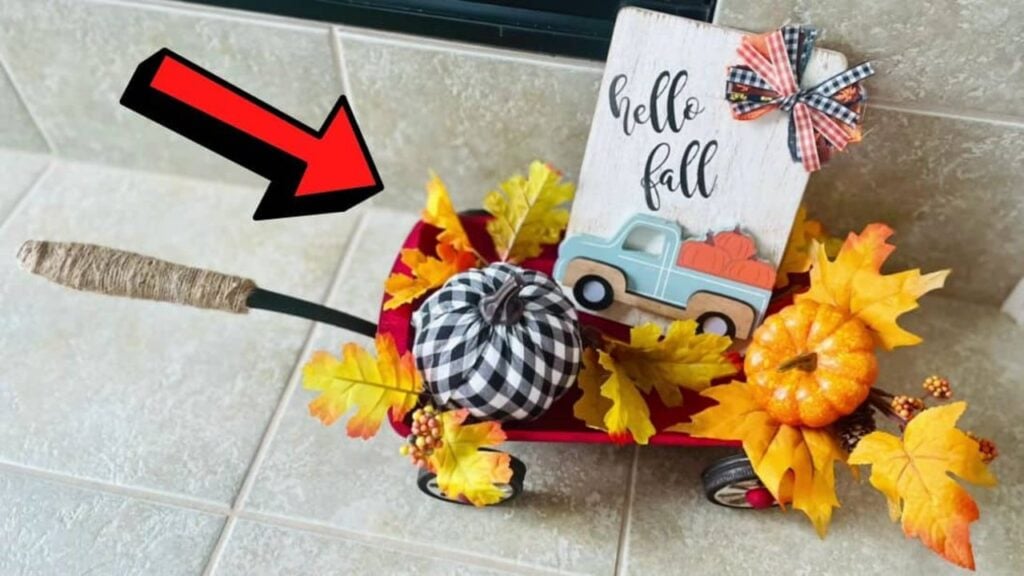
Don’t you just love a pretty and inexpensive decor that you can make on your own in just a few minutes? Well, this project is even better because you can use this not only for the Fall season but for all kinds of seasons! Simply change the decorations in the wagon and coordinate them according to the theme. You can make this DIY wagon using items that you can purchase from the nearest Dollar store, then watch this video tutorial by Windy City Crafts Videos on YouTube, and you’re done!
Materials:
- Brownie pan
- Waverly chalk paint, crimson, plaster, ink. antique wax
- Paintbrush
- Spatula
- Jute string
- 20mm half wooden beads
- Wooden dowel sticks
- Jar lids
- Adhesive glue
- Hot glue gun and glue sticks
- Fall embellishments
Directions:
Step 1
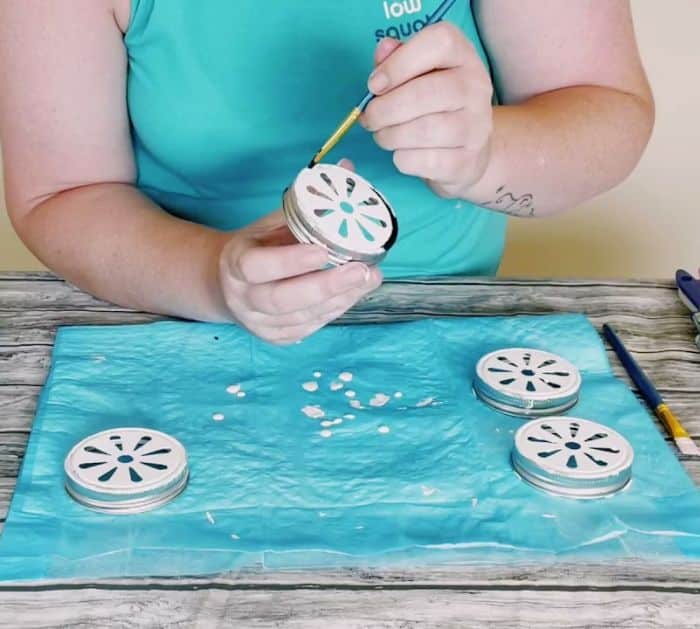
Apply 2 coats of crimson chalk paint all over the inside and outside of the brownie pan making sure to let it dry completely in between applications. Tie a jute string through the hole at the top of the spatula’s handle, then dap some hot glue at the tip, and coil the jute string around to cover the tip. Next, continue to wrap the jute string around the handle until half is completely covered, then apply some adhesive glue and hot glue all over the top scoop of the spatula, and adhere it underneath the side of the pan. Place some weight on top until it dries completely, and then apply 2 coats at the center of each jar lid with plaster chalk paint making sure to let it dry in between applications. Paint the outer edges as well as the sides with ink chalk paint and let dry completely.
[social_warfare]
Step 2
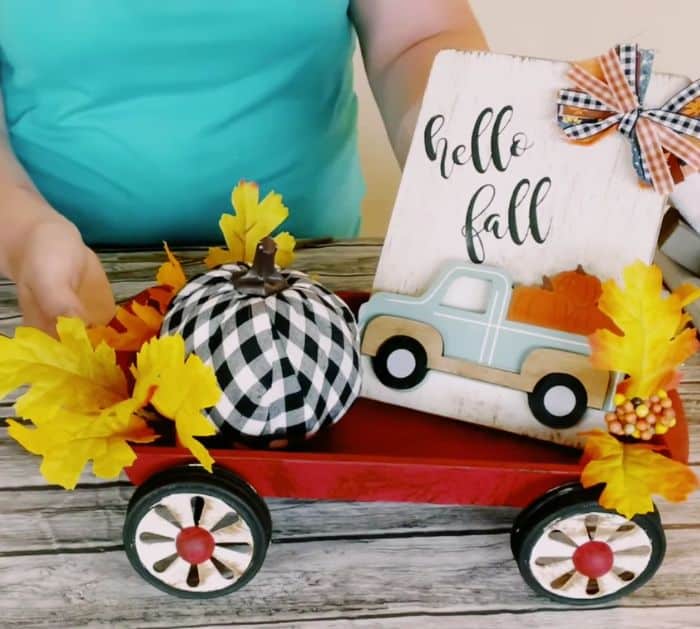
Place the wooden half beads on top of a paper-lined surface, then paint them with crimson chalk paint, and let dry completely before hot gluing them to the center of each painted jar lid. Flip the pan over, then measure the width, and cut 2 dowel sticks accordingly. Sand the edges of the dowels, then hot glue the jar lids on each side to complete the set of wheels, and then adhere them underneath the pan. Once completely dry and adhered, you can make the paint look rustic by dry brushing antique wax chalk paint all over the pan and the wheels, but if you don’t like this step, then skip it. Now, all you need to do is to decorate your wagon with season-themed embellishments and objects, and you’re done!
*All image credit belongs to Windy City Crafts Videos via YouTube. Follow and subscribe to her channel for more!
Easy Dollar Tree DIY Fall Wagon Décor Tutorial


