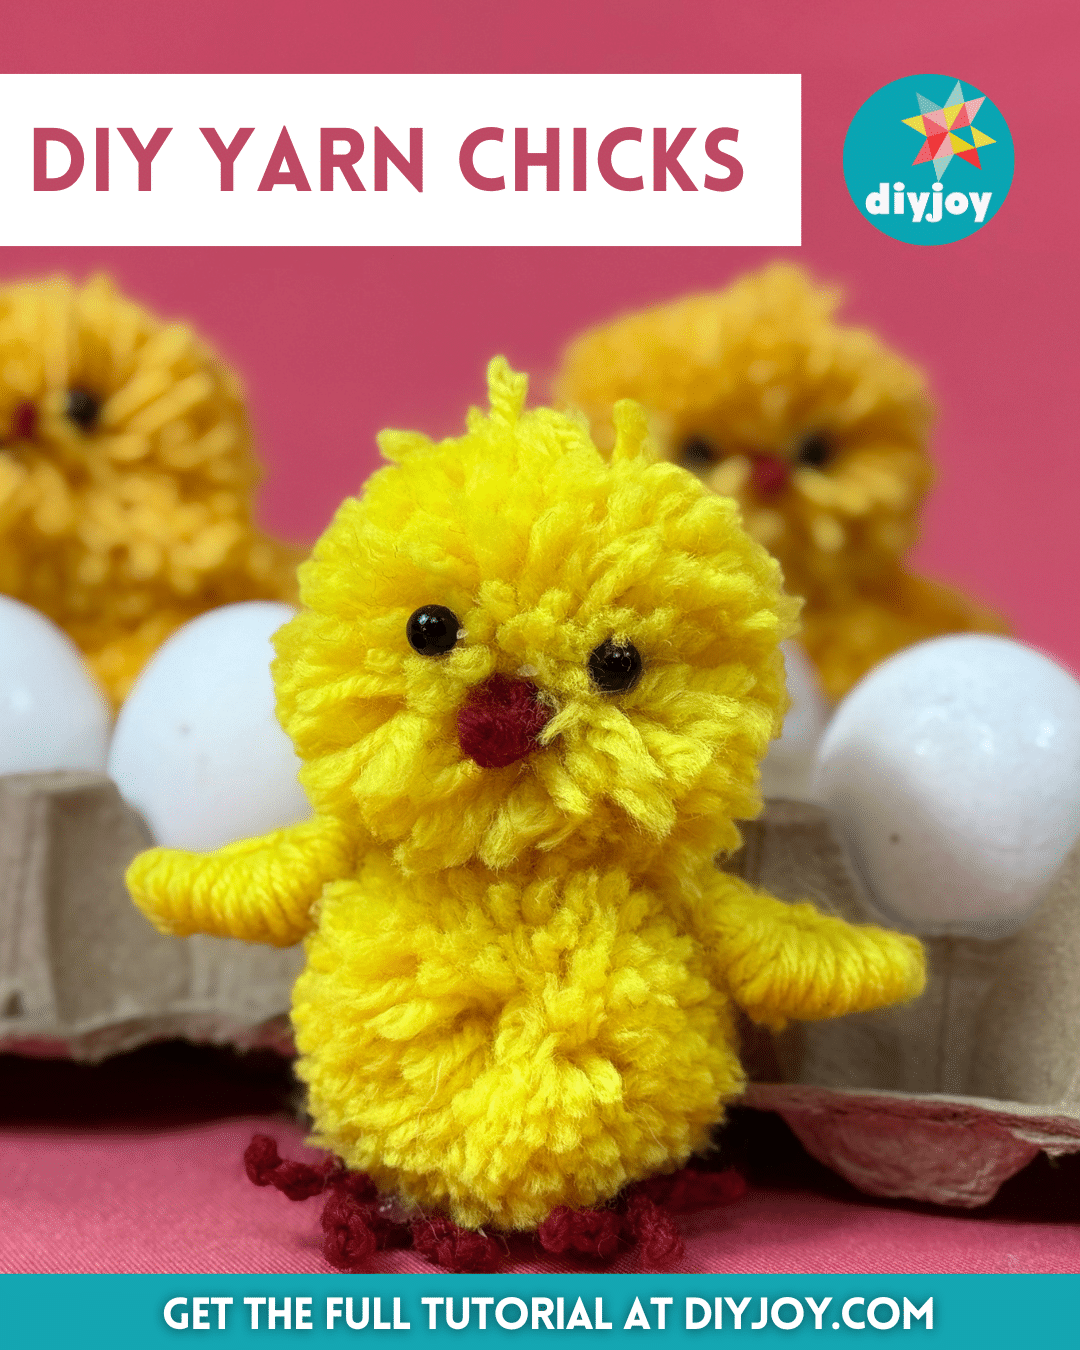
Crafting is an enjoyable activity and hobby and is also a wonderful way to express creativity. Whether you’re a seasoned crafter or a beginner looking for something to pass the time or get your hands busy with, this DIY yarn chicks will definitely interest you. This handmade adorable baby chick is super easy to make and budget-friendly, and all you need for this is a bunch of yarn and some hot glue.
RELATED: How to Make a Yarn Dog
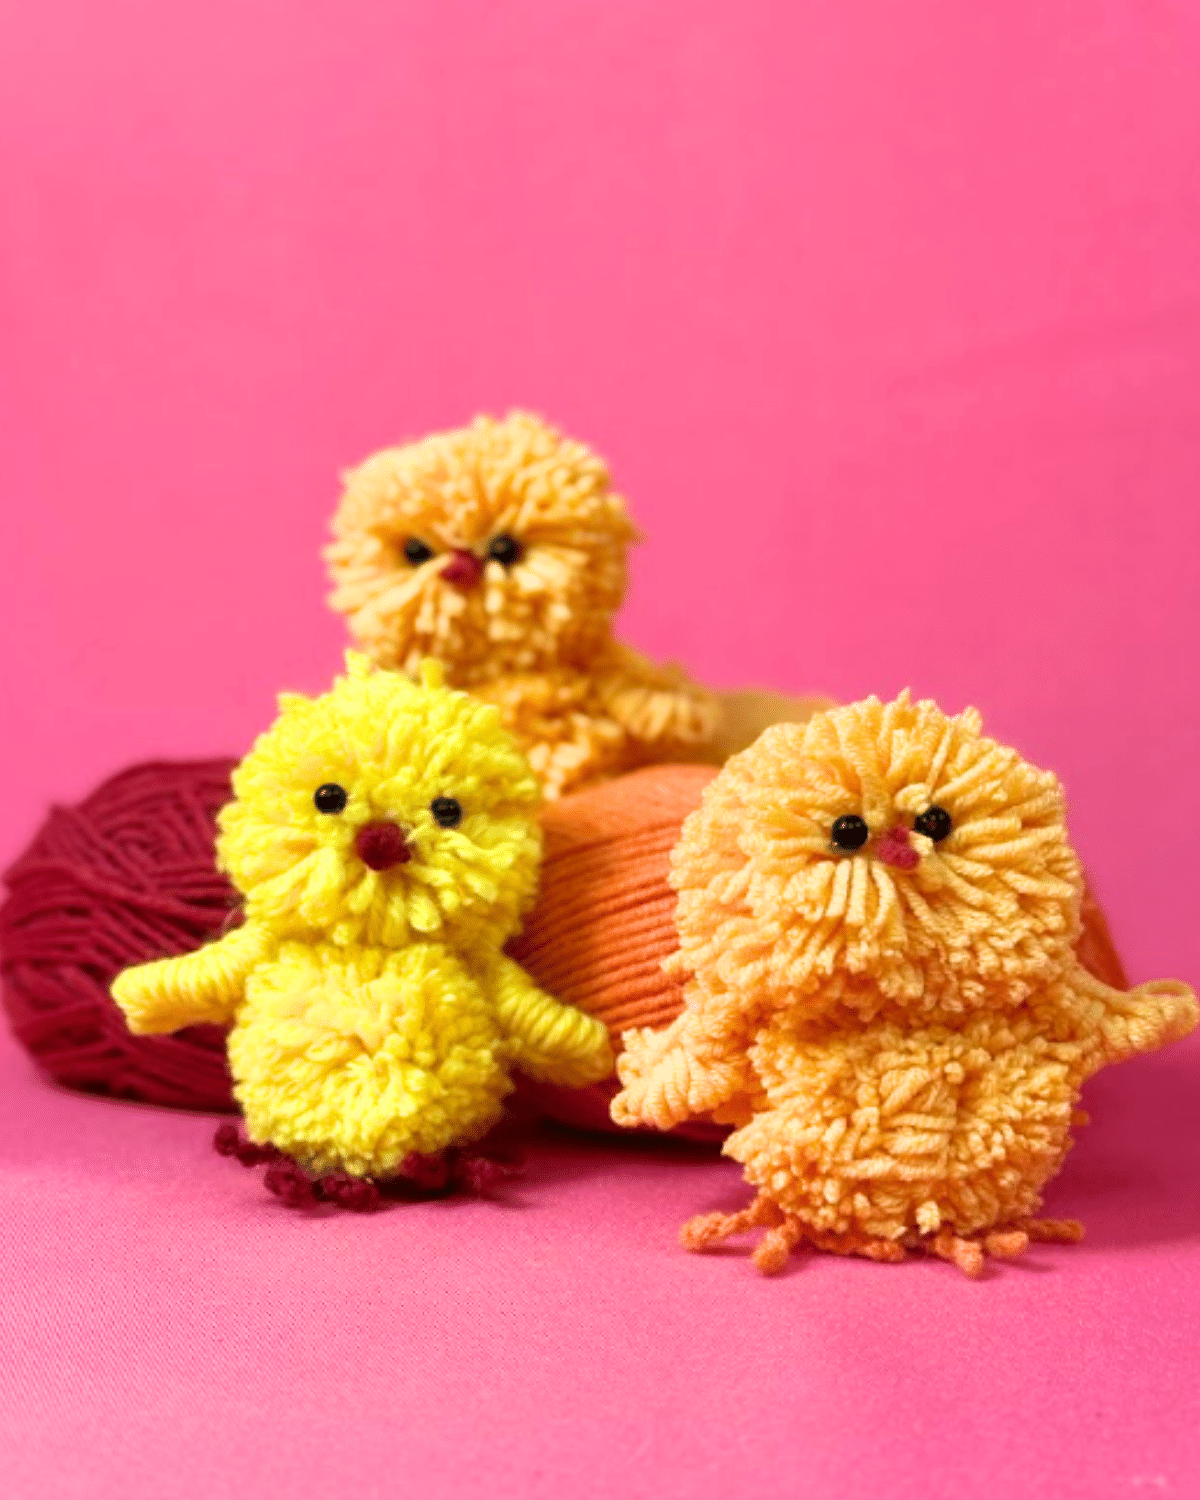
These cute yarn chicks are the perfect heartfelt gift idea to give to a loved one, this would also add a pop of color to your home, and you can even use this for your Easter celebration or to simply adorn your house during the Spring season. I’m sure that whoever you give this yarn chick to will simply fall in love. Learn how now by following the step-by-step instructions down below.
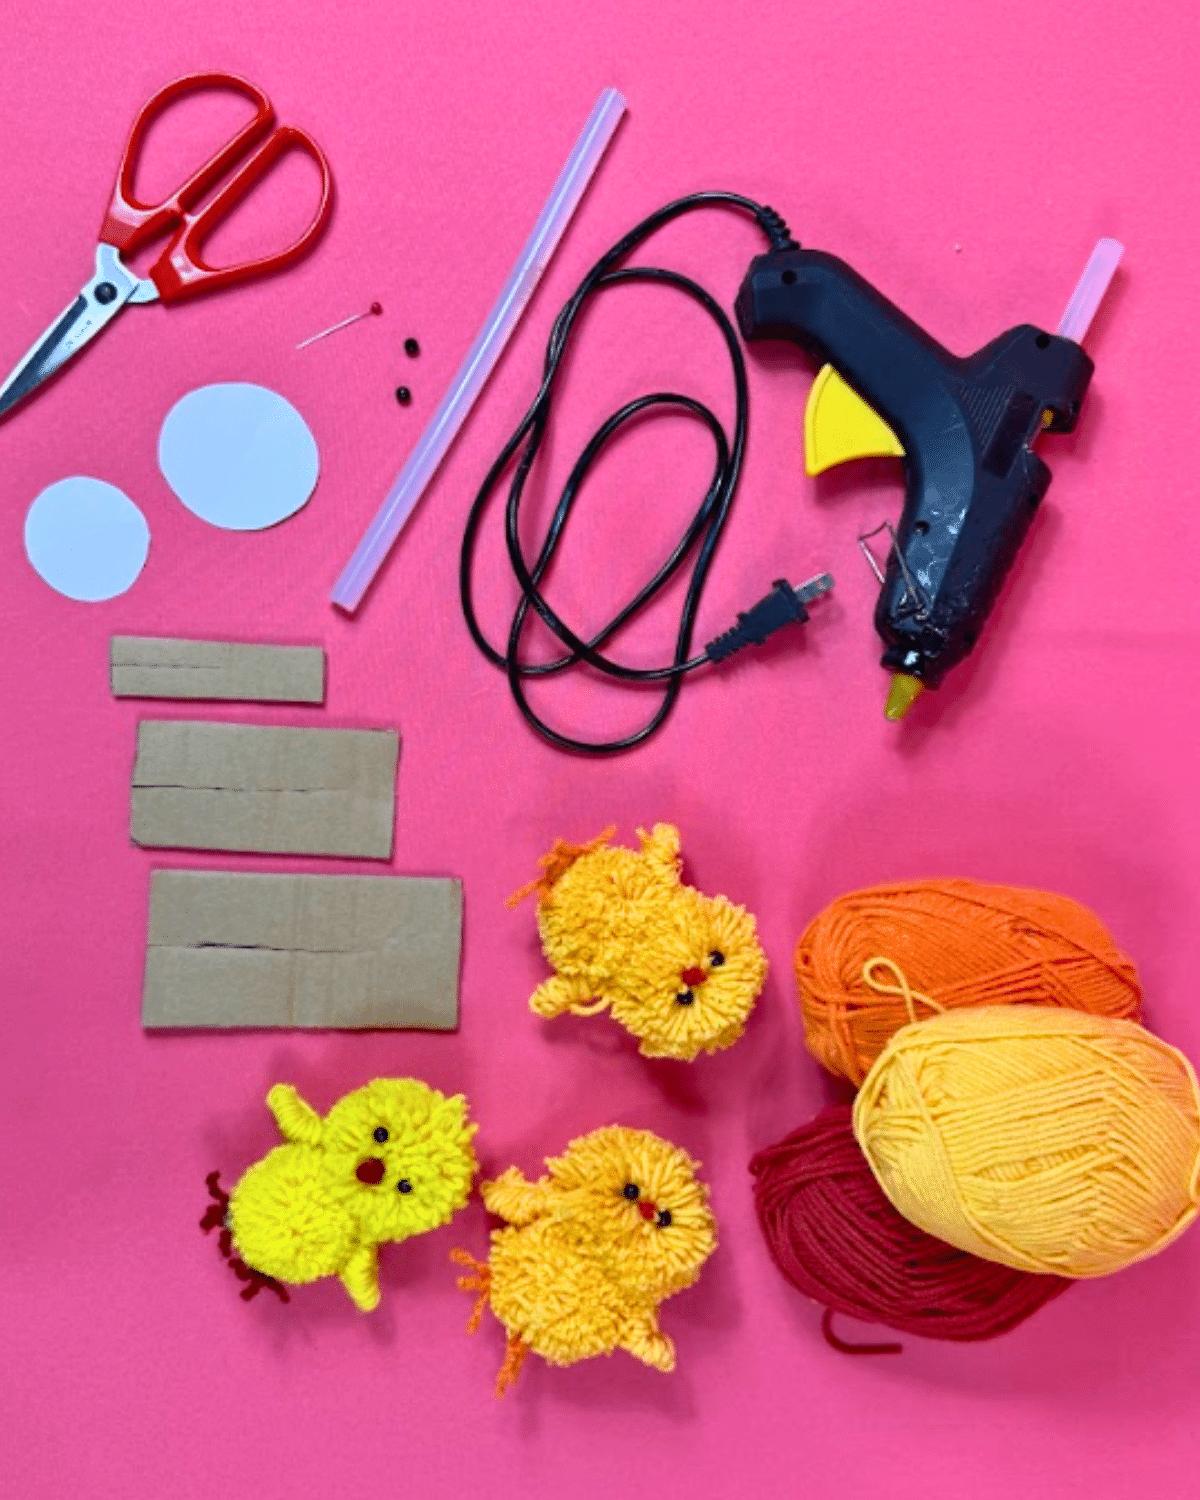
Materials for DIY Yarn Chick:
- Yarn
- Scissors
- Beads
- Pin
- Glue Gun and Glue sticks
- Cardboard, 2 cm, 5 cm, and 6 cm rectangles with a slit in the middle
- Template, 5 cm and 6 cm circles
How to Make DIY Yarn Chick:
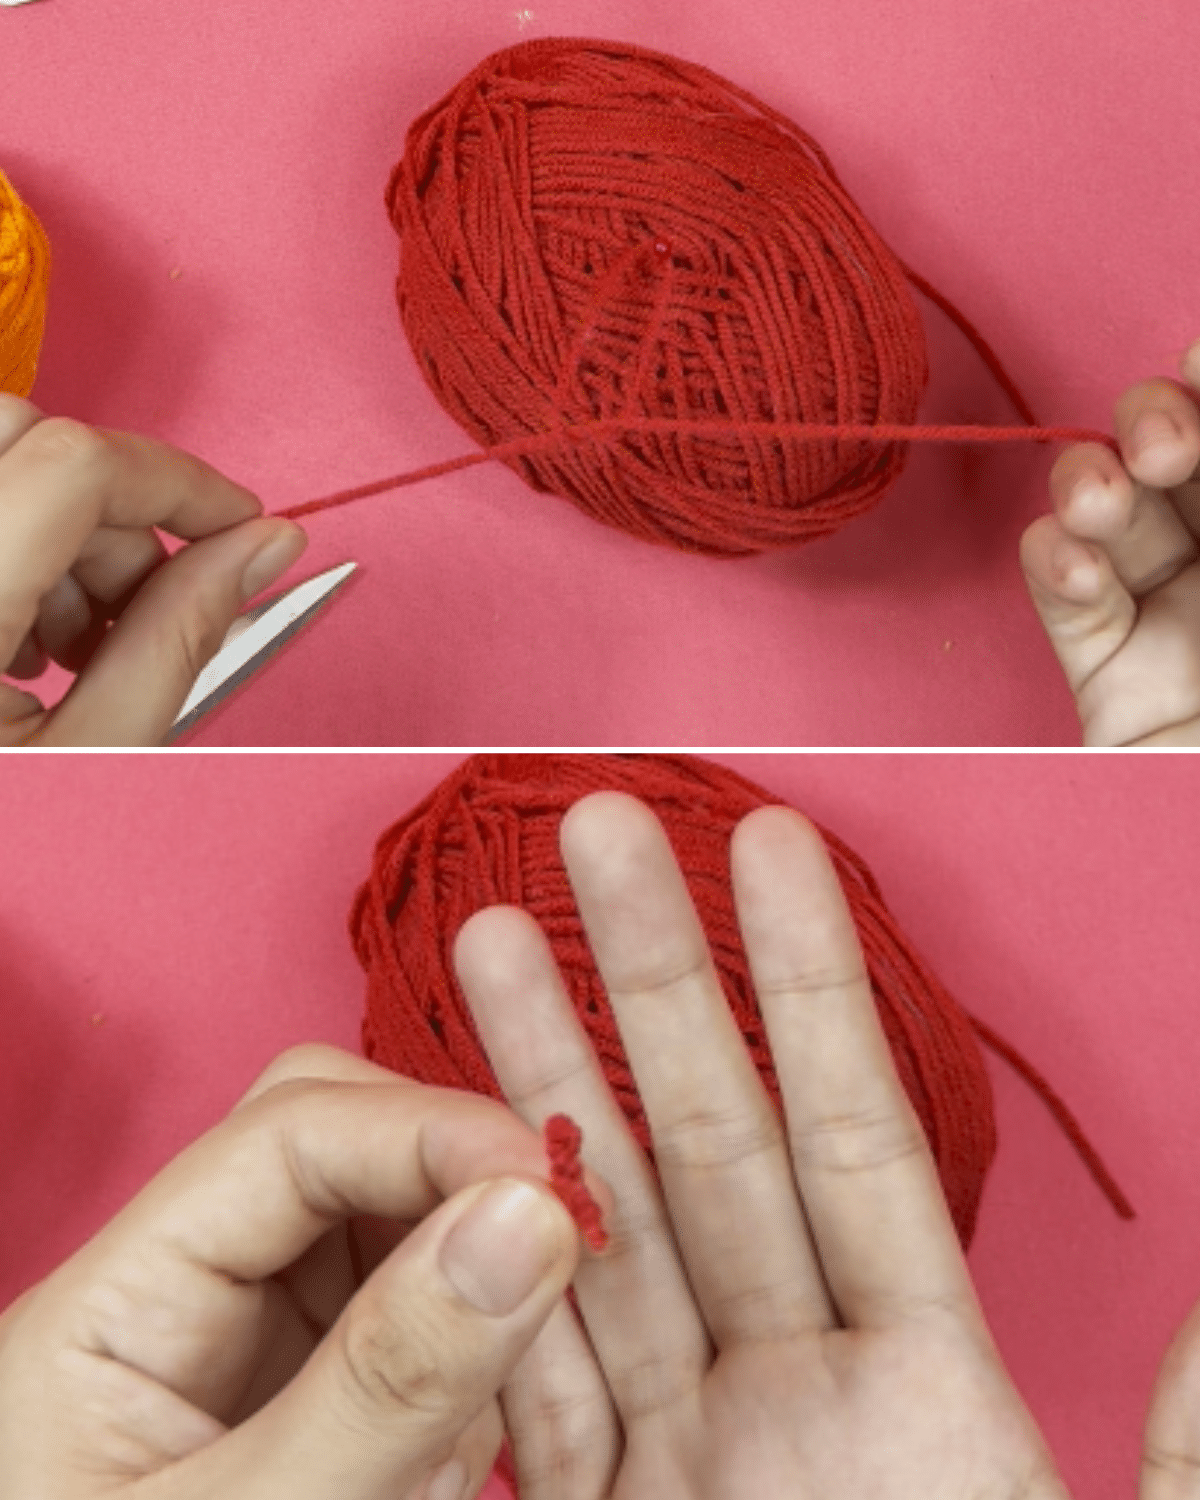
Step 1: Wrap yarn around the largest rectangle template 150 times.
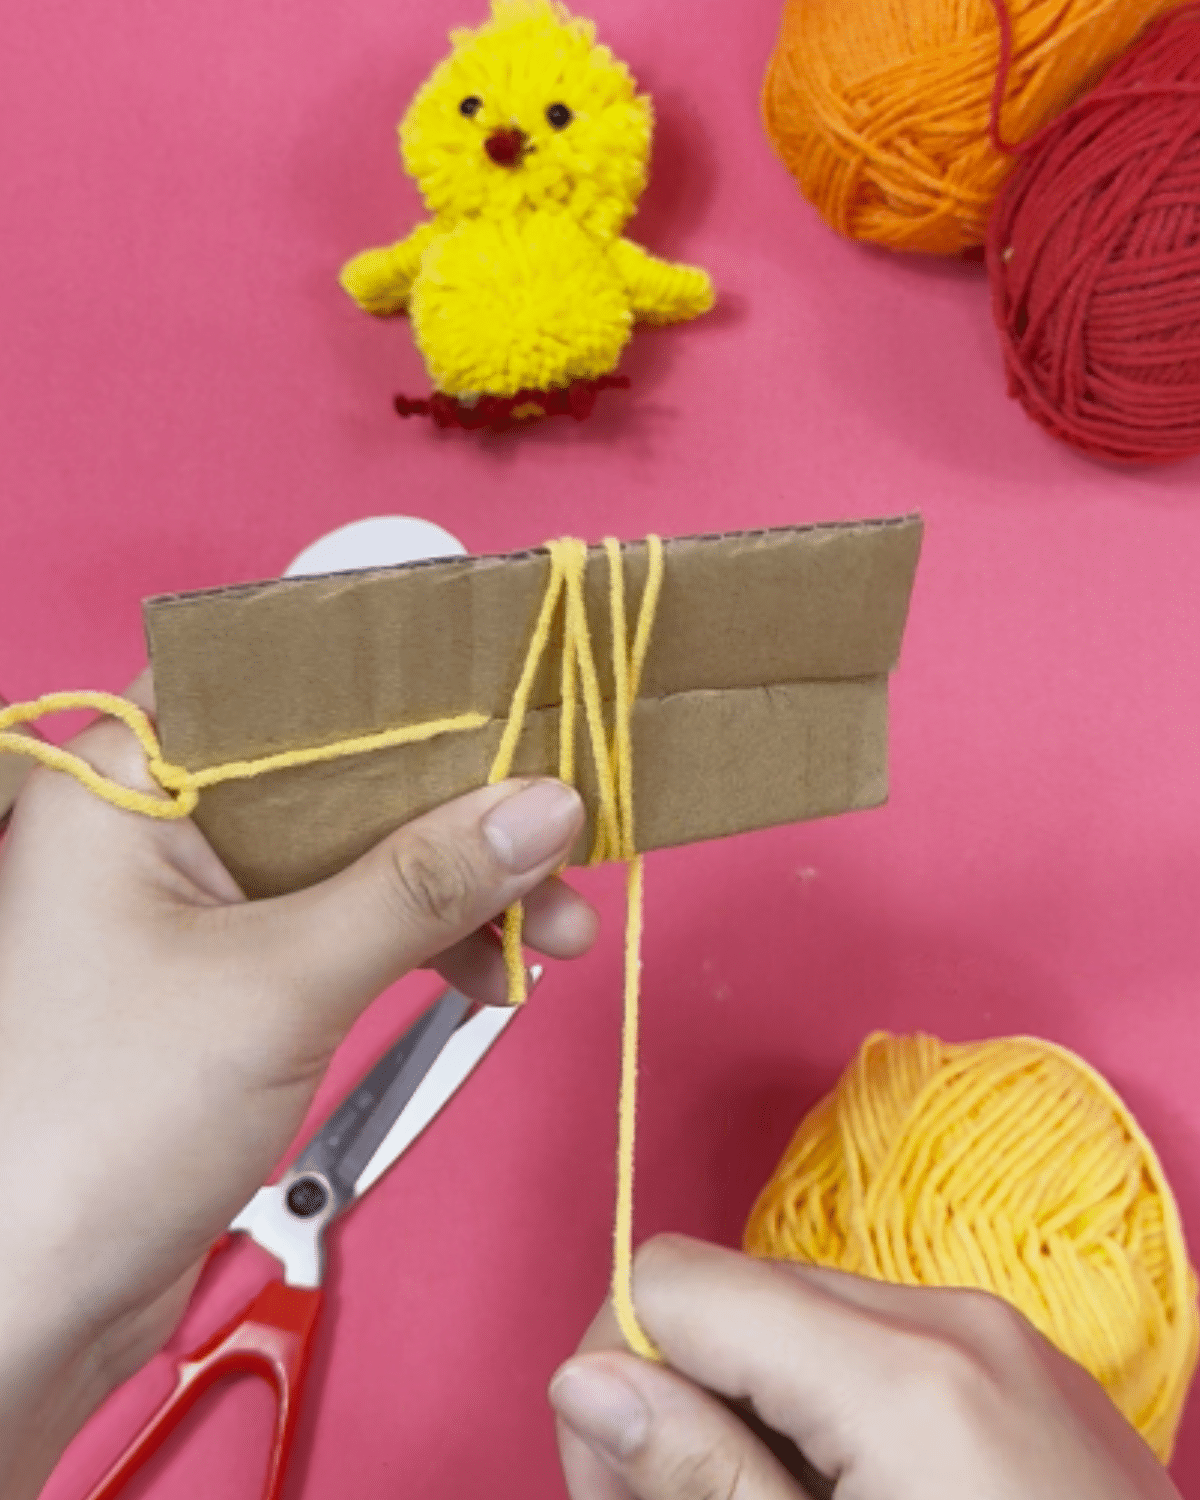
Step 2: Cut the excess yarn.
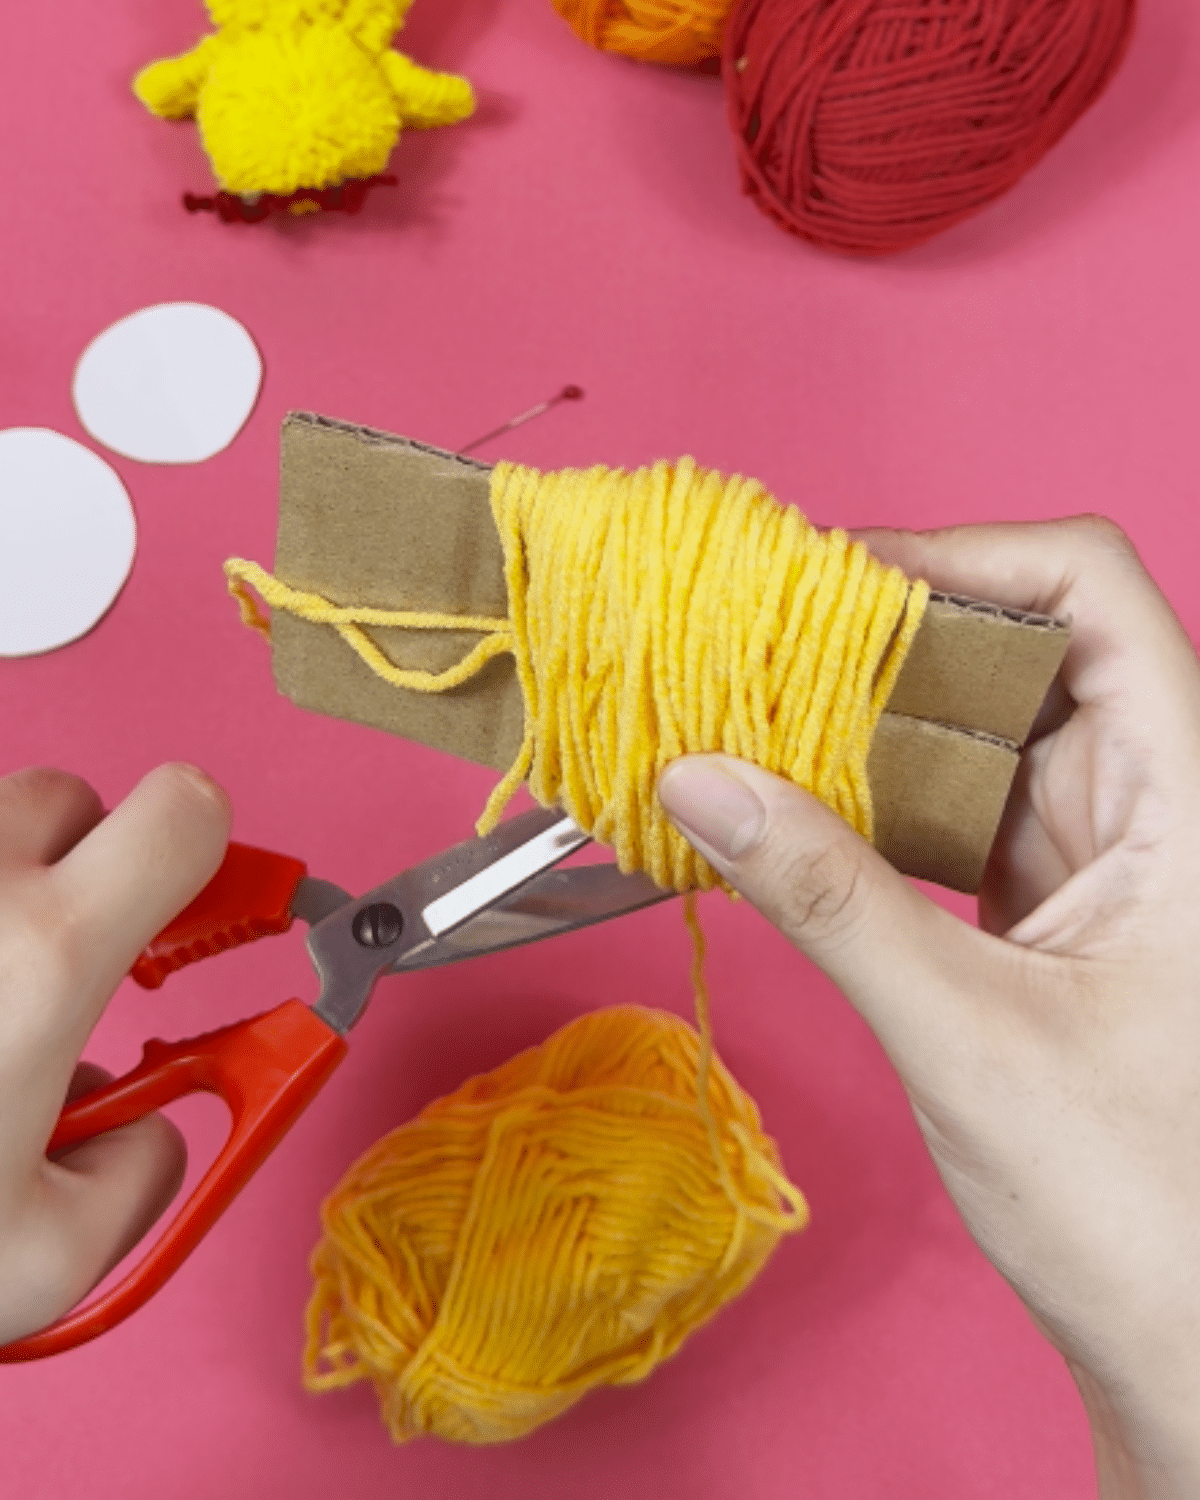
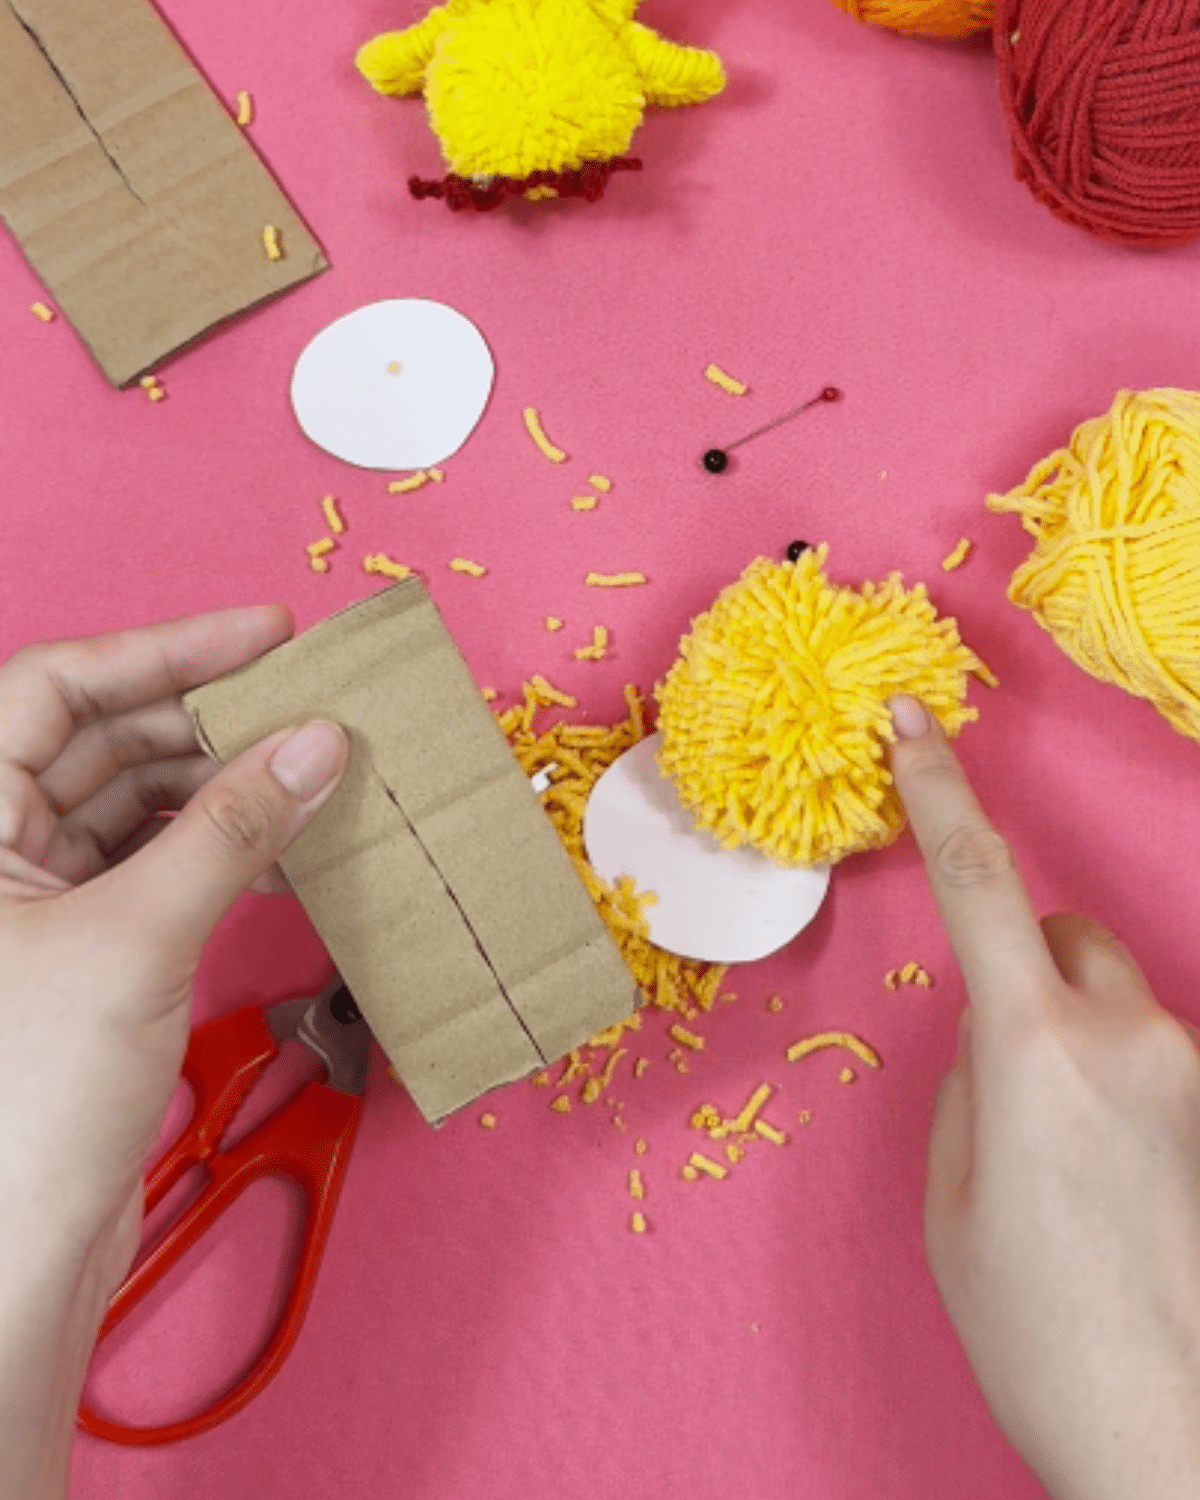
Step 3: Tie the loops together in the middle, and secure with a knot. Remove from the cardboard, then tie around the back, and knot tightly.
Step 4: Cut through the loops.
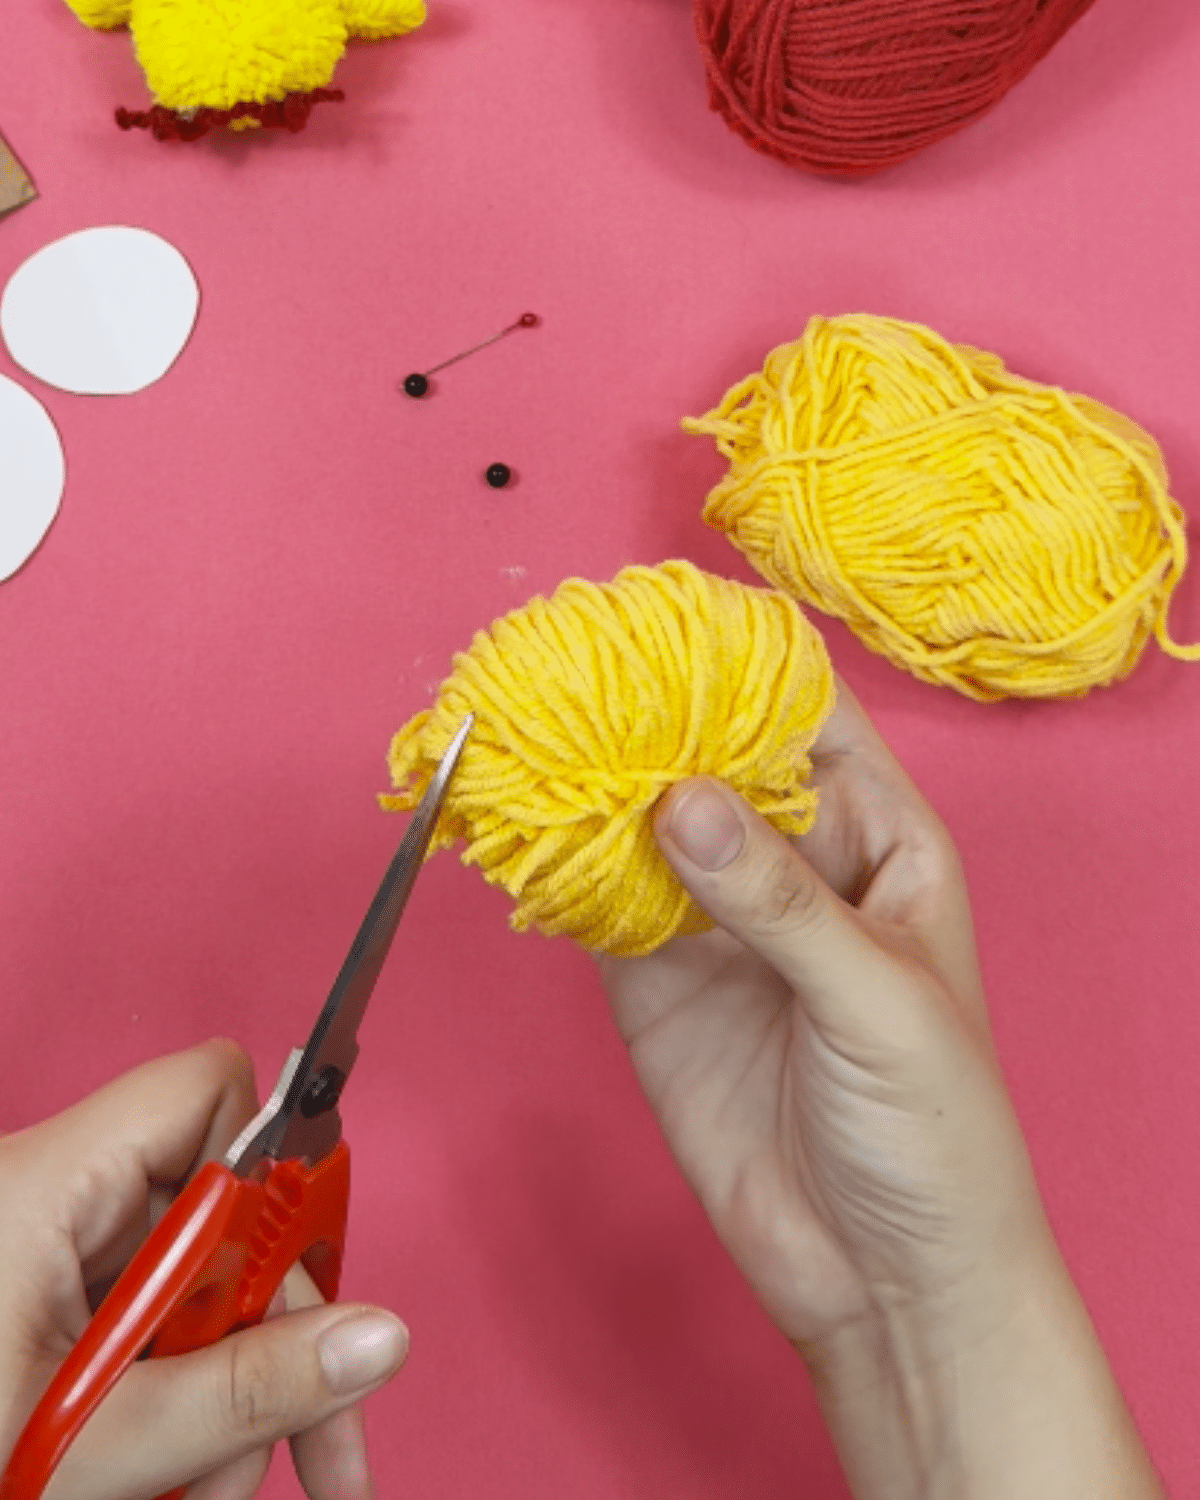
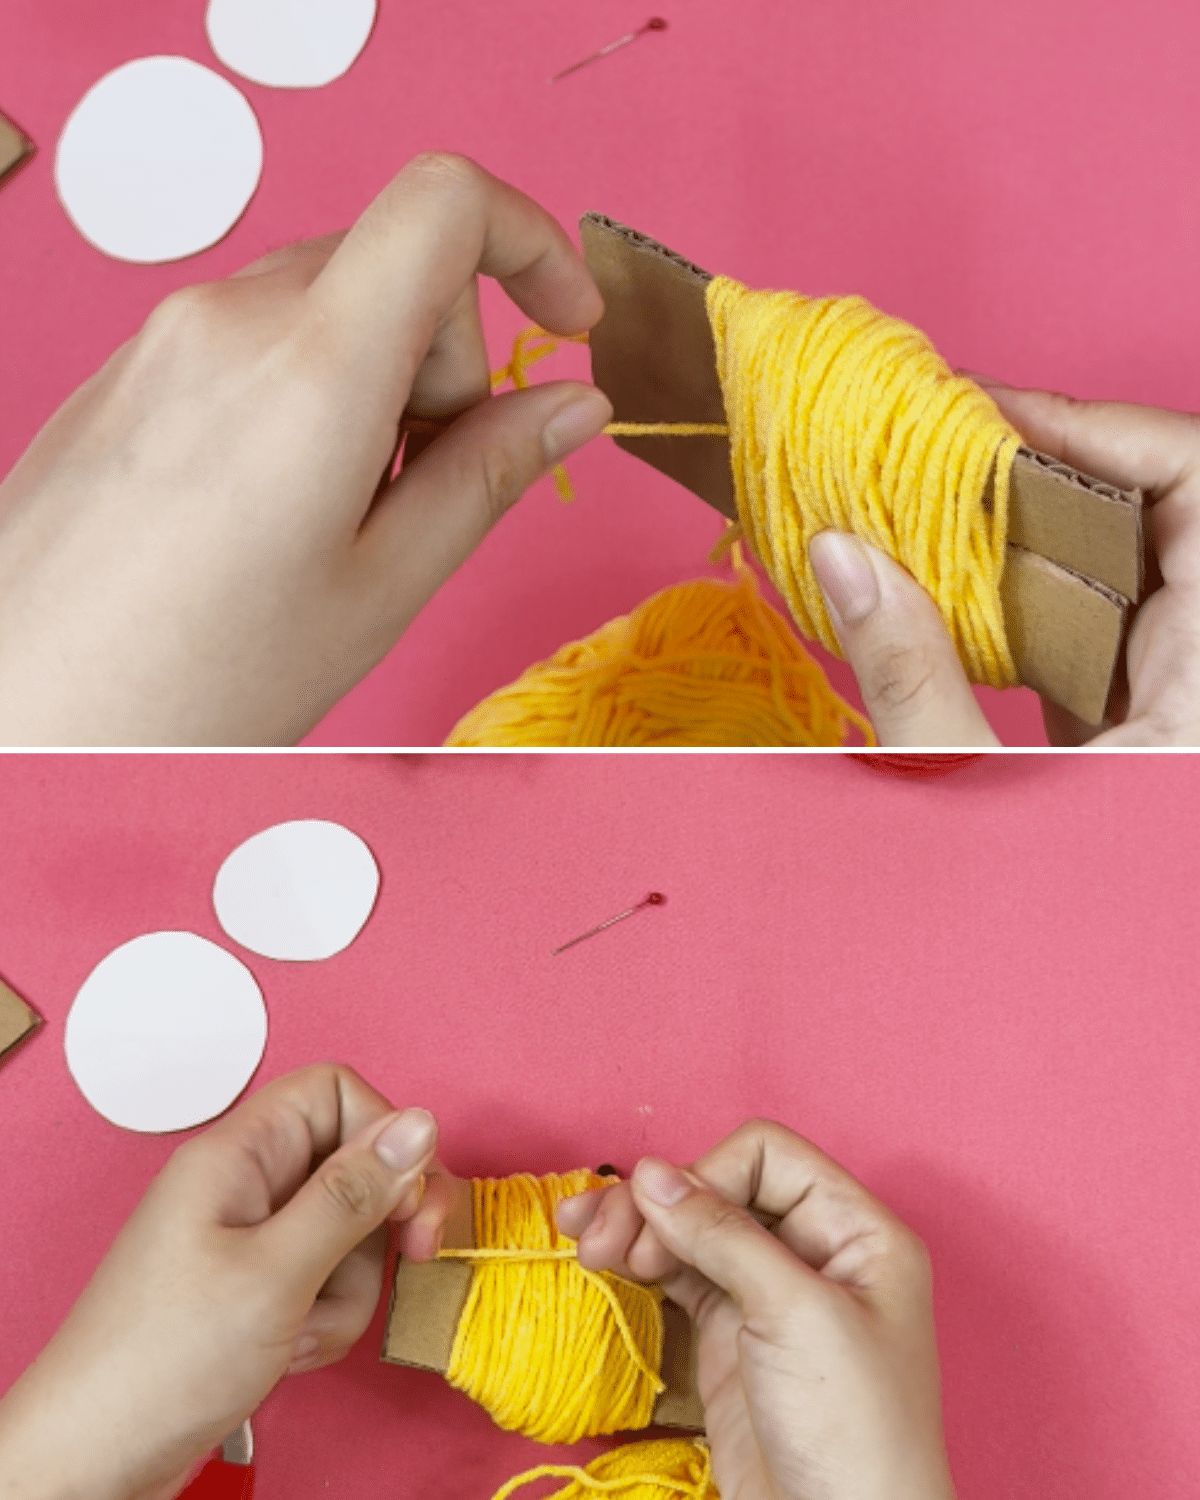
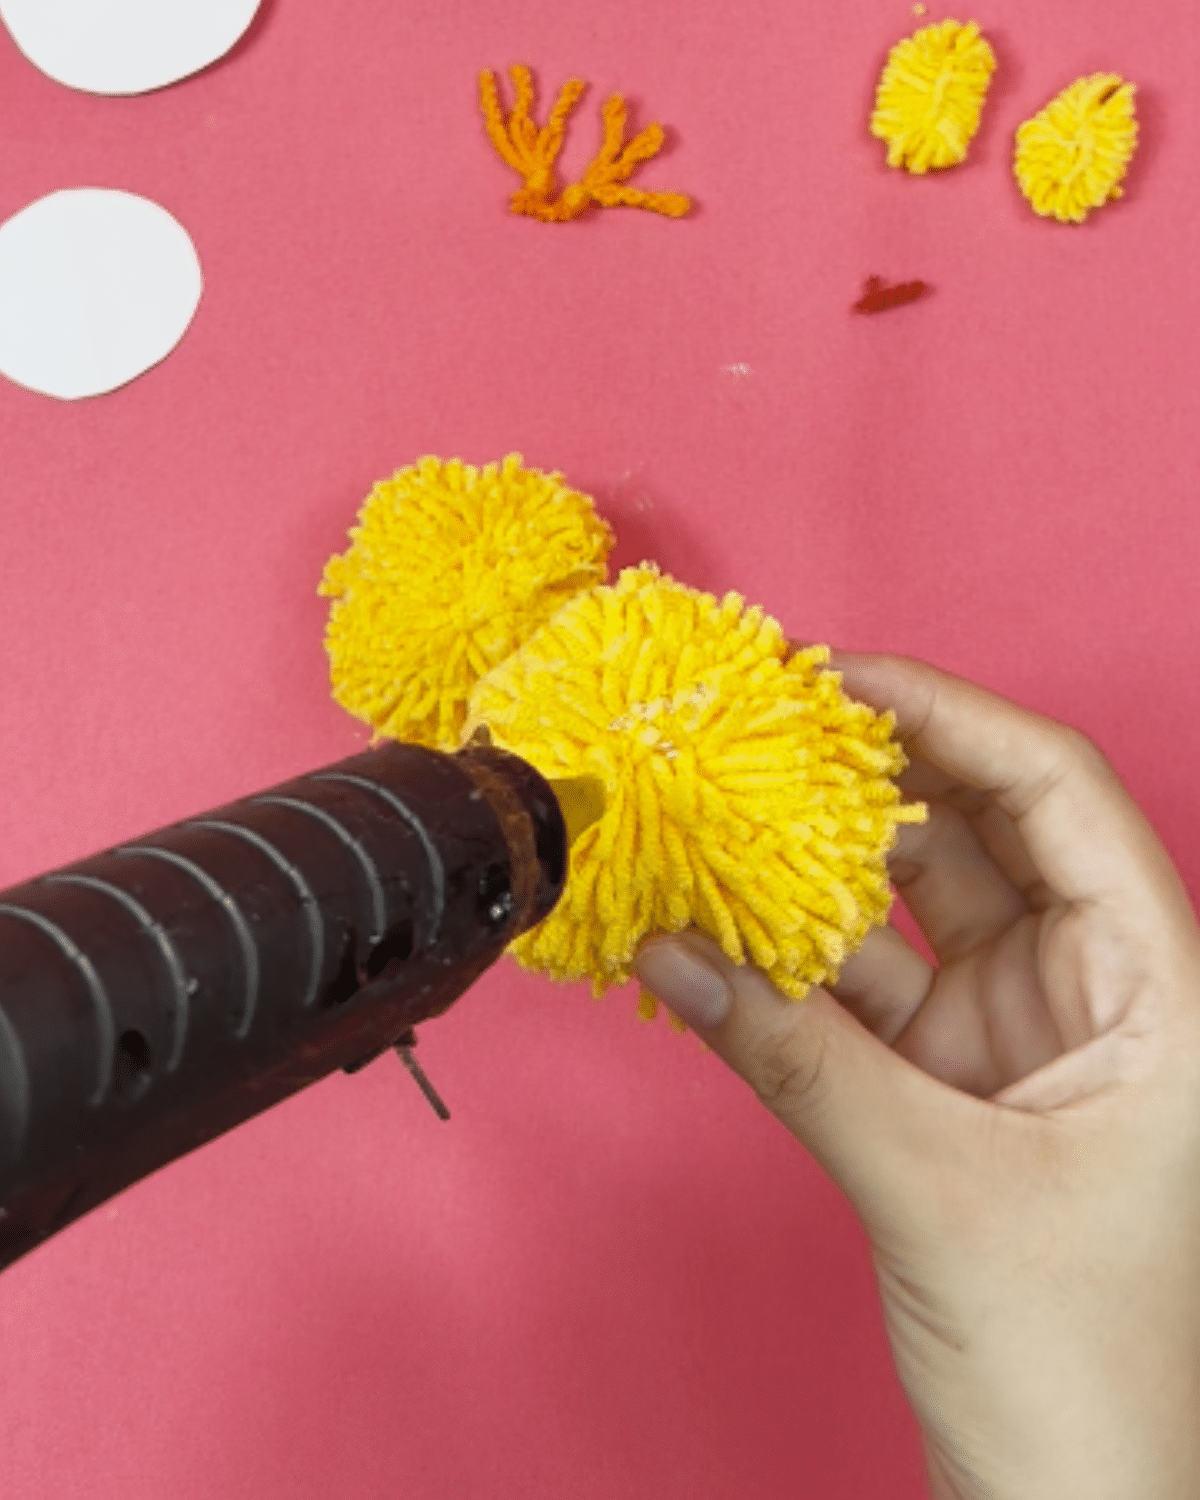
Step 5: Shape into a round ball using the larger circle template as a guide.
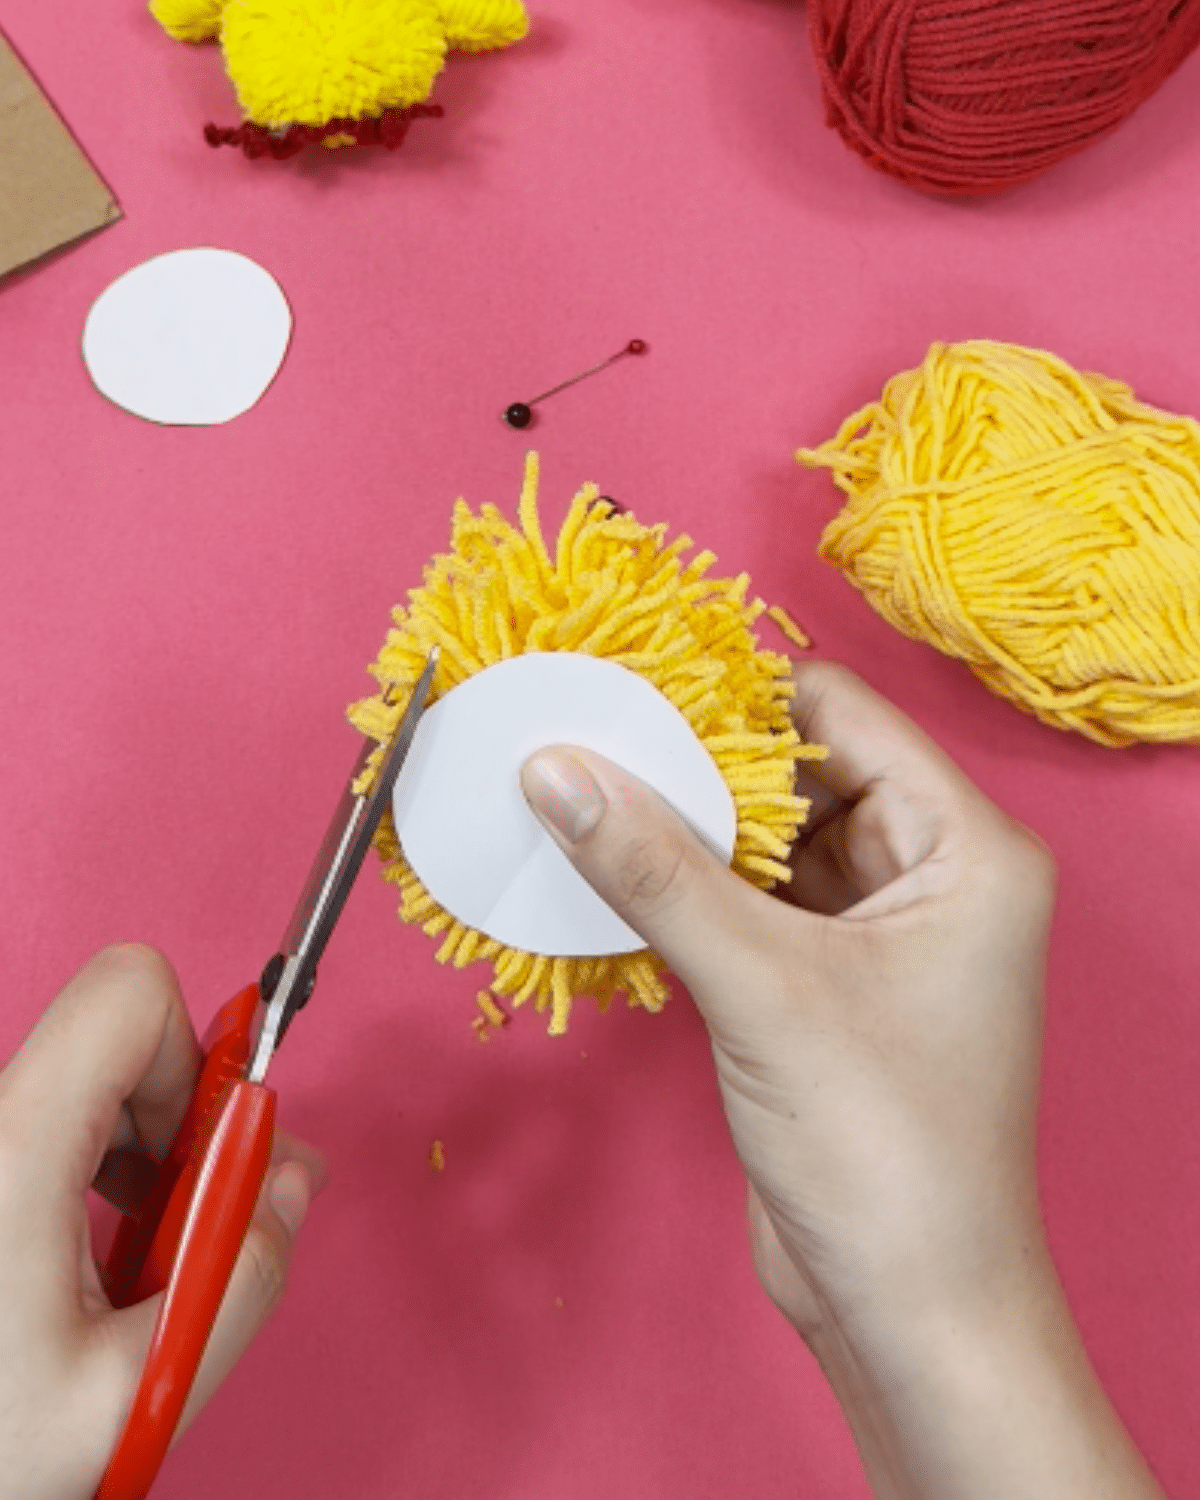
Step 6: Make another ball using the smaller cardboard and paper templates, following the same steps.
![]()
Why You’ll Love This Project
Affordable
You can make this project on a budget and if you have leftover yarn from previous projects, it will work, too!
Easter Egg Hunt
You can swap or include this in your Easter activity with your family or friends.
Adorable
It’s simply adorable in real life and it’d be the perfect toy for kids or decor for your home during the Spring season.
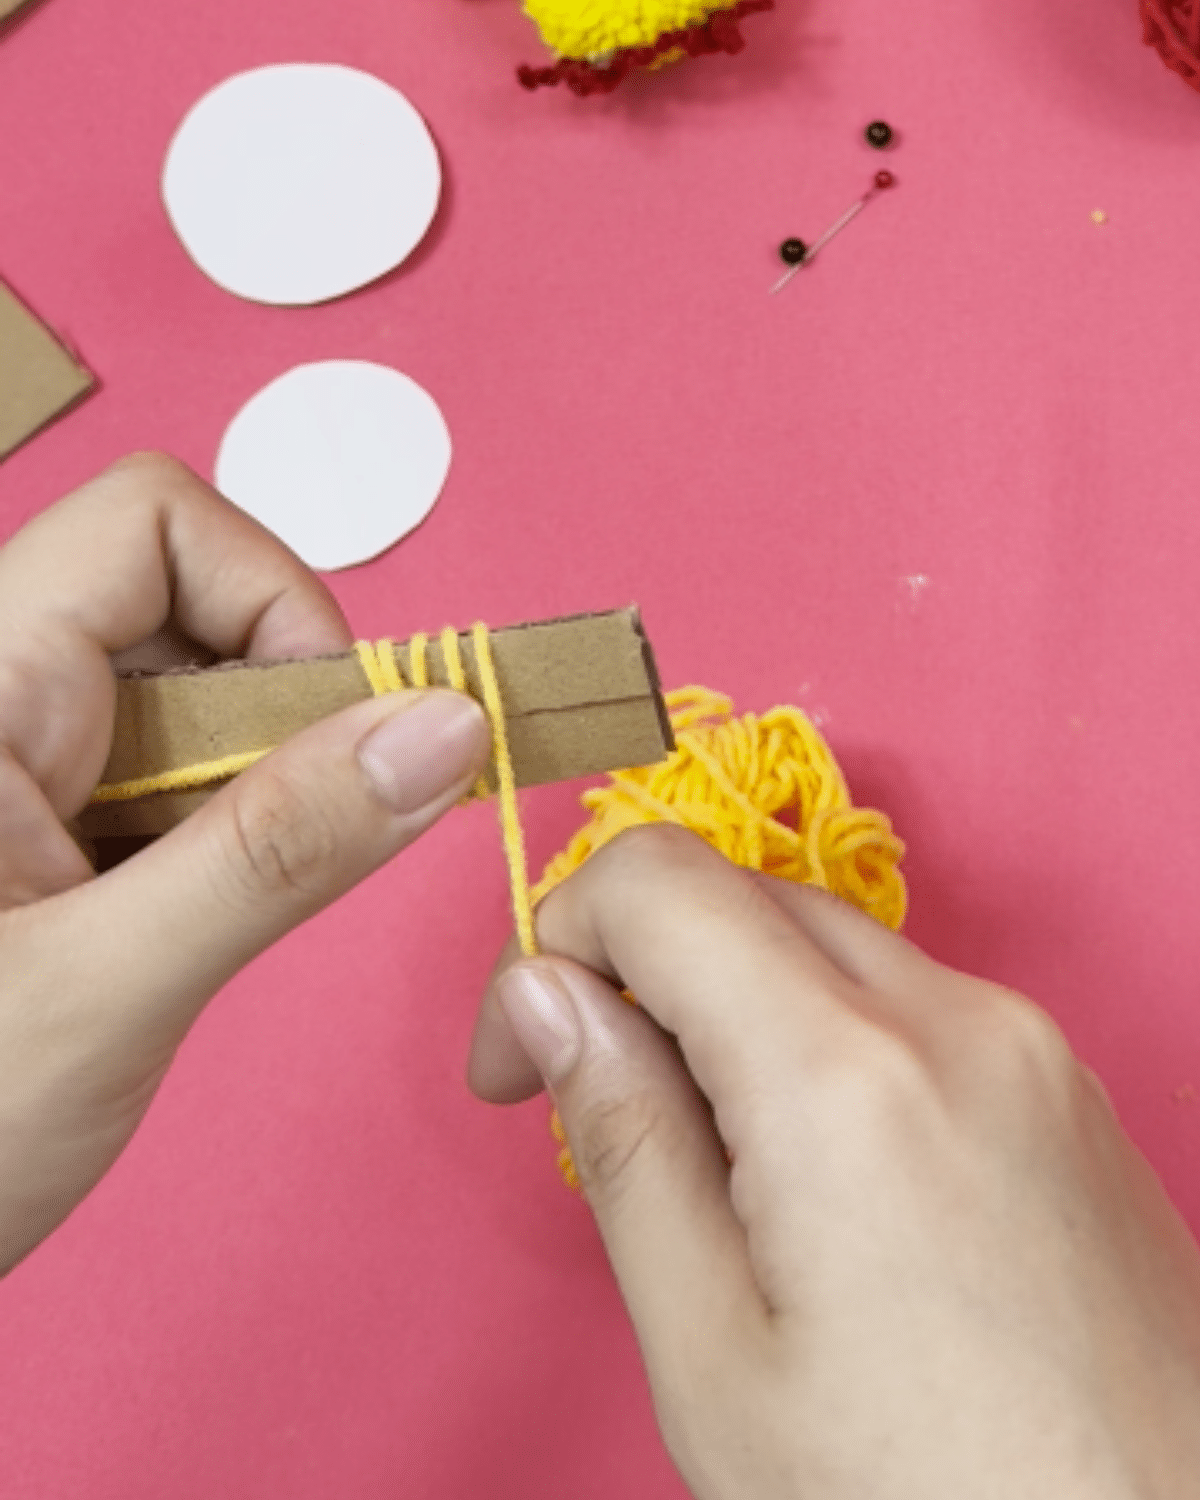
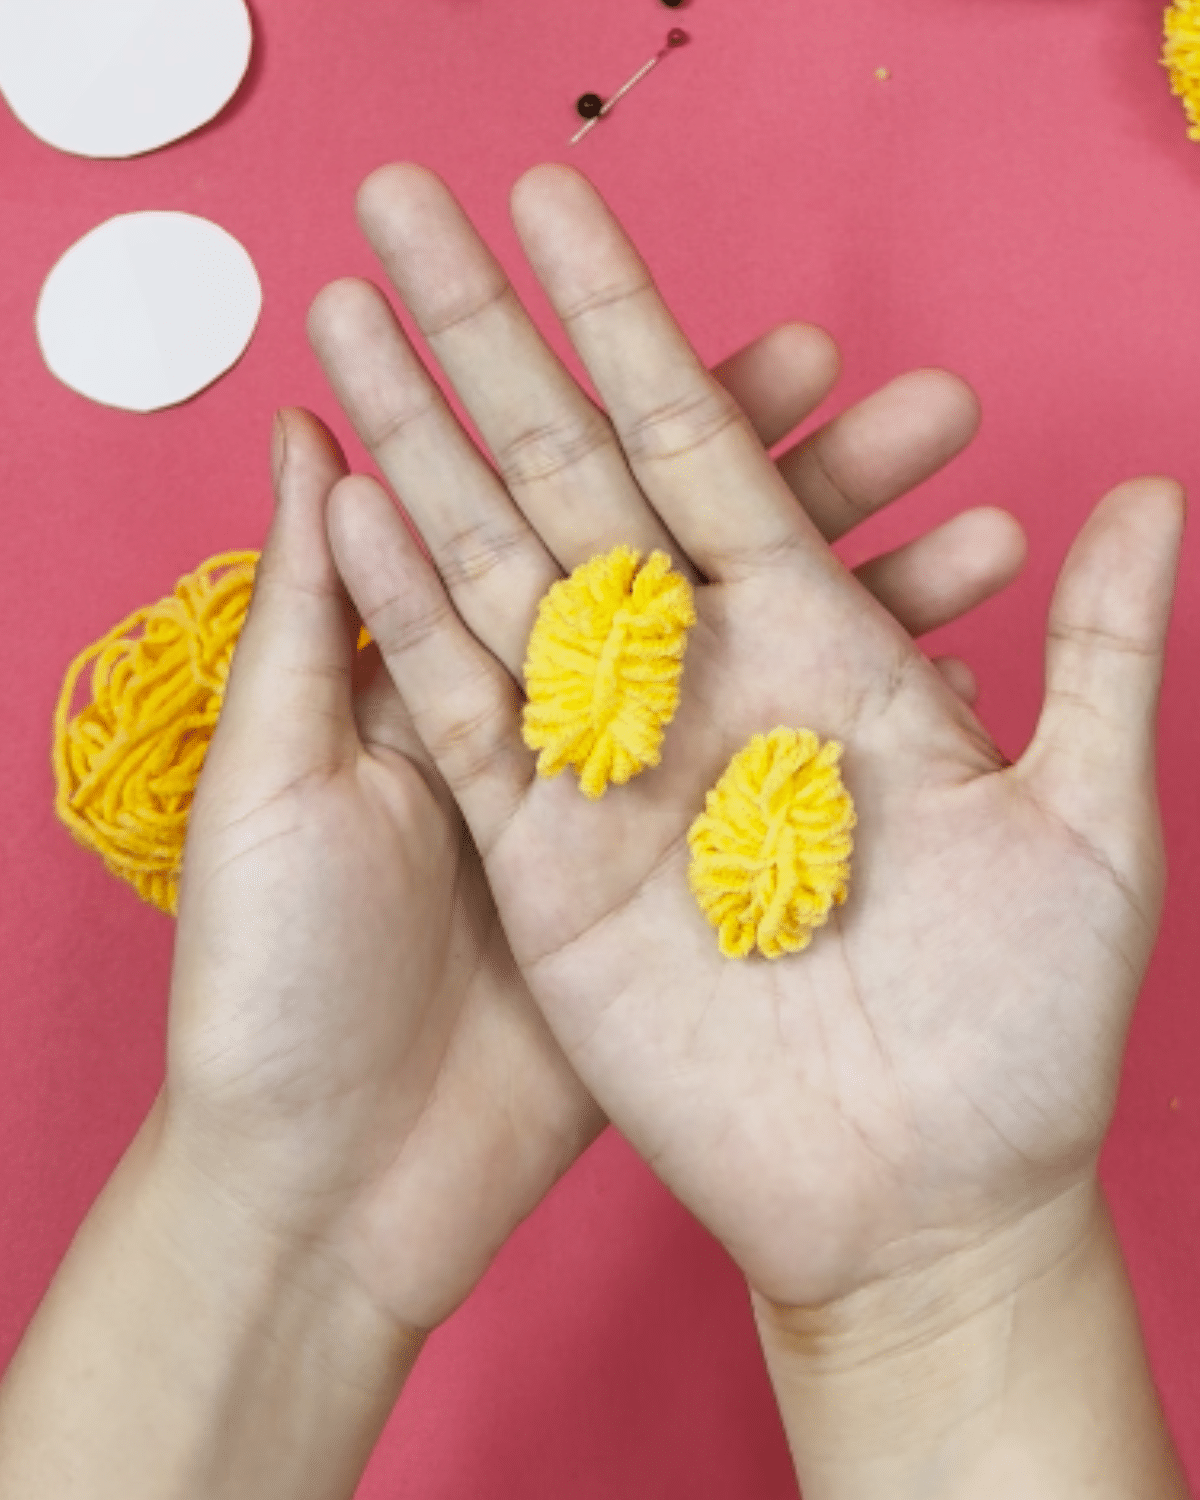
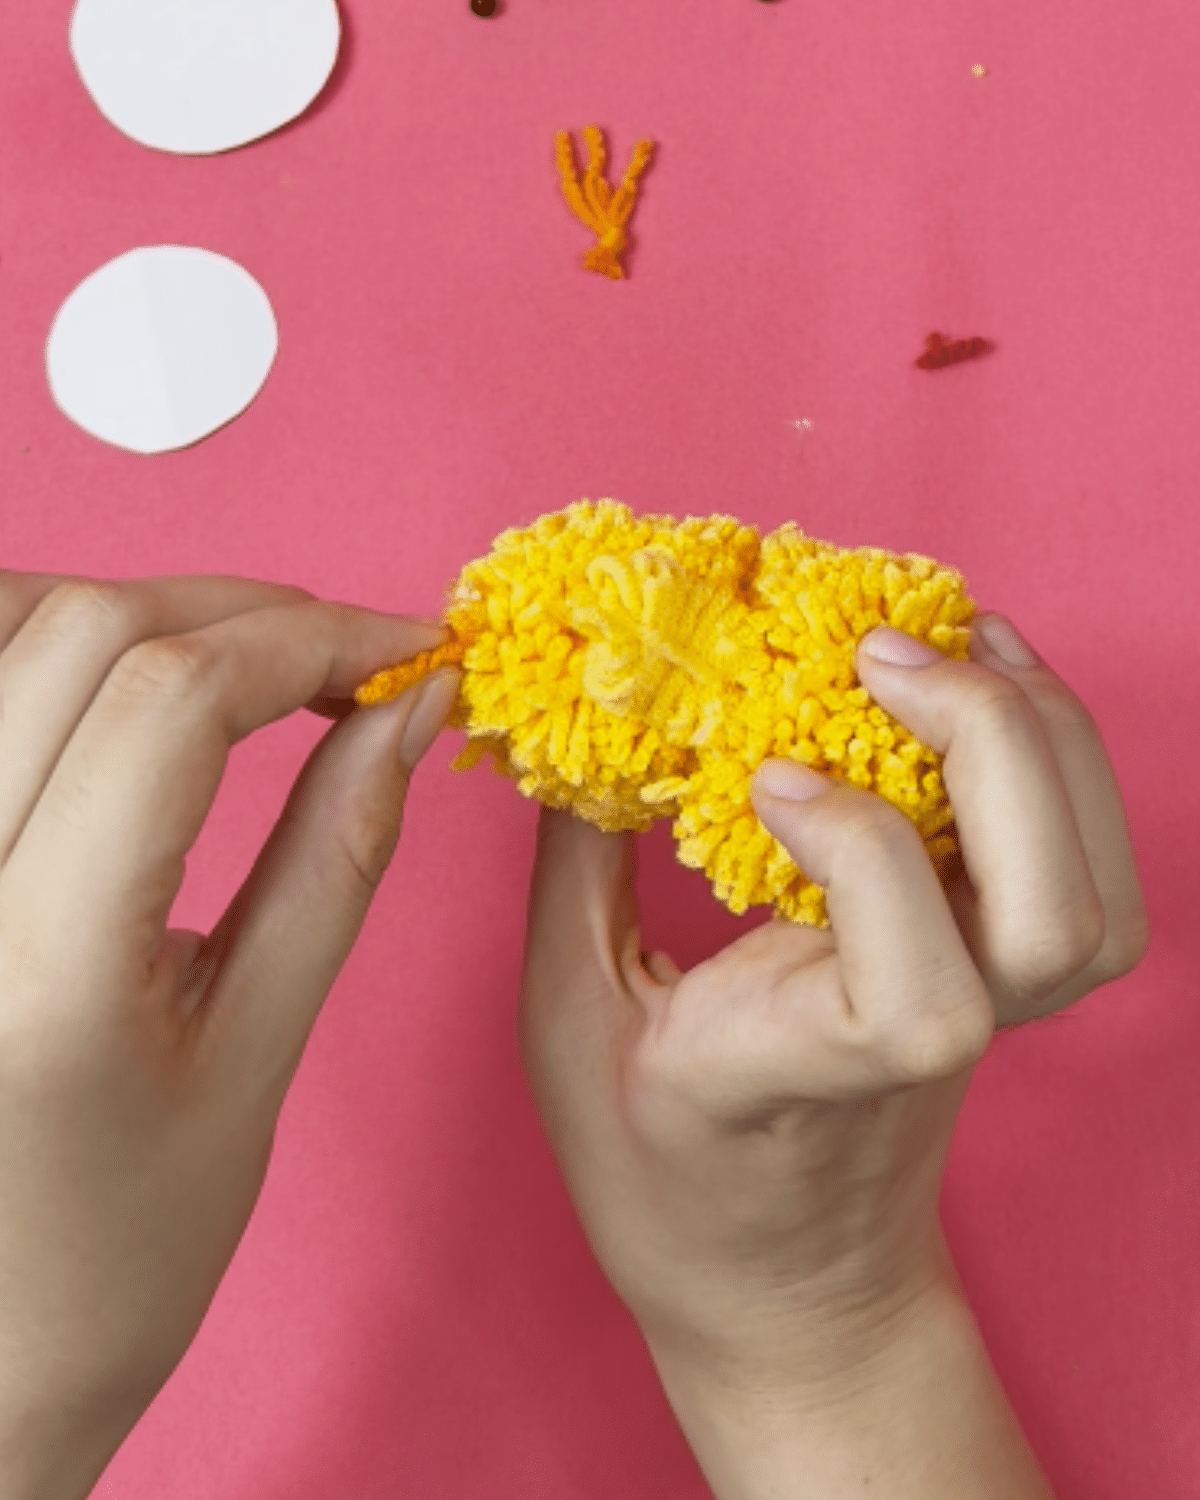
Step 7: Now, let’s make the feet of the chick. Make 3.
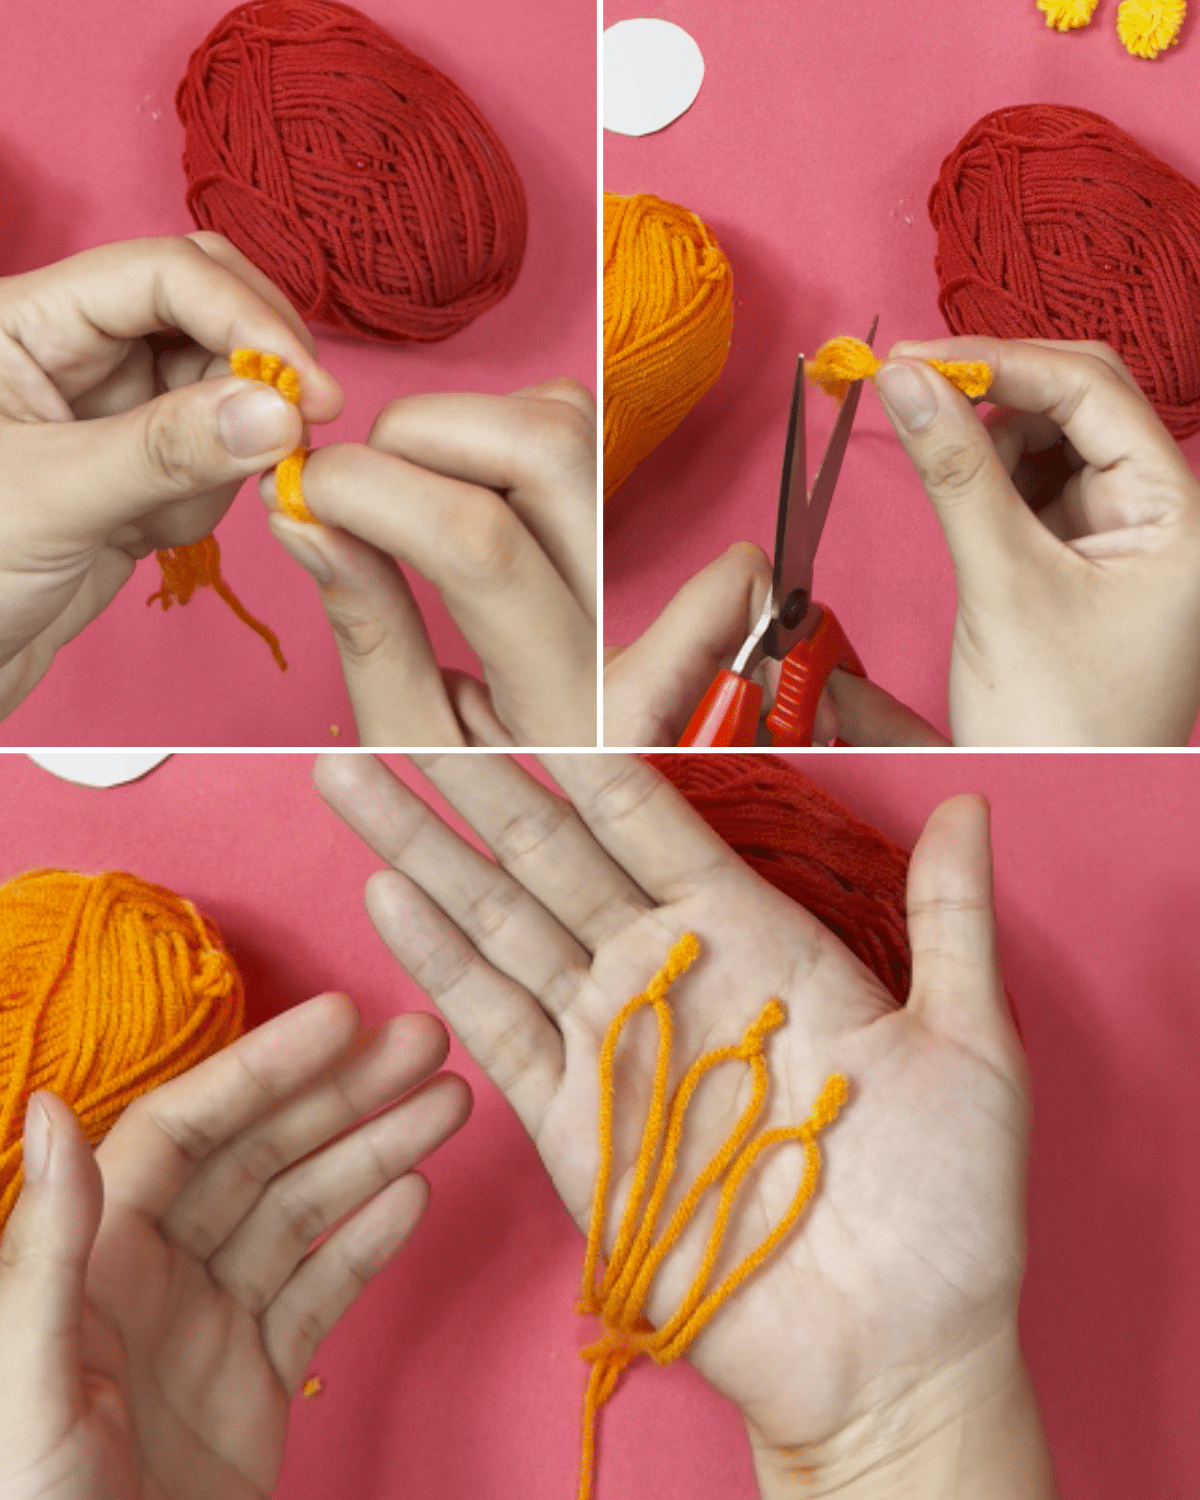
Step 8: Tie them together and cut off excess yarn to form a single foot. Repeat the steps to make another one.
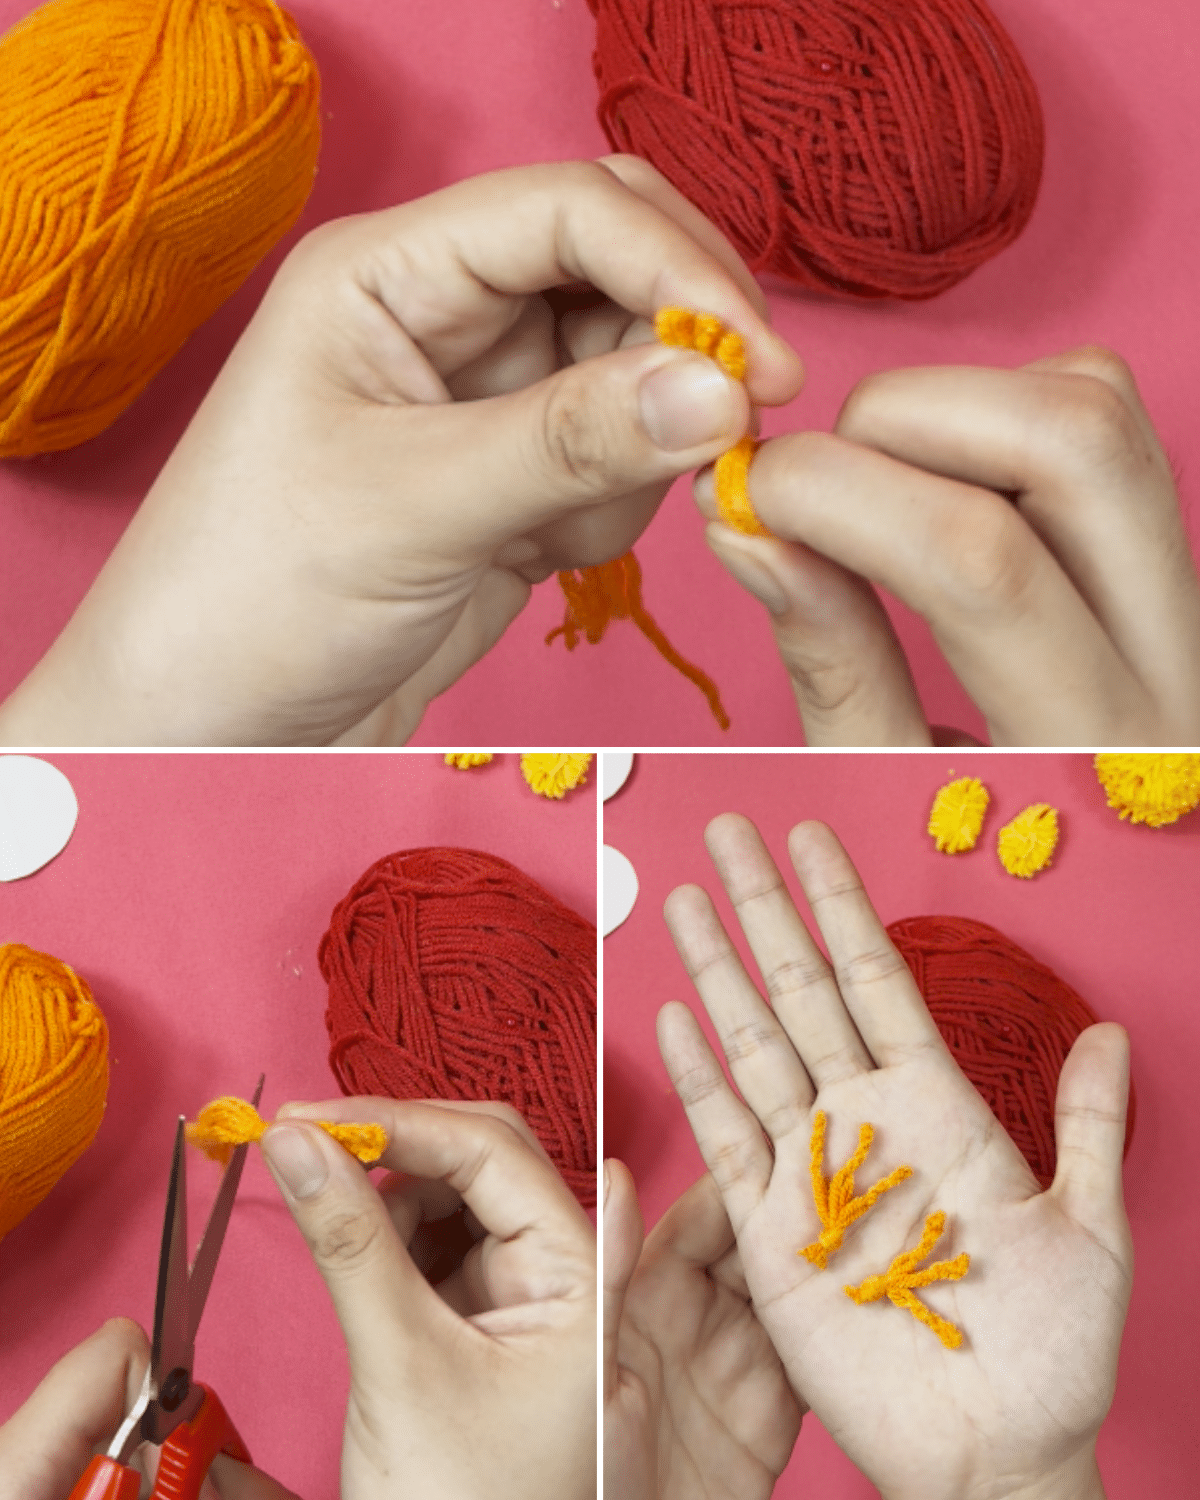
Step 9: For the beak, follow the first step used in making the chick’s feet, then cut away the excess to shape it into a beak.
Step 10: Using the smallest cardboard template, wrap yarn around 20 times and make the wings.
Step 11: Make a pair
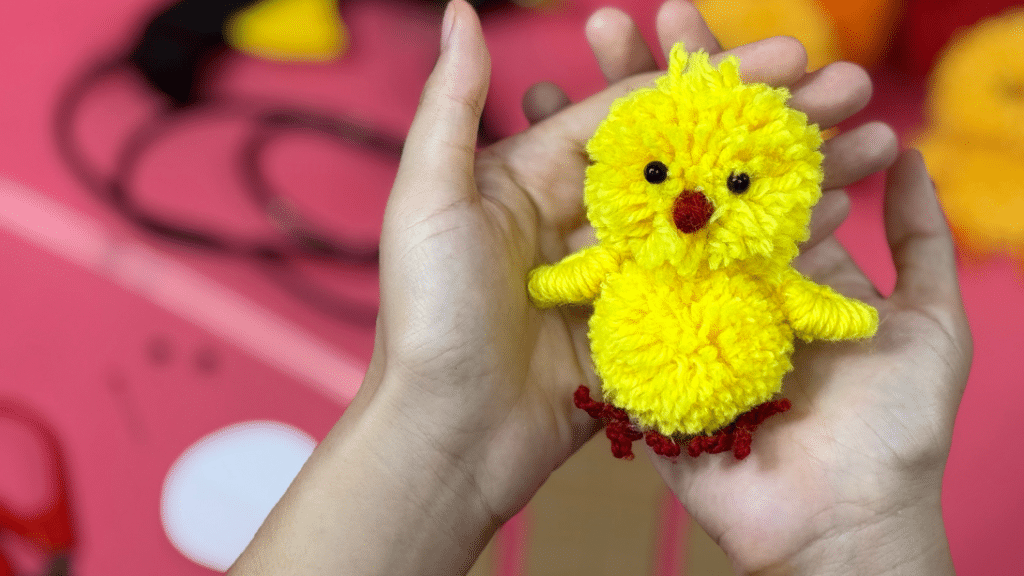
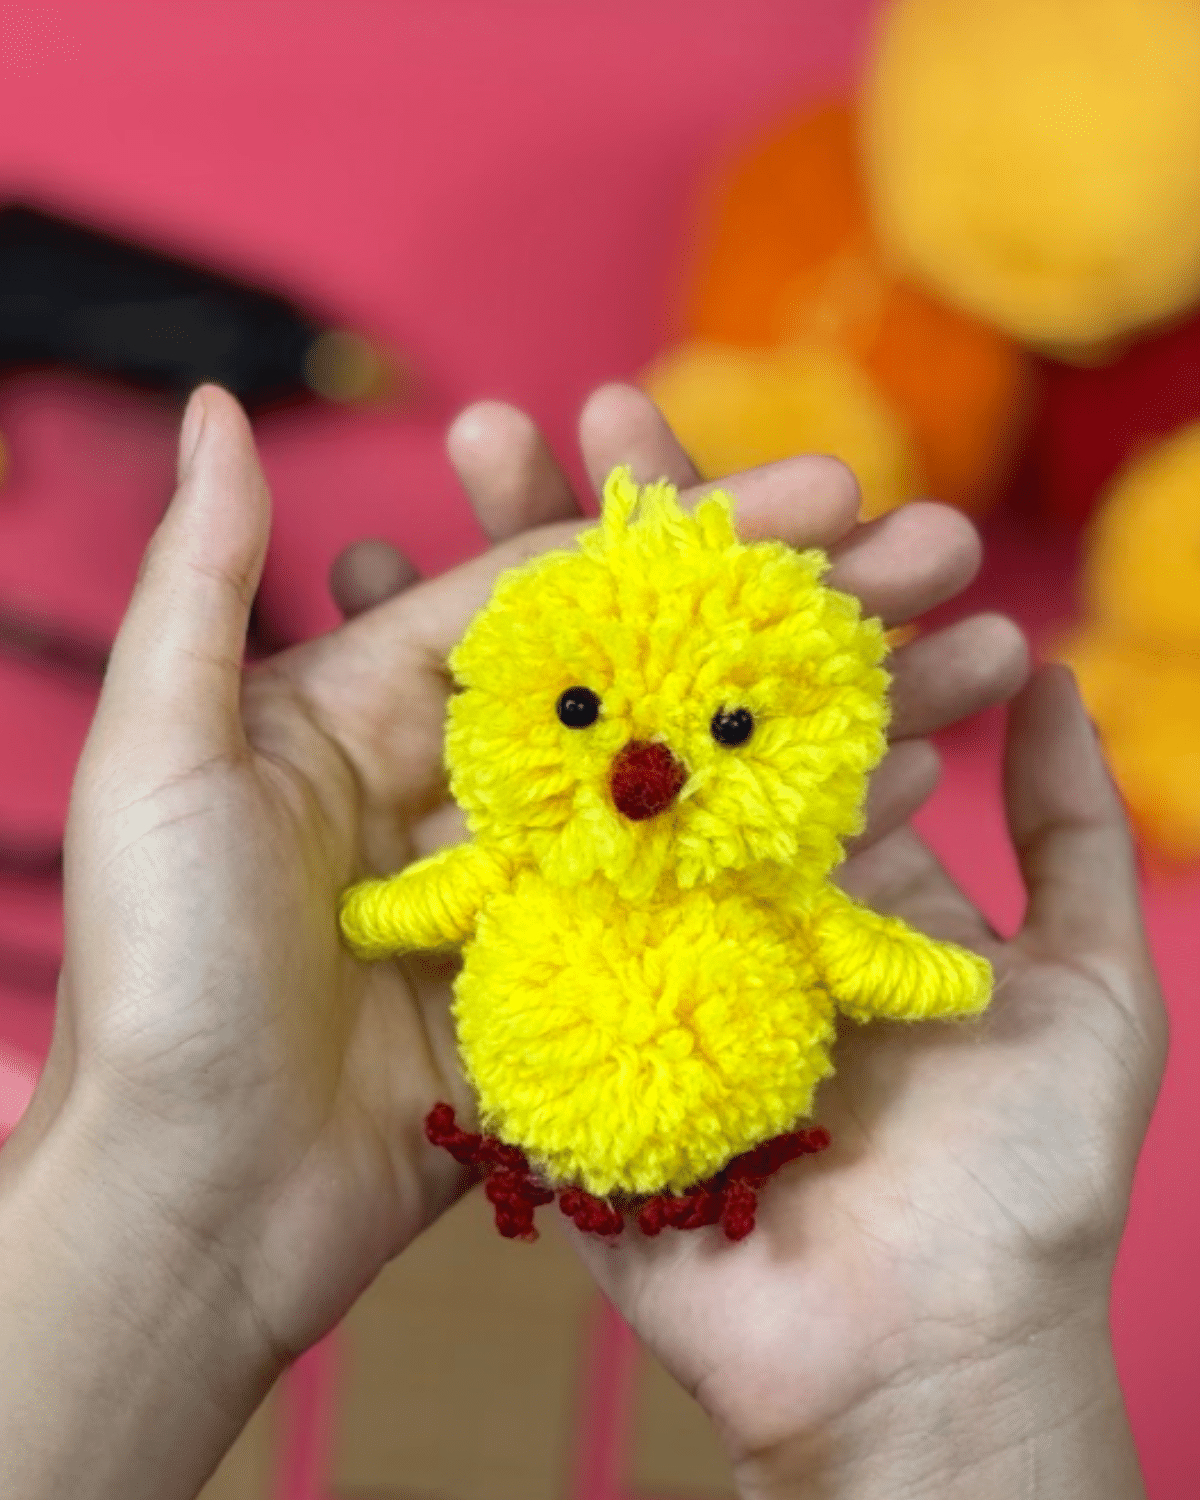
Step 12: Adhere the chick’s body and head together using hot glue.
Step 13: Attach the wings to the body.
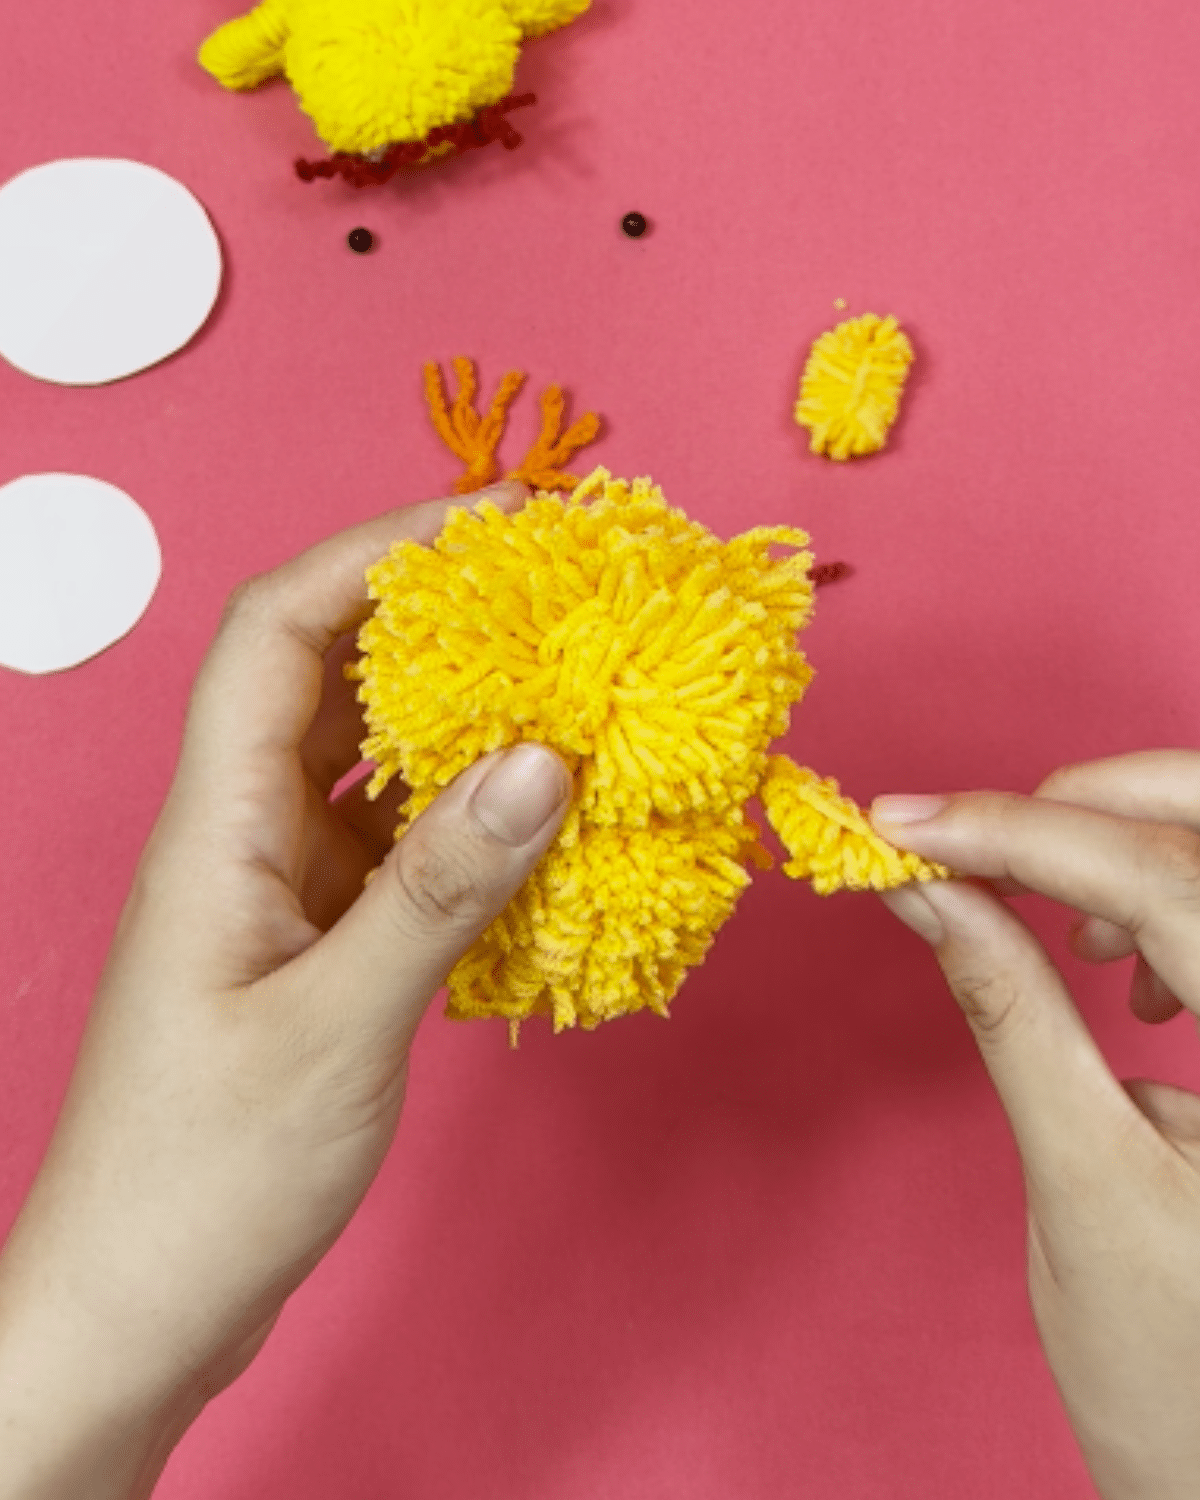
Step 14: Glue the feet to the bottom of the body.
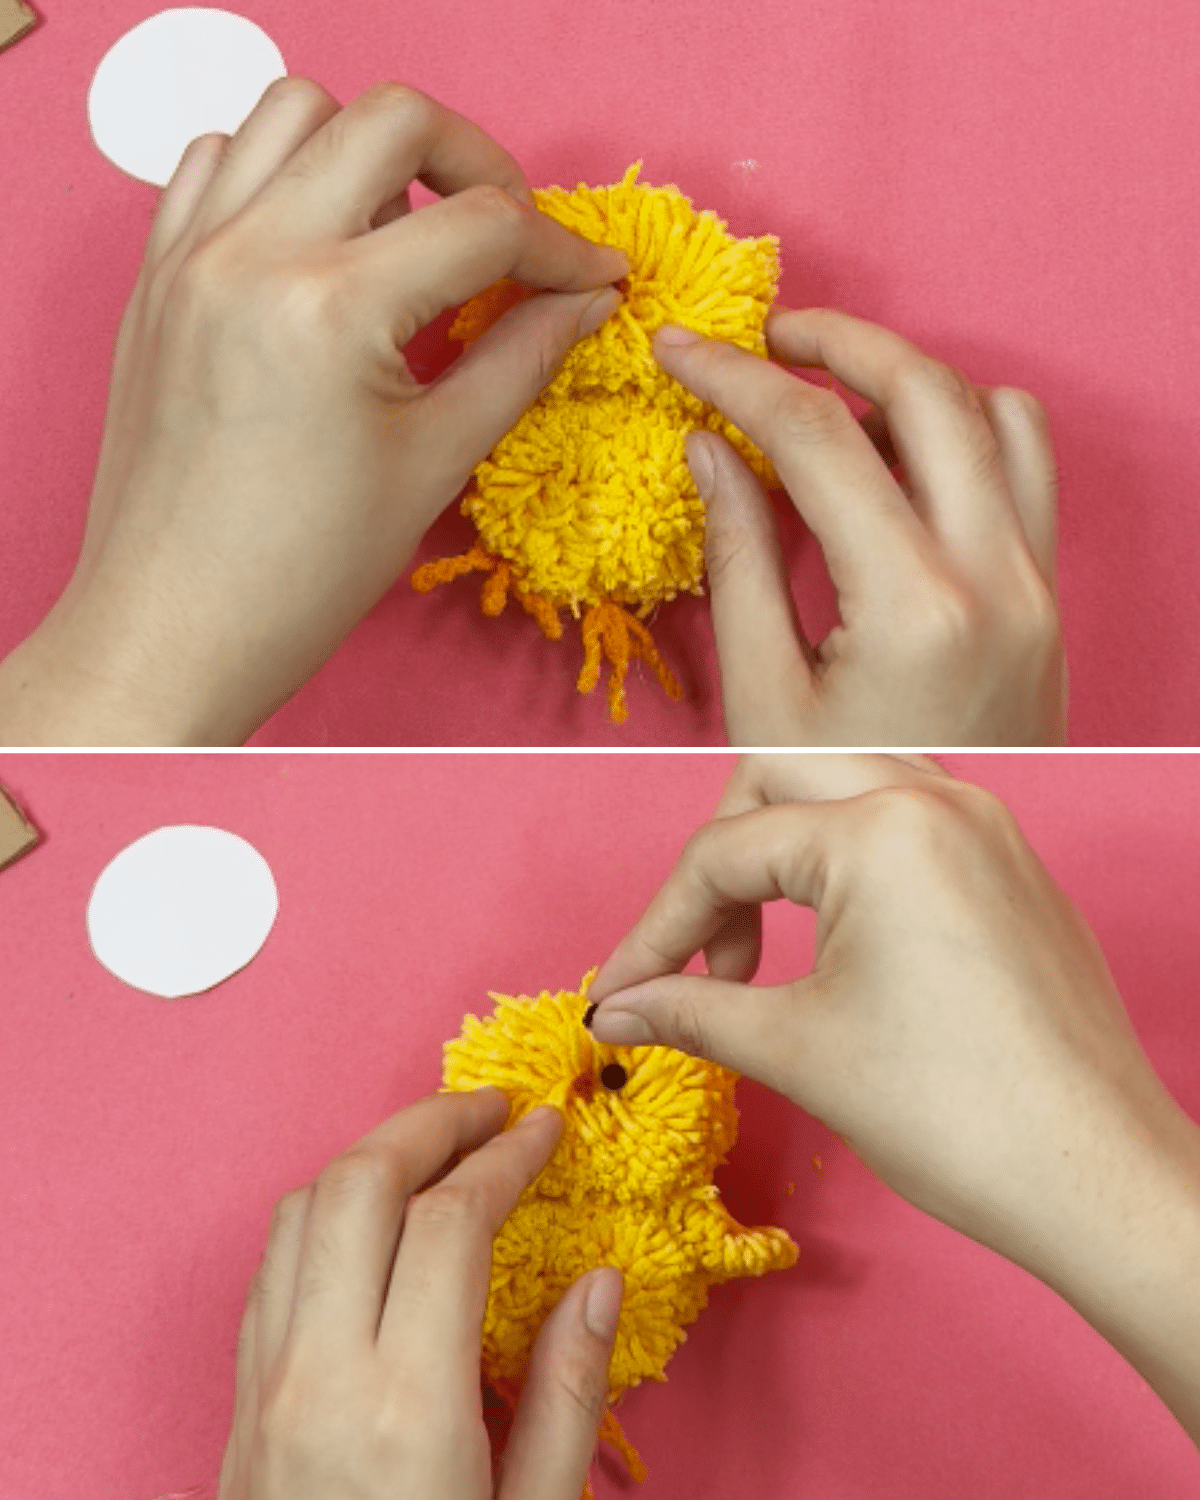
Step 15: Stick the eyes and the beak.
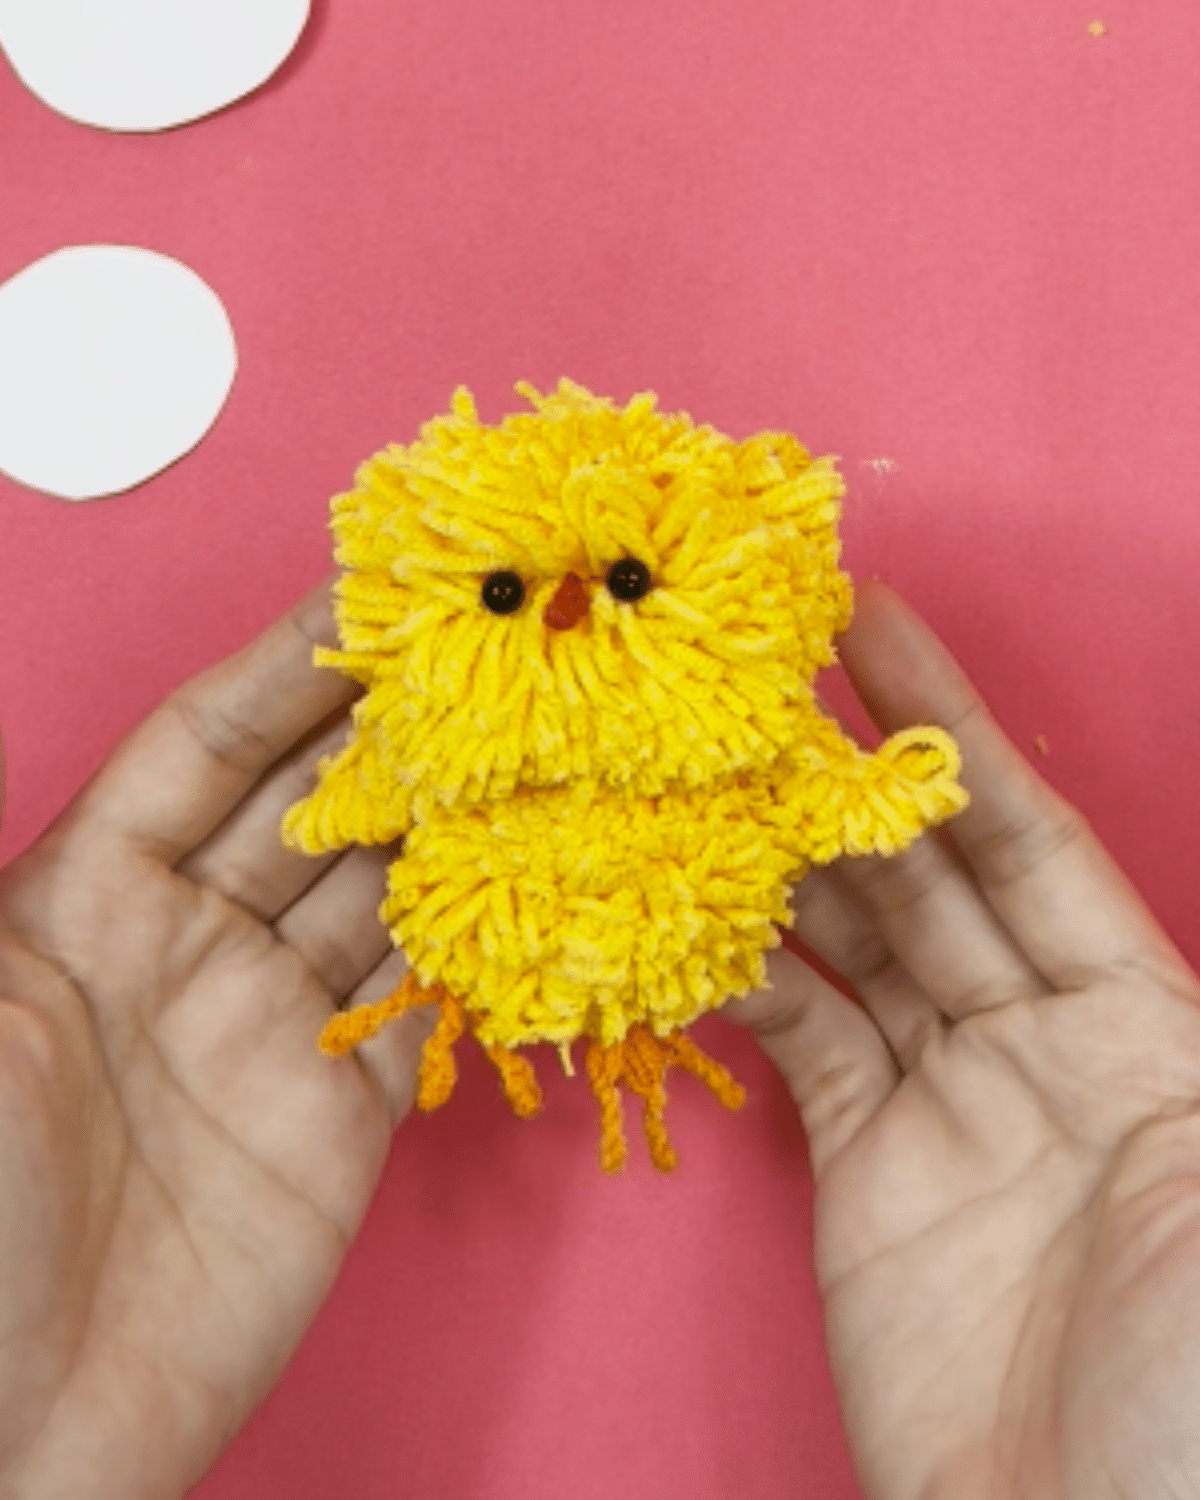
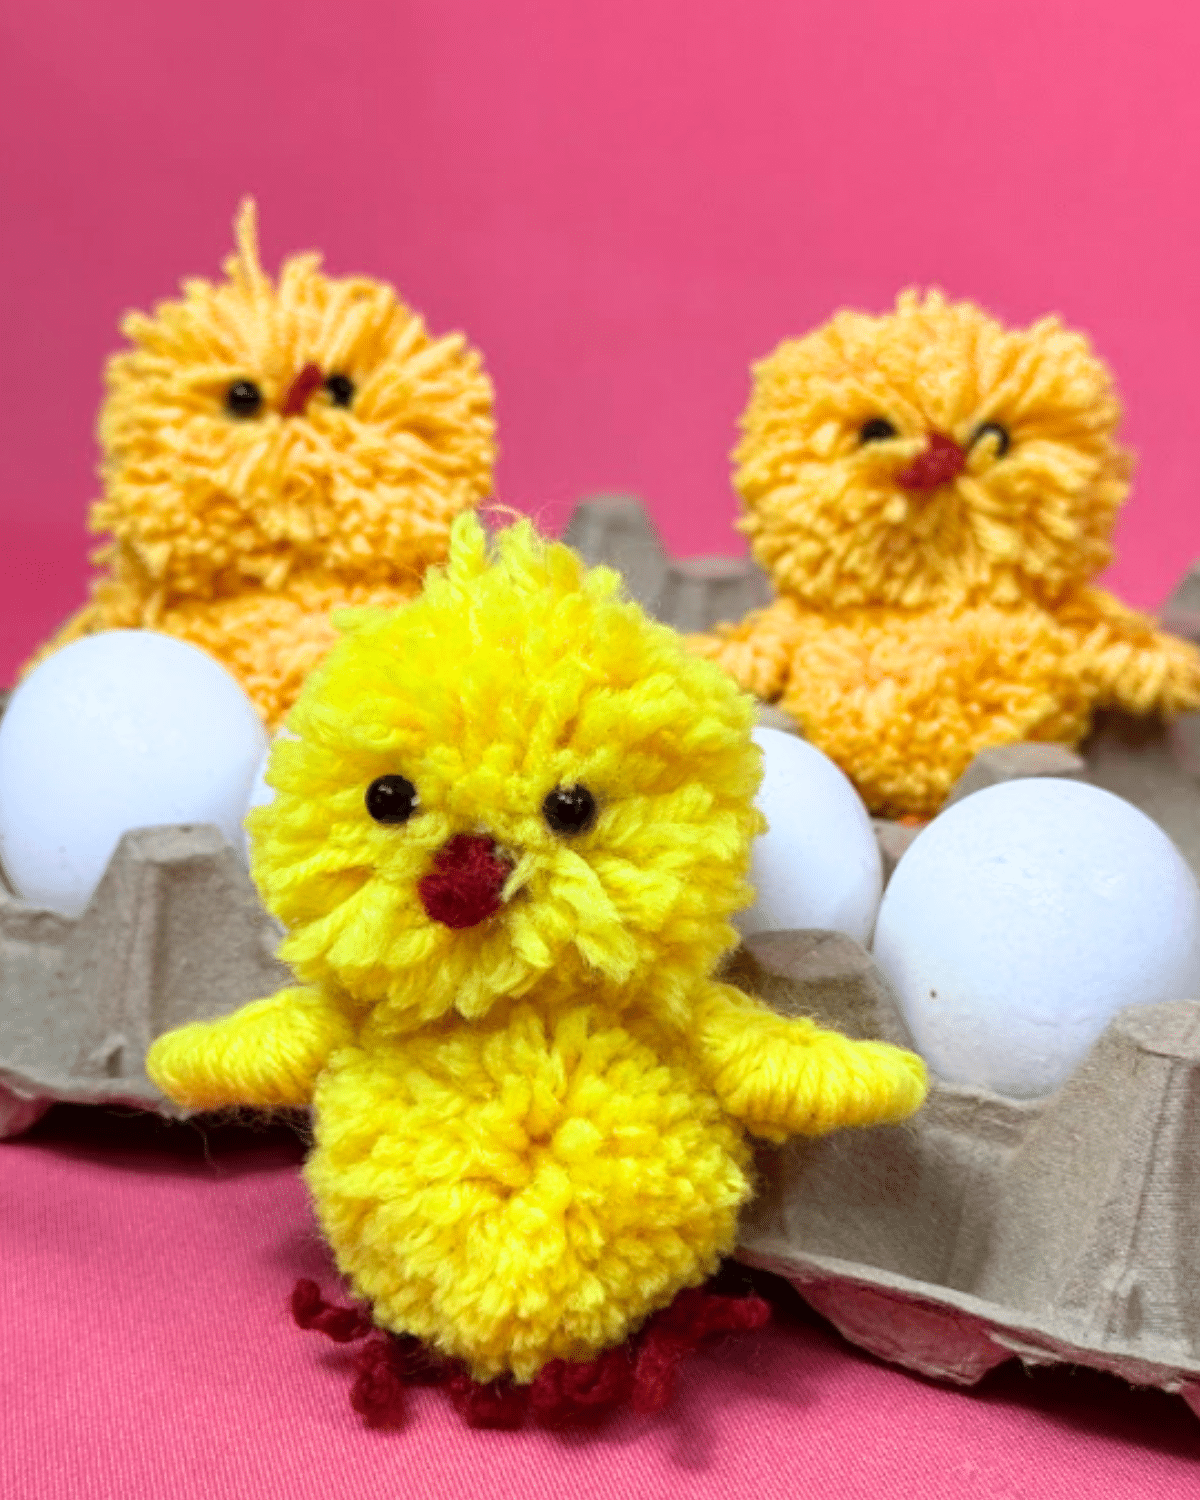
CUTE LITTLE CHICK!
![]()
Pro Tip
- You can comb out the strands to make the chick appear more fluffy.
- Felt fabric is a great substitute for the beak.
*If you love this craft, then visit our official website, follow our Facebook page, and subscribe to our YouTube channel for more!
Easy DIY Yarn Chick