If you love animals, pets, or birds in particular but for some reason you can’t keep them at home, then I bet you’ll adore this DIY project idea! Instead of keeping and taking care of real birds at home, just make them using only yarn. Not only are they very cute in person, but they’re also fun and inexpensive to make.
RELATED: Easy DIY Yarn Chicks
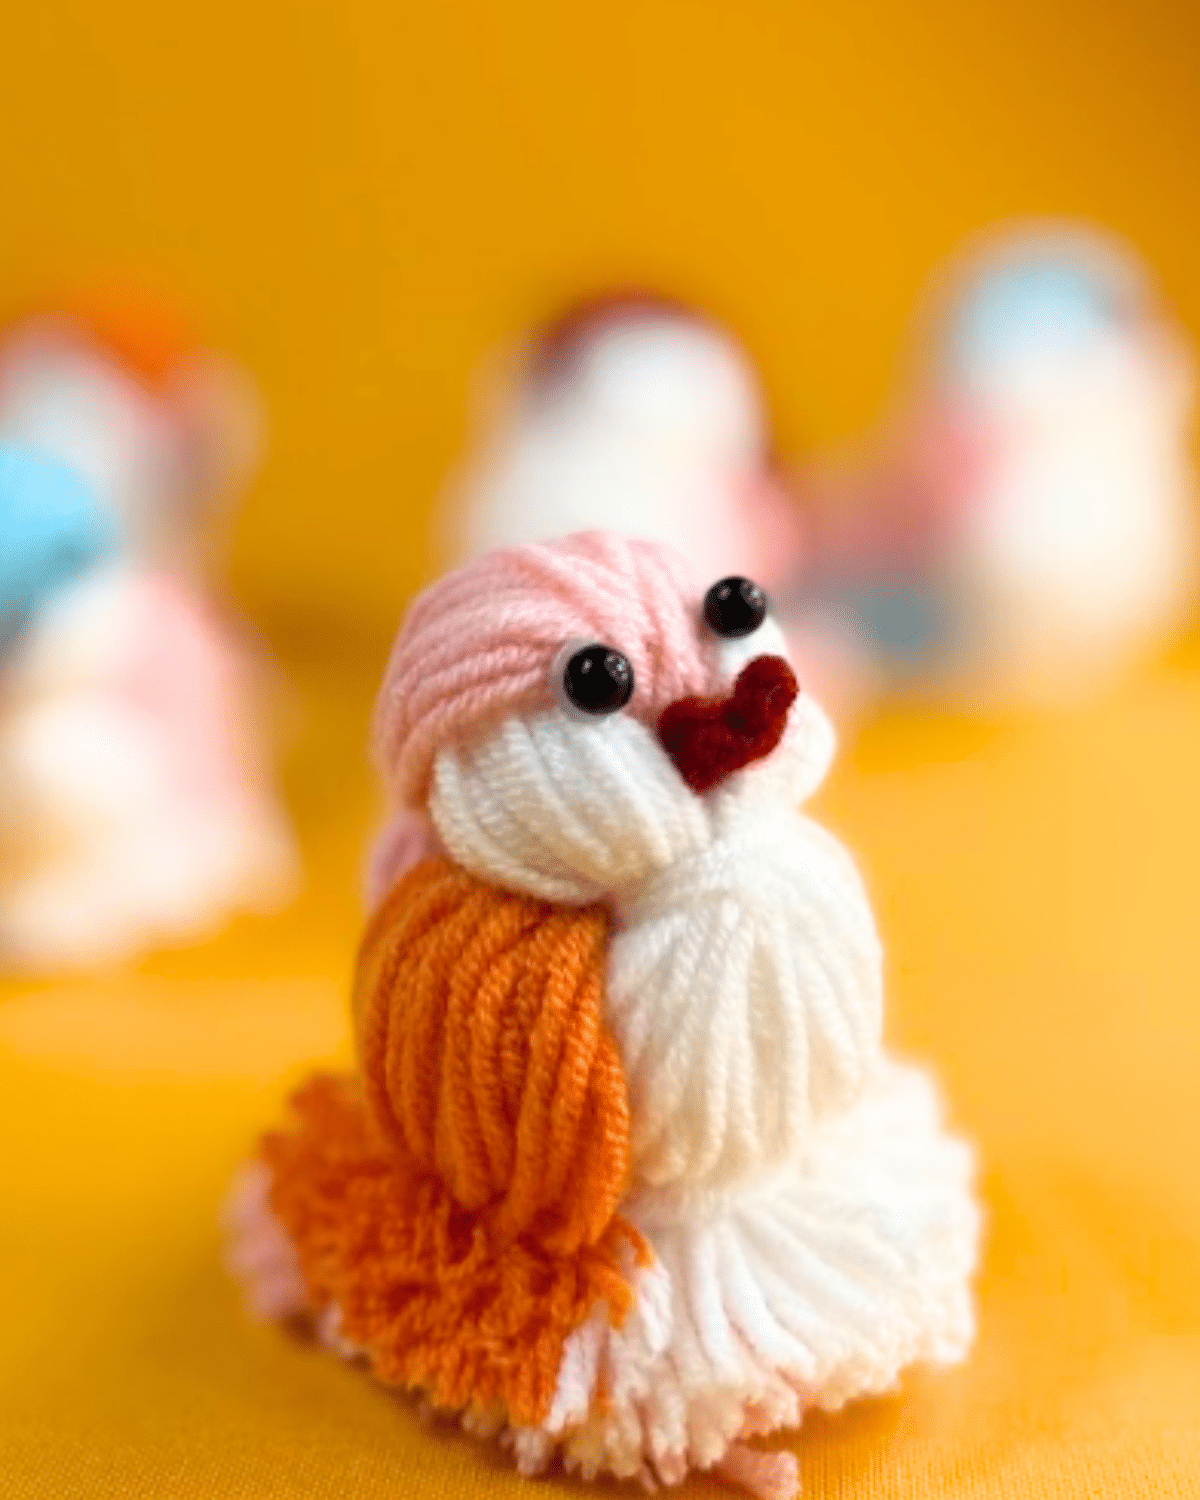
This easy-to-follow video tutorial will guide you through the process of making your own yarn birds. You can use any kind of yarn you like and even get a little creative by experimenting with the colors. Make a collection of birds and use them to decorate your space for Spring or even Easter!
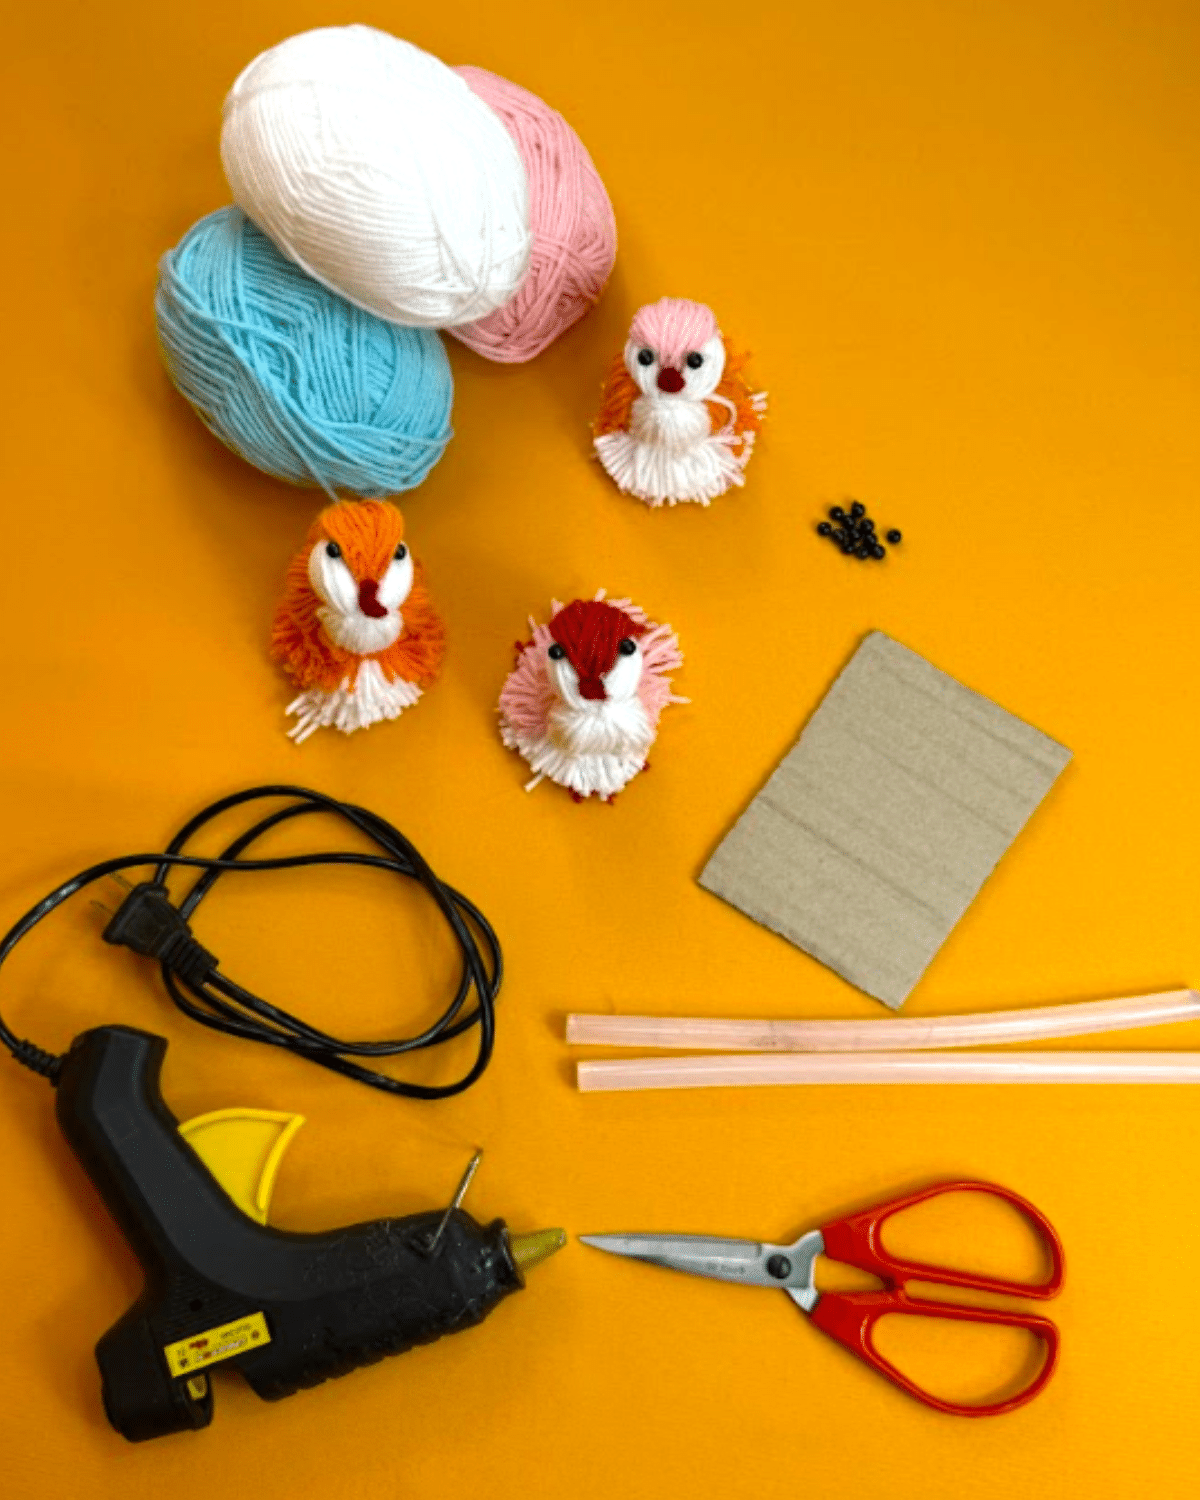
Materials for DIY Yarn Birds
- Yarn
- Scissors
- Beads
- Hot glue gun and glue sticks
- Cardboard template, 12 cm length and 9 cm rectangles
How to Make Yarn Birds
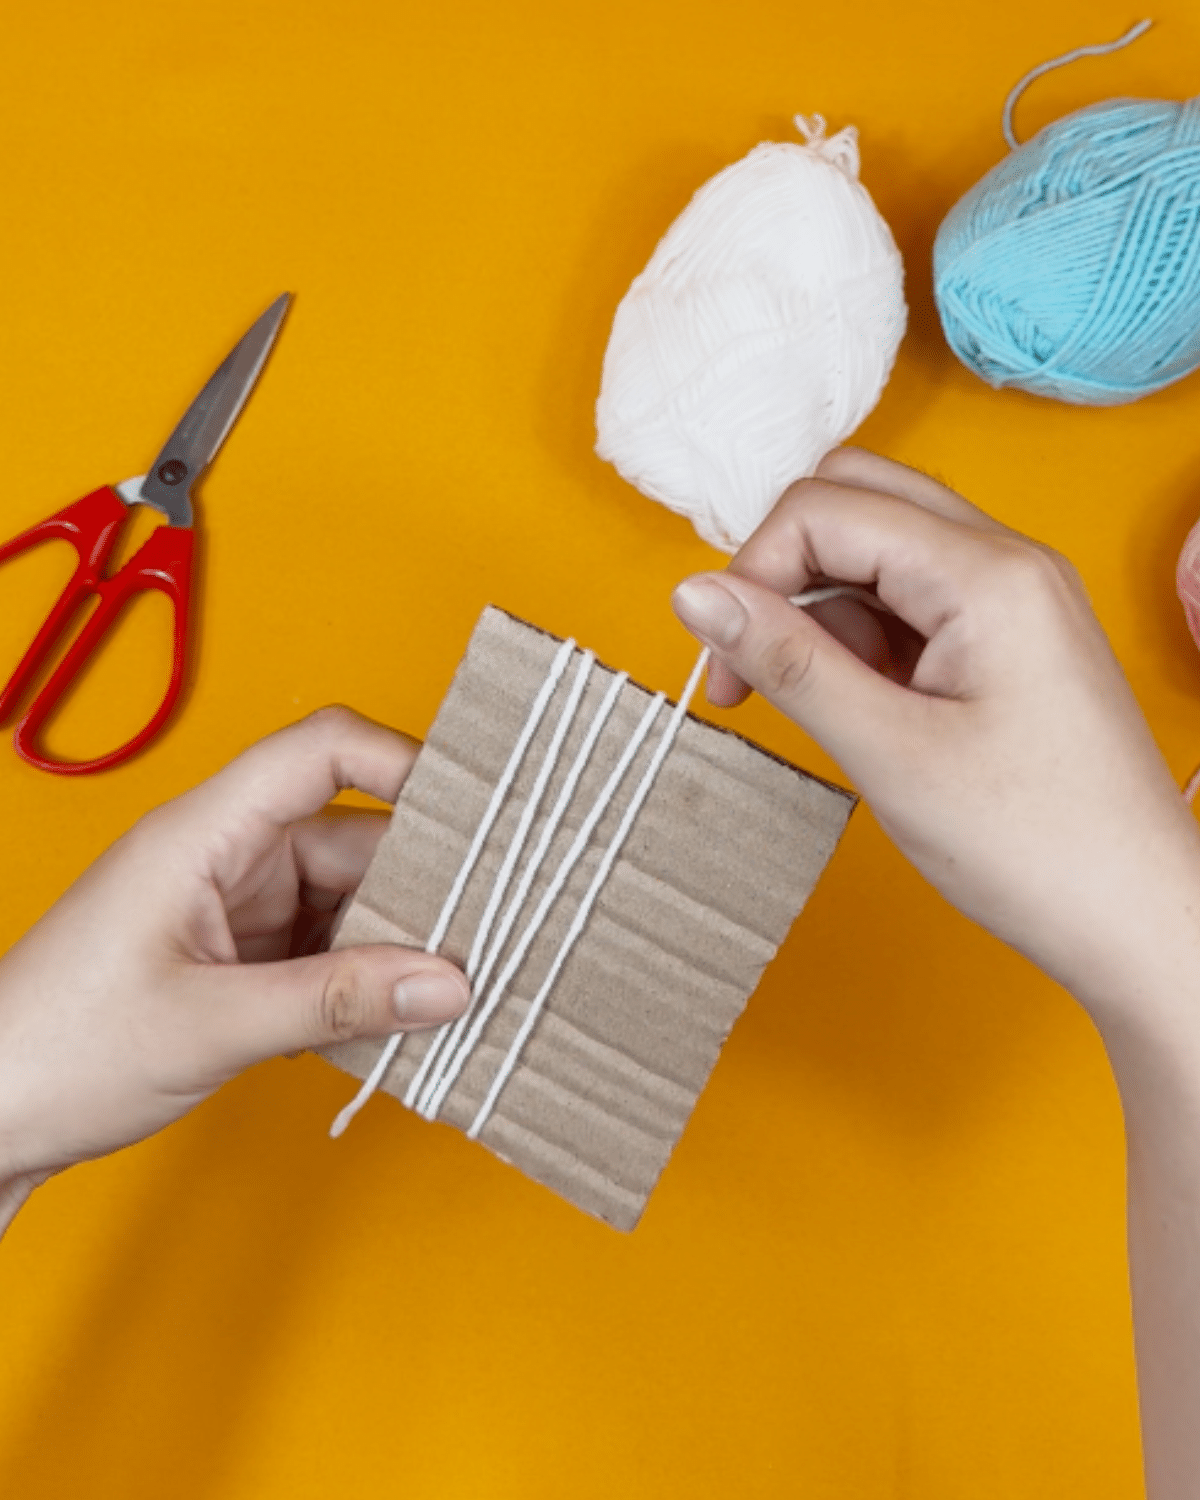
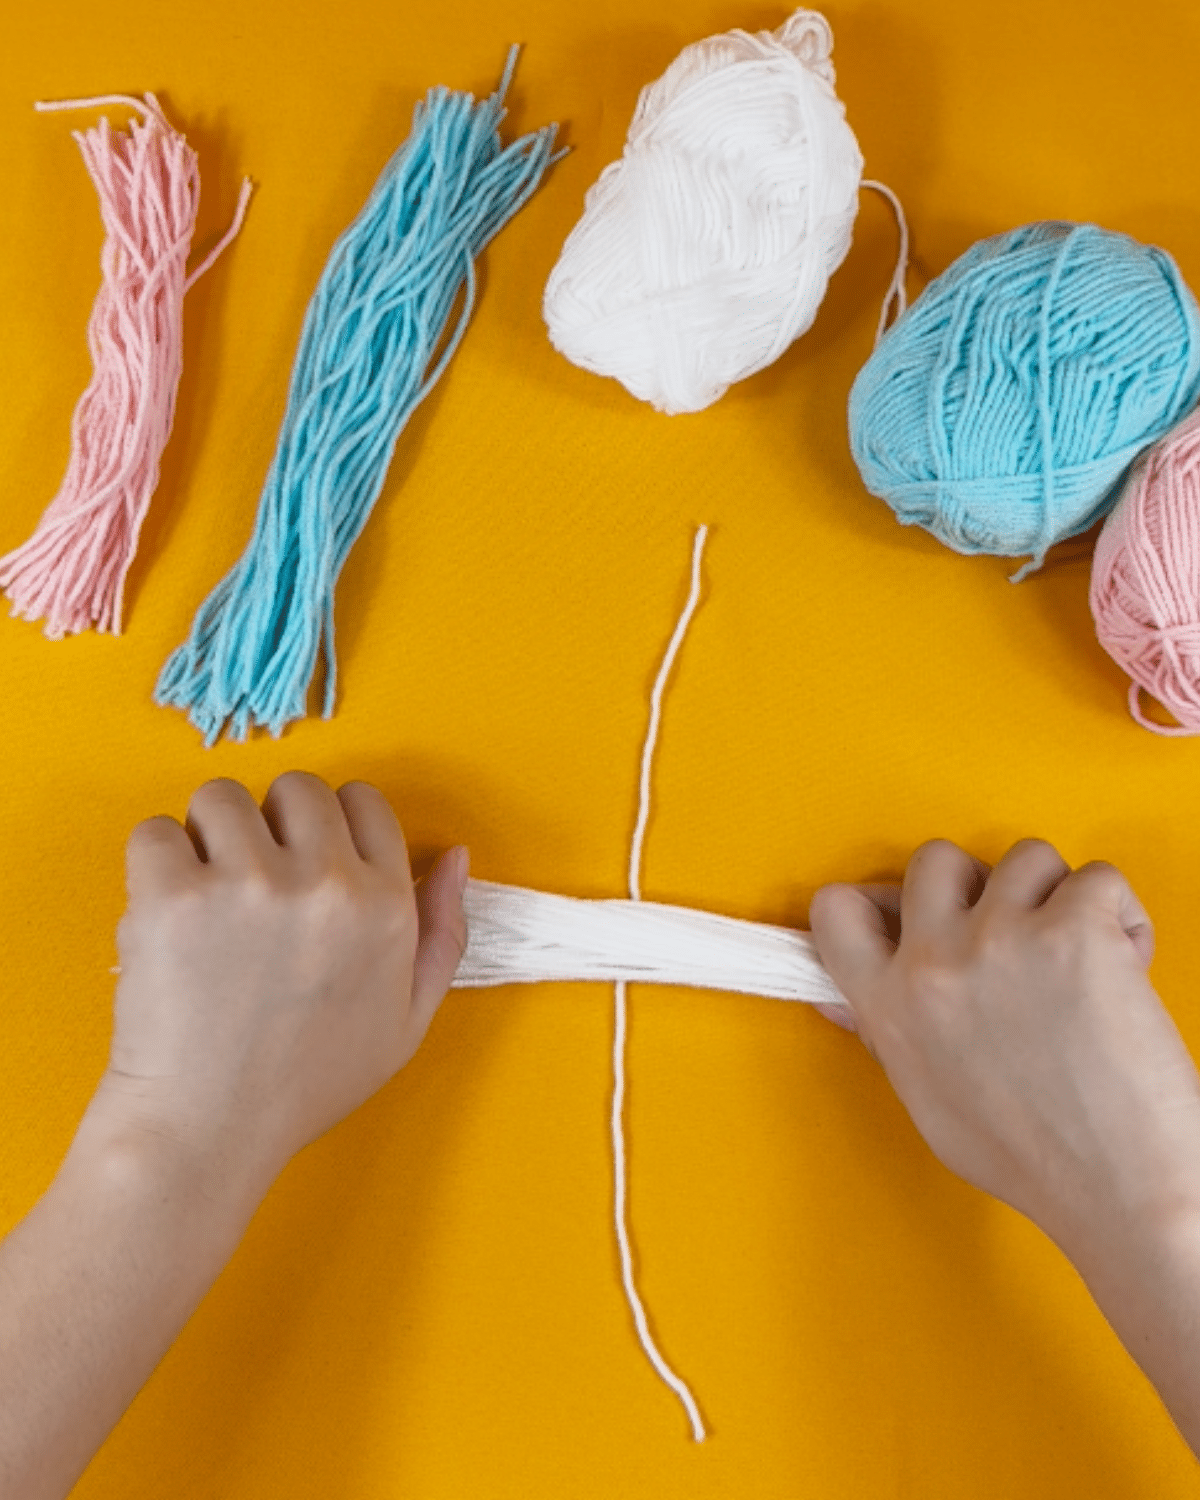
Step 1: Wrap yarn around the length of the cardboard template 50 times.
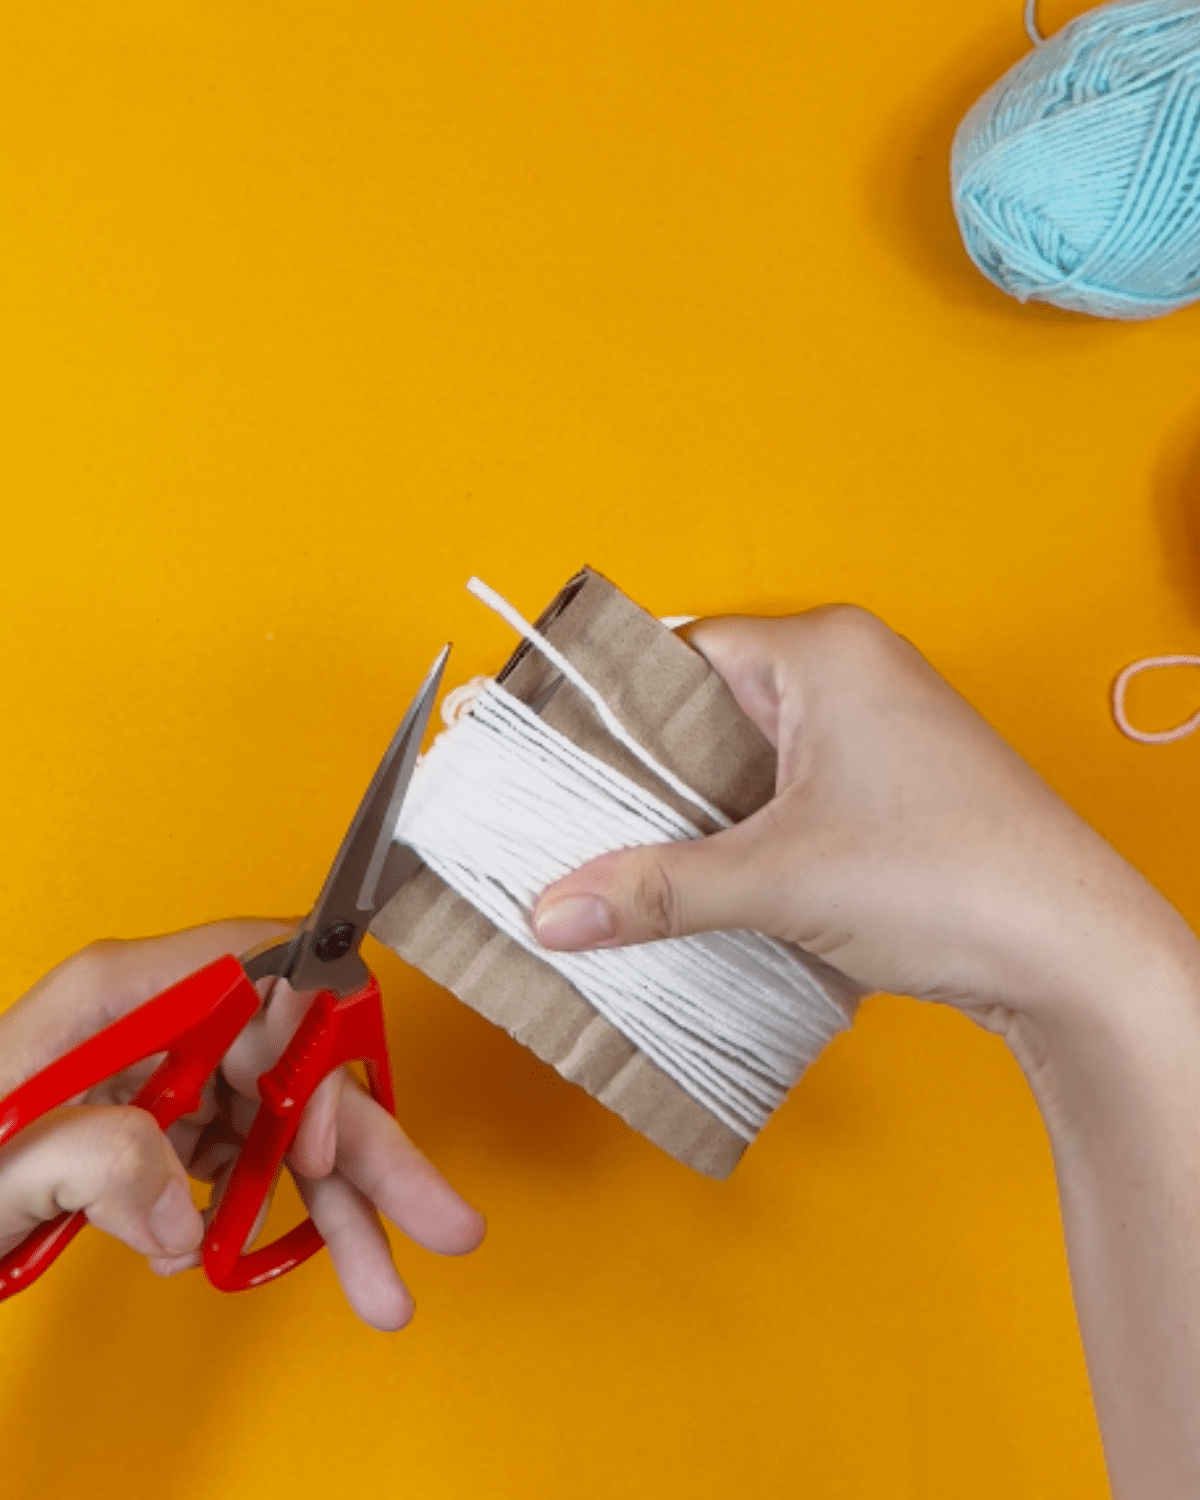
Step 2: Cut through the loops on one end and set the yarn aside for later.
Step 3: Repeat the steps to make a blue yarn set.
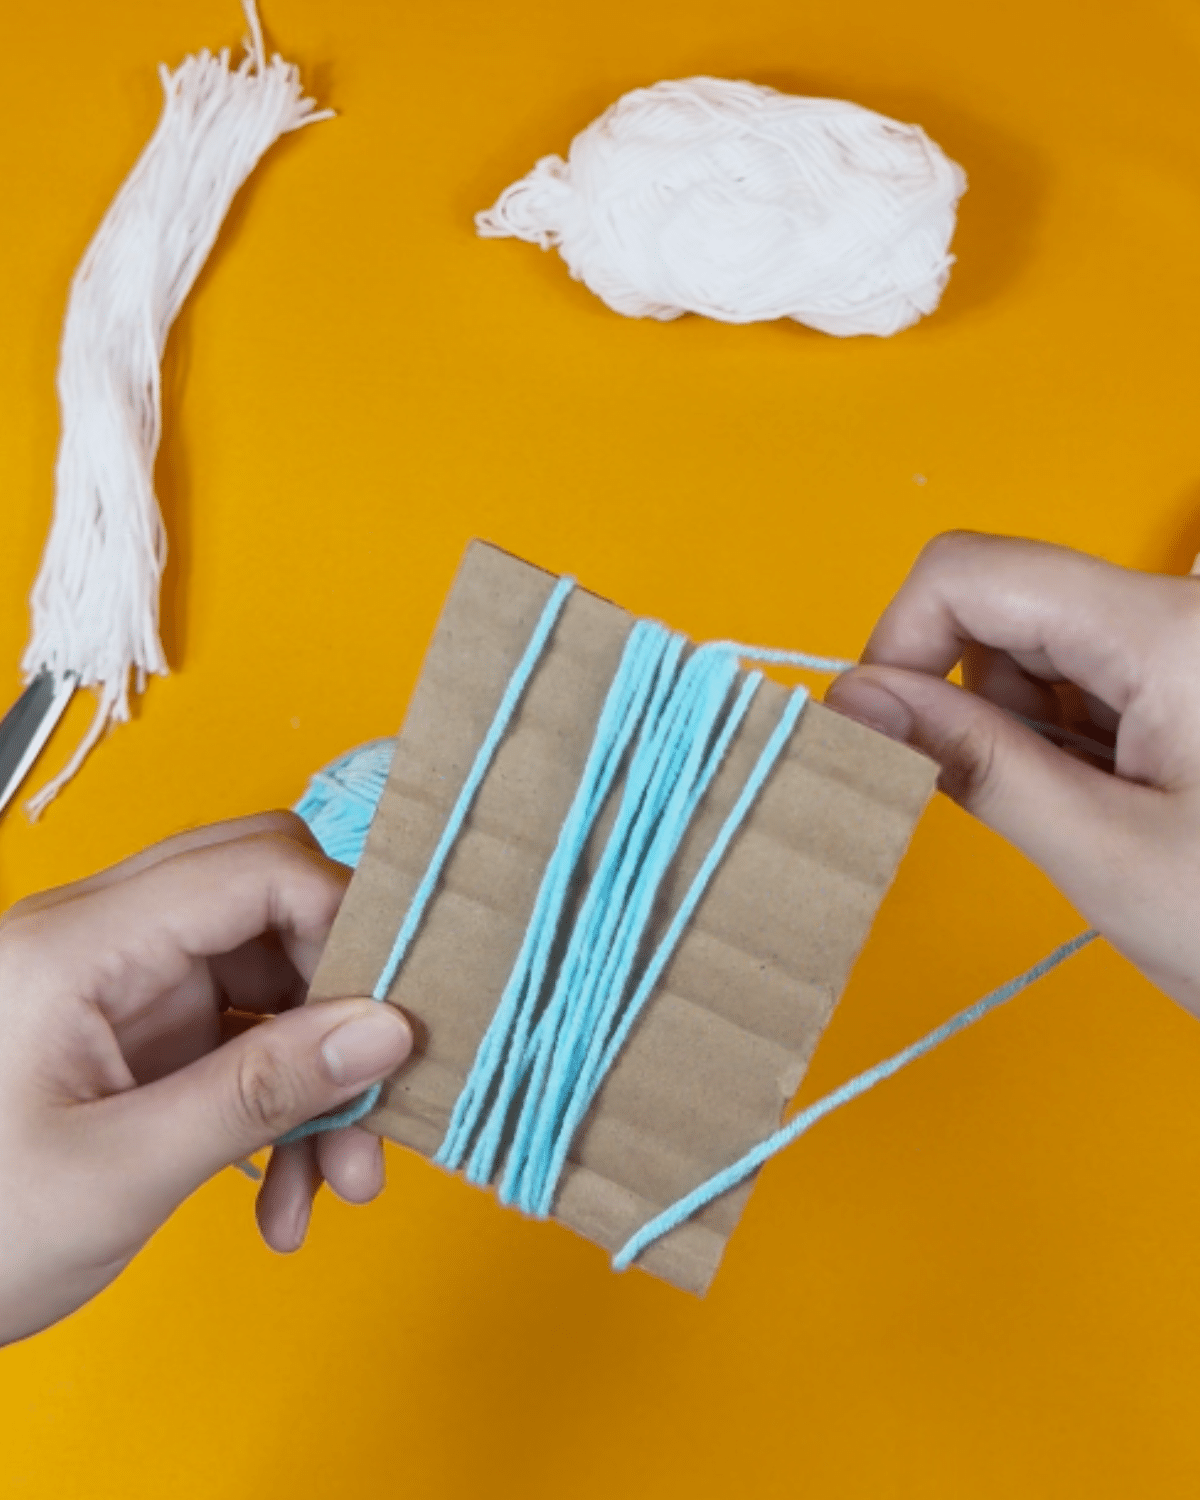
Step 4: Rotate the cardboard template and wrap the yarn around the width 50 times.
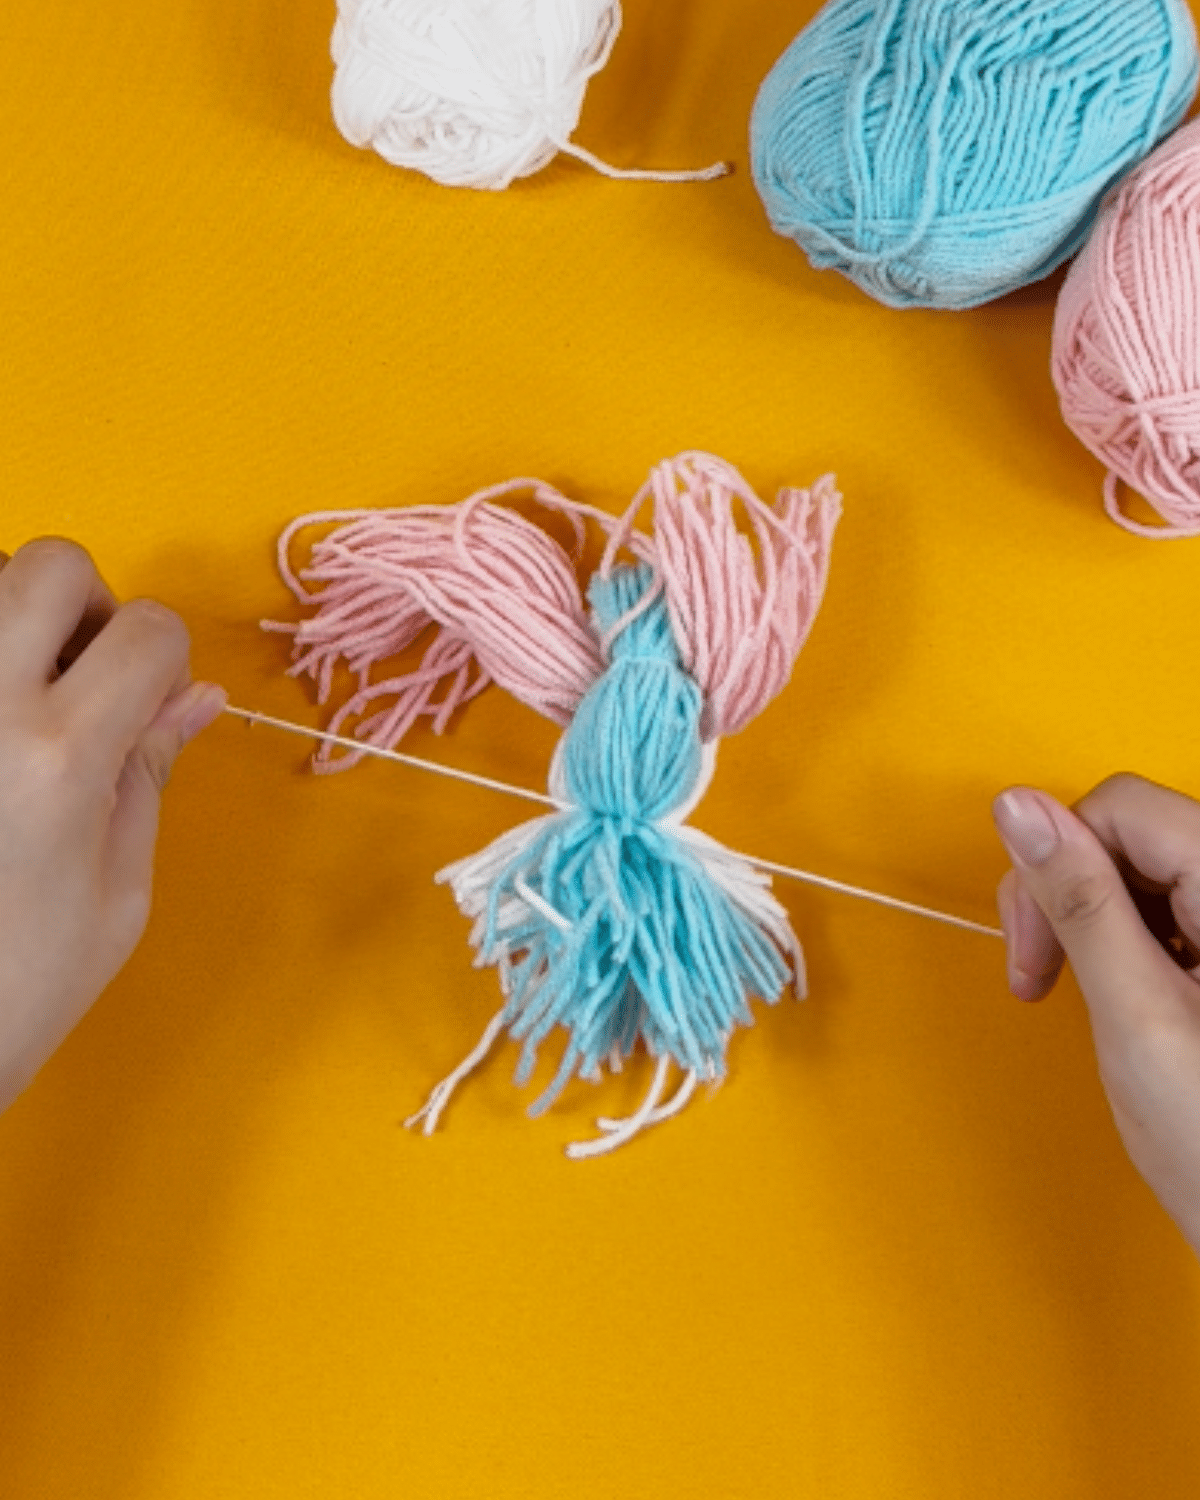
Step 5: Take the bunch of white yarn and tie a piece of yarn securely around the middle.
Step 6: Take the blue yarn bunch and wrap it around the middle of the white yarn bunch, holding them apart tightly.
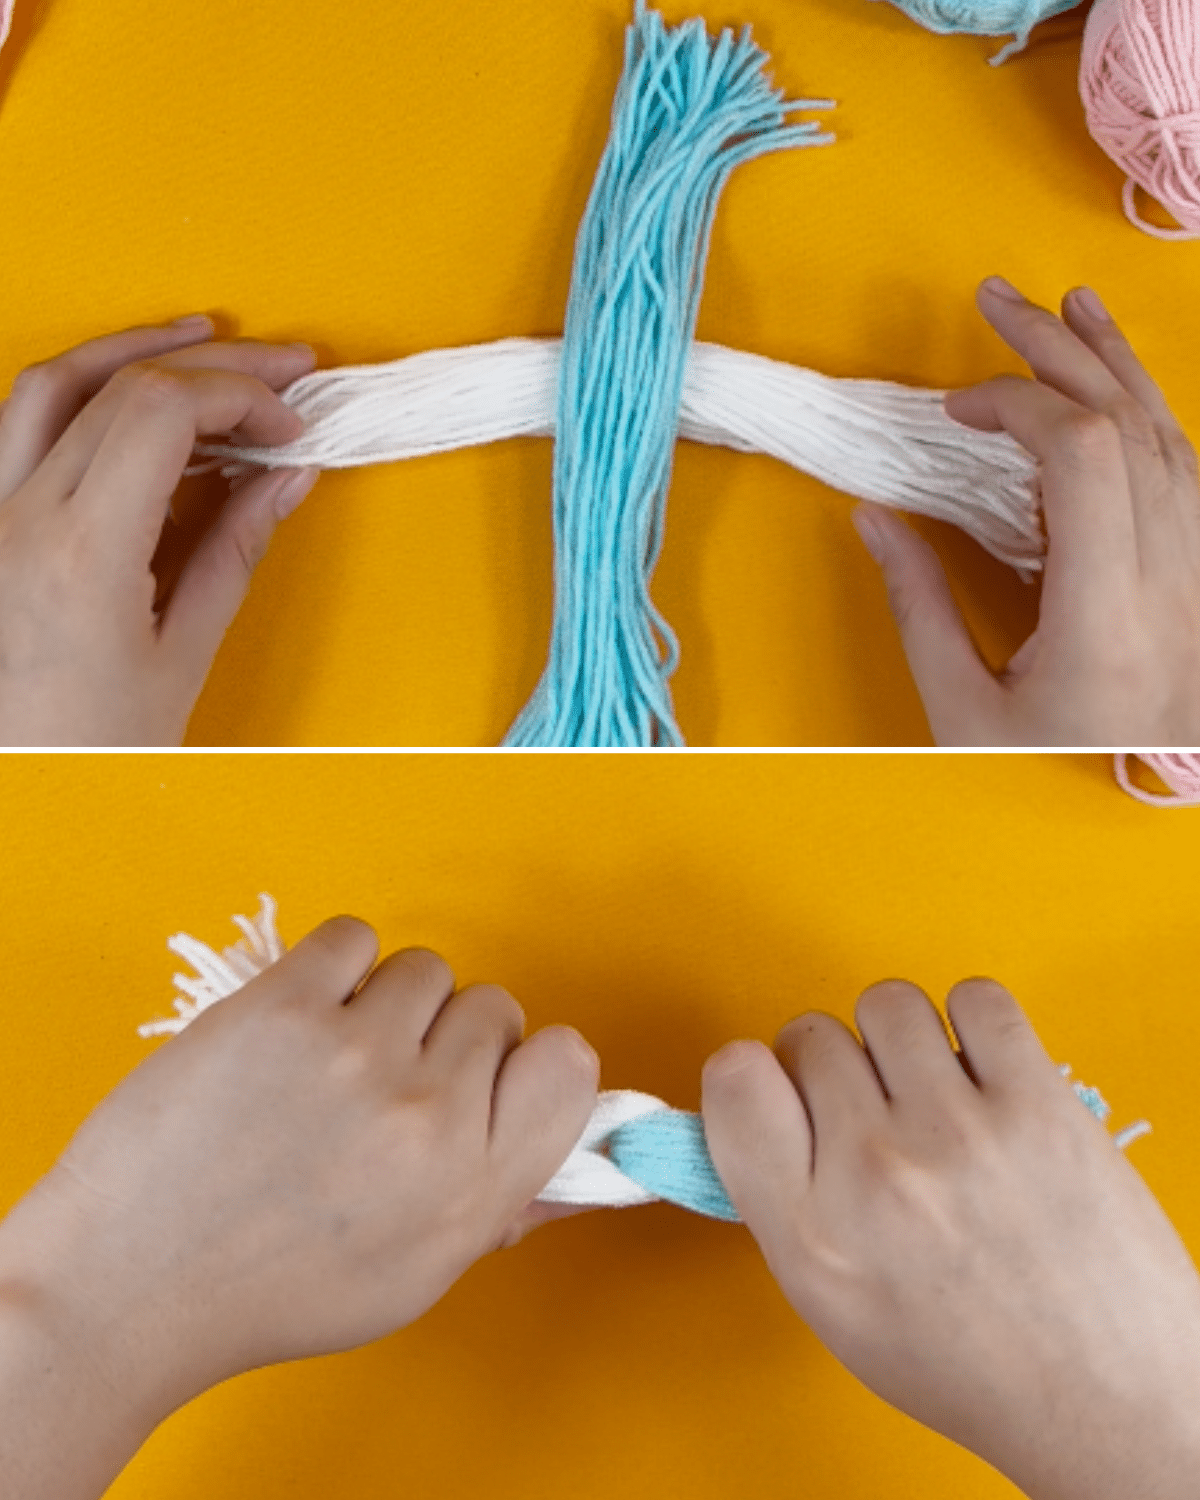
Step 7: Tie each side with a piece of yarn to form the head of the bird.
![]()
Why You’ll Love This Project
Home Decoration
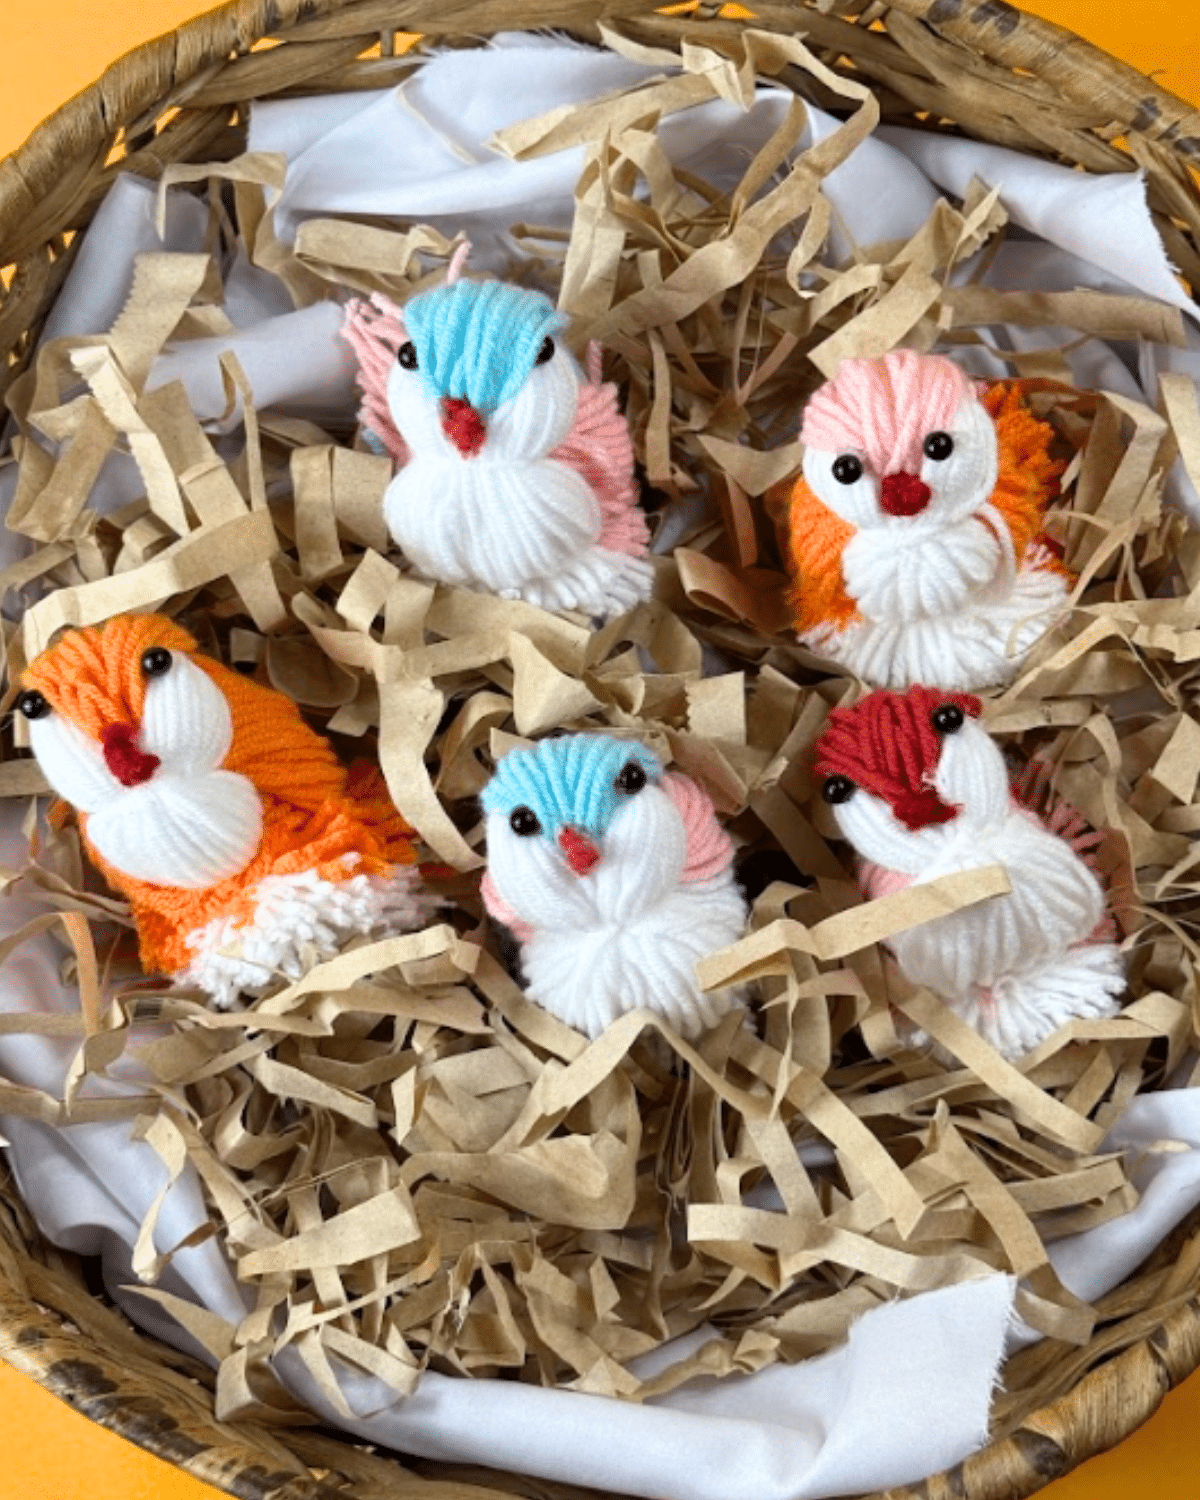
These yarn birds would be a great addition to your centerpiece or even to your Spring wreath!
Seasonal Decorations
This adorable project is perfect for your Christmas tree, Spring or Easter decorations, or for any holiday/occasion.
Gifts and Keepsakes
You can make these yarn birds and give them as a gift to a loved one, or use them as a gift bag filler or gift topper.
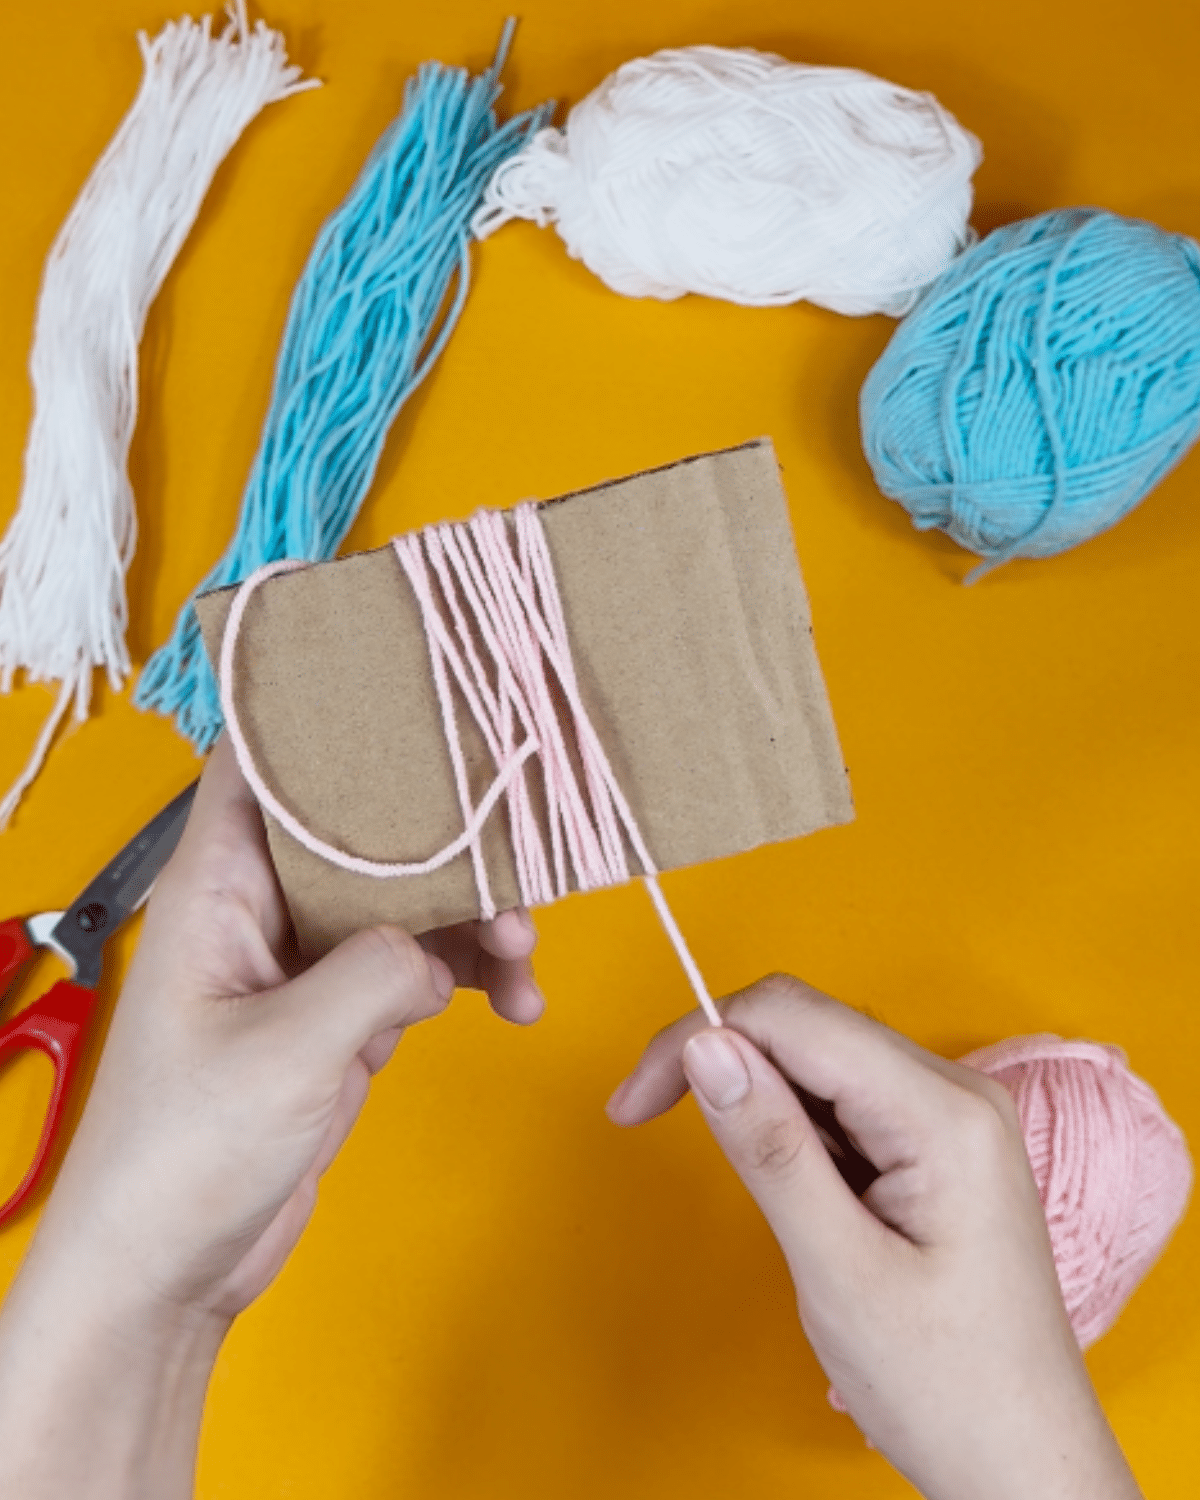
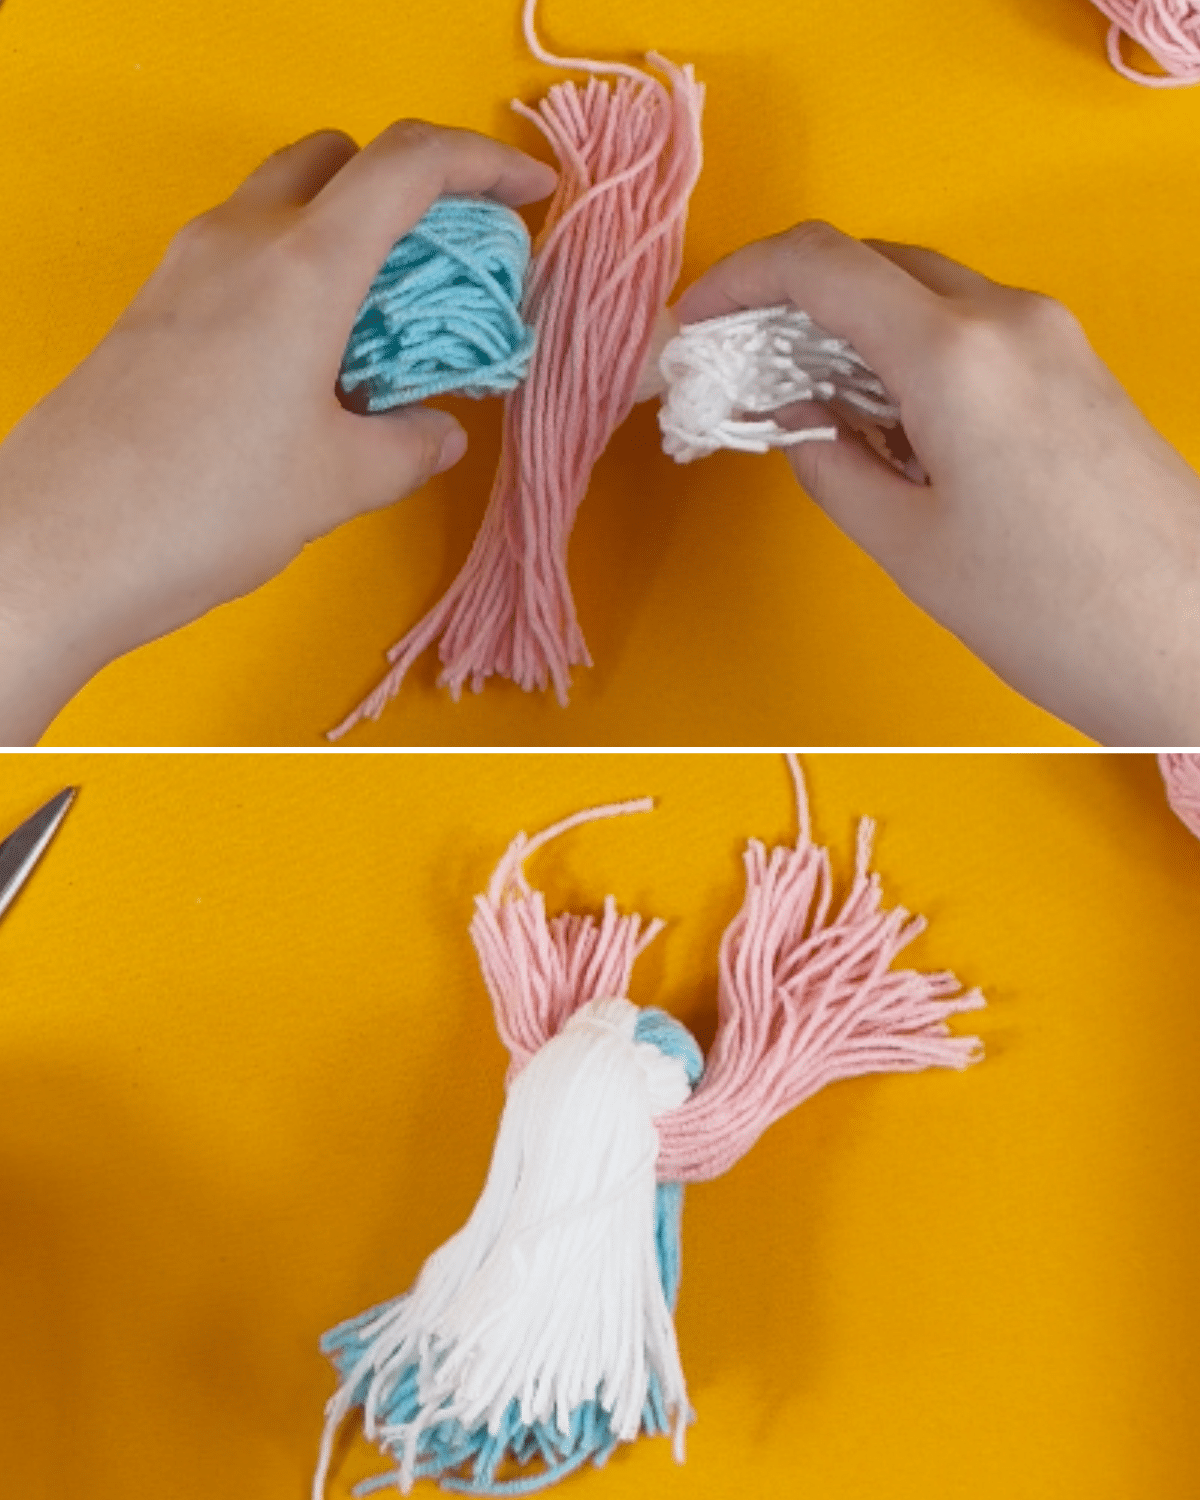
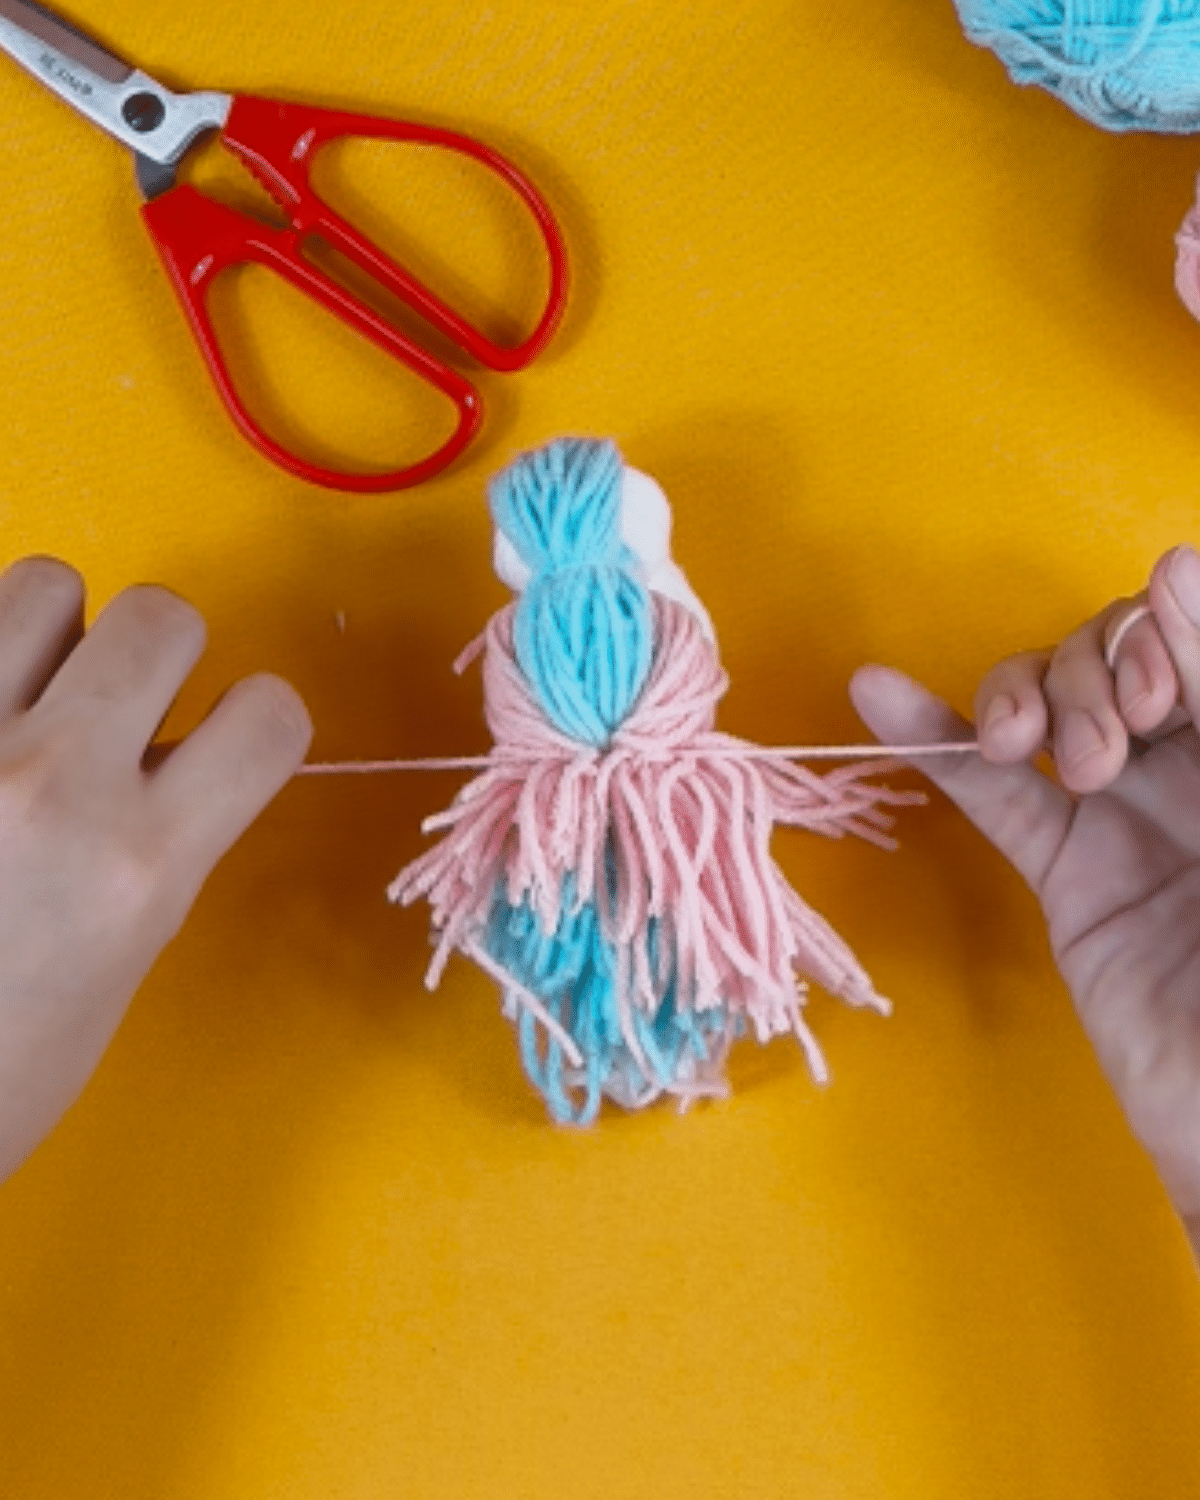
Step 8: Take the pink yarn bunch and wrap it around the middle of the blue and white yarn.
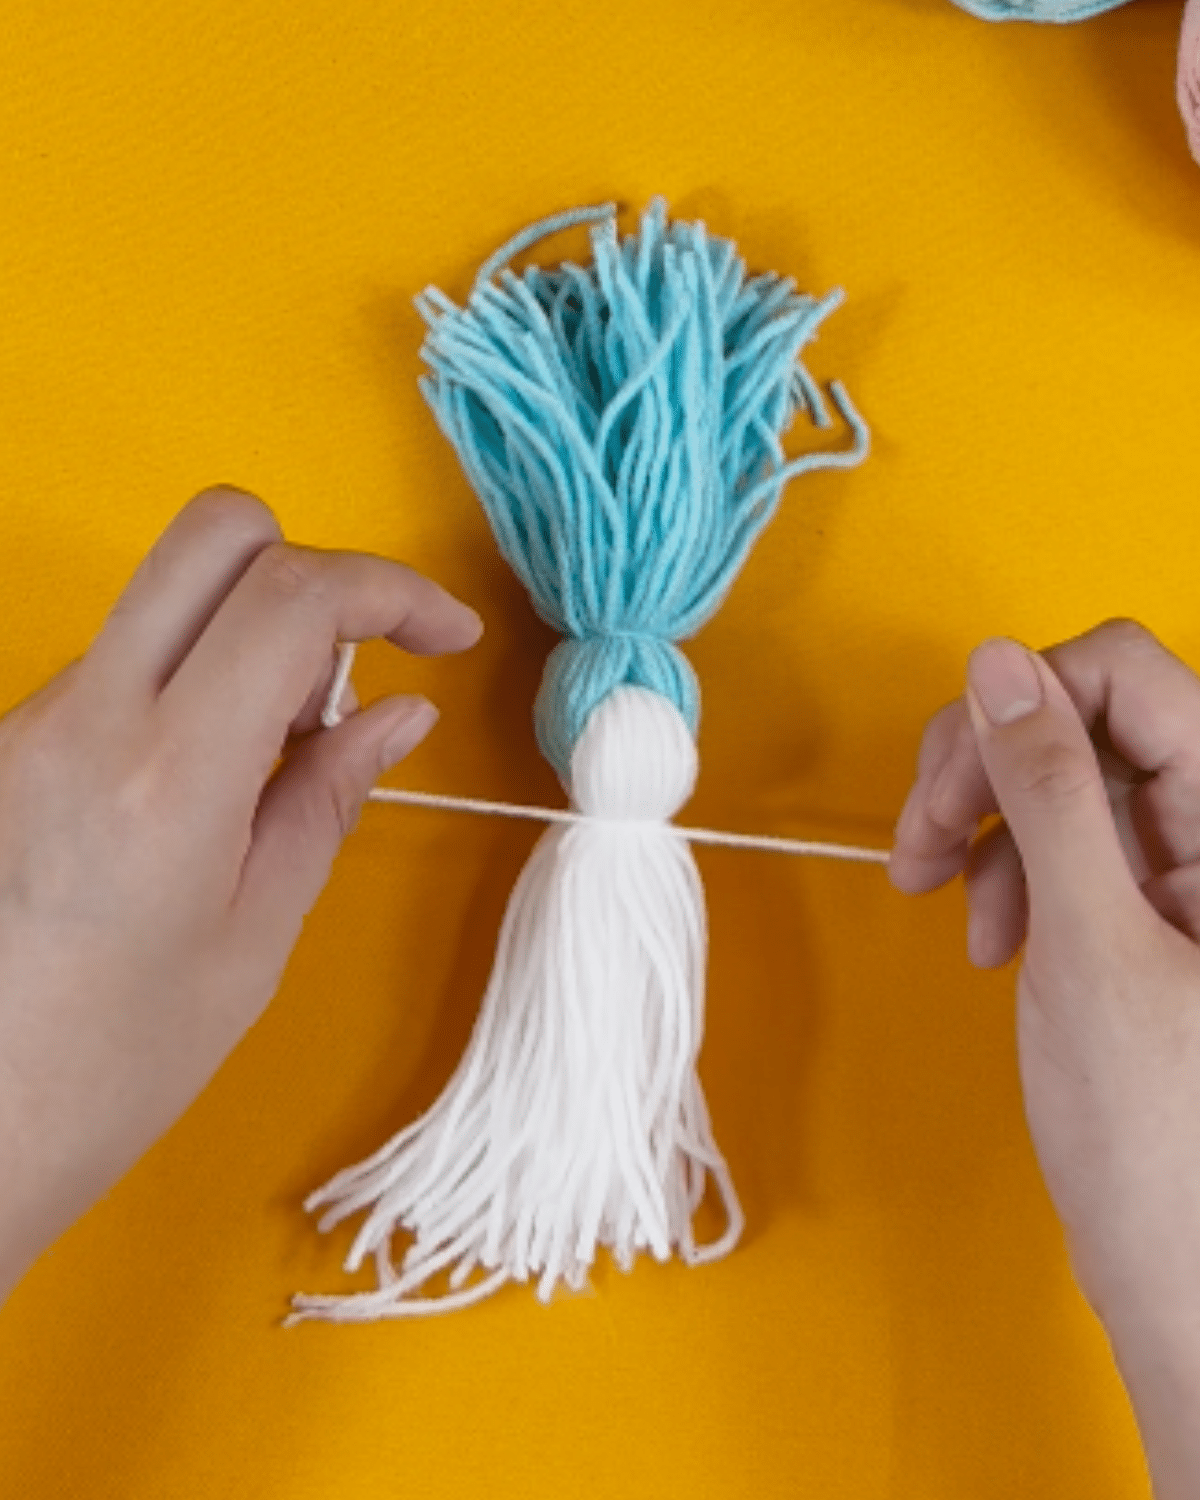
Step 9: Gather the white and blue yarn together and tie them securely to shape the body.
Step 10: Bring the pink yarn around the sides of the bird to form the wings and tie it in place.
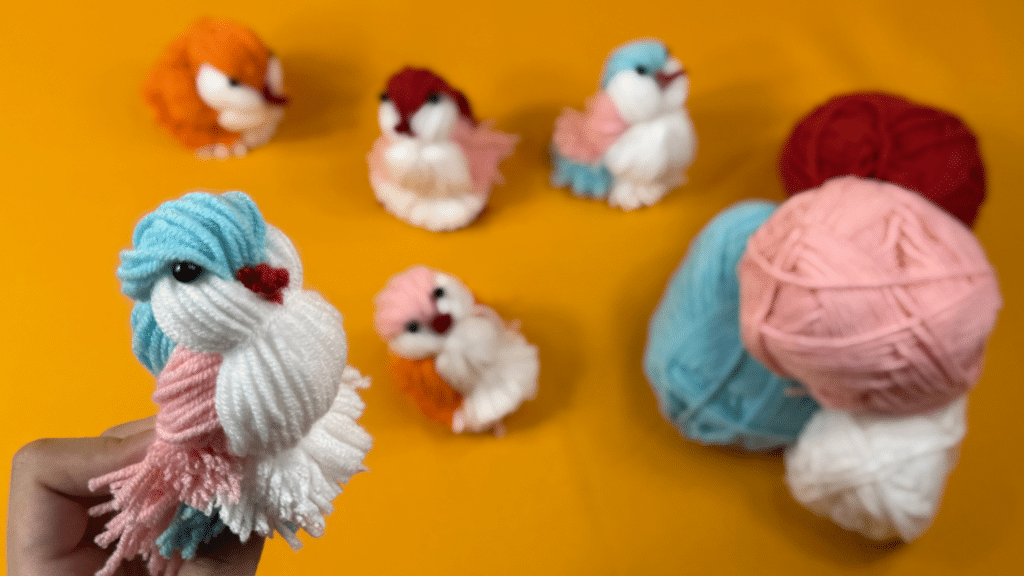
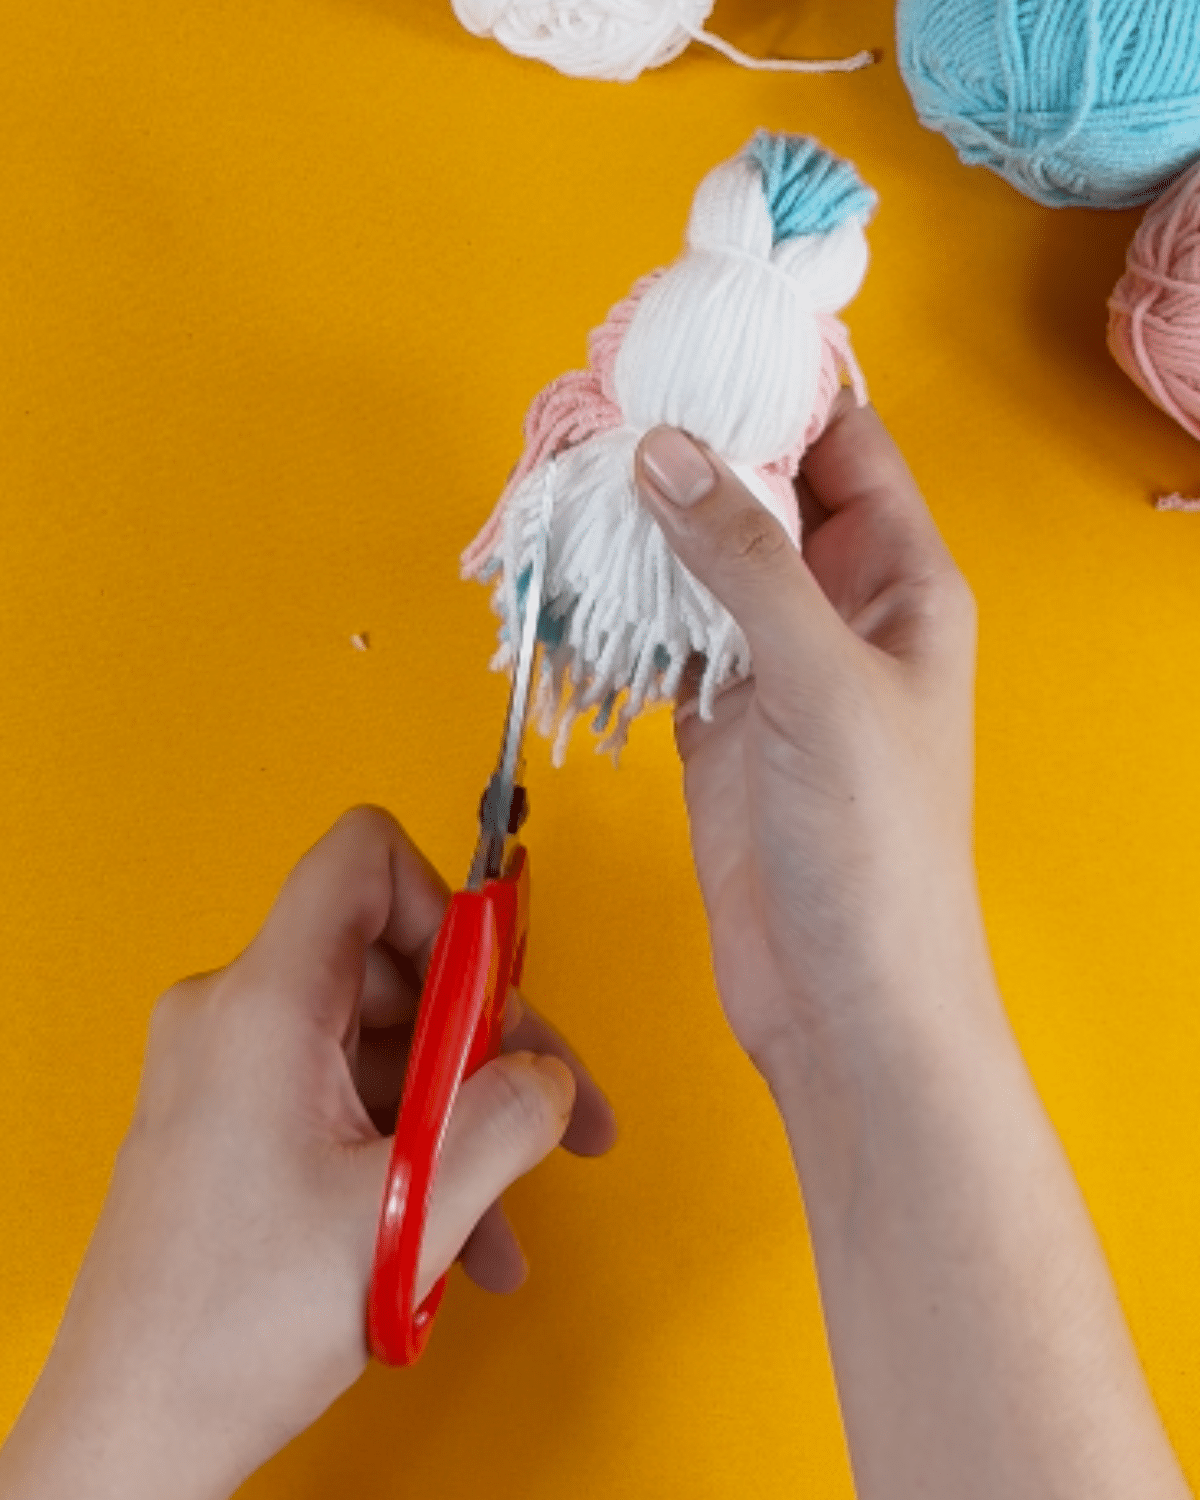
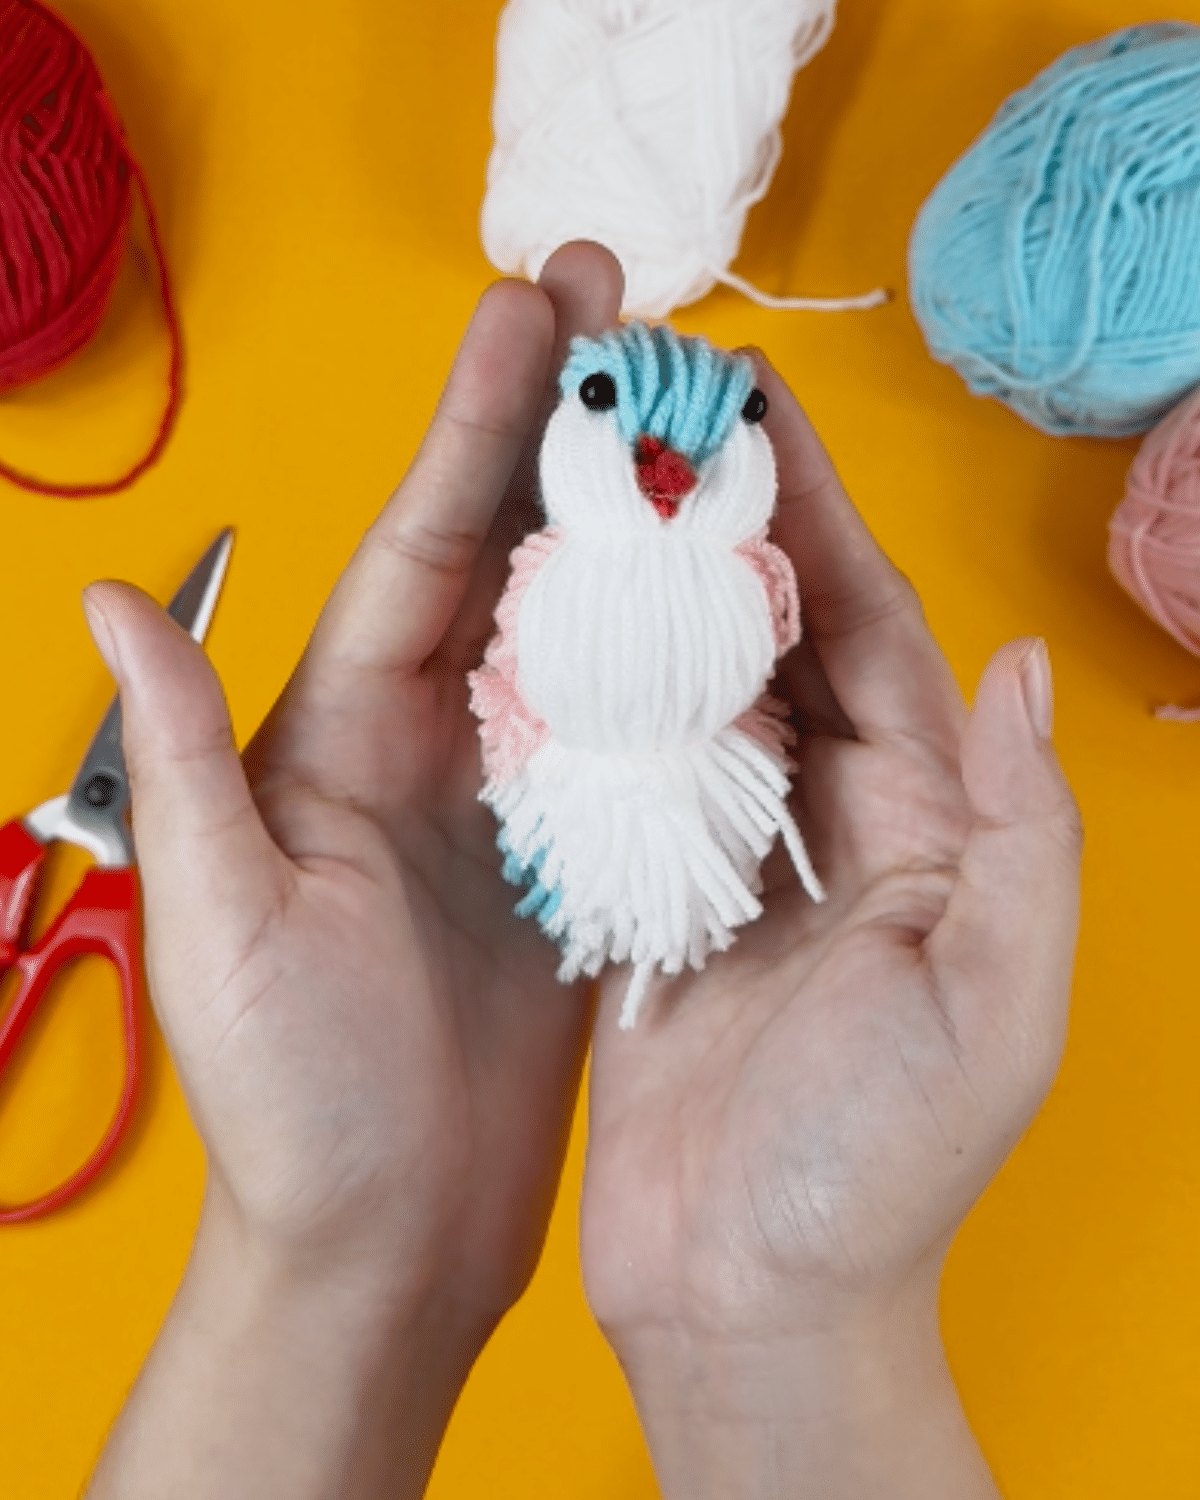
NOTE: The white part will be the bird’s belly, the blue part will be the head, and the pink part will be the wings.
Step 11: Trim the bird’s tail and shape it nicely.
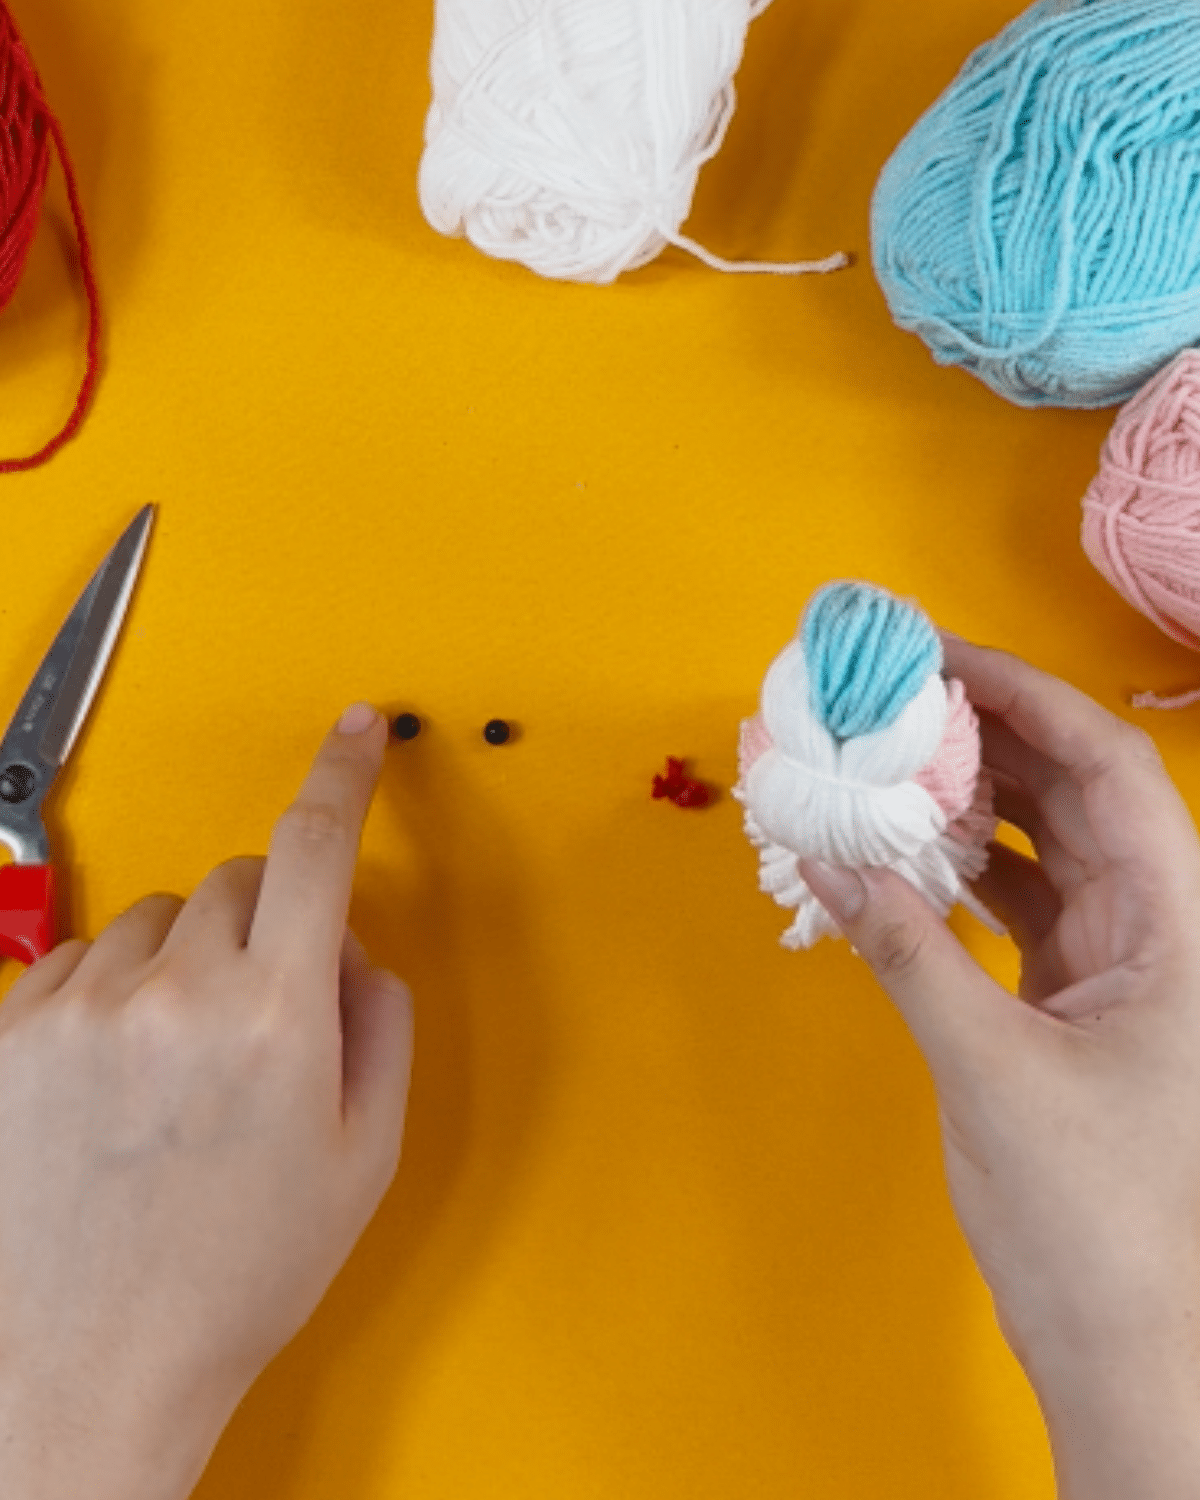
Step 12: Now, make the beak of the bird.
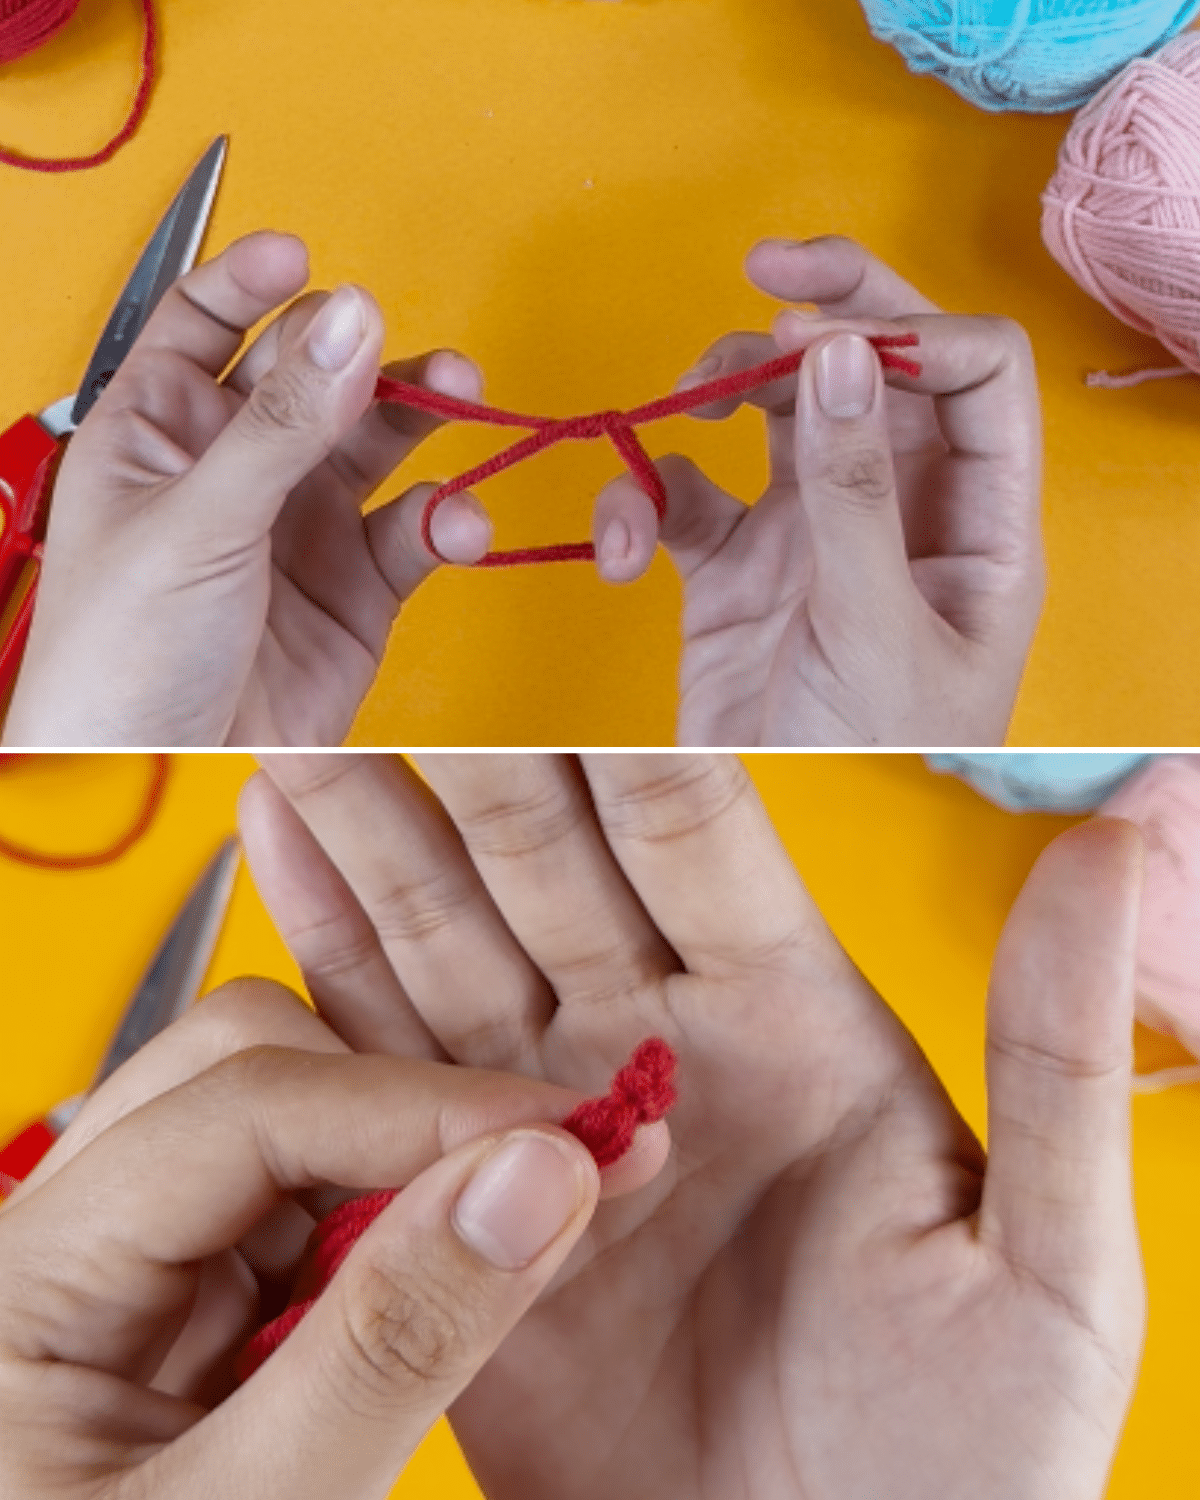
Step 13: Attach the beads for the eyes and the beak using hot glue.
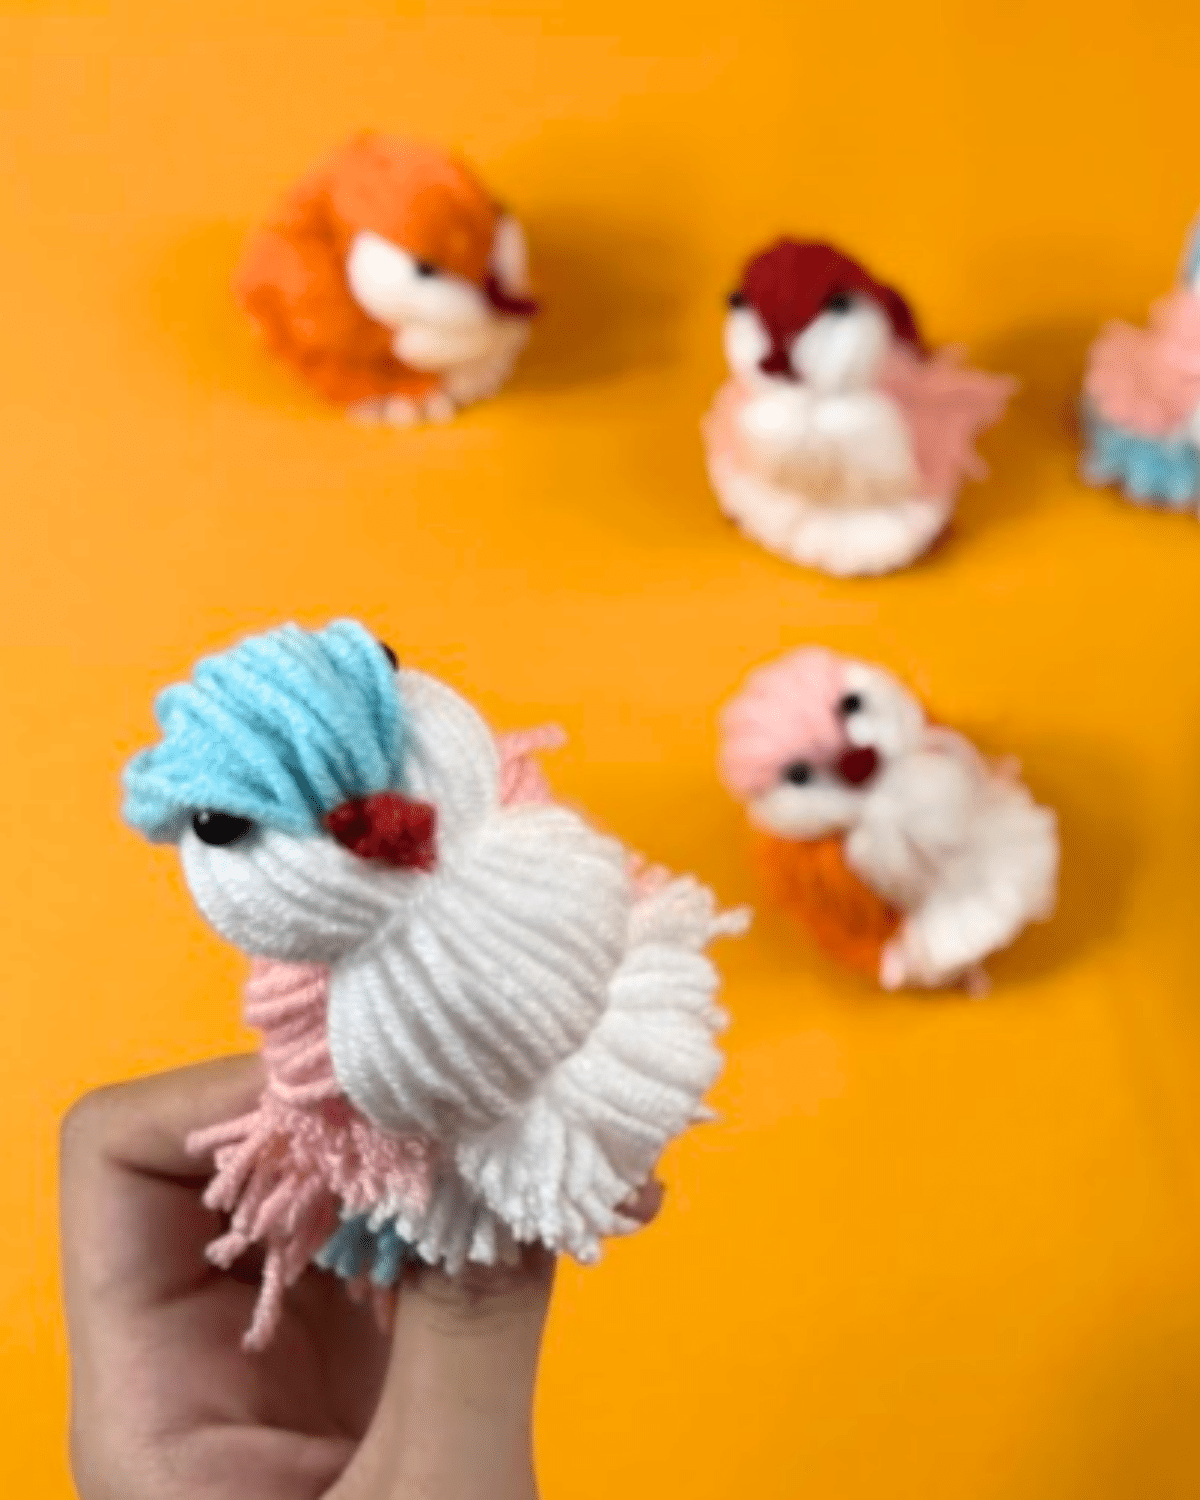
CUTE LITTLE BIRD!
![]()
Pro Tip
- Twisting the yarn for the wings will make a great detail!
- You can substitute the yarn for the beak with craft felt.
*If you love this craft, then visit our official website, follow our Facebook page, and subscribe to our YouTube channel for more!
Easy DIY Yarn Birds