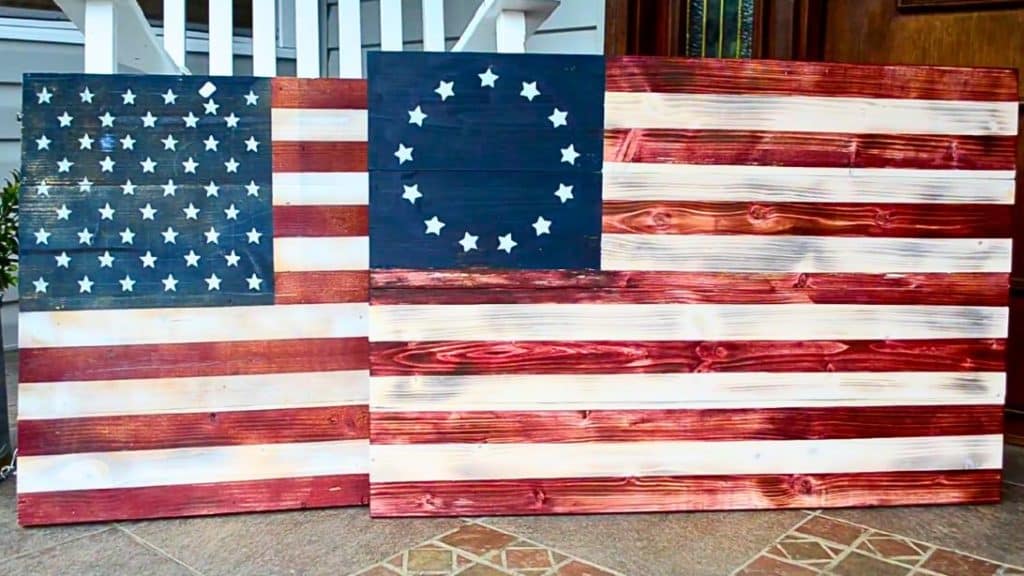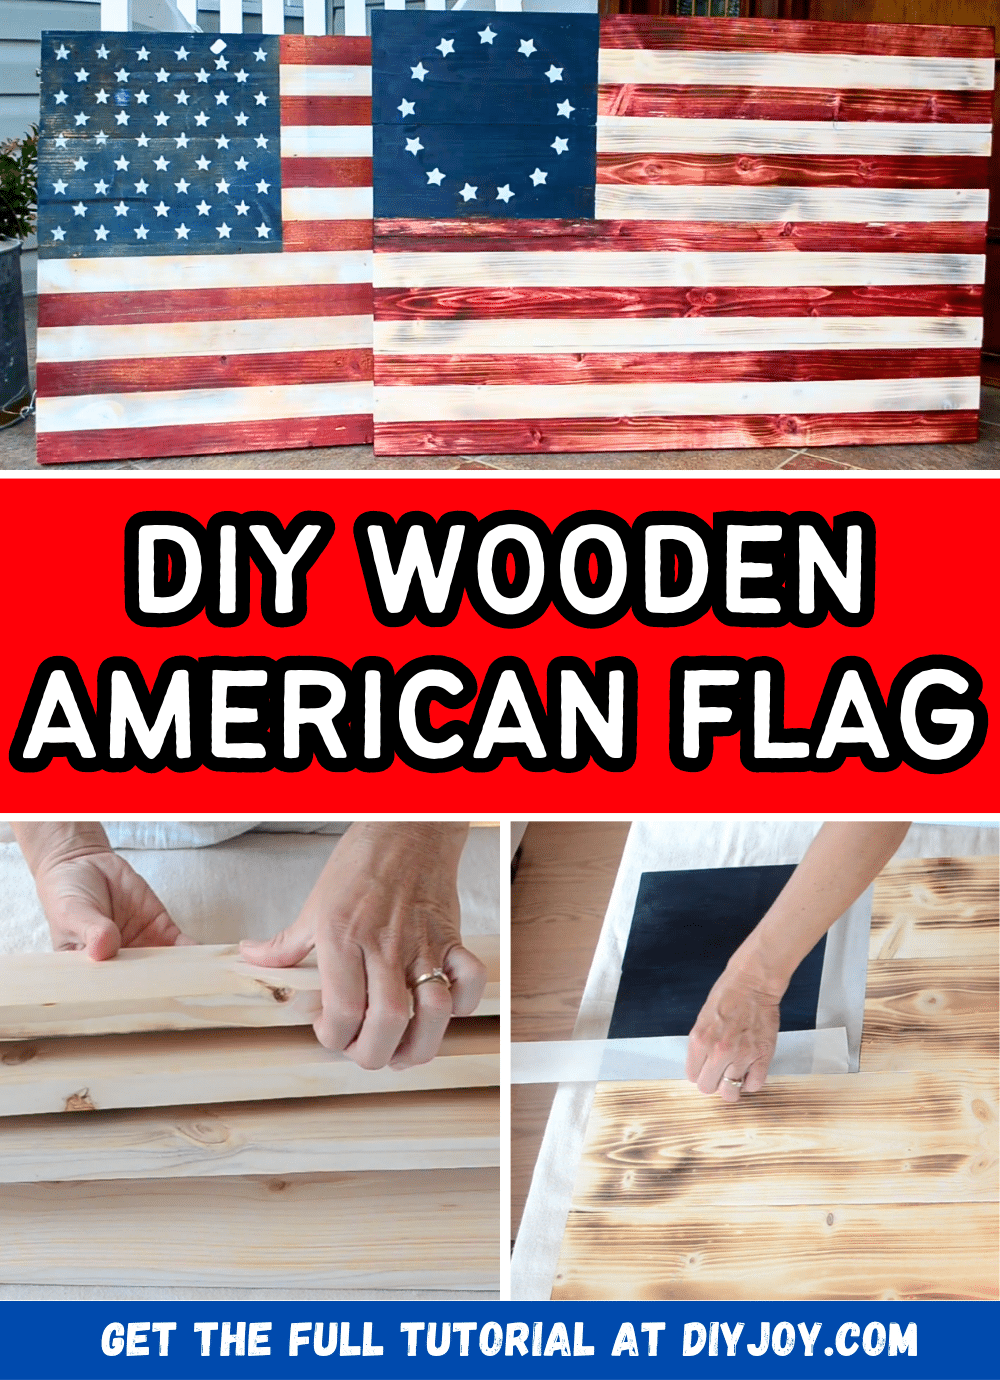
This DIY project idea by Christy Cain – Appalachian Home Co. on YouTube looks so lovely and super easy to make, after seeing the video tutorial, I immediately tried making my own version, and it turned out very beautiful. I gave it to my Dad and he was so happy with it. I’m planning to make another set to display at my home and even my friends are asking me to make one for them. I’m so glad that I found this DIY project, if you’re curious too, then go ahead and learn how now.
Materials:
- Pine boards @ 1×6 inches
- Propane tank and burner, with burner attachment, optional
- Dark wood stain, optional
- Masking tape
- 1¼-inch Kreg screws
- Drill
- Clamp
- Pencil
- Red, blue, and white paint
- Foam paint applicator
Directions:
Step 1
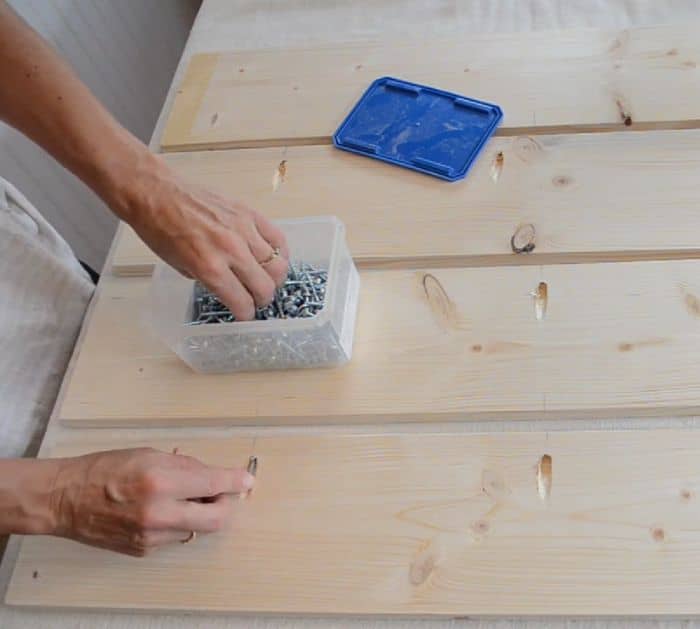
Cut the boards to size, then char the wood with a burner to bring out the wood grain, but you can skip this step and just coat the boards with a dark stain instead if you want. Once the boards are ready, lay them out, then flip them over, and mark where the pocket holes will be. Clamp the board securely on the table, then start drilling the pocket holes on the markings, and place the screws in each hole.

[social_warfare]
Step 2
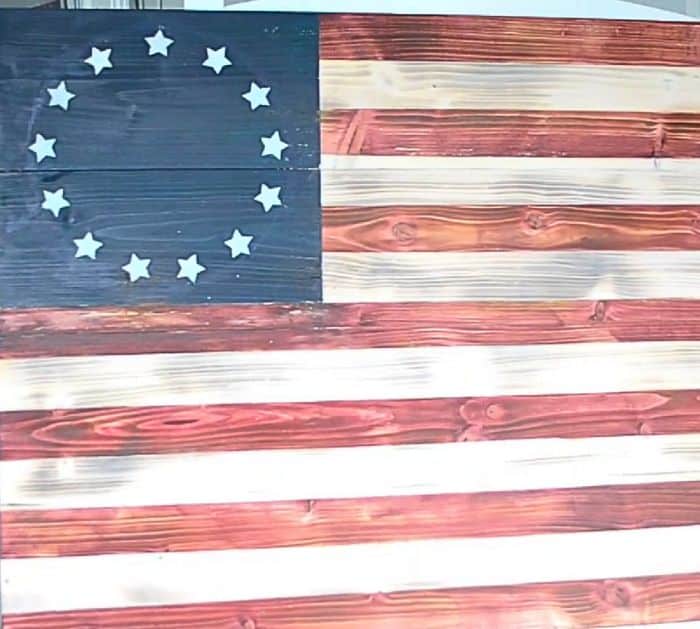
Drill the screws in place attaching 2 boards at a time, then remove the clamp, and flip the board over. Start painting the board and turn it into a flag making sure to use tape to make the edges as straight and clean as possible, and then let them dry in between each application of color to avoid smudge. Once done painting, let it dry completely, and you’re done!

*All these images are credited to Christy Cain – Appalachian Home Co. via YouTube. Give her channel a visit and subscribe for more!


