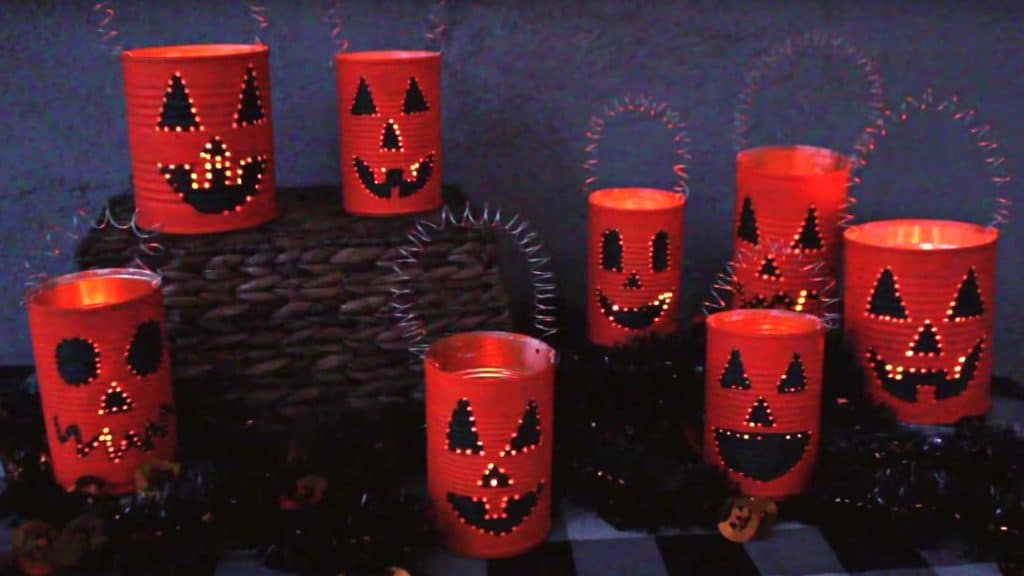
Instead of buying new decor for Halloween, just repurpose or recycle some materials that you may already have around your house and that you might even consider trash. This project will use tin cans which are more practical and better than pumpkin versions, plus, these are pretty easy and quick to make. You should do this with your family, especially the kids because this will be such a fun activity for all of you! Thanks to Char’s Nest on YouTube for this wonderful DIY project idea. If you want to learn how she did it, then proceed to read the instructions down below and watch the video tutorial as well while you’re at it.
Materials:
- Tin cans
- Drill
- Sharpie
- Soft wire
- Primer spray paint
- Orange acrylic paint
- Black acrylic paint
- Paintbrush
- LED candles
Directions:
Step 1
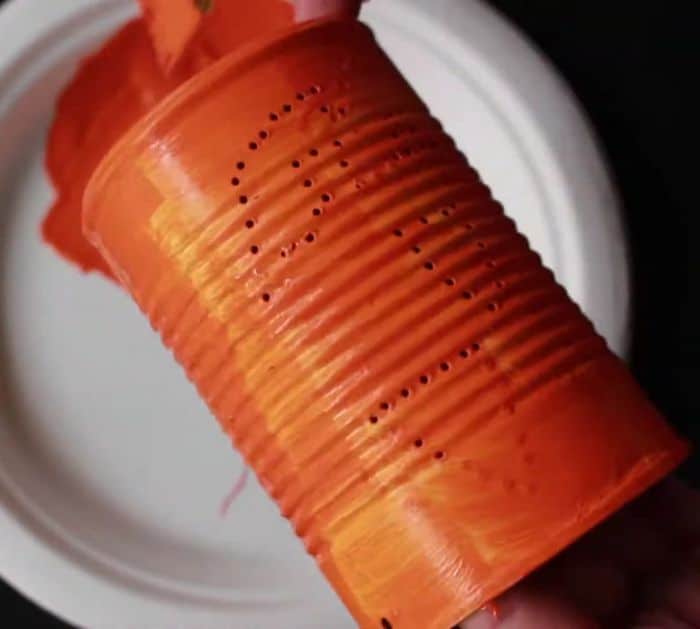
Draw the eyes, nose, and mouth of the Jack-o’-lantern on each tin can using a sharpie marker, then drill holes along the drawing you made, find the midpoint on each side of the tin can, and drill holes on them. Spray paint each can with primer and let them dry completely. Mix the shade of orange that you want to use, then paint the whole can, and let it dry.

[social_warfare]
Step 2
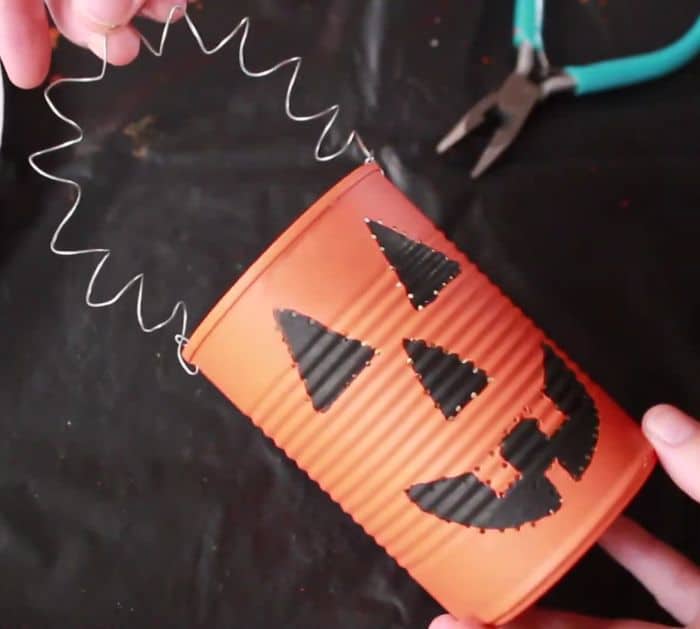
Paint the eyes, nose, and mouth with black acrylic paint, then let it dry, coil the wire around a sharpie to make a wire spring, and then attach it to each hole on the side. Insert LED candles on each tin can, then display it, and light it up.

*Thanks to Char’s Nest via YouTube for all images used here. If you loved this Halloween DIY project, then you’ll surely love her other video tutorials too, so give her channel a visit and subscribe!


