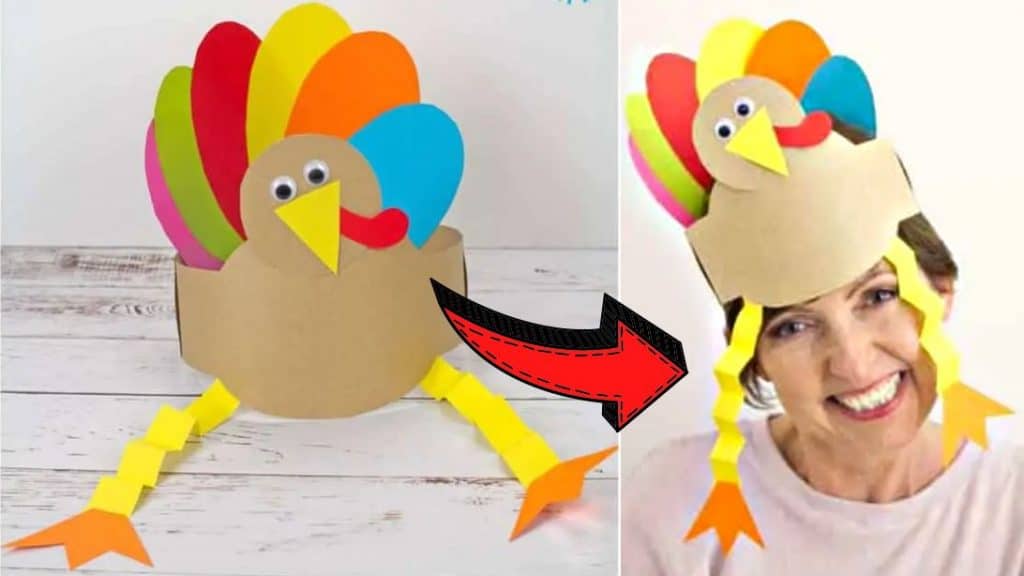
Thanksgiving is just around the corner and what best way to celebrate it with family and friends than wearing these fun and adorable turkey hats! You can make these hats using only cardstock and a few simple materials that you may already have if you love crafting. But if not, then you can go to the nearest Dollar store and get your supplies. Watch this video tutorial by Kids Craft Room on YouTube now and give this turkey hat a try.
Materials:
- Cardstock, choose various colors
- Scissors
- Stapler
- Craft glue
- Googly eyes, optional
- Turkey hat template (Click here to download the template)
Directions:
Step 1
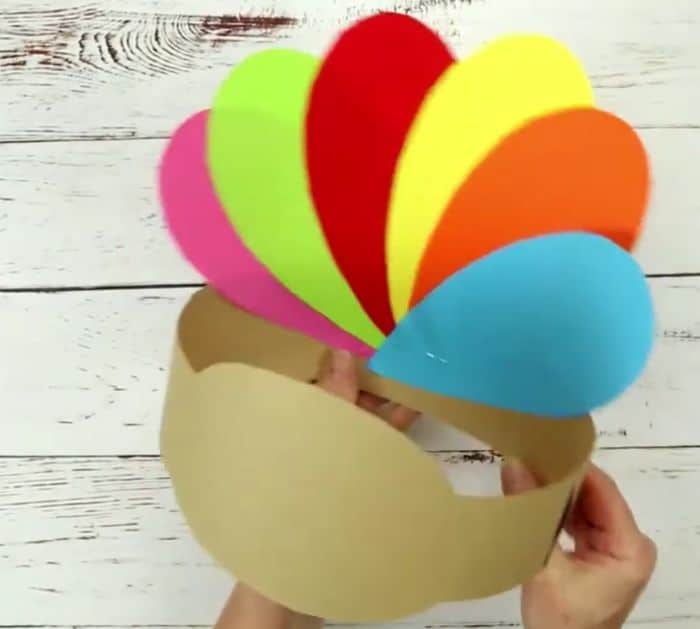
Download and print out the turkey hat template, then trace them on the cardstock and cut them out. Loop the two headband pieces, then secure them in place using a stapler, and set them aside. Stack multiple colors of cardstock together, then place the tail feather template on top, and trace or cut them out directly. Assemble the turkey tail feathers so that it looks like a fan, then staple them together at the bottom, and adhere the tail feathers on the inside of the turkey hat’s back using glue.

[social_warfare]
Step 2
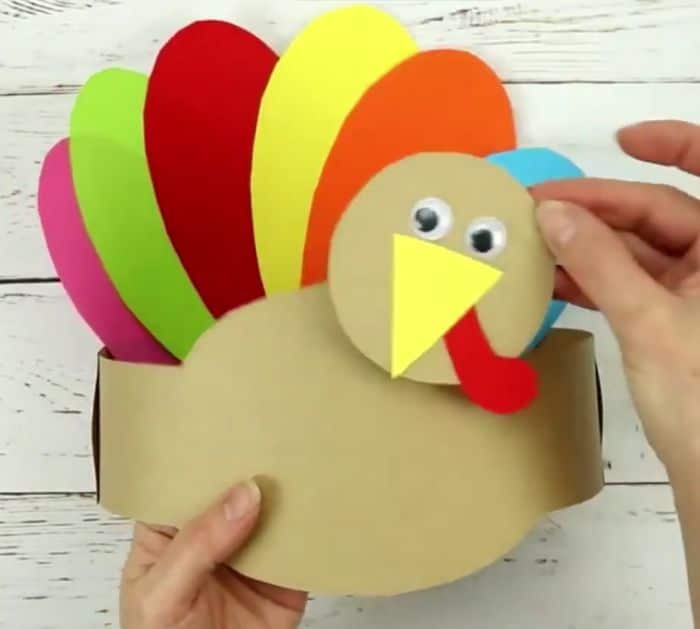
Trace and cut out the snood and beak as well, then glue them on the turkey head, and adhere the eyes as well with glue. Fold the turkey legs into an accordion, and then glue the feet or the turkey on each end of the legs. Adhere the head onto the headband or hat piece using glue, then adhere the legs onto the lower inside of the hat’s front as shown in the video.

*Thanks to Kids Craft Room via YouTube for all images used here. If you loved this DIY project, then you’ll surely love their other videos too, so give their channel a visit and subscribe!


