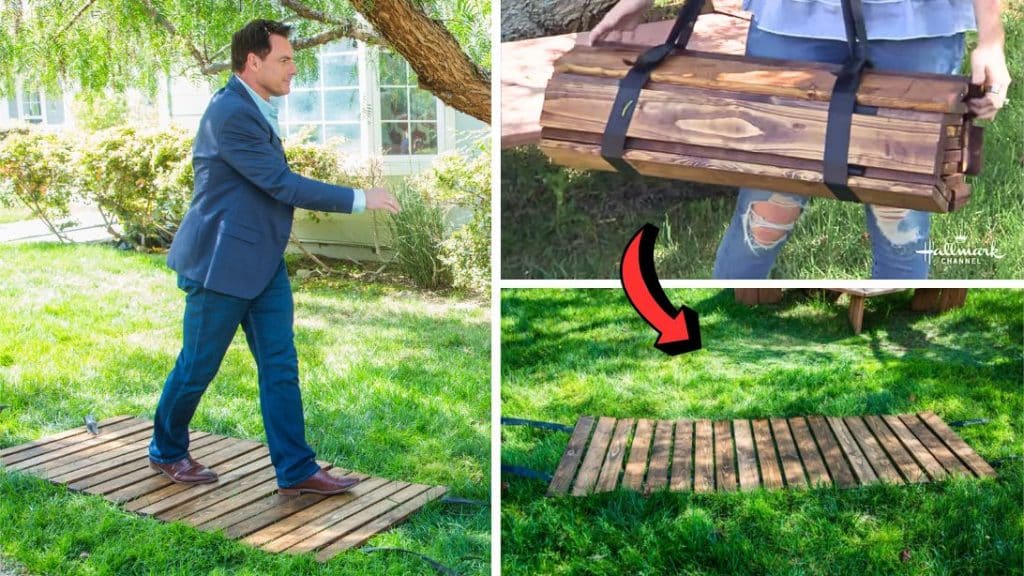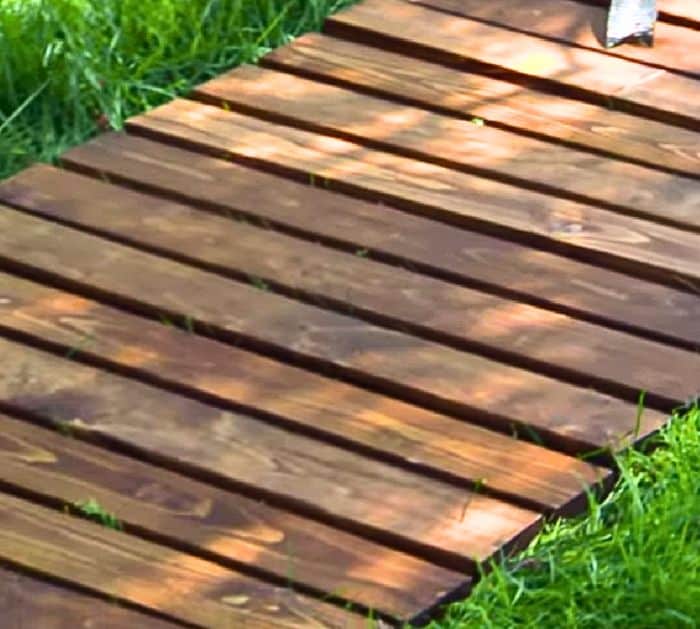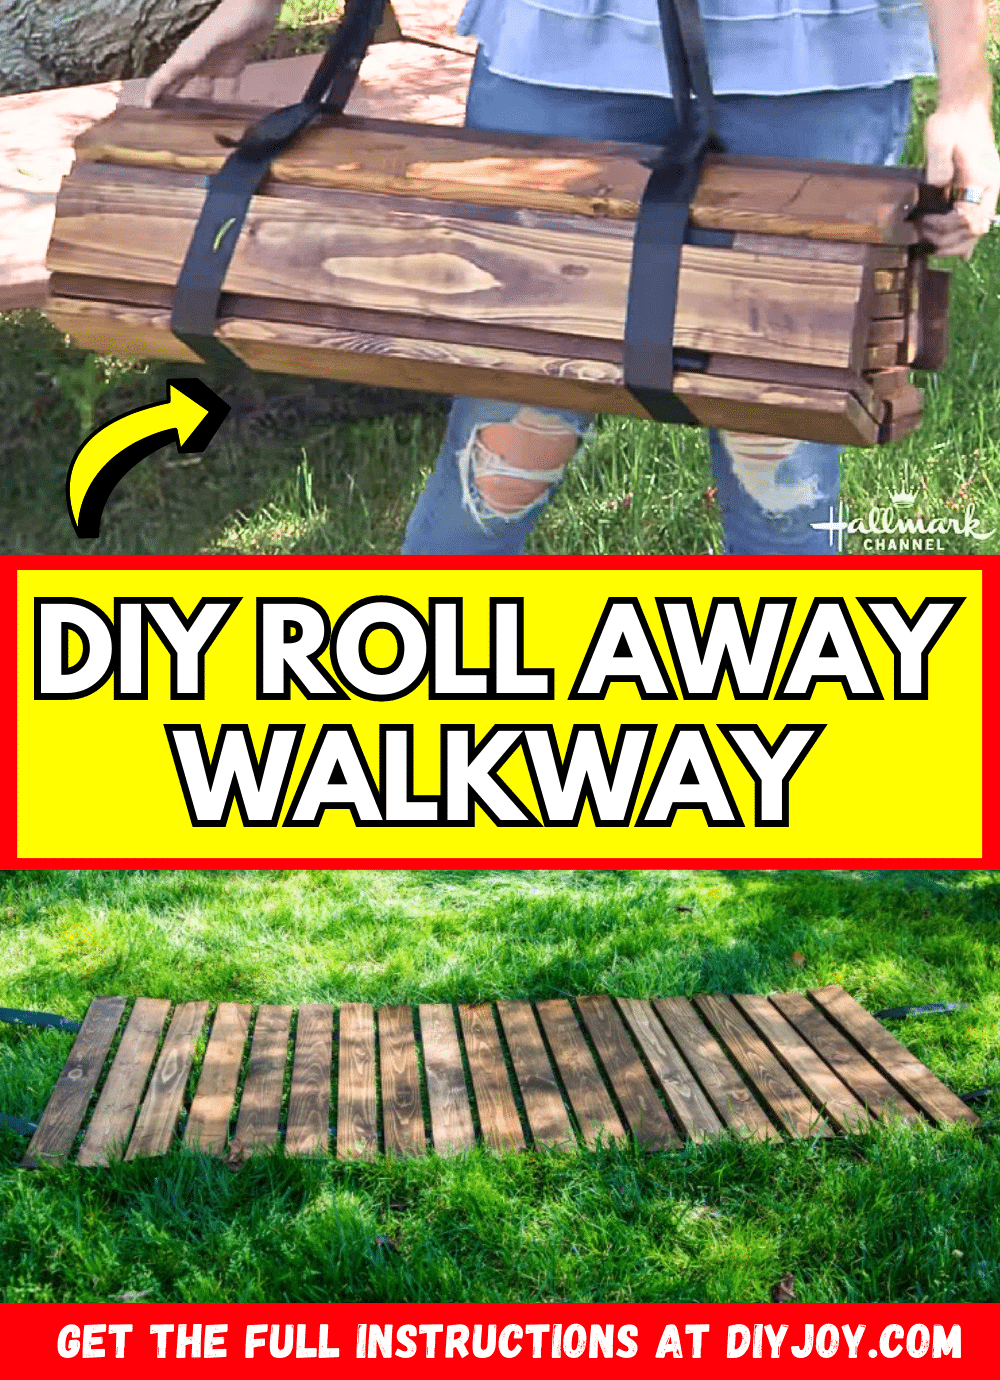
If you’re going away on a trip with your family or friends, you always got to make sure that you have everything you need ready and packed. But, no matter how ready you are, sometimes there are things that you just can’t avoid or predict, such as bad weather or unwalkable paths. So, to solve that problem, Paige Hemmis will show you how to easily make your own walkway that you can carry around anywhere with this video tutorial via Hallmark Channel on YouTube!
Materials:
- 1”x 4” pieces of wood
- Nylon strap
- Glue
- Staple gun
- 1”x2” piece of scrap wood, optional
- 2 strips of Velcro
Directions:
Step 1
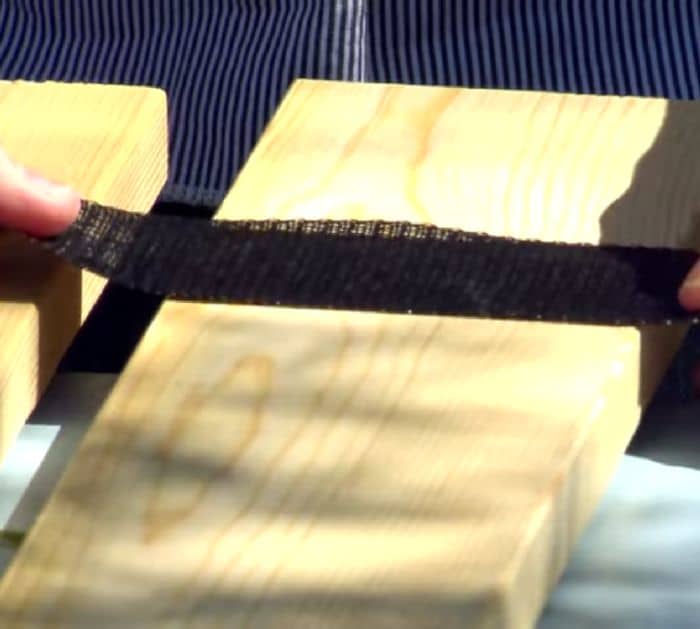
You can stain or paint the boards first if you want. Decide on how long you want your walkway to be, then prepare enough 1x4s, and cut them at 30 inches each. Lay them out on a flat surface, then space them about an inch apart from each other, and mark 5 inches from each end of the boards. Dab the glue on the mark, then lay the nylon strap nicely, and staple it in place.

[social_warfare]
Step 2
Proceed to glue and attach the nylon to the next board, then staple, and continue until you’ve attached all of the boards together with the nylon. Now, repeat the same steps on the other side, then leave about 6 inches excess of nylon strap overhanging on the ends, roll up your walkway to see where it naturally stops, and mark it. Attach the Velcro on the marking and you’re done!

*Thanks to Hallmark Channel via YouTube for all images used here. If you loved this DIY project, then you’ll surely love their other videos too, so give their channel a visit and subscribe!


