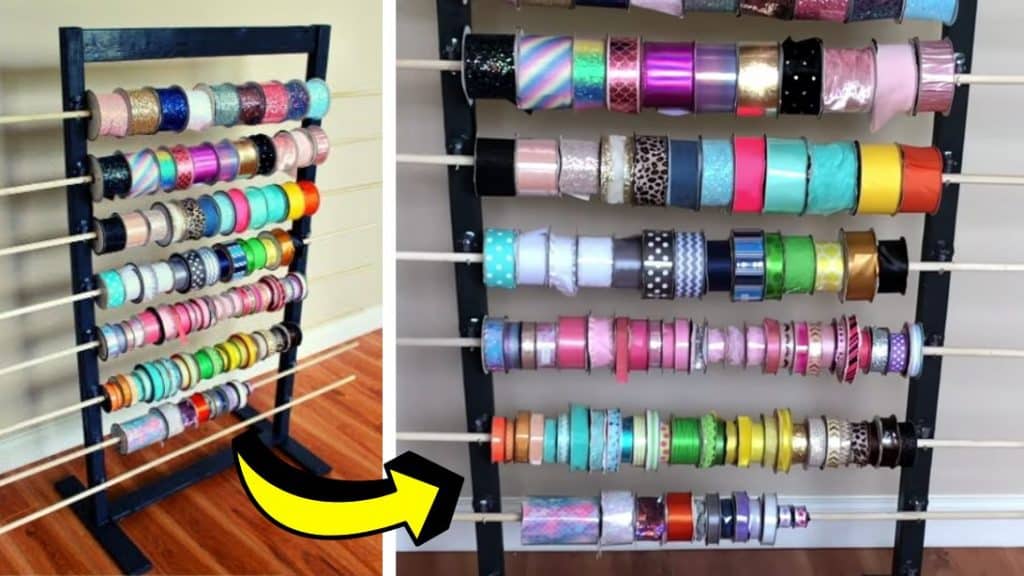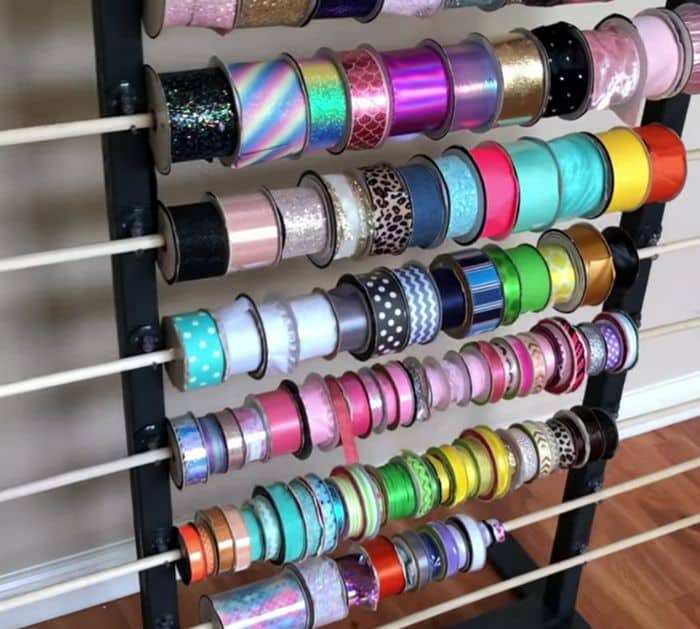
I’ve always wanted a ribbon organizer of some sort for all of the ribbon collections that I have, but I couldn’t decide on a specific design until I found this video tutorial by Wendy’s Creative Space on YouTube. It’s a very simple rack that stores your ribbons but it is still easy to use because you can just pull out some ribbons that you need while they’re still hanging.
RELATED: Easy Dollar Tree DIY Ribbon Holder Tutorial
They are made out of a few pieces of lumber and require only basic tools, and I’m sure that you can build them even if you’re not a professional. You can paint this in any color that you want and you can also make a sturdier or taller version depending on your preference or how many ribbons you need to organize. Learn the steps below and watch the video tutorial for more details.
Materials for DIY Ribbon Organizer:
- (1) 1x3x8 lumber
- (1) 2x2x8 lumber
- (8) ½x48 lumber
- 2x suction cup hooks
- Hack saw
- Sanding machine
- Nails
- Measuring tape
- Hammer
- Wood glue, optional
- Paint or stain, optional
- Foam brush or brush, optional
How to Build a DIY Ribbon Organizer:
Step 1
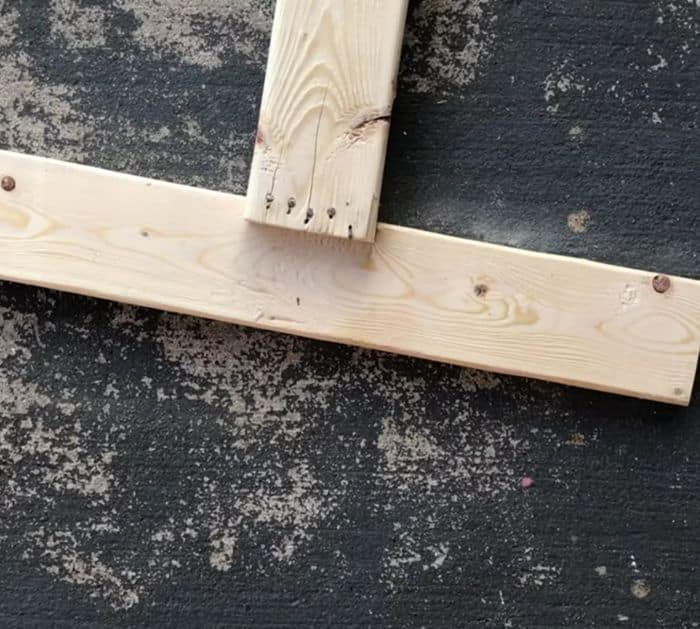
Cut the wood pieces as instructed in the video, then sand each piece smoothly, and paint or stain them individually if you want. Once the paint or stain has completely dried, attach the pieces for the base, add some wood glue first if using, then secure them with nails, and set them aside.

Step 2
Get the side pieces, then mark where you want the hooks to go and make sure to space them evenly, then secure them in place with nails, and attach the side pieces to the base. Finally, attach the top piece, then insert the ribbons into a wooden rod, and hang them on the hooks.

*All these images are credited to Wendy’s Creative Space via YouTube. Give her channel a visit and subscribe for more!


