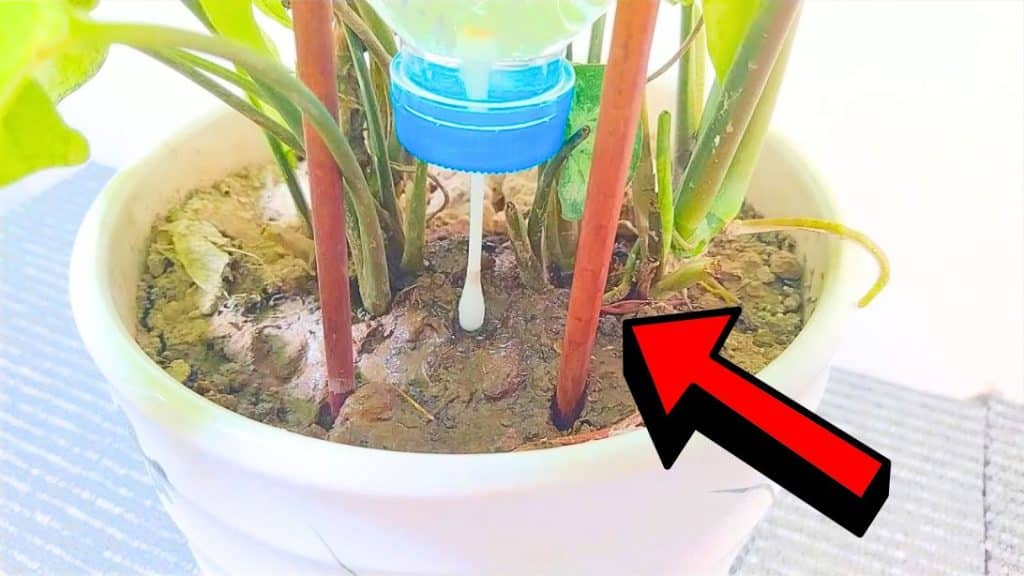
If you love planting but can’t seem to water them regularly because you’re too busy or you’ve got too much on your hands at the moment, then you’ll surely love this idea by BeeMake on YouTube. In this video tutorial, you will learn how to build and install a DIY drip irrigation system on your plant using only recycled materials. This way, you’ll worry about watering your plants less, not only did you save time, but you also managed to save money and effort while still making sure that your plant is properly taken care of.
Materials:
- Plastic bottle
- Cotton swab
- Chopsticks or any stick of the same length
- Zip ties or cable ties
- Scissors
- Hot glue gun and glue sticks
- A small screwdriver or nail and a hammer
Directions:
Step 1
Remove the lid of the plastic bottle, then poke a hole at the center of the lid, and widen it using the blade of your scissors until a cotton swab fits through. Dab some hot glue around the sides of the cotton swab on both sides of the lid to keep the cotton swab in place, then let it dry completely, and set it aside.
[social_warfare]
Step 2
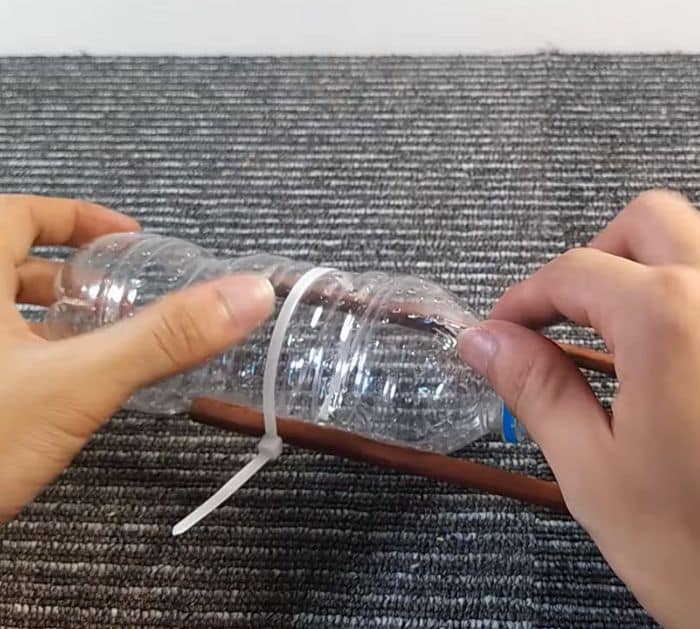
Next, grab the plastic bottle, then place the chopsticks or any stick on either side of the bottle, and wrap a zip or cable tie around them to hold them in place. Adjust the sticks to make sure that they are straight and parallel to each other and their edges are nicely lined up, then push the zip tie down near the edge of the stick, and pull the zip tie tighter.
Step 3
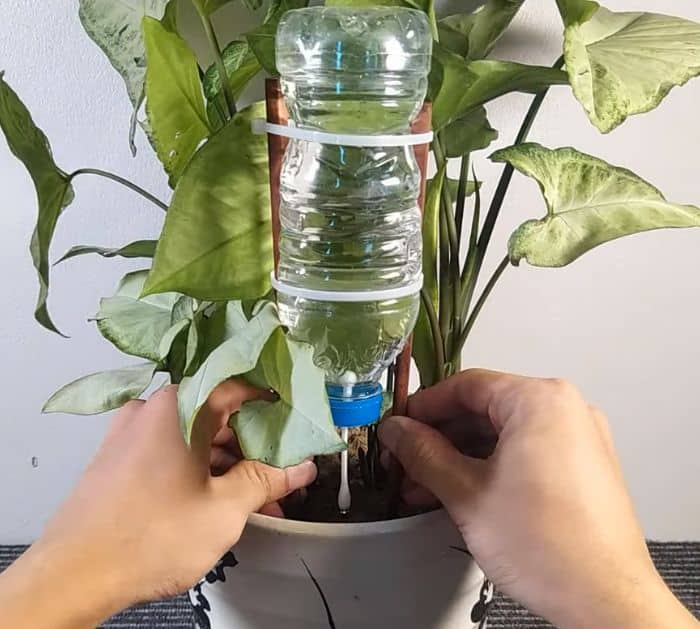
Now, wrap another zip tie around the bottle and the sticks making sure to leave about a 2-inch space after the first tie, then pull it tightly, and trim off the excess tails of the zip ties. Fill the bottle with water, then close the lid, and place it in your pot upside down. Use the sticks to insert the drip system into the soil, then push it down until it is stable, and you’re done!
*All these images are credited to BeeMake via YouTube. Give his channel a visit and subscribe for more!


