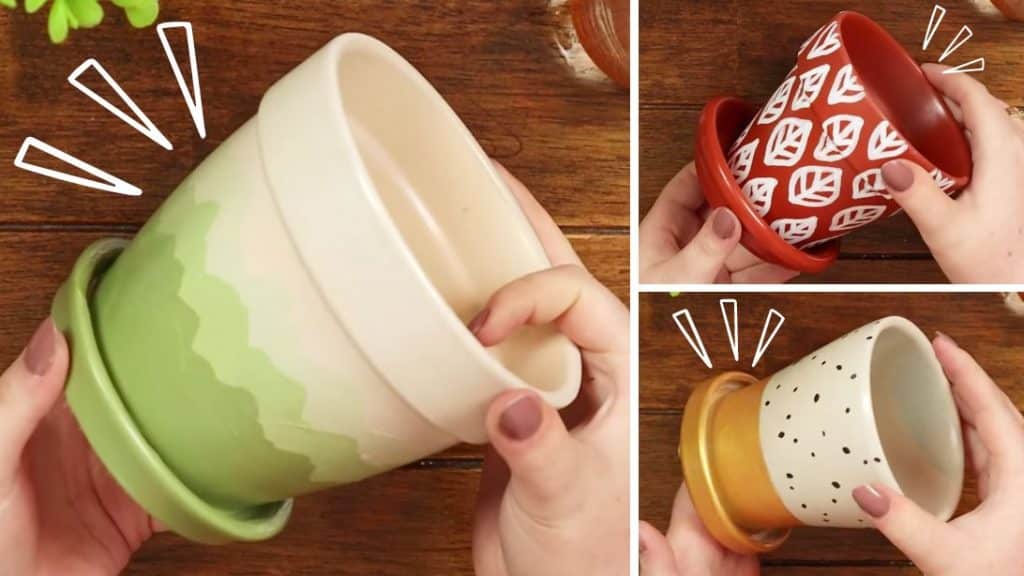
I love gardening so you can tell that my favorite season is definitely spring, and I always make sure that I take care of my plants and flowers well! However, I must admit that the last time I took care of their pots have been quite a long time ago. So, I decided to not just transfer my plants from old pots into new ones but to also give them a total makeover including those pots that are still in good condition, and what best way to upgrade them than with this technique by Helen Mabel on YouTube? These adorable designs and ideas are super easy and simple to do, with no need for any special tools or complicated steps.
Materials:
- Pots
- Spray paint, white and brown orange
- Acrylic paint, green, black, metallic
- Posca marker
- Paintbrush
Directions:
Preparing the Pots
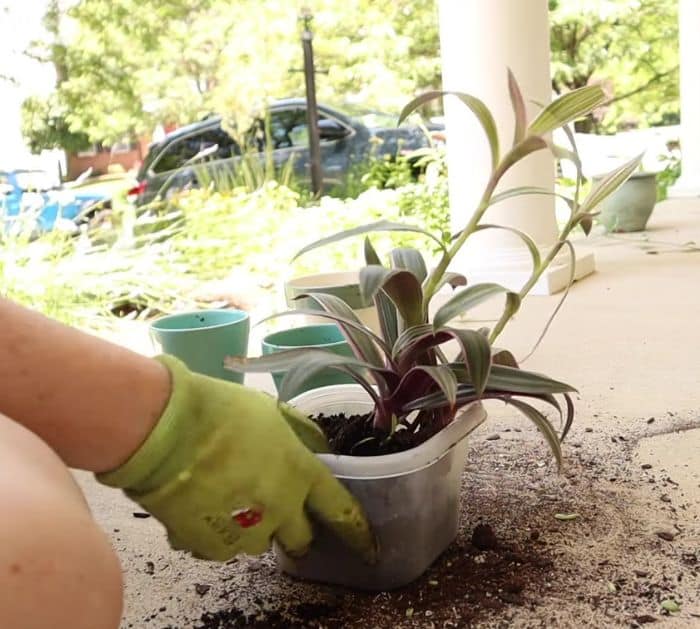
Move the plants and their soil into individual Tupperware or containers and set them aside while you’re working on the pots. Wash the pots nicely to remove any leftover dirt, then pat them dry, and place them on your work surface making sure it’s covered with cardboard, paper, or plastic to catch the excess paint. Spray paint some of them white and some brown orange, then allow them to dry completely, and decide which design you want on each pot. Once you’re done designing the pots and have completely dried, put your plants and soil back into them nicely.

[social_warfare]
Design #1
Grab a white pot, then dip your paintbrush in off-white paint, and make a sideways curved stroke in the middle of the pot. Repeat this step below the first paint making sure to progress and make the color darker each time until you reached the bottom.
Design #2
Grab the brown orange pot, then using a Posca marker, draw leaves or whatever shape you want, and let it dry completely.
Design #3
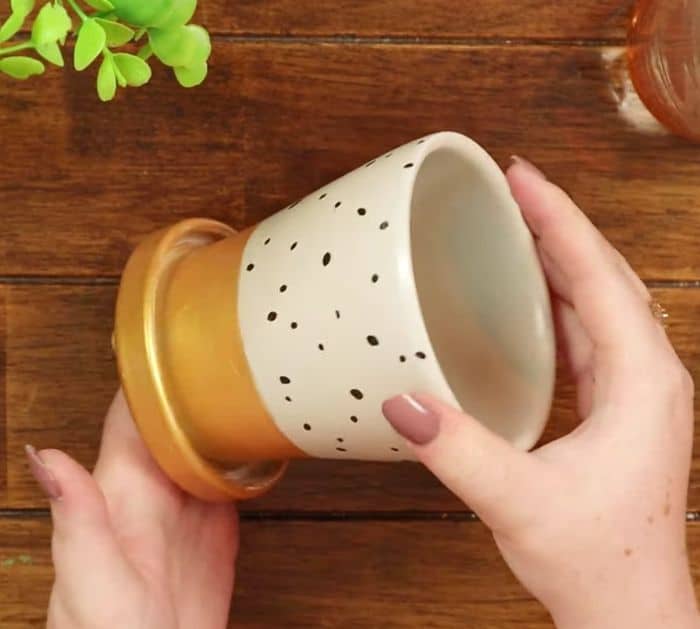
Grab a white pot, then paint the bottom part with metallic paint, and allow it to dry completely before adding another coat until the layer has reached the desired thickness. Add black dots all over the upper half of the pot, then let them dry, and you’re done.

*All image credit belongs to Helen Mabel via YouTube. Follow and subscribe to her channel for more!


