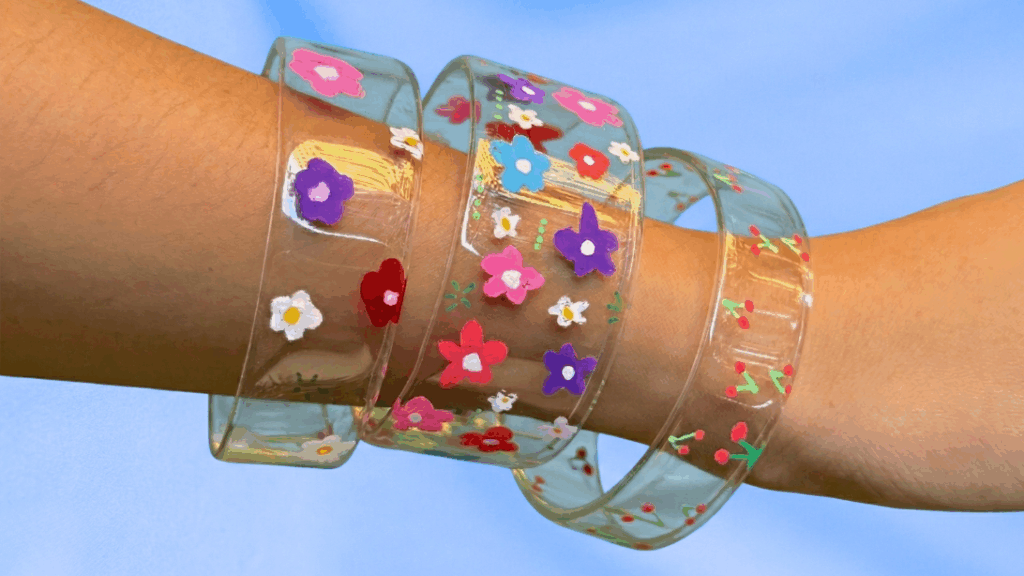
Plastic bottles are one of the most common items we throw away, but they can also be turned into surprisingly fun craft projects. Instead of tossing an empty bottle in the recycling bin, you can transform it into a DIY upcycled bracelet that is both creative and practical. With just a few simple steps, a plastic bottle can become a lightweight accessory that anyone can decorate and wear.
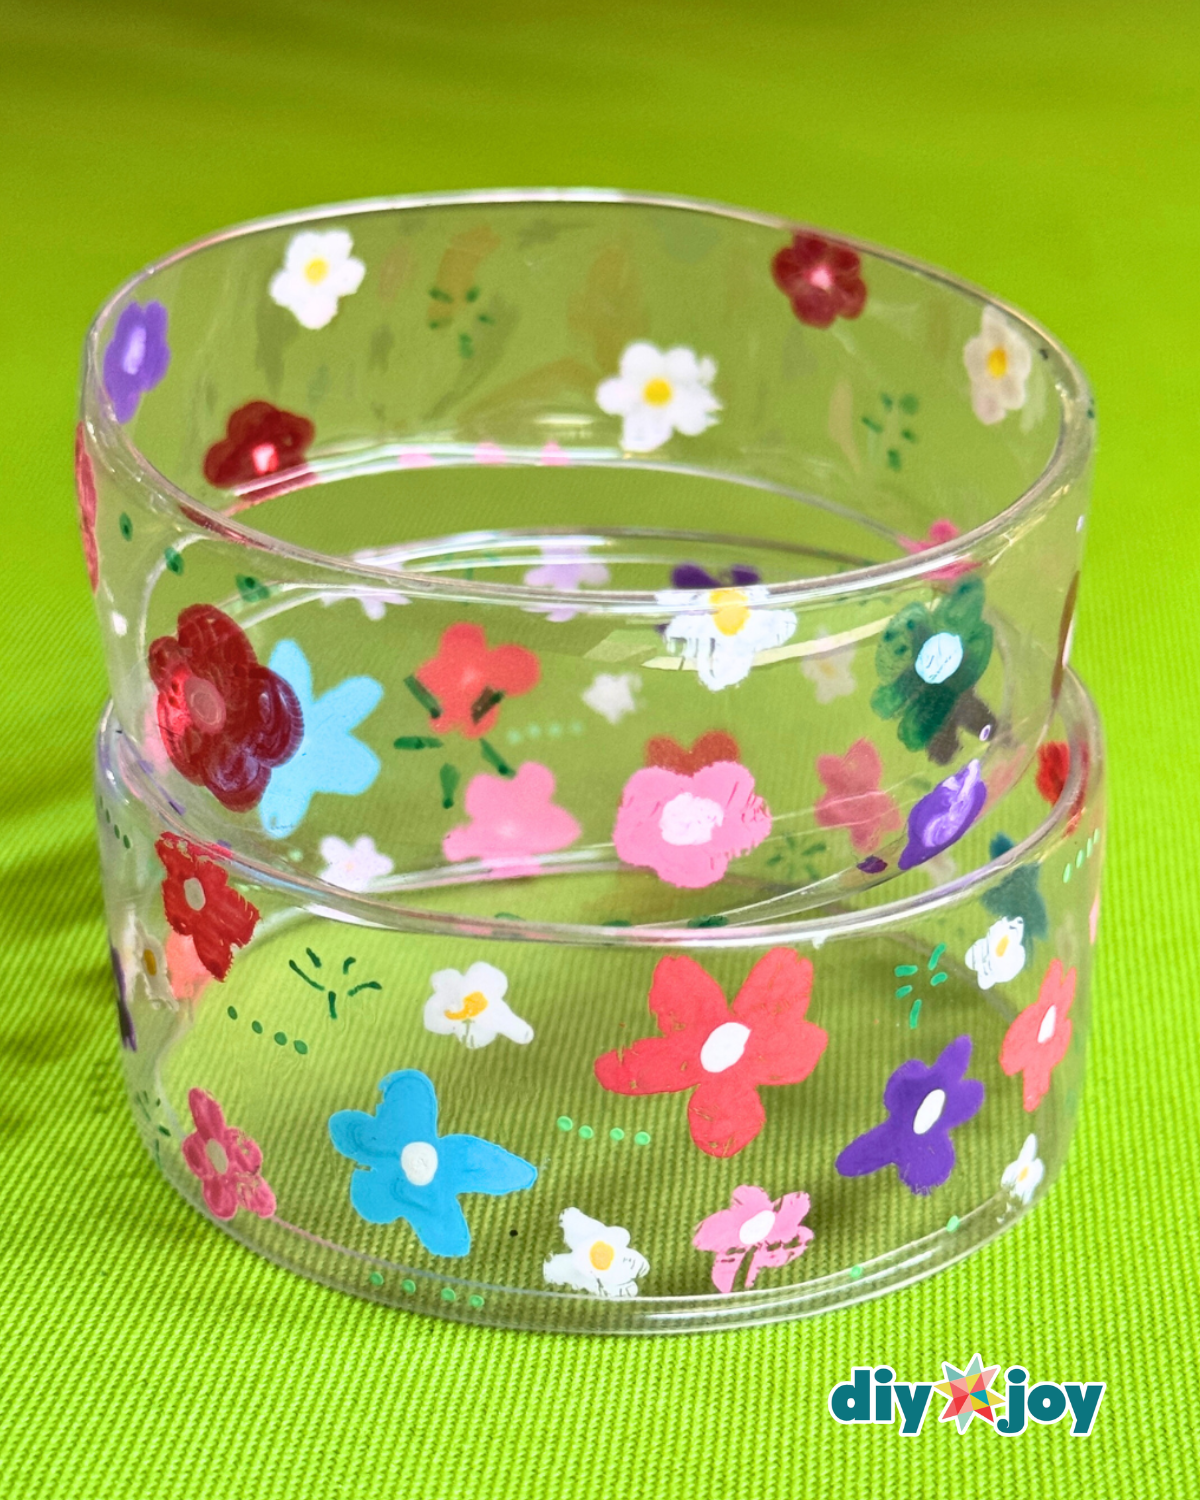
In this tutorial, the bottle is first cut into bracelet-sized rings, then the edges are gently softened and curved using the bottom of an iron. Heating the plastic slightly helps smooth out the sharp edges and gives the bracelet a comfortable, rounded shape. You can decorate it with colorful POSCA pens to add patterns, doodles, or any design you like.
RELATED: Easy Flower Bead Bracelet for Beginners
This plastic bottle bracelet DIY is a fun and budget-friendly activity that works well for both kids and adults. It is simple enough for beginners and does not require expensive materials, making it a great craft for classrooms, family craft time, or creative afternoons at home. Because each bracelet can be designed differently, everyone can make something unique that reflects their own style.
Upcycling projects like this are also a great way to give new life to materials that would normally be discarded. Instead of waste, you end up with a handmade accessory that is colorful, personal, and surprisingly durable. Follow the step-by-step guide below to learn how to turn an ordinary plastic bottle into a custom bracelet you can wear or share with friends.
How to Make a Plastic Bottle Bracelet
Step 1: Cut the Plastic Bottle Strip

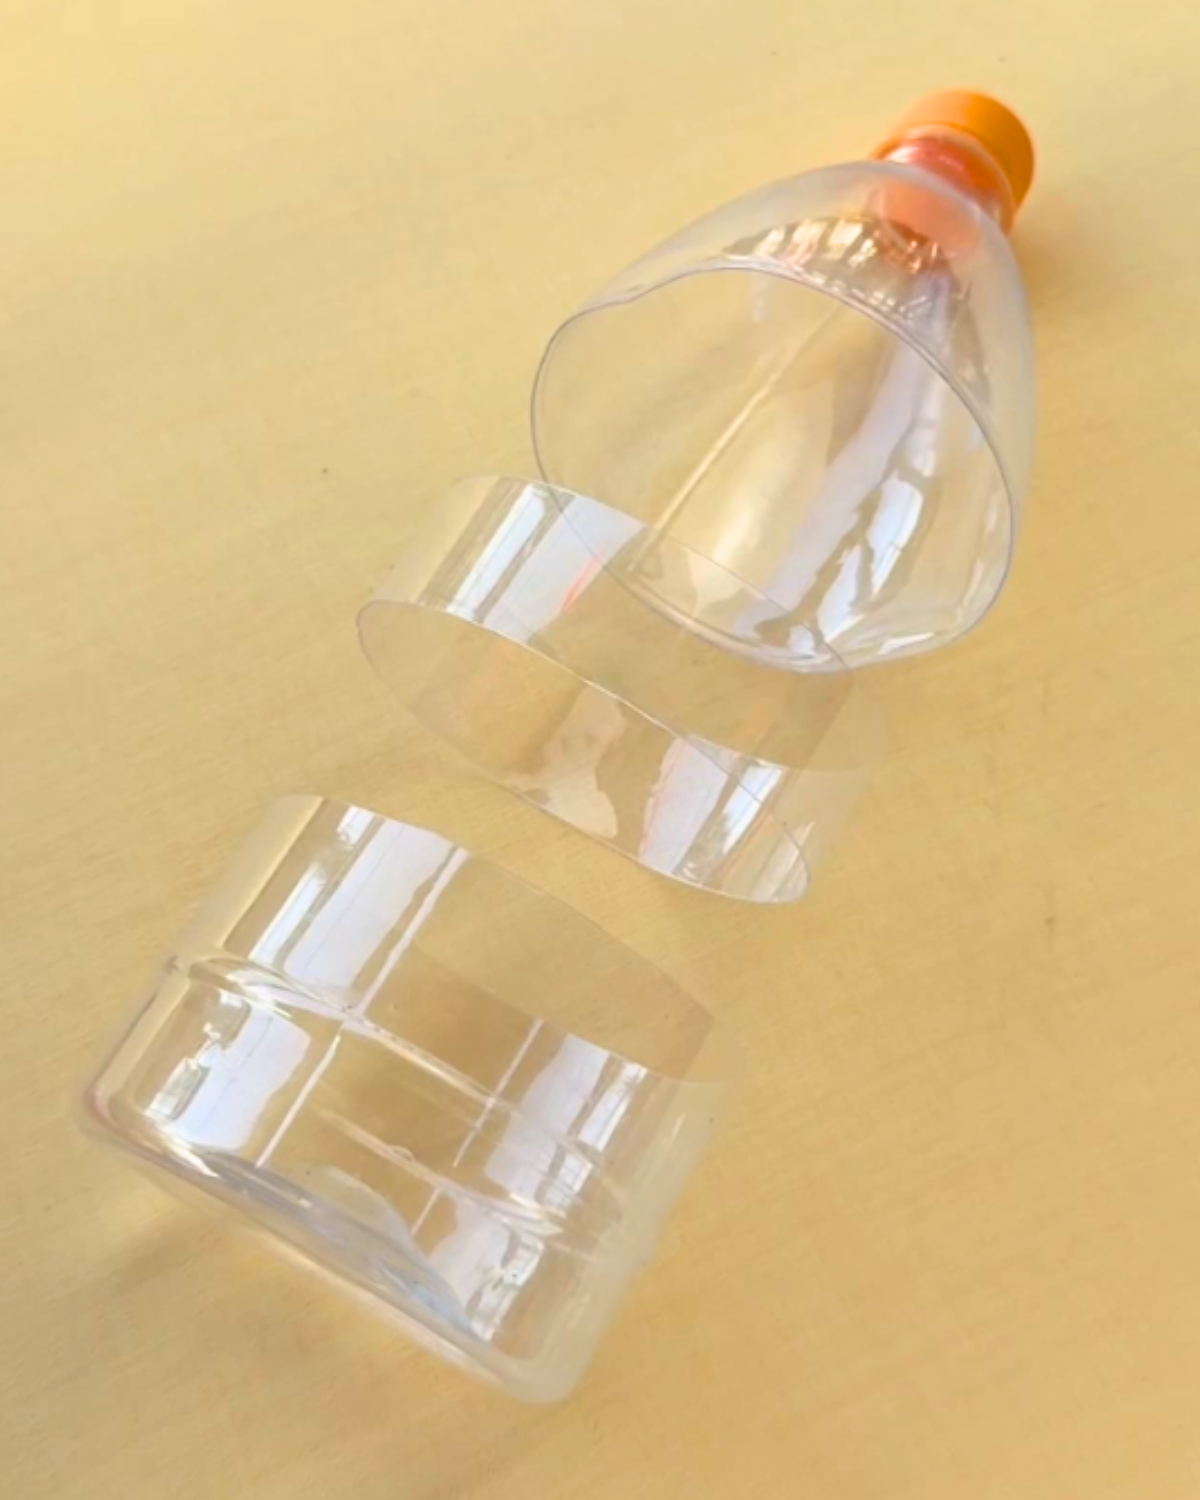
Using a cutter or a pair of scissors, cut a straight strip from a plastic bottle. The width of the strip will determine how thick the bracelet will be.Step 2: Draw the Bracelet Design
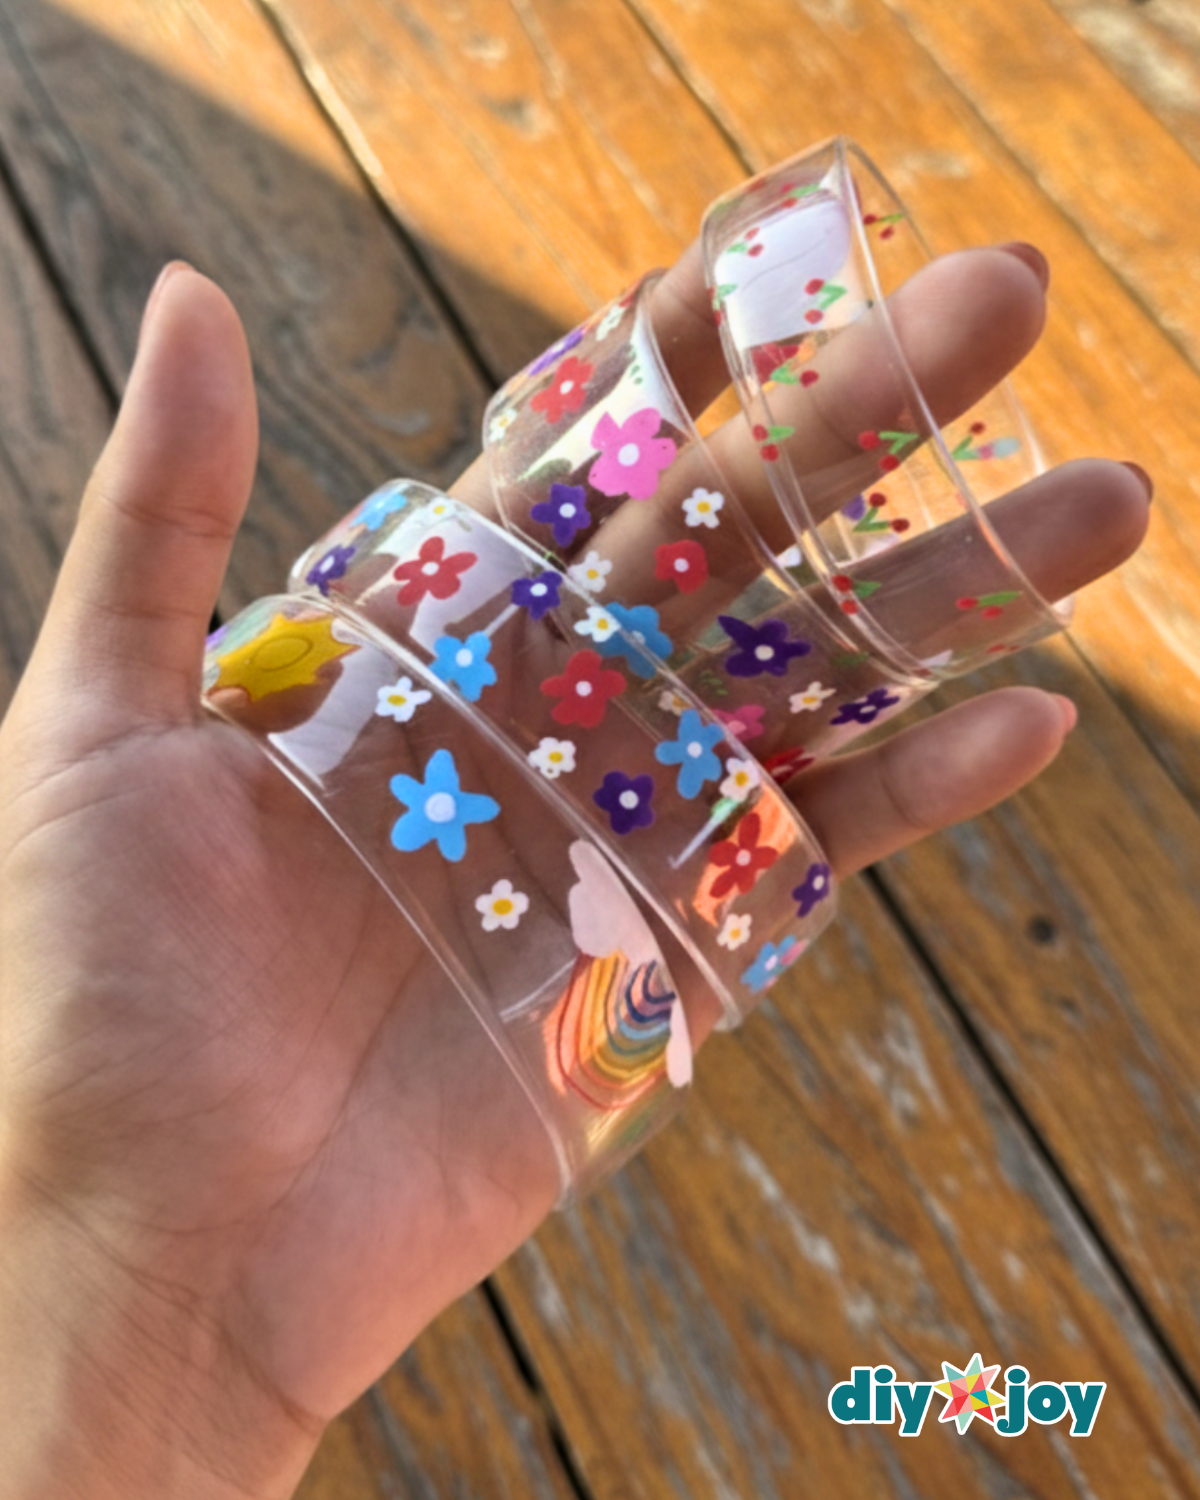
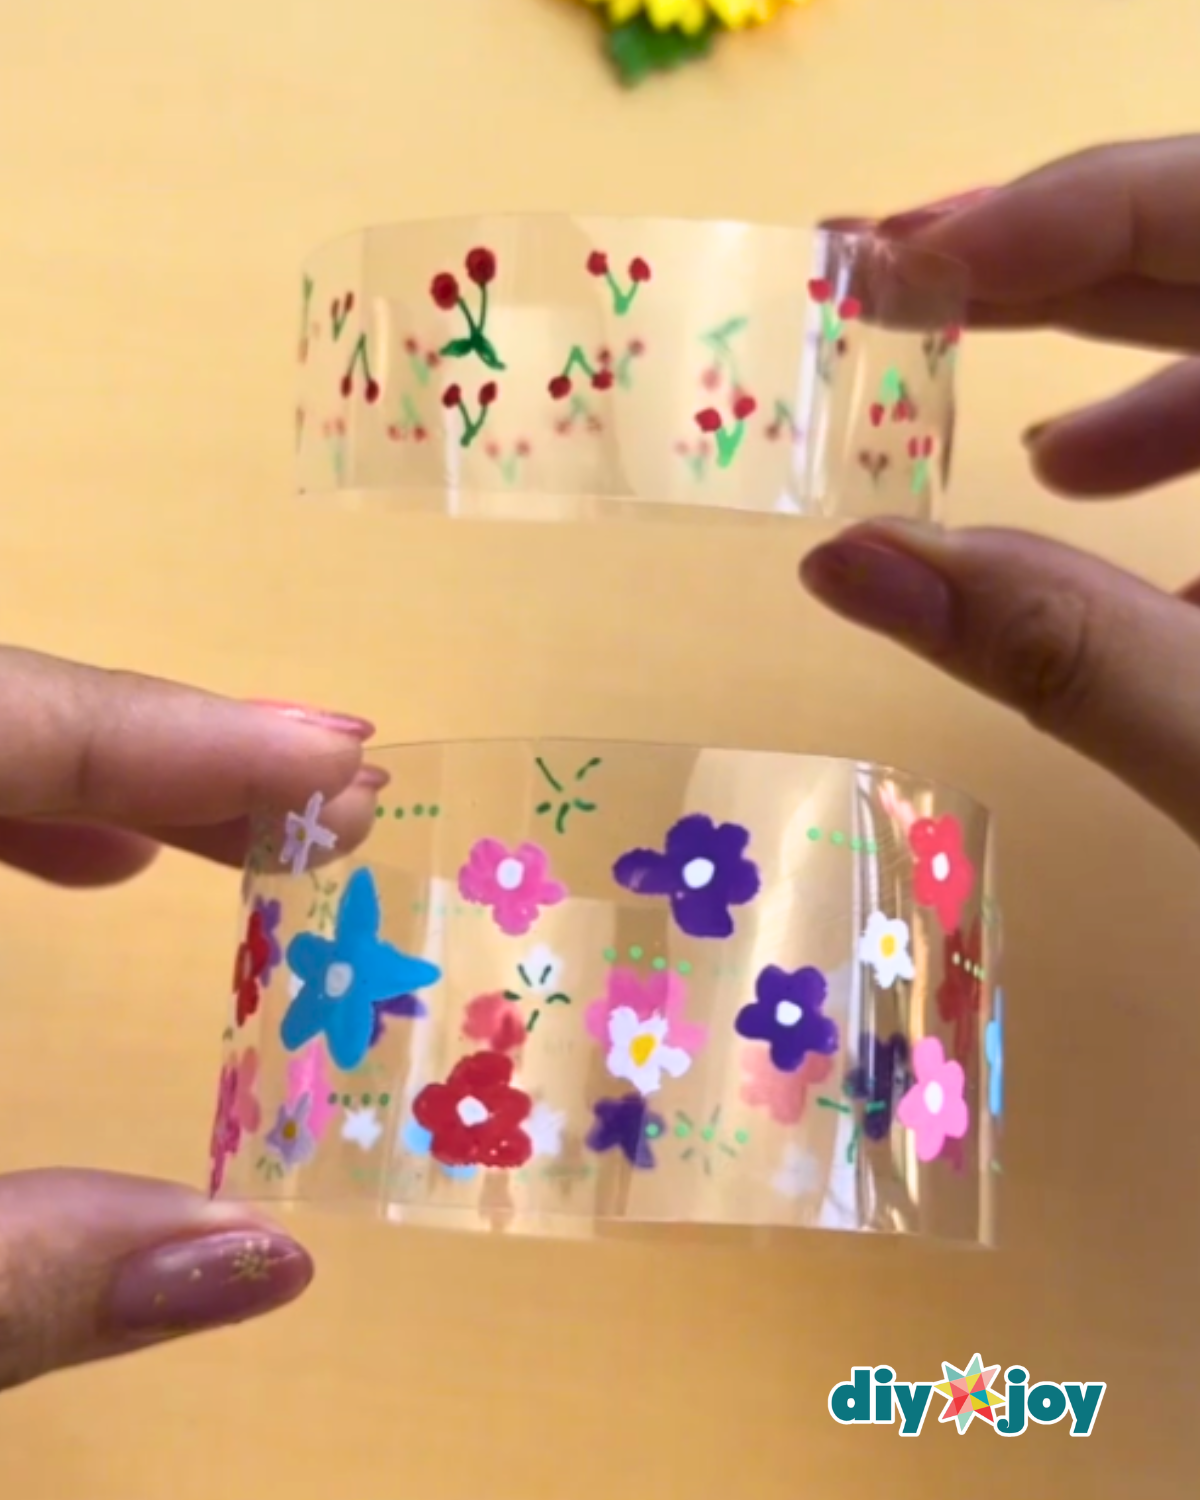
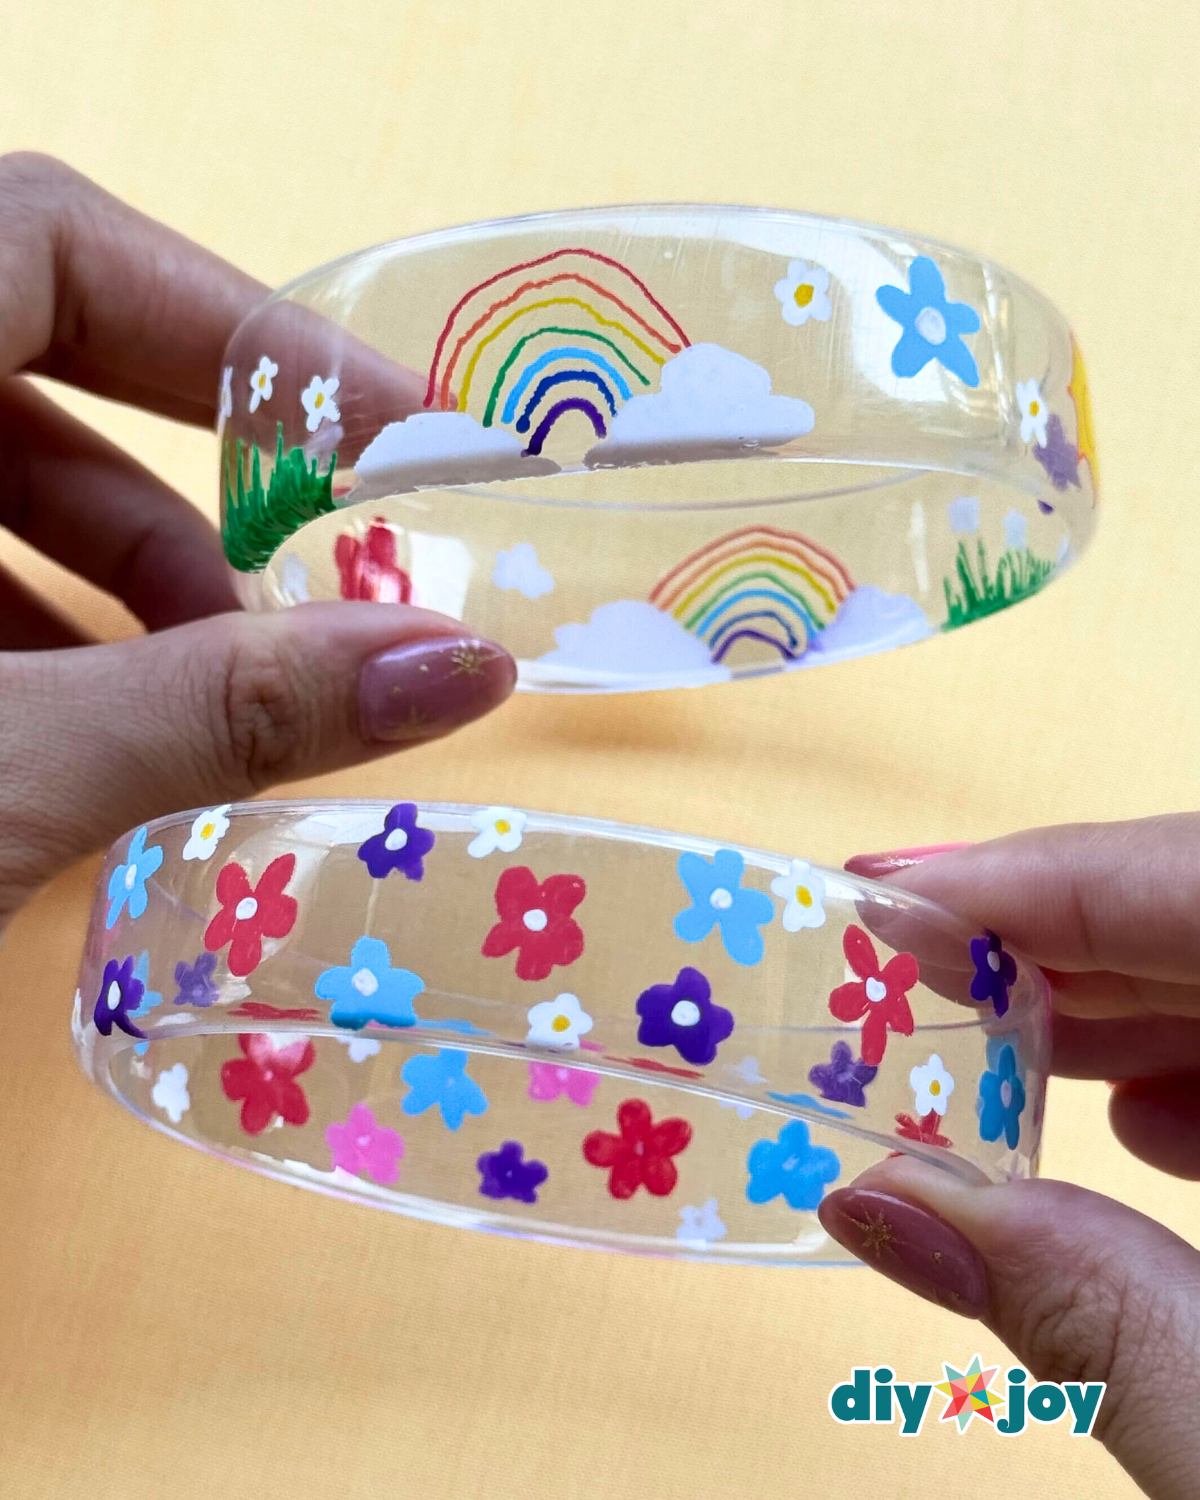
Draw your desired design all around the bracelet. You can add flowers, hearts, or any shapes you like.Step 3: Smooth the Bracelet Edges
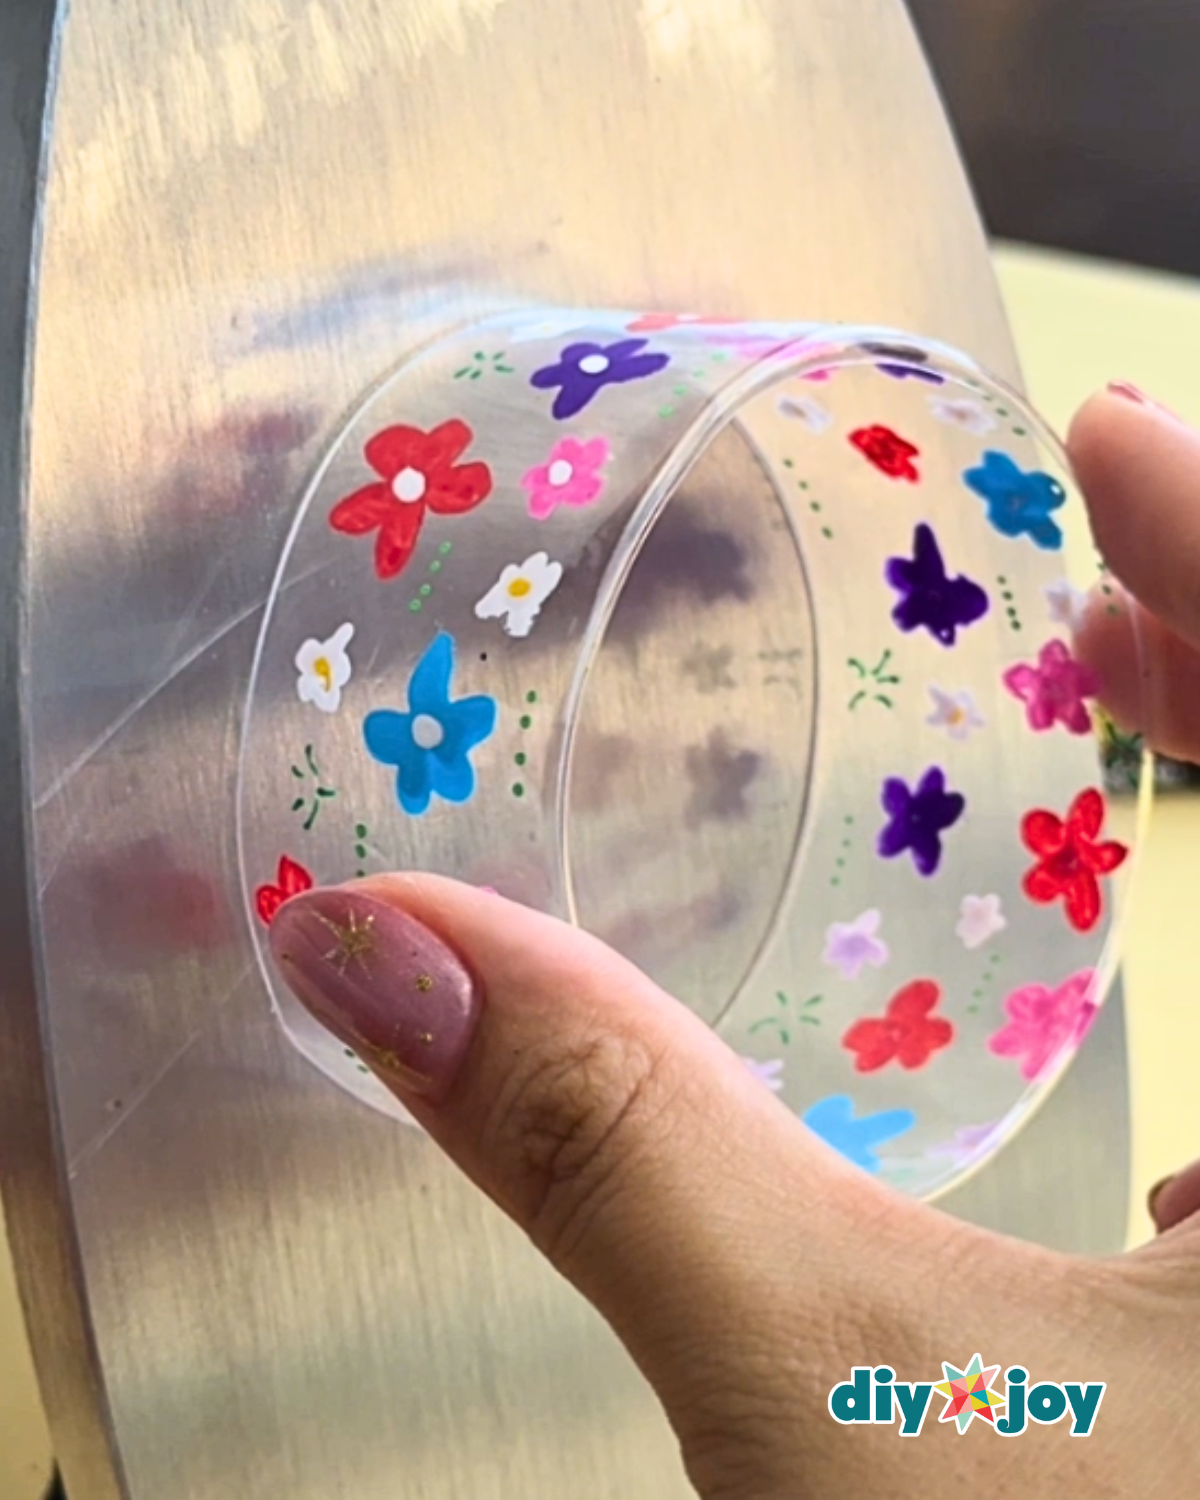
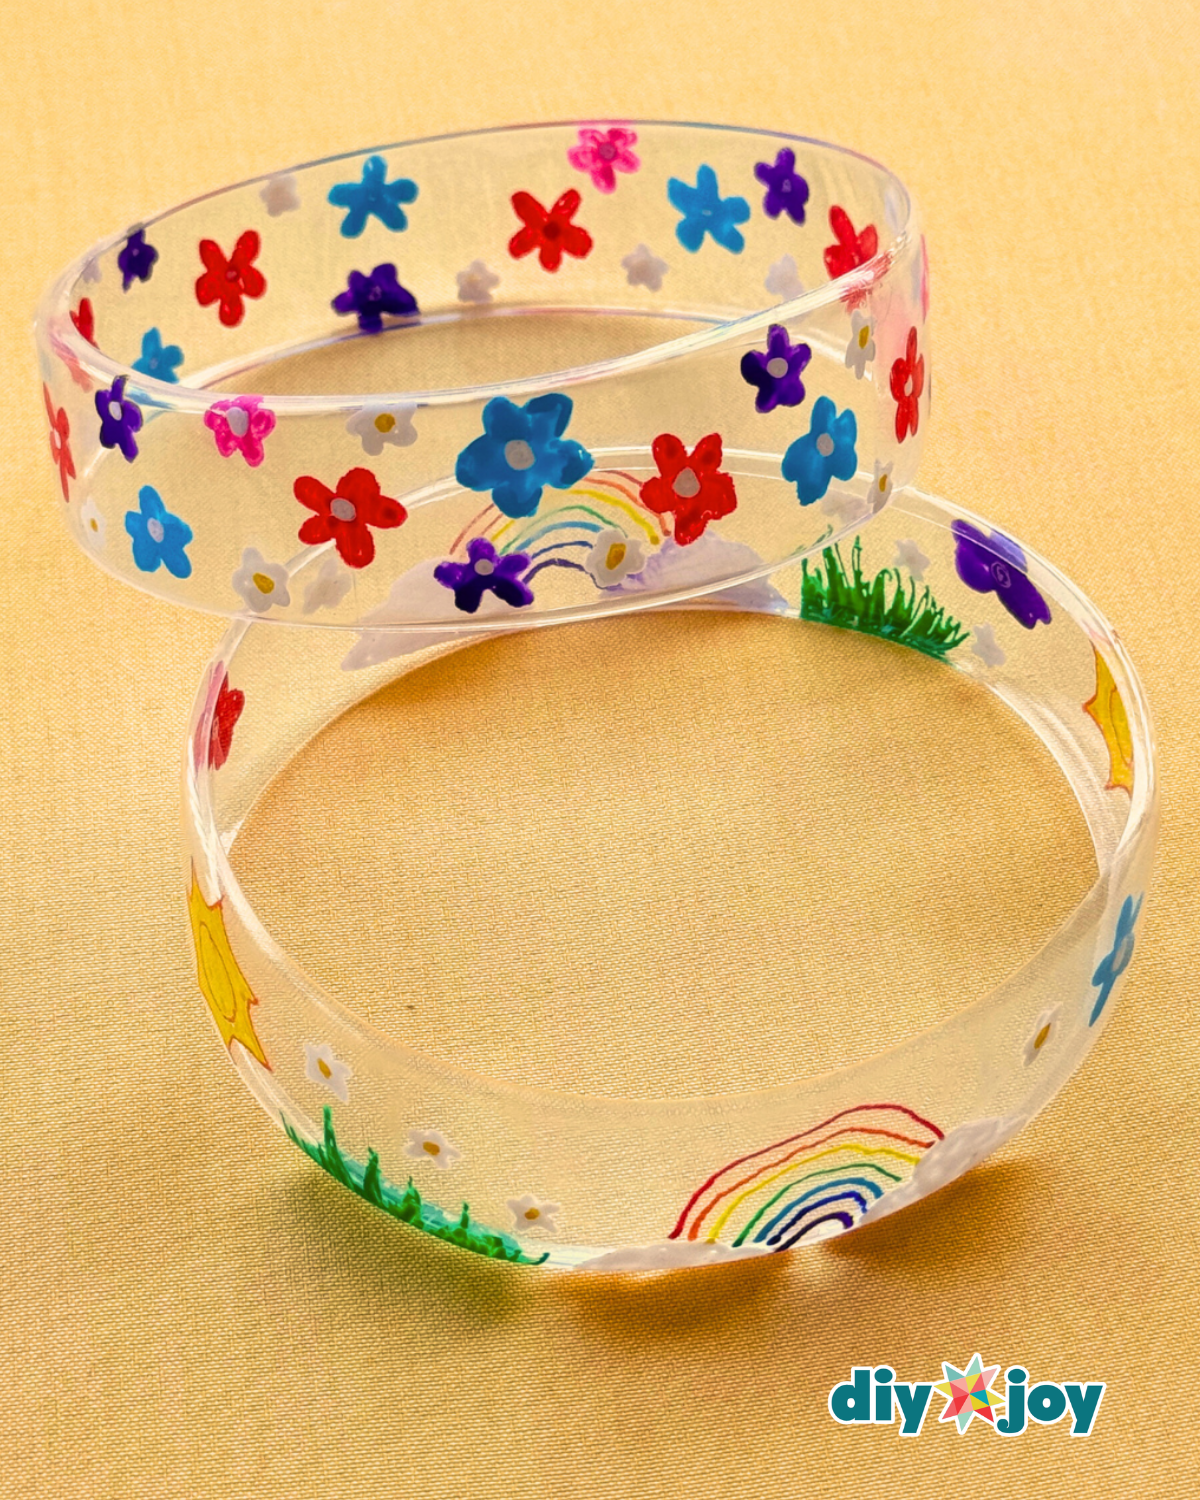
Place one edge of the bracelet against the bottom of an iron set to low heat. Allow the heat to gently curve the edge so it becomes smooth and no longer sharp. Repeat the same process on the other side of the bracelet.The Finished Bracelets:
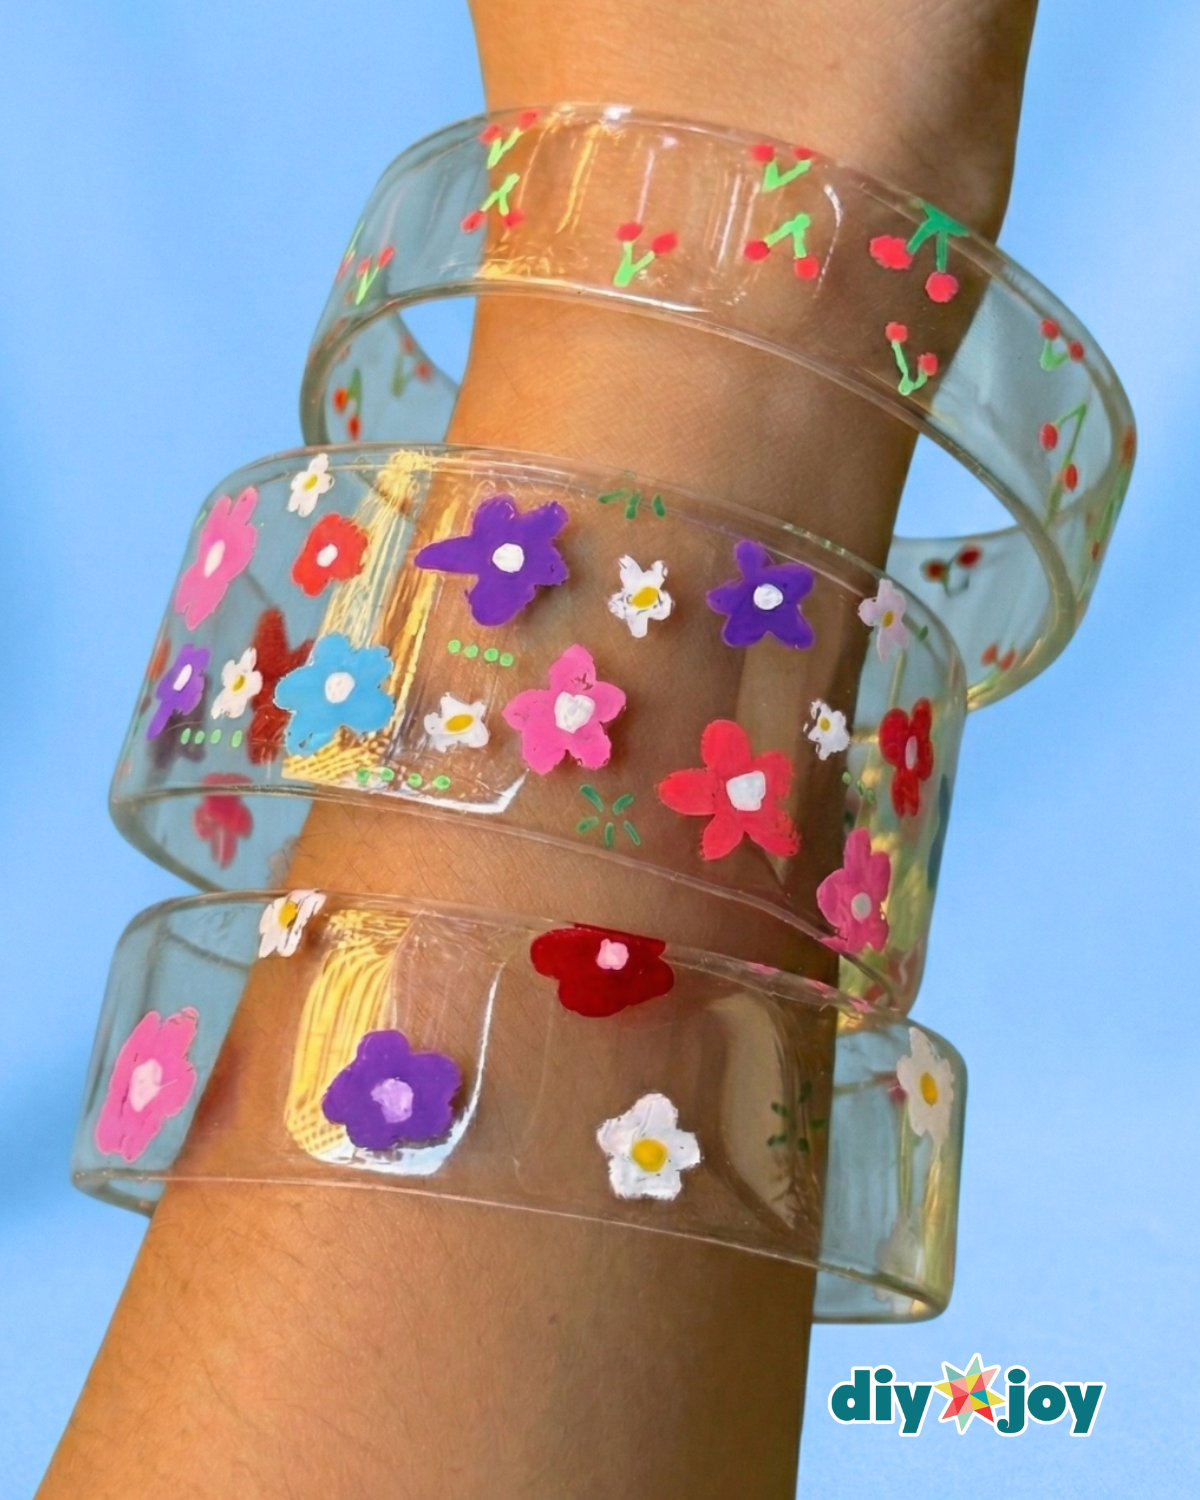
All done! Your bracelets are now ready to wear!
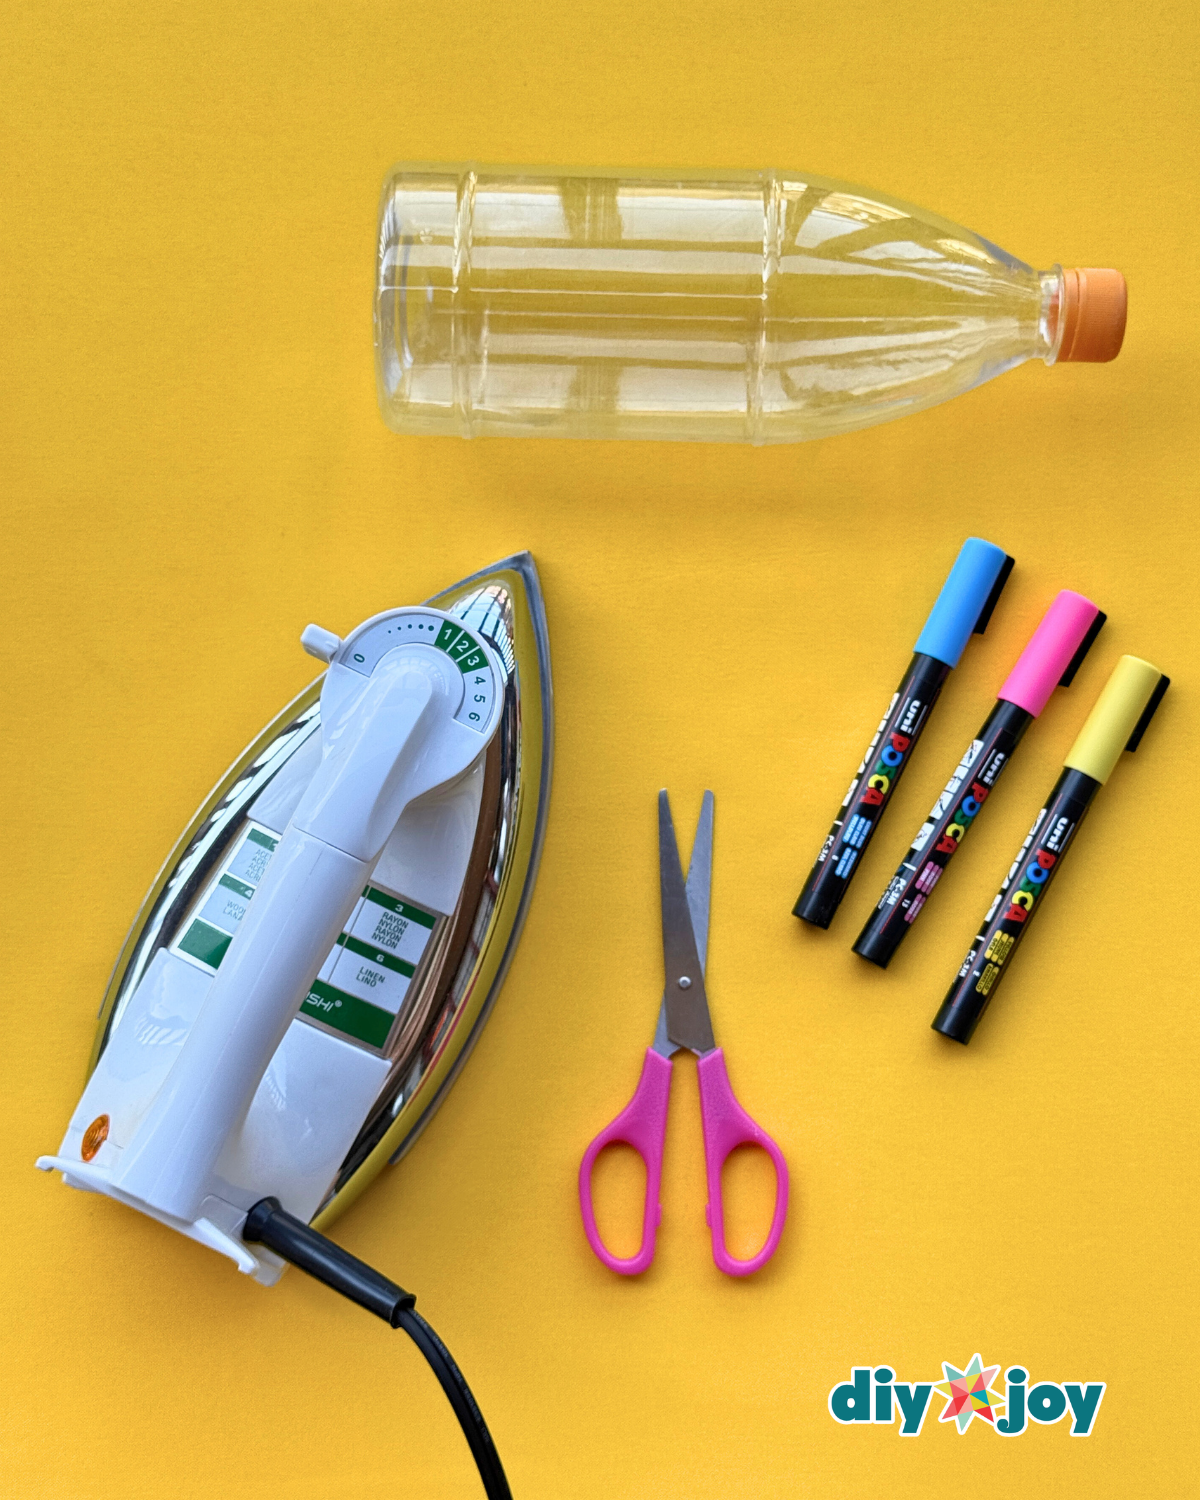
Materials
- Plastic Bottle
- Iron
- POSCA Pens
- Scissors or Cutter
![]()
Pro Tips
Cut the plastic evenly
Try to cut the bottle ring as straight as possible so the bracelet looks balanced and sits comfortably on the wrist.
Use low heat when shaping
When curving the edges with the bottom of the iron, use low heat and move slowly. Too much heat can shrink or warp the plastic.
Seal your design if needed
If the bracelet will be used often, you can apply a light, clear sealant to help protect the artwork.
Crafts to Try Next:

Crafts

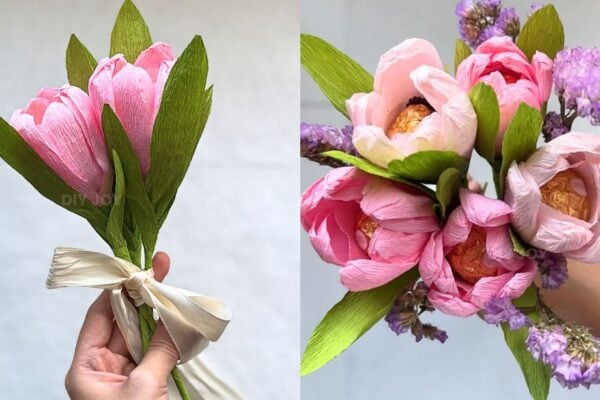
Paper Flowers

Crafts

Paper Flowers
*If you love this craft, then visit our official website, follow our Facebook page, and subscribe to our YouTube channel for more!
DIY Plastic Bottle Bracelet Tutorial