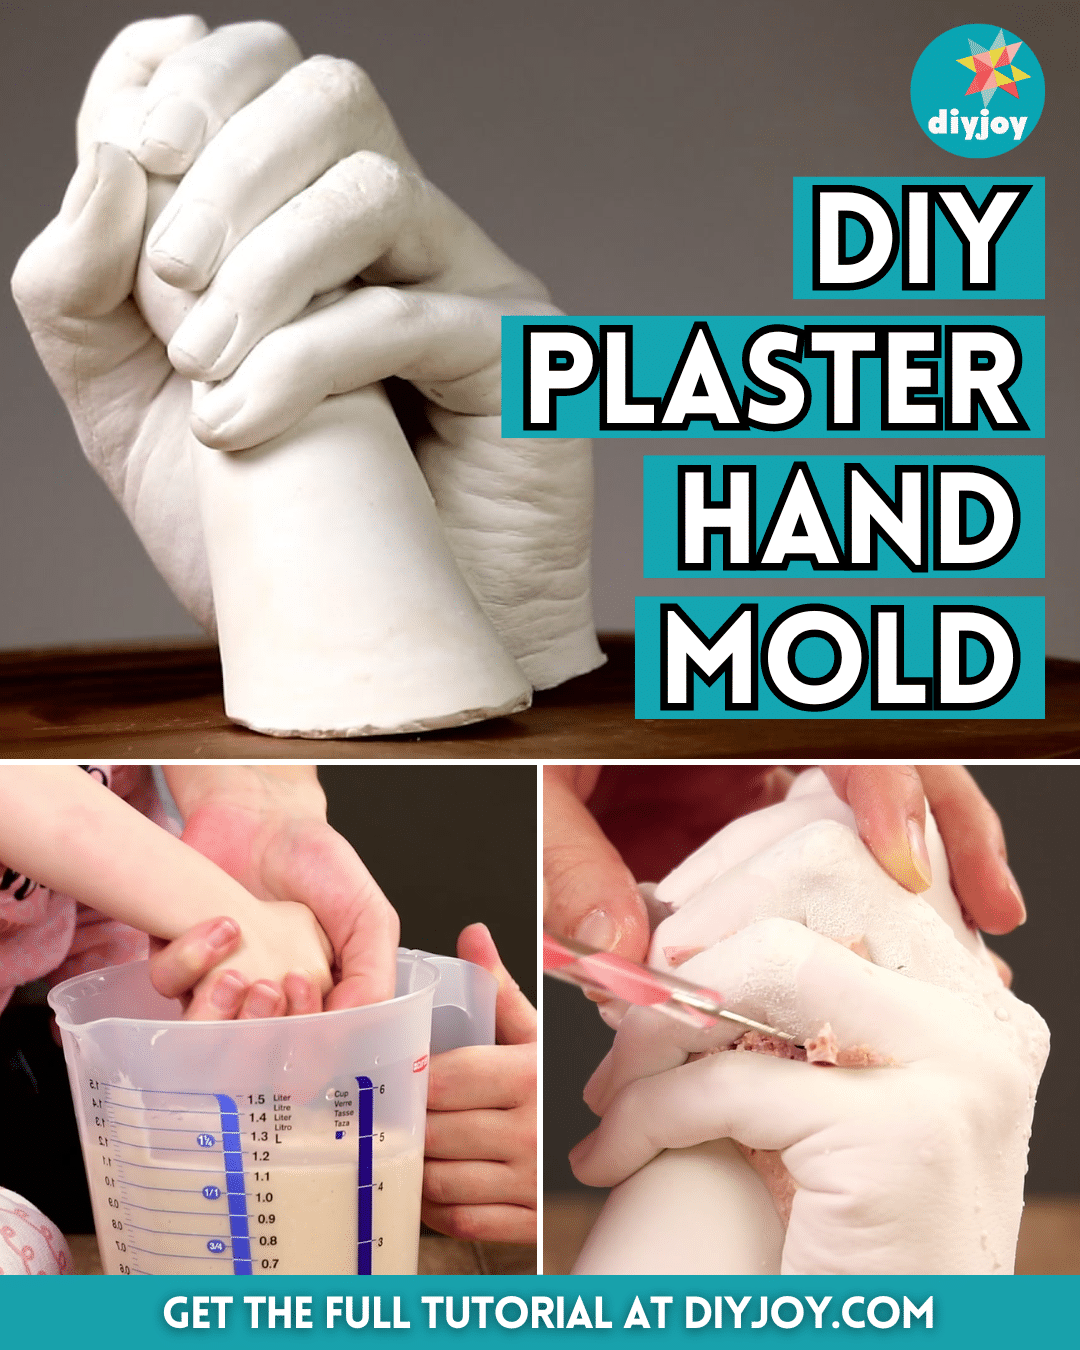
This DIY project idea by Cleverly on YouTube is one of my favorite crafts I’ve ever done so far and it’s something I’ll probably make more of. There are a lot of shapes and items you can preserve with this idea and I bet this will make the most precious gift you can ever give to a loved one.
RELATED: Easy DIY Seashell Candles | Perfect Gift or Giveaway Idea
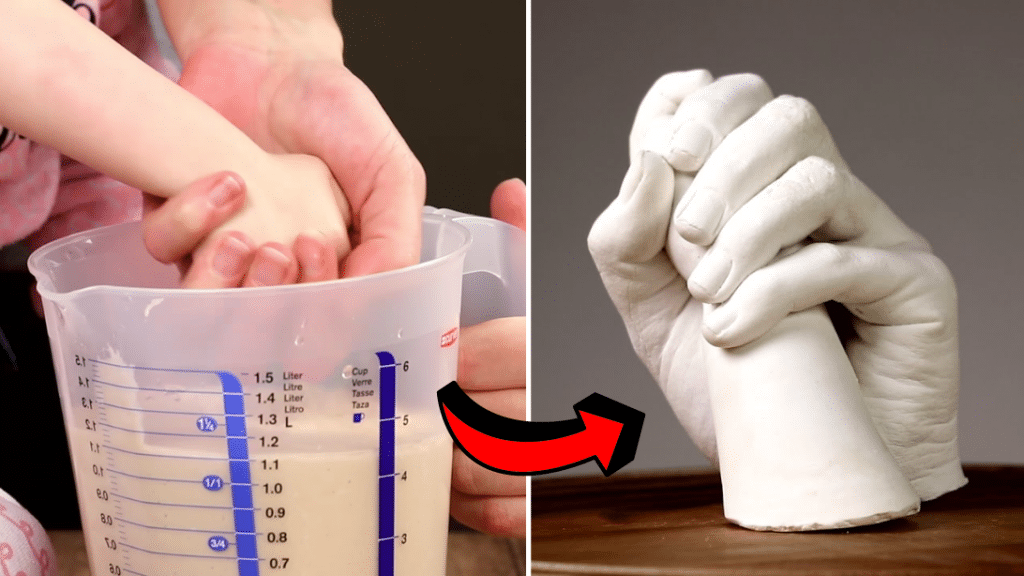
You might think that this would be difficult to make, but you’ll be surprised to know that all you have to do is prepare the mold and gypsum mixture and dunk your hands in it. The only hard part in this is if you’re working on a hand mold with a child because you have to hold them still for at least 4 minutes. Learn how now by watching the video tutorial below.
Materials for DIY Plaster Hand Mold:
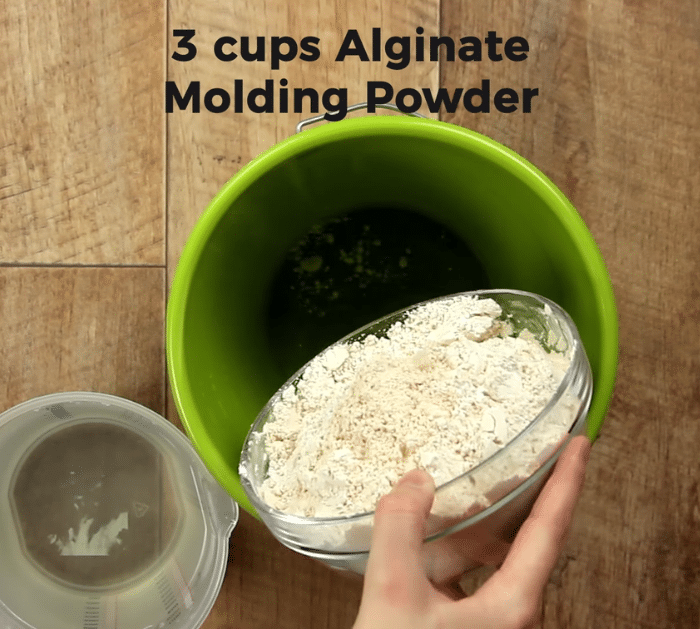
- 3 cups of alginate molding powder
- Water
- Measuring cup
- Bucket
- Spoon
- Dishwashing liquid
- Gypsum powder
- Cutting board
- Box cutter
- Dotting pens, tweezers, or toothpicks
How to Make Plaster Hand Mold:
Step 1
In a bucket, add 3 cups of alginate molding powder and 1 gallon of water, then stir them together for about 45 seconds until thick and well combined, and then pour the mixture into a large measuring cup.
Step 2
Decide the position of your hands, then dunk your hands into the molding mixture, and hold this position for about 4 minutes for an accurate and detailed impression.
Step 3
Once the mixture is firm and has solidified, carefully remove your hands from the compound, then pour some dishwashing liquid into the holes, and fill them with water.
Step 4
Give it a good shake to lightly mix the dishwashing liquid and water, then wash out the loose compound to prevent the gypsum from sticking to the compound later.
Step 5
Mix the gypsum powder according to the package instructions, then pour it into the mold, and set it aside to harden for about 24 hours.
Step 6
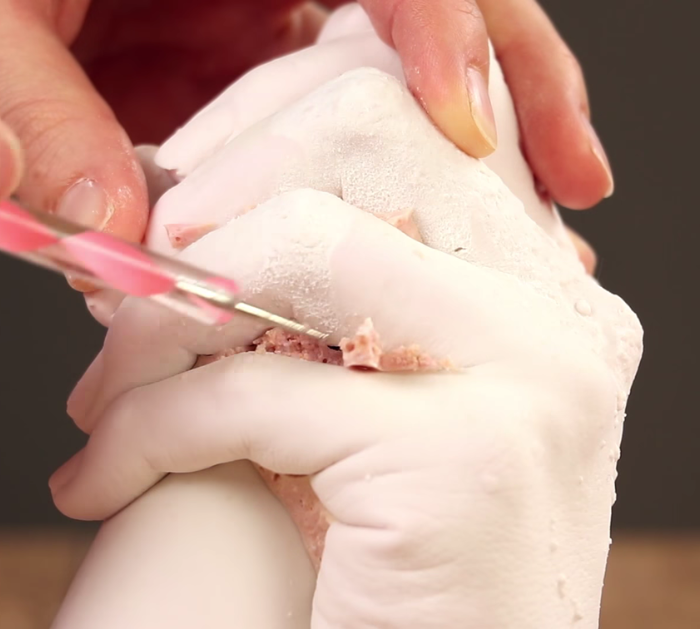
Once dry, carefully flip the measuring cup over to a cutting board, then remove the molding compound bit by bit until the cast is exposed, use the dotting pen to remove the compound from hard-to-reach places.
*All image credit belongs to Cleverly via YouTube. Follow and subscribe to their channel for more!
Easy DIY Plaster Hand Mold Tutorial


