Phone chargers are one of the most used items in our daily routine, yet they are also one of the most easily damaged. Constant bending, pulling, and twisting can weaken the cord over time, especially near the ends. Instead of replacing broken cables again and again, why not reinforce them in a creative way? This DIY flower vine charger cord project transforms a plain charging cable into a reinforced, decorative accessory using pipe cleaners wrapped securely around the wire.
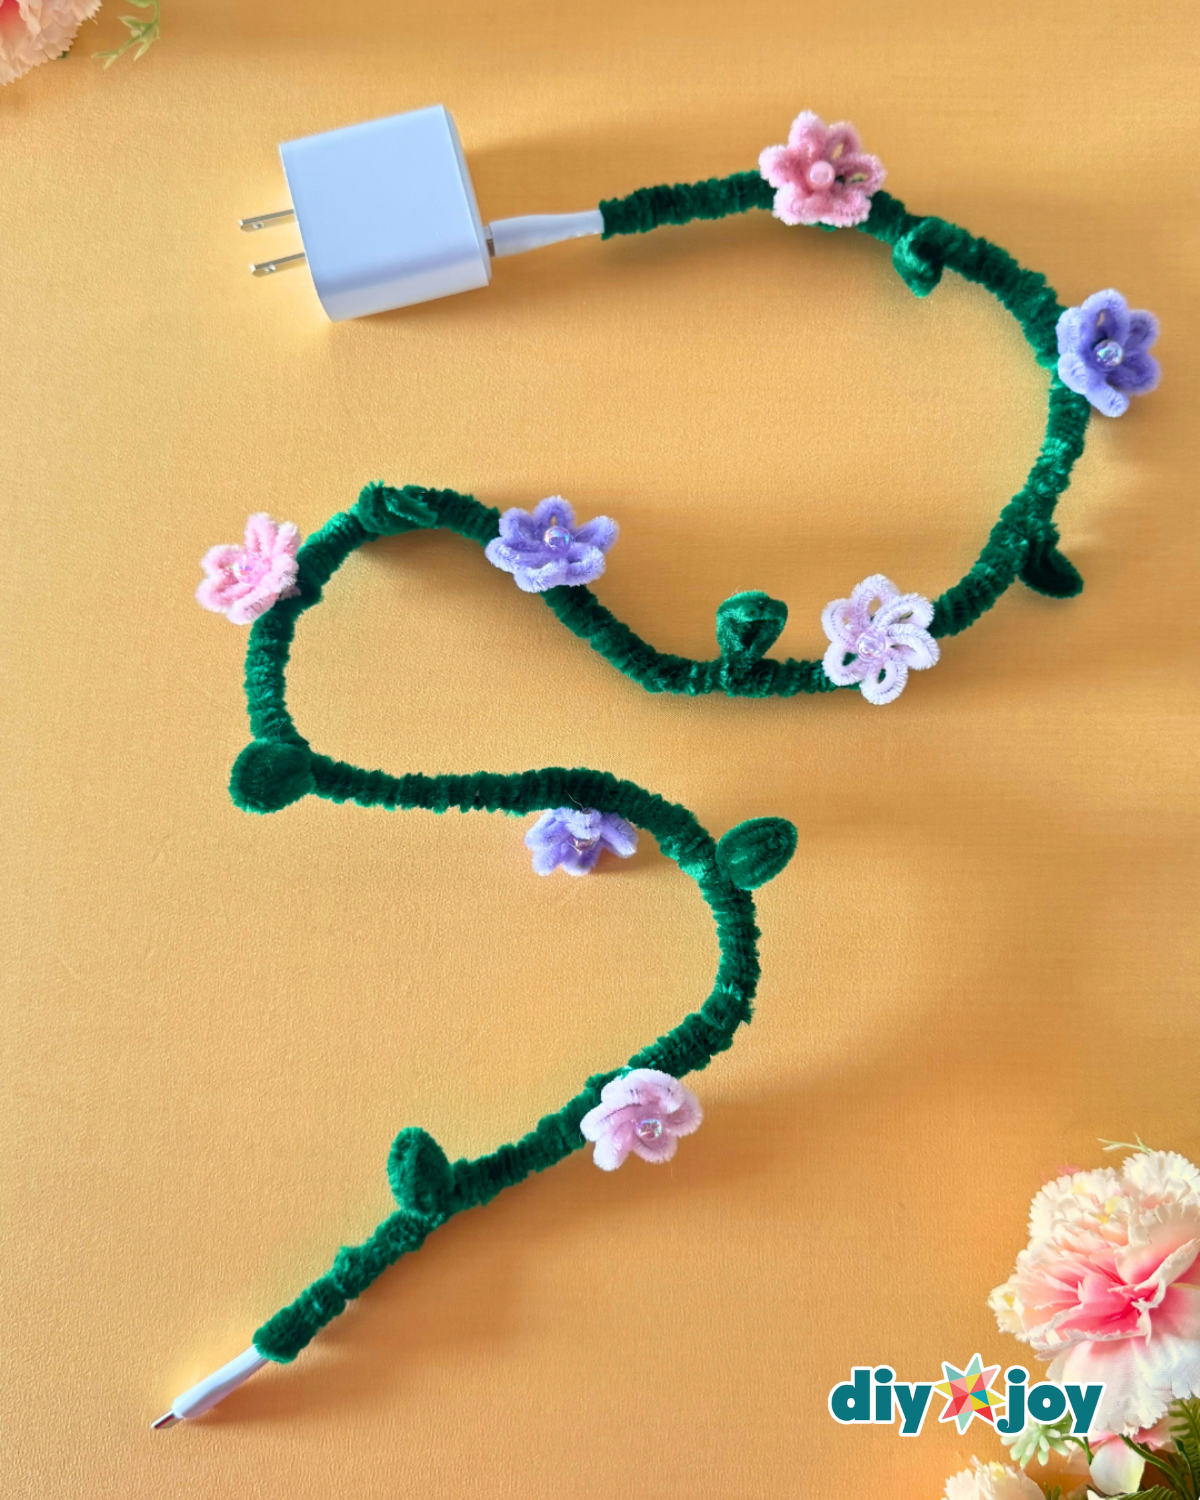
By tightly wrapping green pipe cleaners around your charger, you add an extra protective layer that helps reduce strain and prevent fraying. The vine-inspired design is not just for looks—it adds structure and support, making the cord feel sturdier and more durable. Small leaves and flowers can be twisted directly into the wrap, keeping everything secure while giving your cable a personalized touch.
RELATED: Easy Pipe Cleaner Flower | DIY Lavender
This project is simple, beginner-friendly, and requires no special tools. The pipe cleaners act as both decoration and functional reinforcement, helping the charger maintain its shape and resist excessive bending. You can adjust the thickness of the wrap depending on how much support you want, making it practical as well as creative.
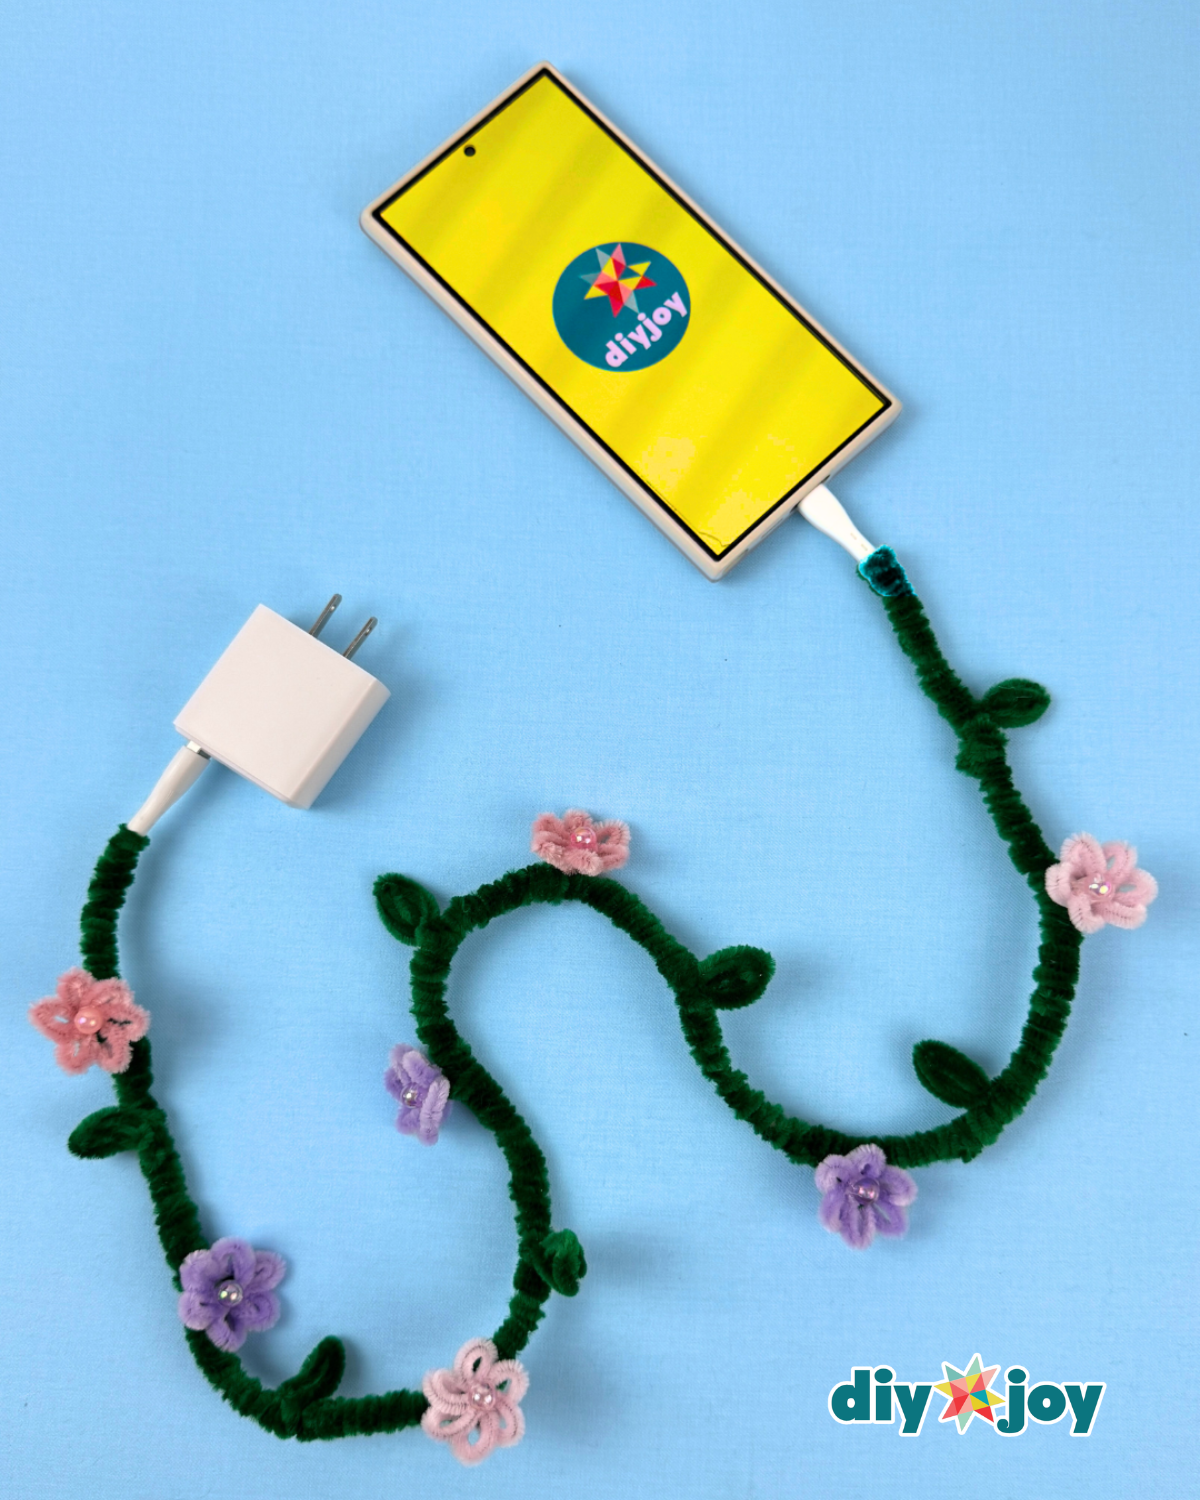
If you are looking for a way to protect your charger cord while making it stand out, this easy DIY solution is both useful and fun to make. Follow the step-by-step guide below and learn how to turn an everyday cable into a stronger, more durable flower vine charger that is built to last.
How to Wrap a Charger Cord with Pipe Cleaner Vine
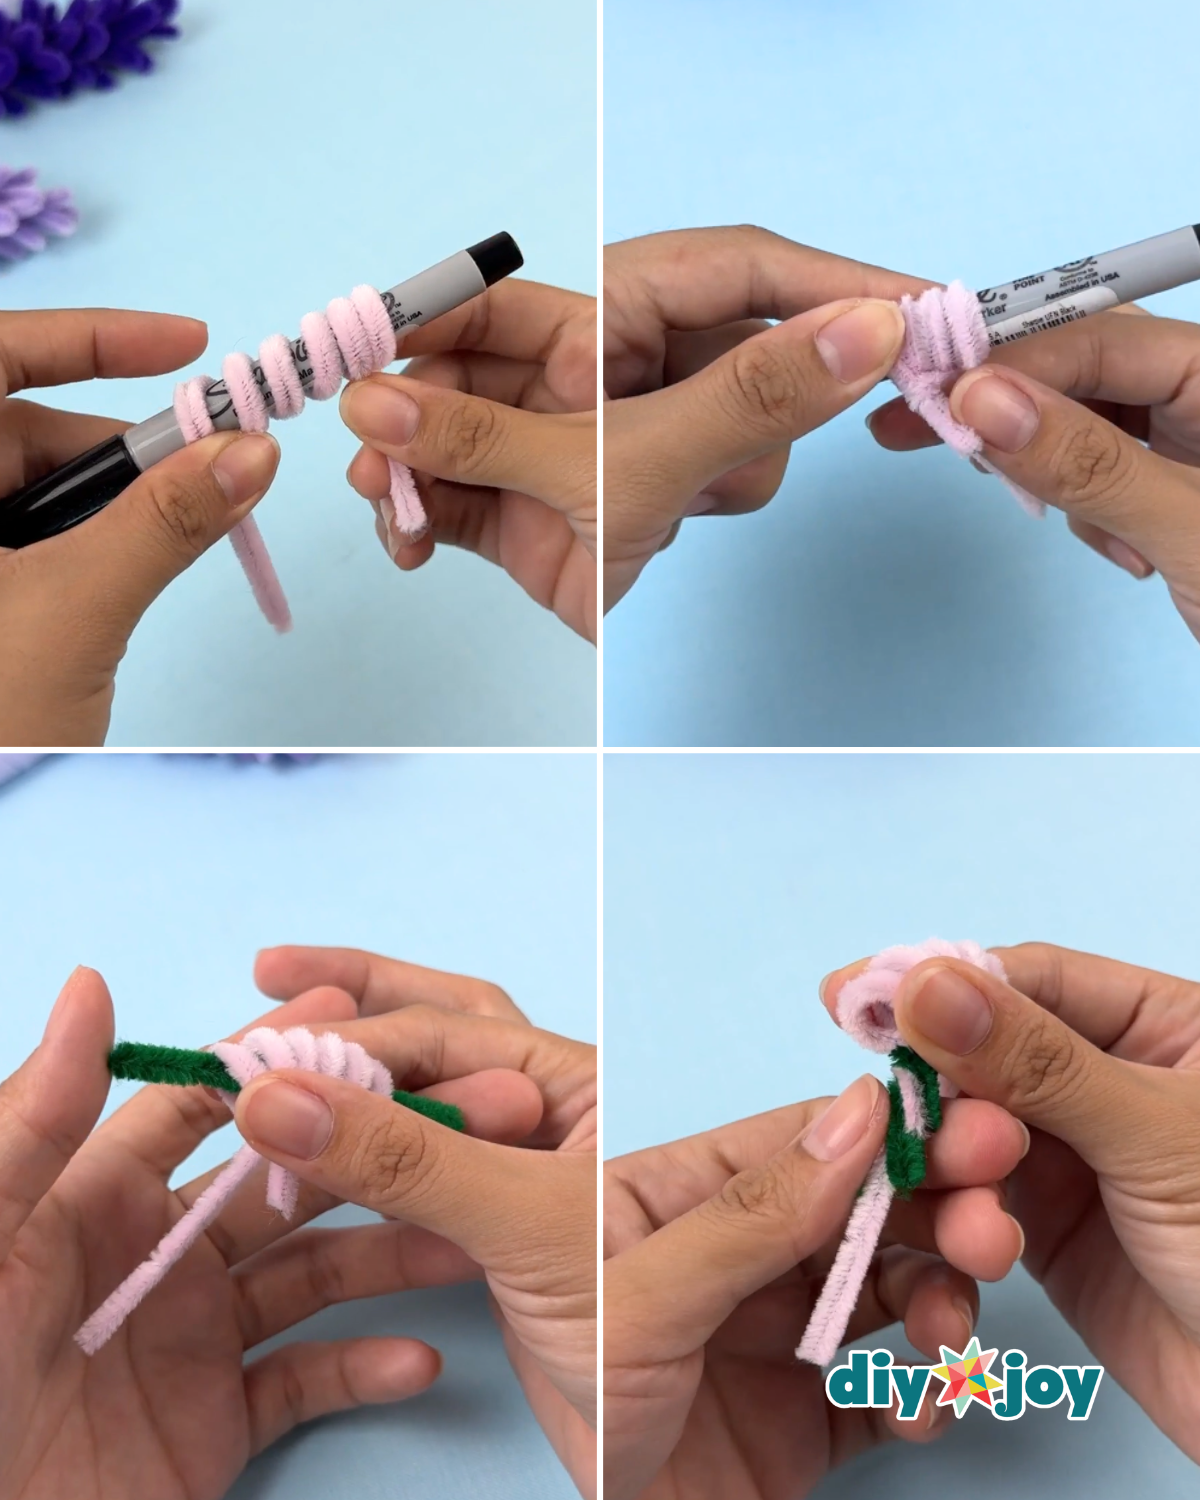
Step 1: Make the Mini Flowers

Take 1 pipe cleaner and wrap it around a Sharpie, pressing it firmly and twisting the tails twice. Carefully remove it from the Sharpie, then insert a piece of green pipe cleaner into the center hole and twist it twice to secure it in place.Step 2: Shape the Flower and Add a Bead or Gem
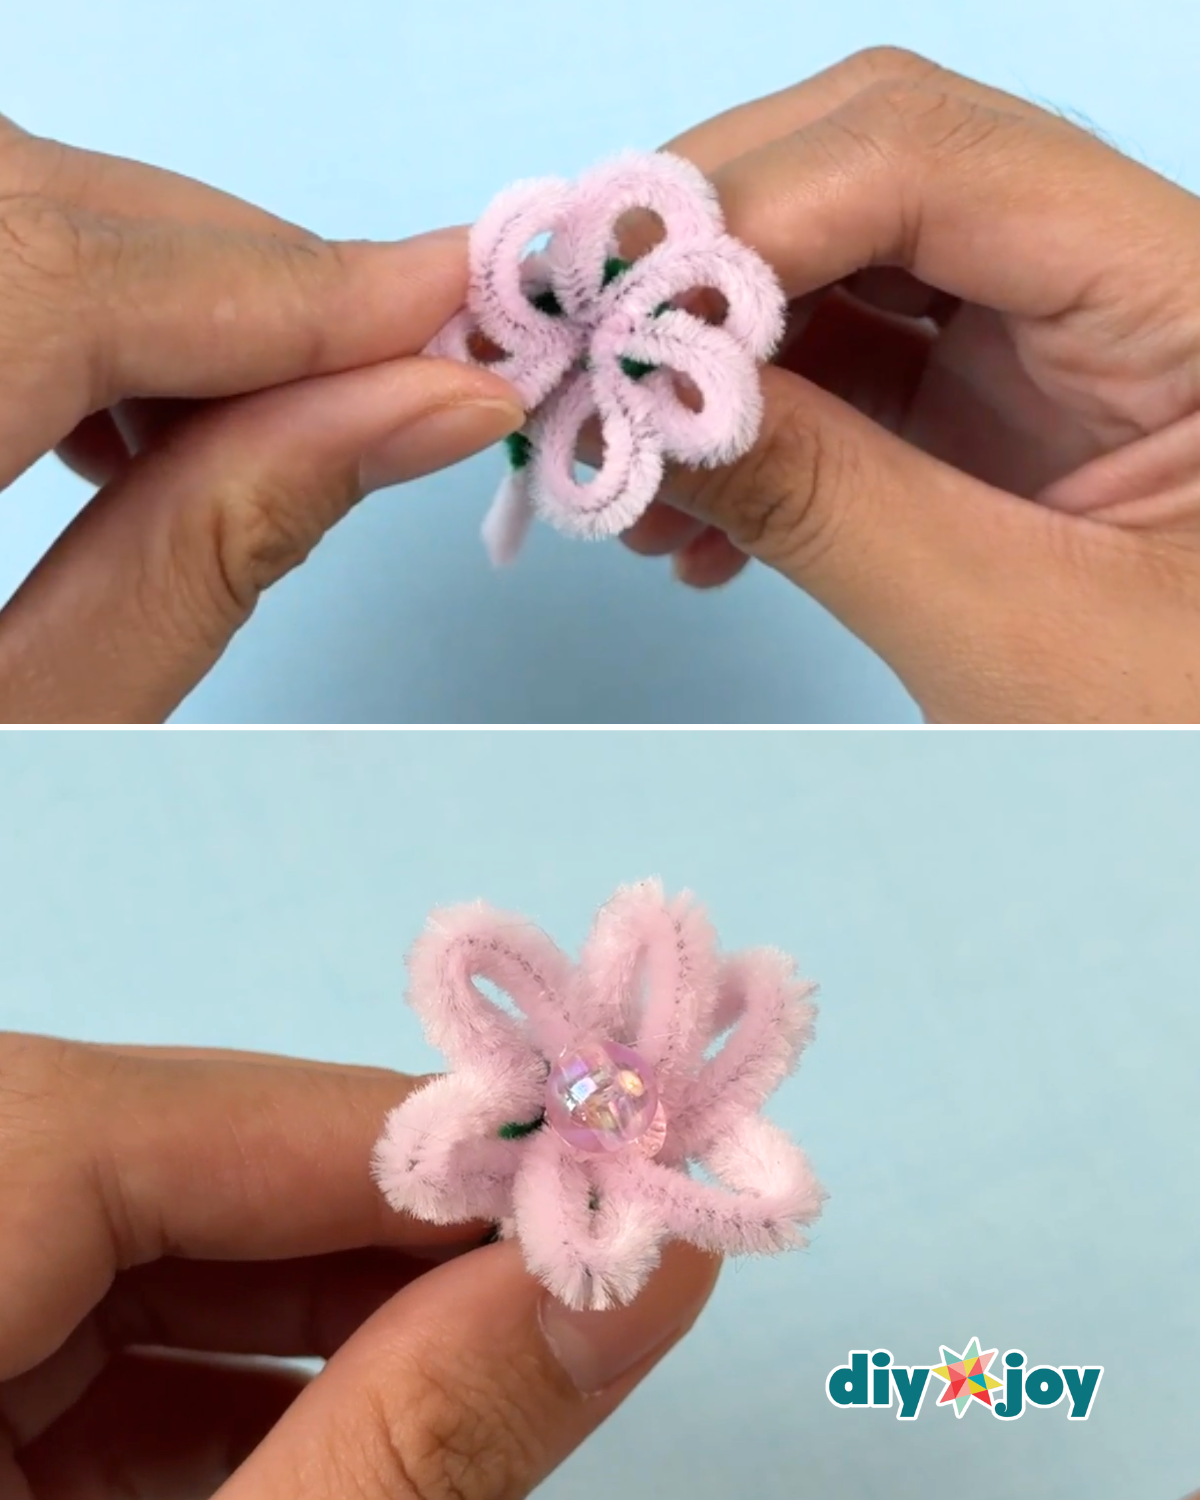
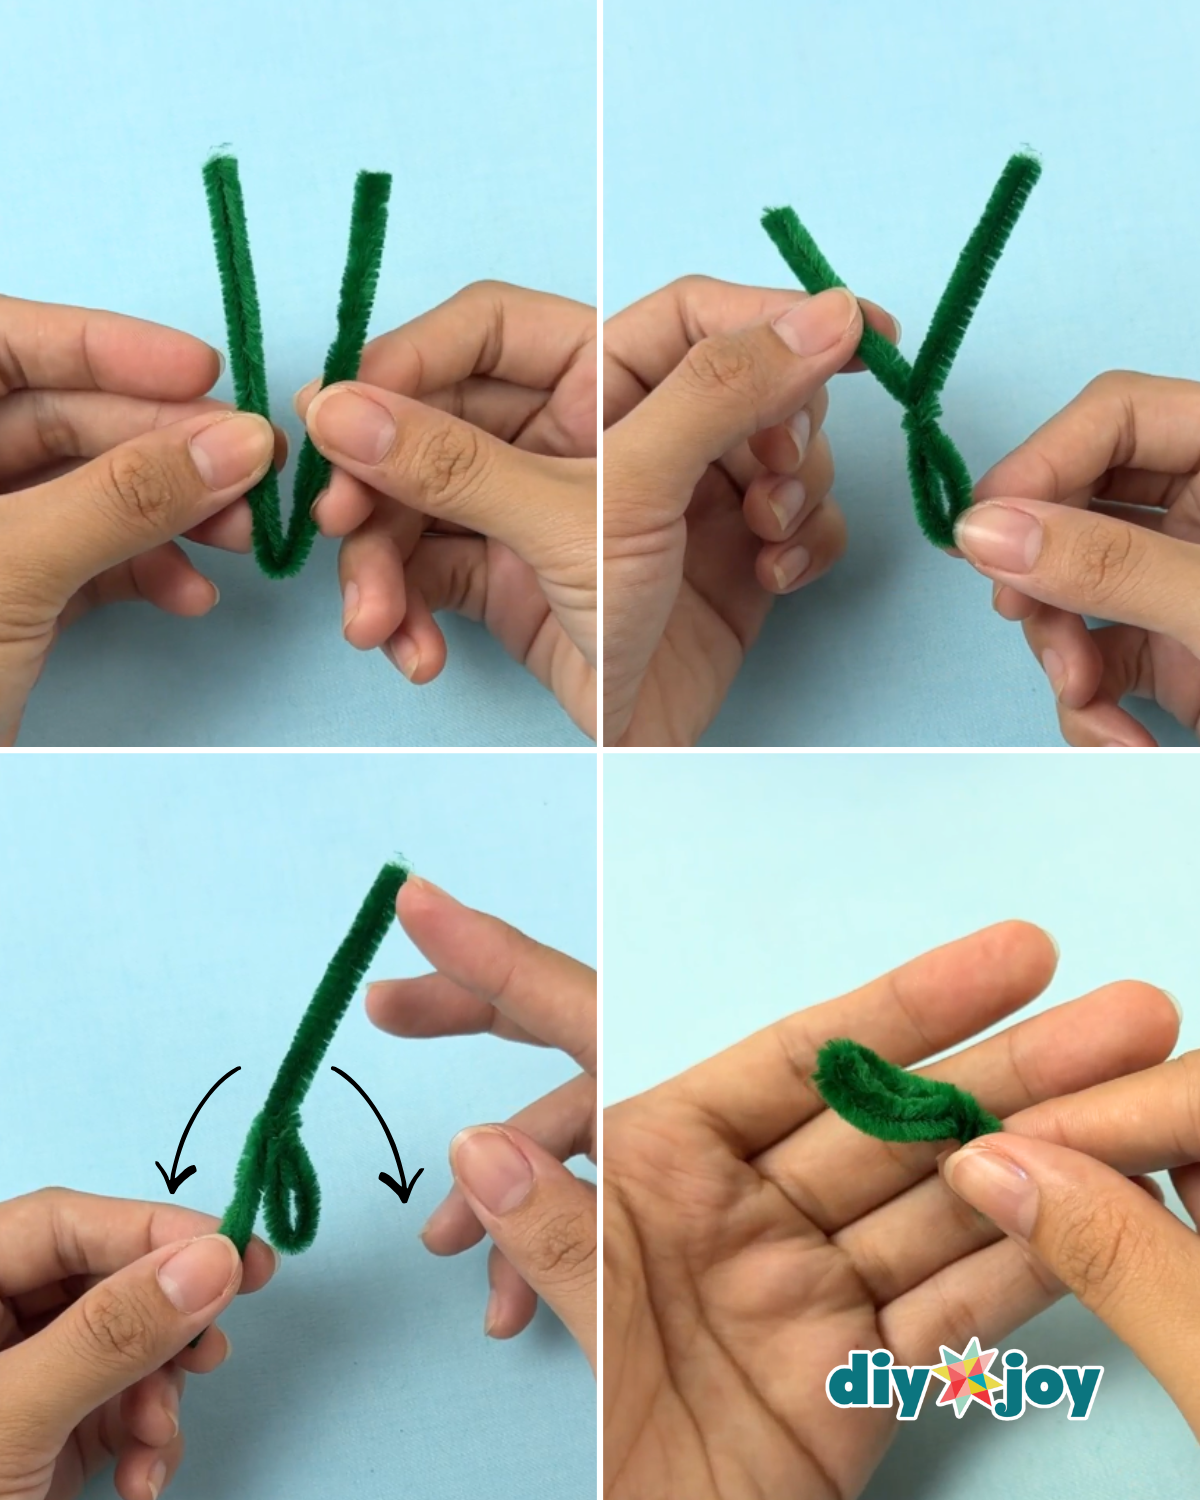
Gently open the loops and pinch each petal, then carefully rotate and adjust them so the flower resembles a daisy. Finish by placing a bead or gem in the center and securing it with hot glue.Step 3: Make the Mini Leaves
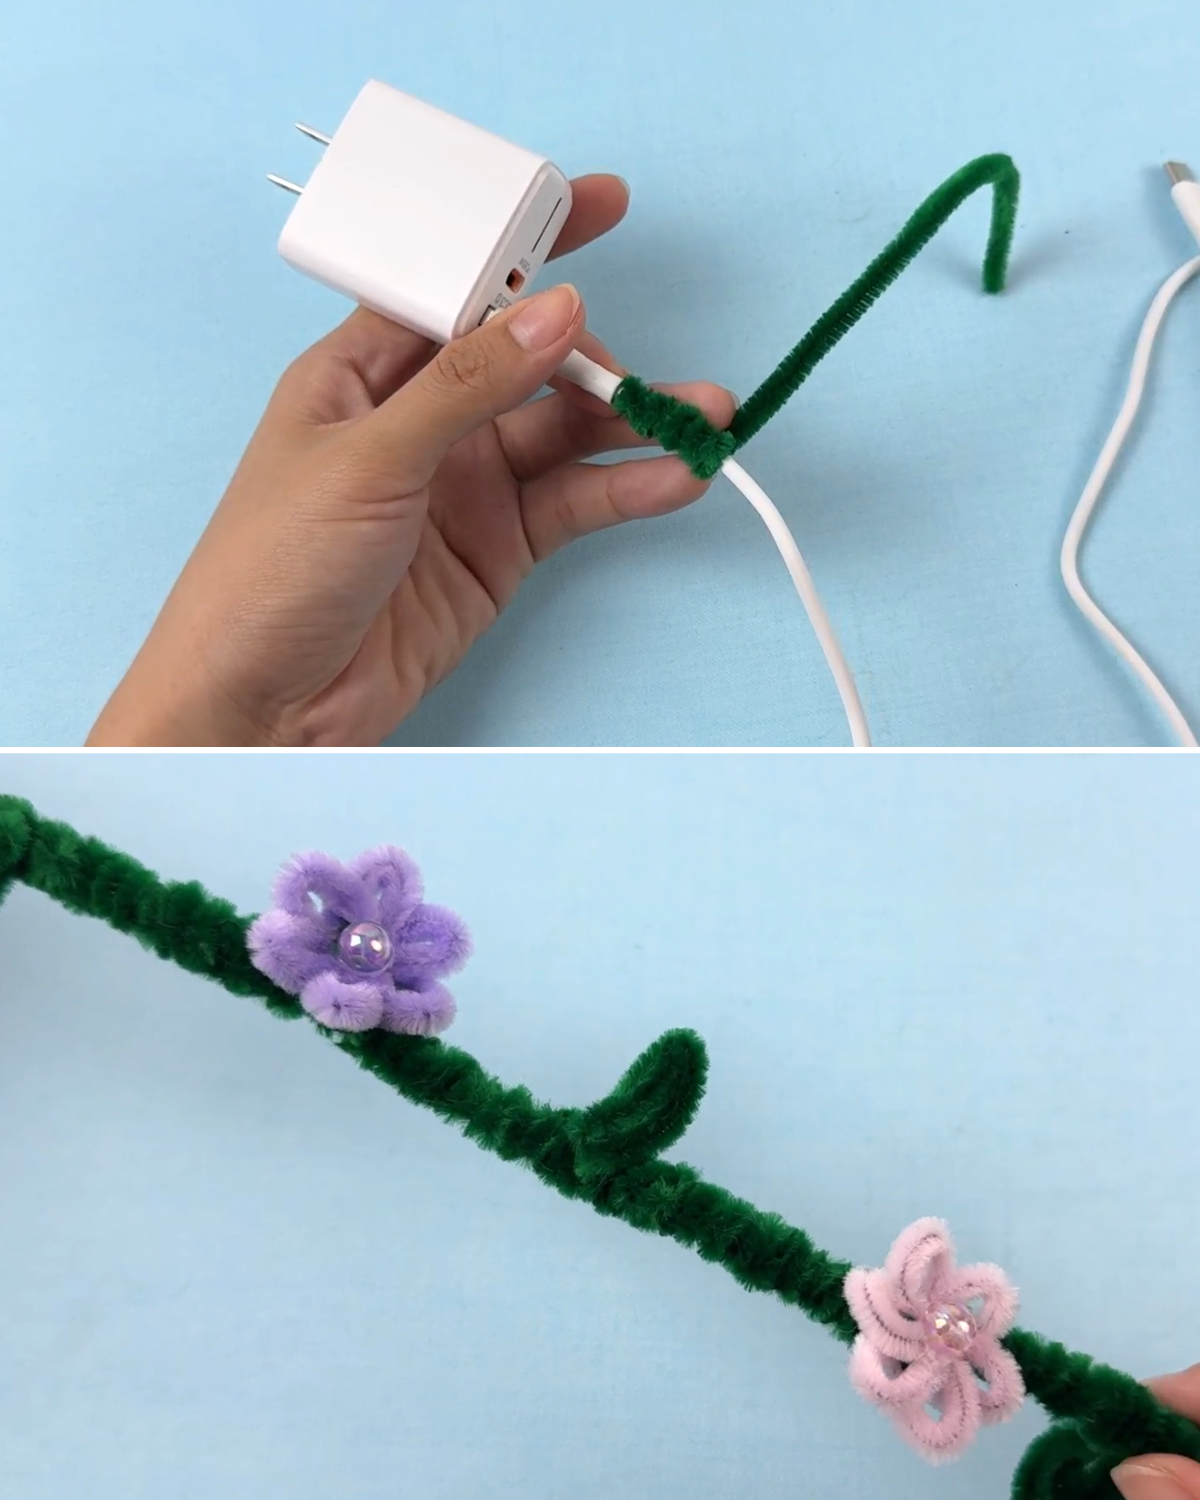
Take 1 piece of a pipe cleaner and fold it in half. Twist it twice about 1 inch from the fold. Then fold down both tails and twist them twice again to lock the stem securely in place.Step 4: Wrap the Charger Cord and Attach Flowers
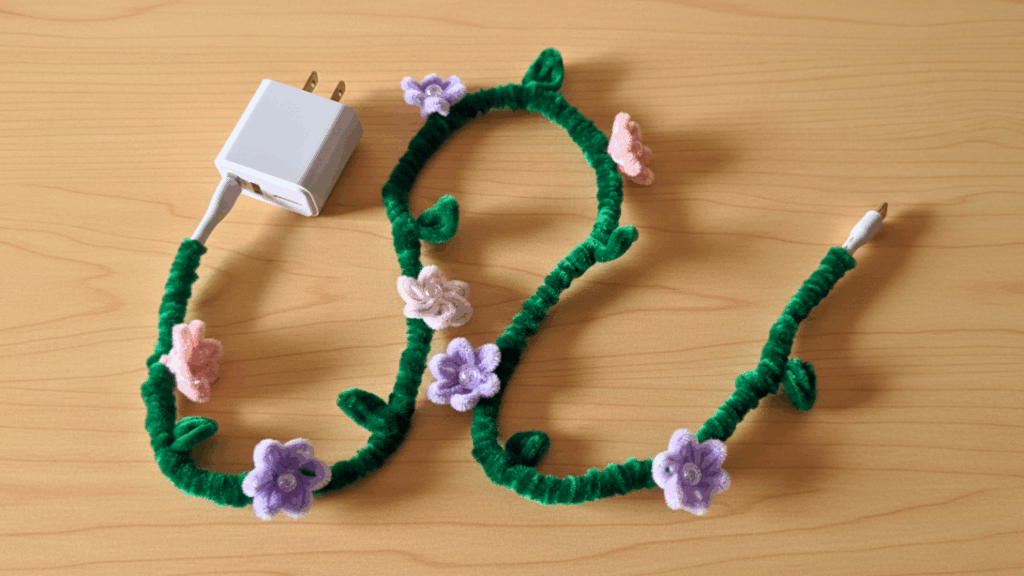
Take your charger cord and begin wrapping it with your chosen color of pipe cleaner. As you wrap, lay the tails of the flowers and leaves along the length of the cord so they act as anchors. Continue wrapping the pipe cleaner around the cord and the flower and leaf tails together to secure them in place as you go, spacing the flowers and leaves apart as desired.
Materials
- Pipe Cleaner, green for the vine and leaves, any color for the flowers
- Cutter or Scissors
- Ruler
- Sharpie
- Hot Glue Gun and Glue Sticks
- Bead or Gem
![]()
🌼 Pro Tips
1. Start with a Tight Base Wrap
Begin wrapping the pipe cleaner tightly around the cord before adding flowers. This creates a secure base and prevents slipping.
2. Anchor Before You Wrap
Lay the flower and leaf tails flat against the cord first, then wrap over them. Keeping the tails straight and stretched along the cord makes the hold stronger and neater.
3. Keep Spacing Consistent
Before securing each flower, lightly position a few along the cord to check spacing. This helps the final look feel balanced.
4. Don’t Wrap Too Thick
Avoid overlapping too many layers of pipe cleaner in one spot, especially near the charging ends. Too much bulk can make the cord stiff.
5. Reinforce the Ends
Secure the beginning and ending wraps tightly and tuck in any sharp edges to prevent scratching or snagging.
6. Test Flexibility
Gently bend the cord after wrapping to make sure it still coils easily, and the flowers stay in place.
What Craft To Try Next?

Paper Flowers

Crafts

Paper Flowers

Crafts
*If you love this craft, then visit our official website, follow our Facebook page, and subscribe to our YouTube channel for more!
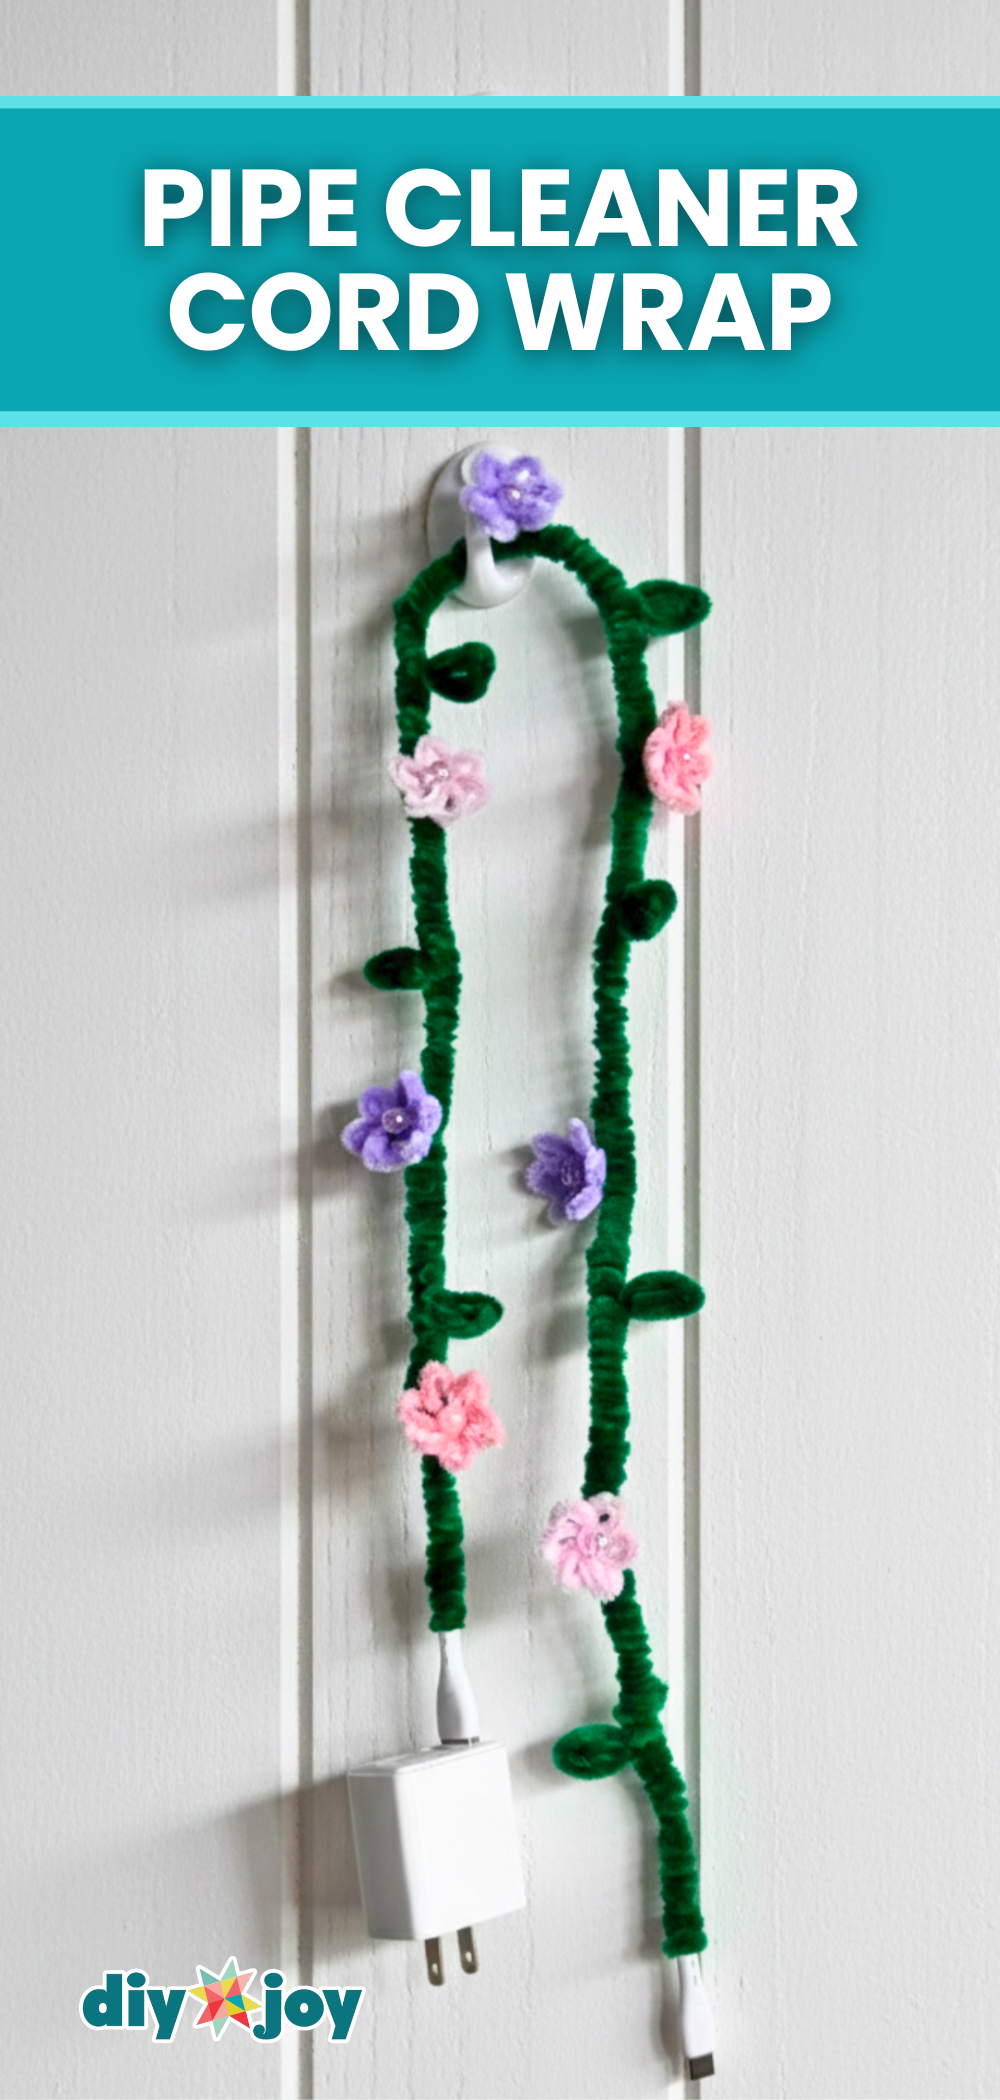
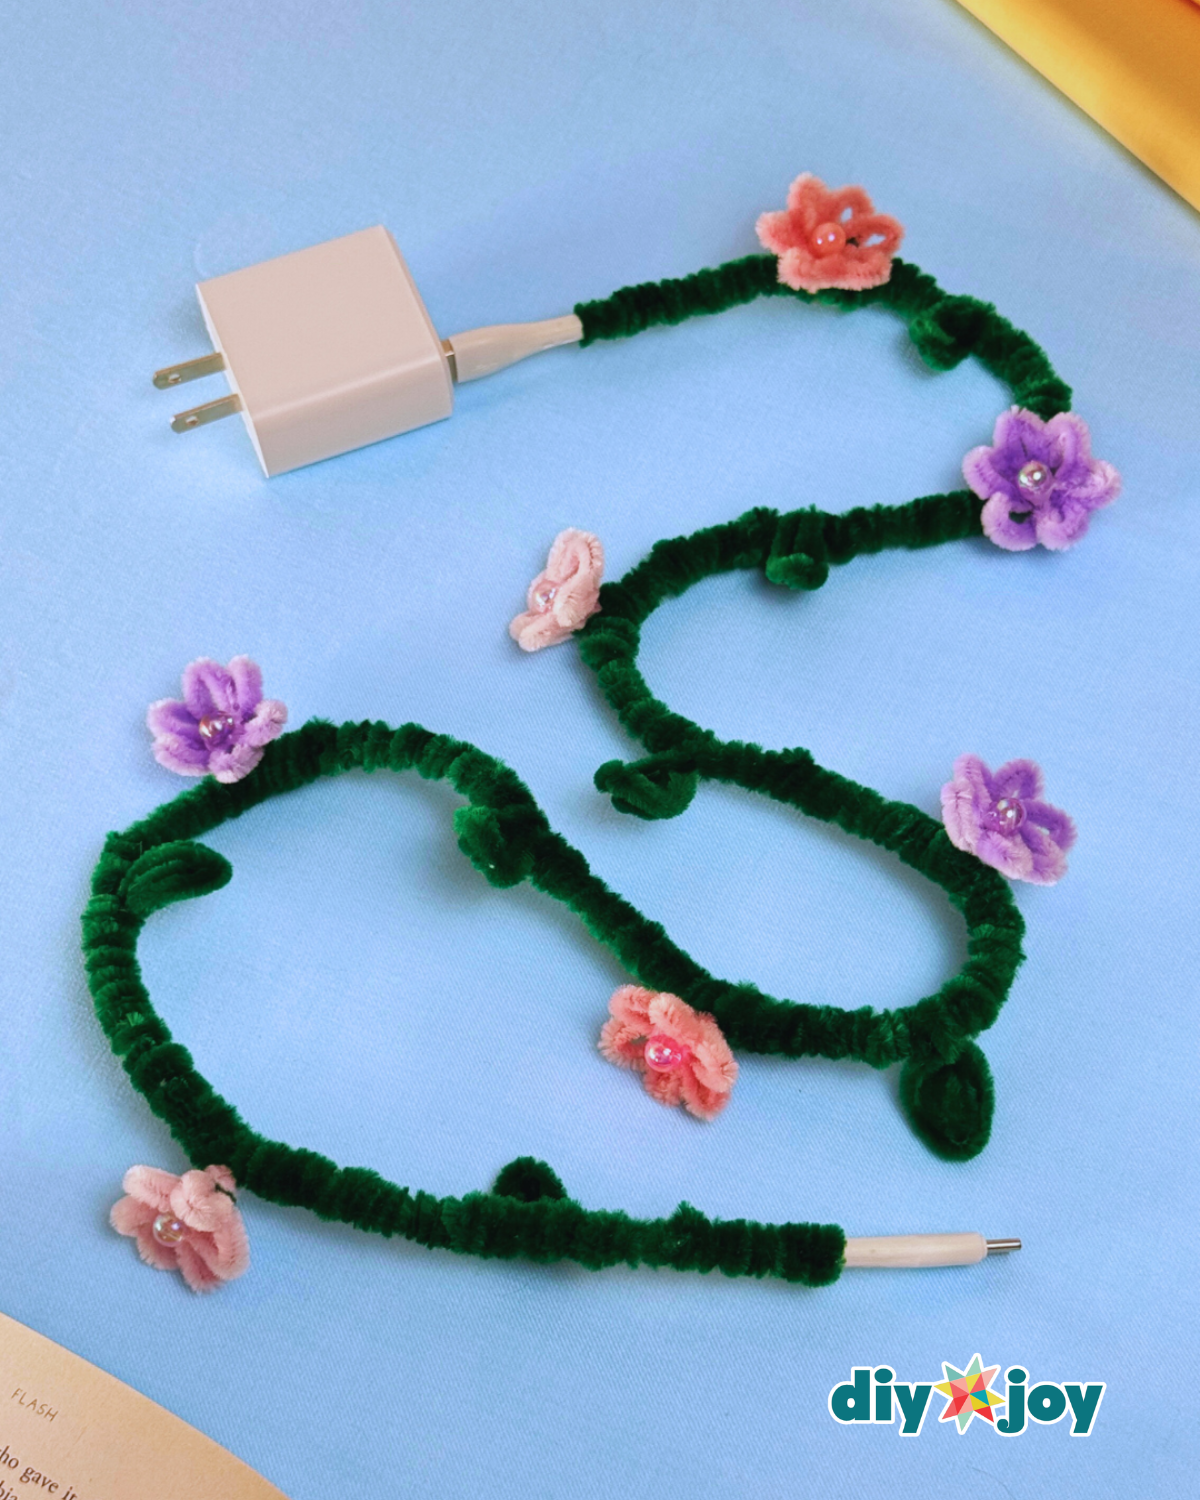
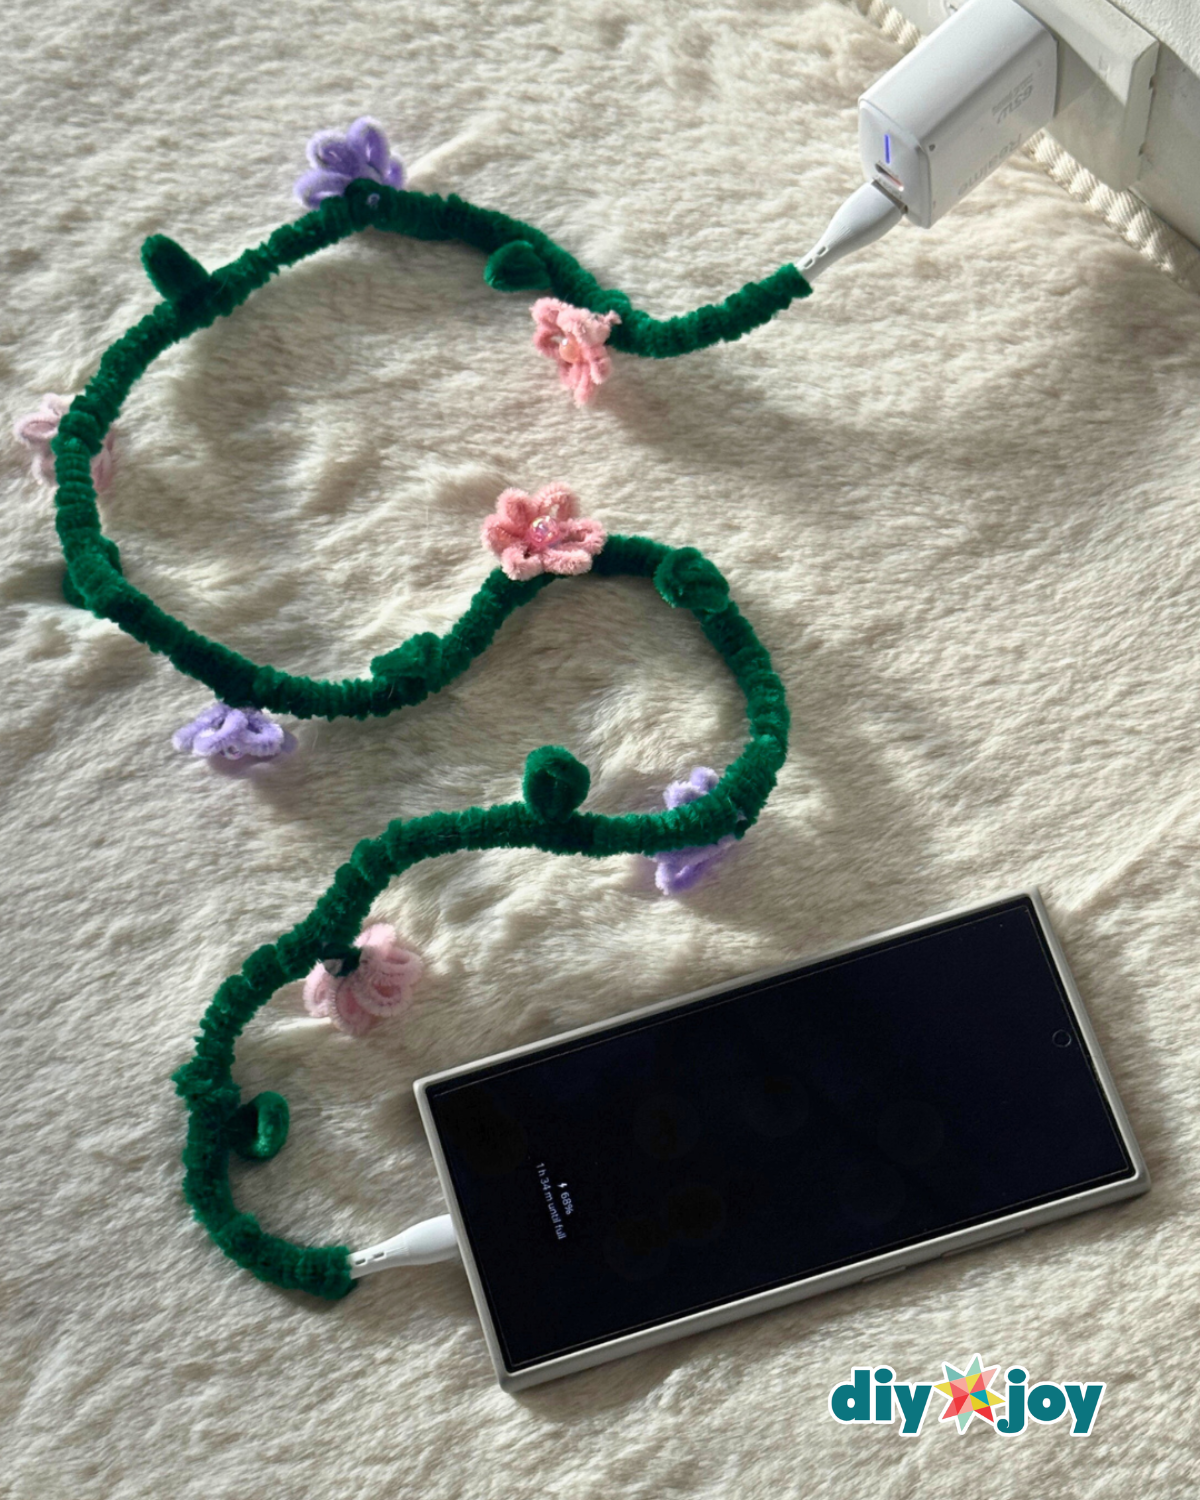
Pipe Cleaner Flower Vine Charger Cord Wrap