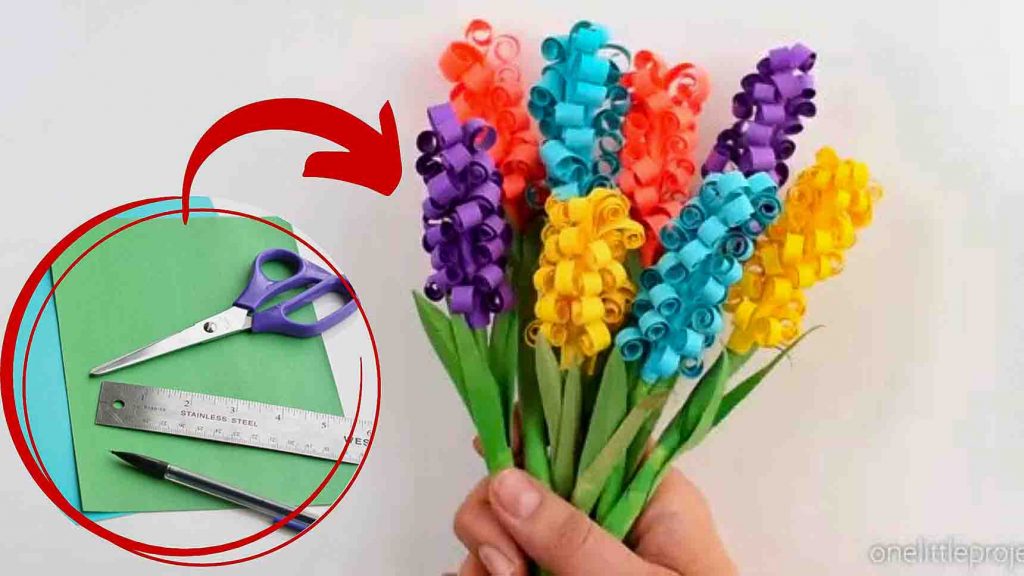
Paper flowers are super fun to make, and it’s one of my favorite DIY crafts when I have nothing to do. Lately, I always make paper hyacinths because they are super cute and colorful, and my go-to tutorial is from One Little Project on Youtube. It’s a straightforward tutorial with no fuss. I super love how the paper hyacinths came together! You will also need just basic crafting materials for this project. I actually shared this with my friends, and now we’re making more on the weekend to give out. So if you’re looking for a weekend project to do, try making these gorgeous paper flowers; you won’t regret it! Watch the video tutorial below to learn the step-by-step instructions.
Materials:
- cardstock (assorted colors)
- construction paper (in green color)
- scissors
- ruler
- pencil
- glue stick
- knitting needle
Directions:
Step 1
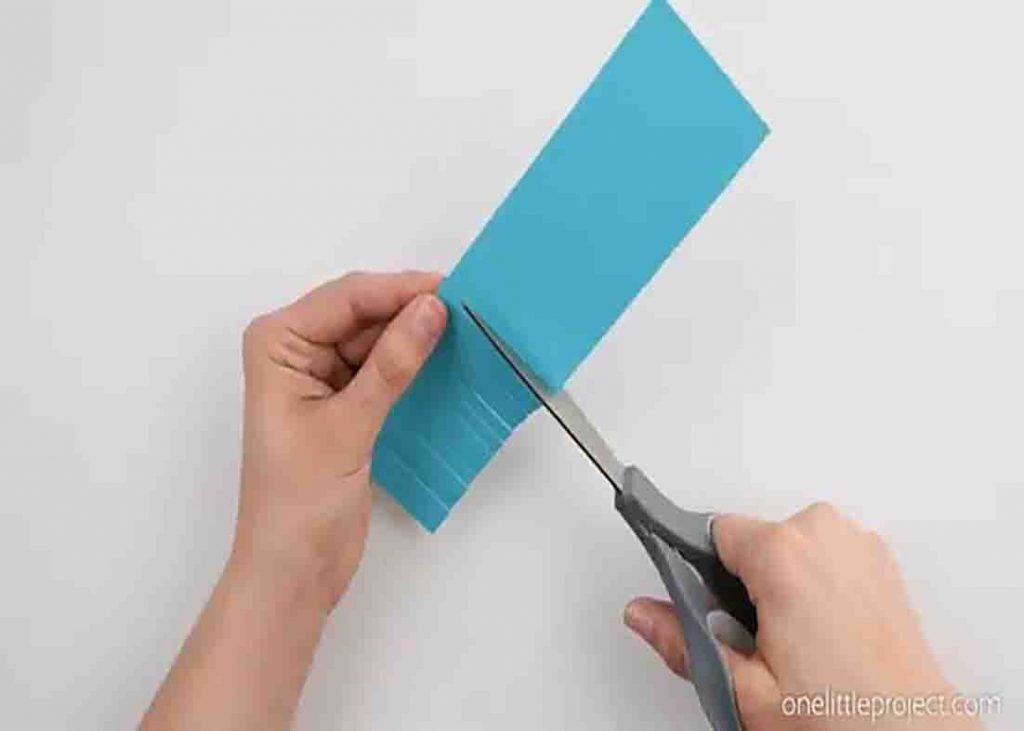
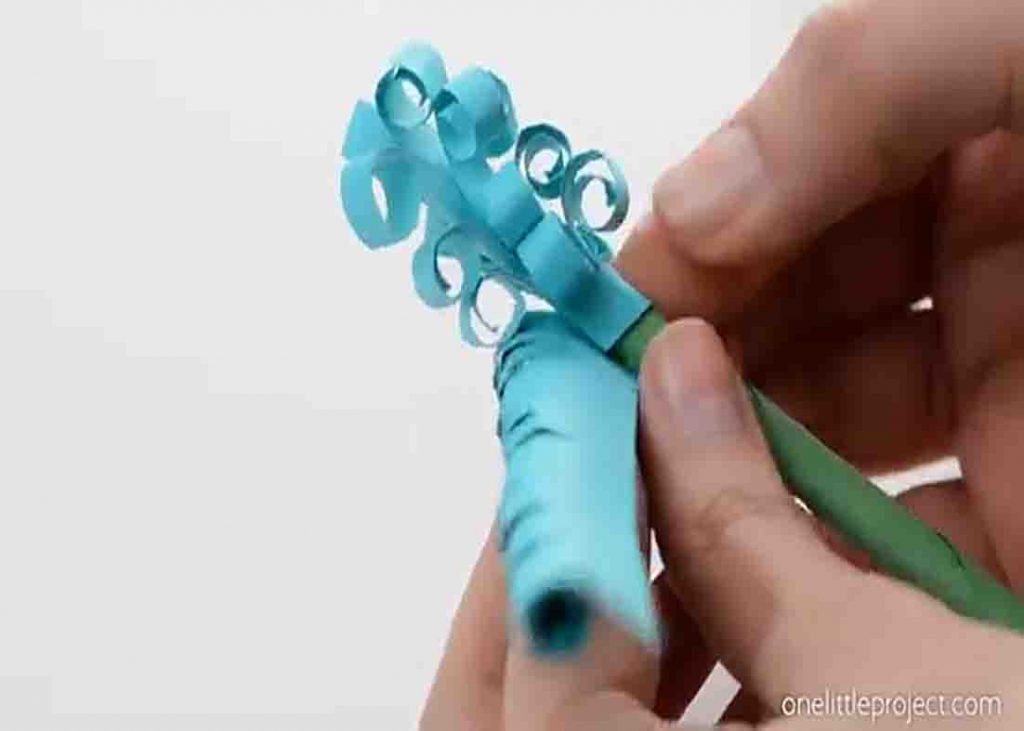
To start, grab one cardstock and cut several strips at 8.5″ x 2″. Next, grab your ruler and pencil and mark 3/8″ on both edges of the paper strip, and drew a light line across. Now, carefully cut 1/4″ wide strips just up to the drawn line all the way across. After this, carefully roll each strip using a knitting needle. Continue this until the end of the paper. Set aside. Now for the stem, grab one piece of green construction paper and cut a 2″ x 8″ strip. Roll it diagonally using a knitting needle, then glue it to secure it. Set aside.

[social_warfare]
Step 2
Back to the hyacinth, put glue on the back edges and swirl it around the stem carefully, forming the hyacinth. For the leaves, cut out a 2″ x 3″ piece of green construction paper, then fold it in accordion style along the long edge. Snip it diagonally, open it, put some glue, and wrap it around the stem in slant form. Now, make as many as you can in different colors!


