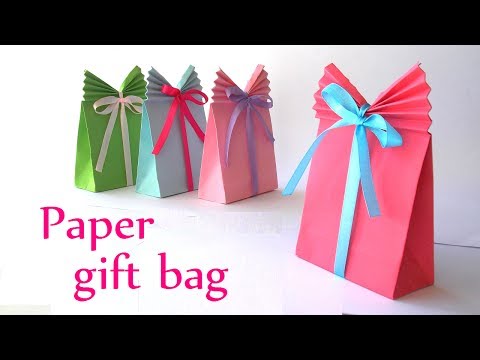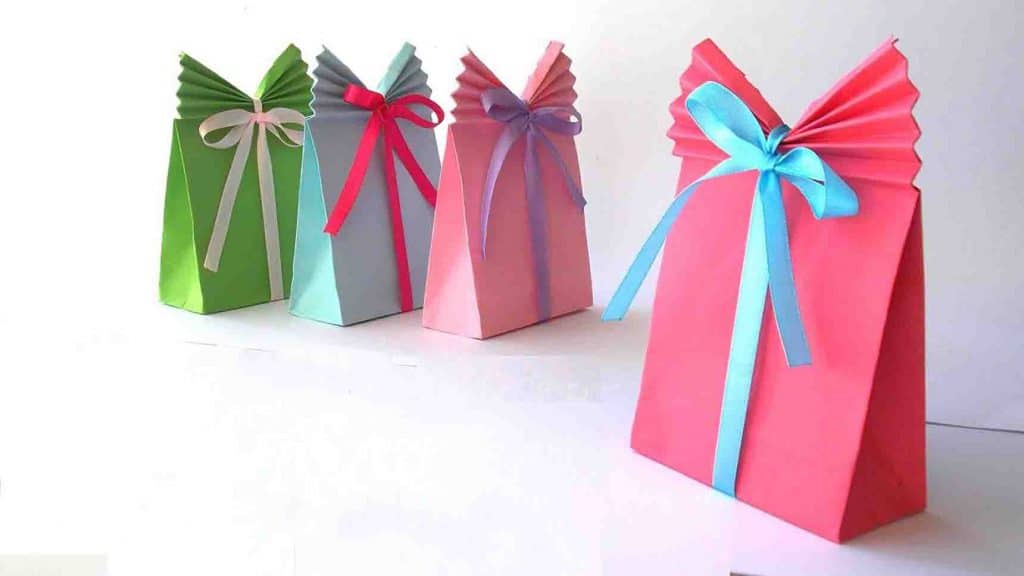
Christmas is just around the corner; are your gifts wrapped already? If not, try making this gift bag from INNOVA Crafts on Youtube. This could be a fun way to wrap your gifts, and you can be creative as you want. You will also need just three simple materials for this DIY project. Watch the video tutorial below to learn the step-by-step instructions.
Materials:
- colored paper
- glue
- ribbon
Directions:
Step 1
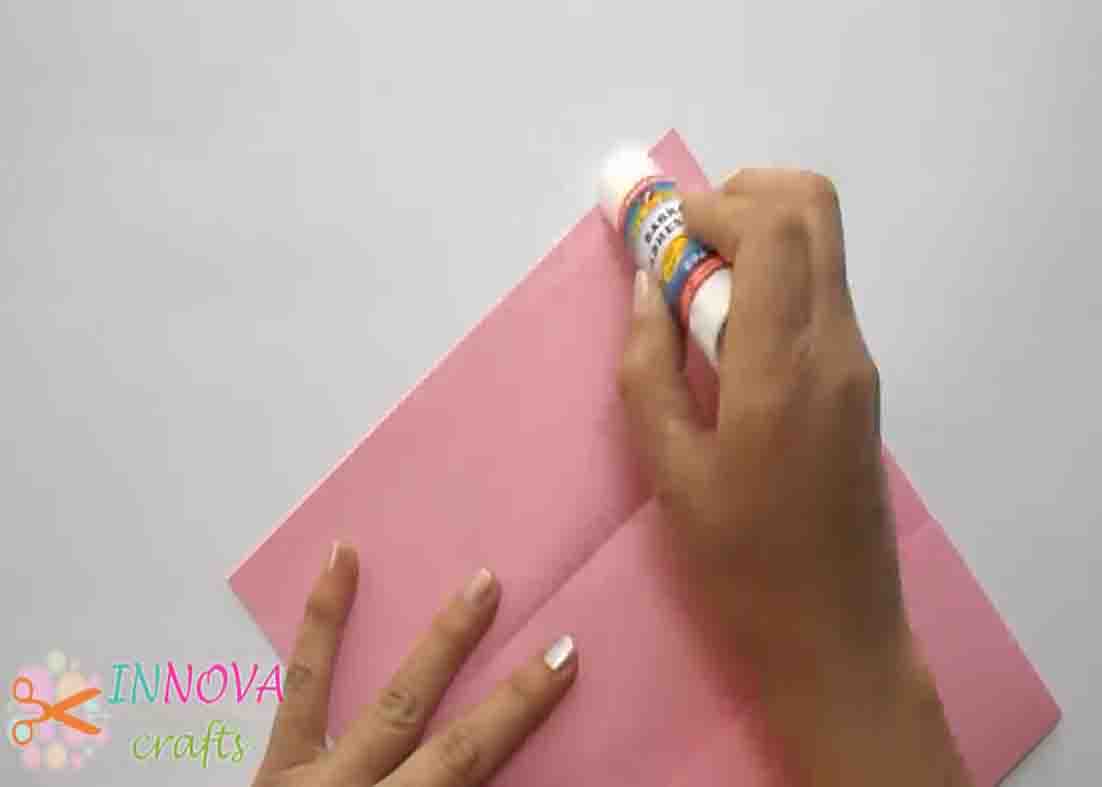
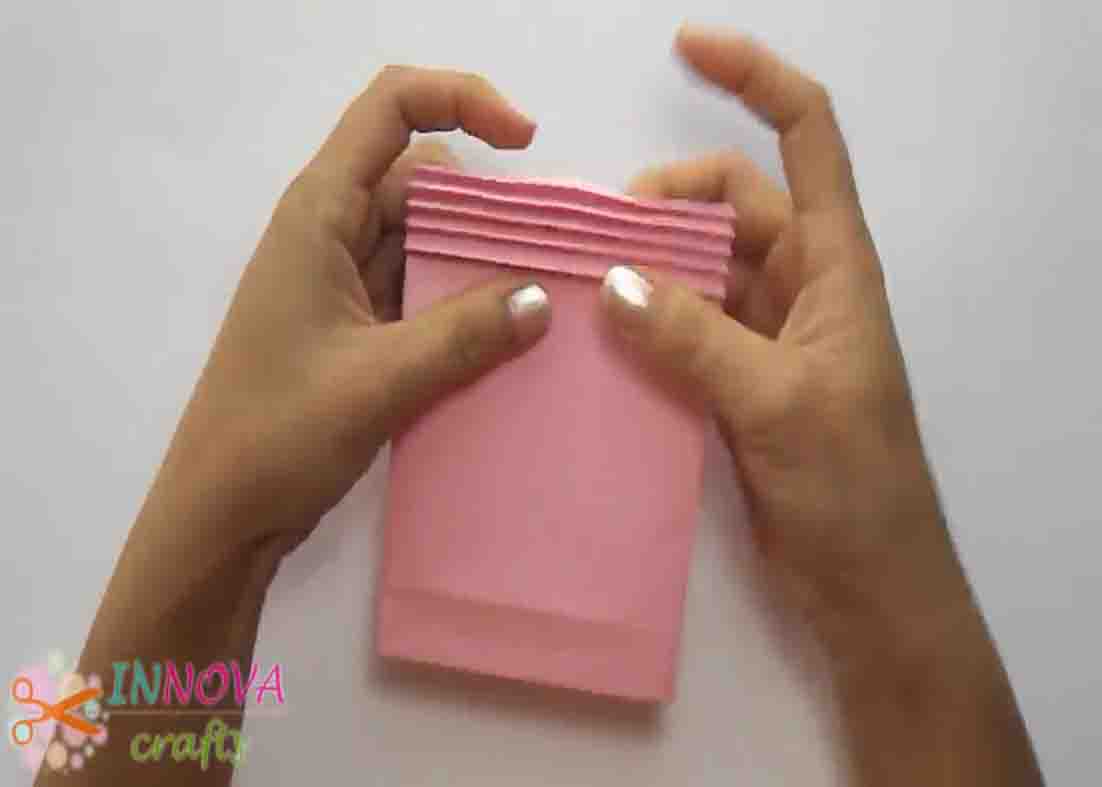
Find the center of your paper, mark it with a slight crease, then fold both sides toward it, with the second half overlapping the first half a bit. Apply glue to this overlap to stick them together. Next, fold the bottom with three fingers in size, then open it up. Fold both sides to the center, then fold the upper part, exceeding the center by 1cm. Fold the bottom part also, then glue them. After this, fold both long sides a bit, then open up the bag and push the crease inside.
[social_warfare]
Step 2
Put the gift inside first, then fold the opening a bit, then fold it again in the opposite direction. Repeat this alternating process til your desired size. After this, put one finger on the center and open up the folds, making it look like a fan. To finish, put some ribbon in your gift bag.
Easy DIY Paper Gift Bag Tutorial