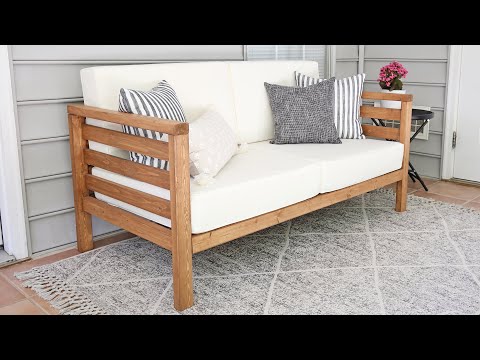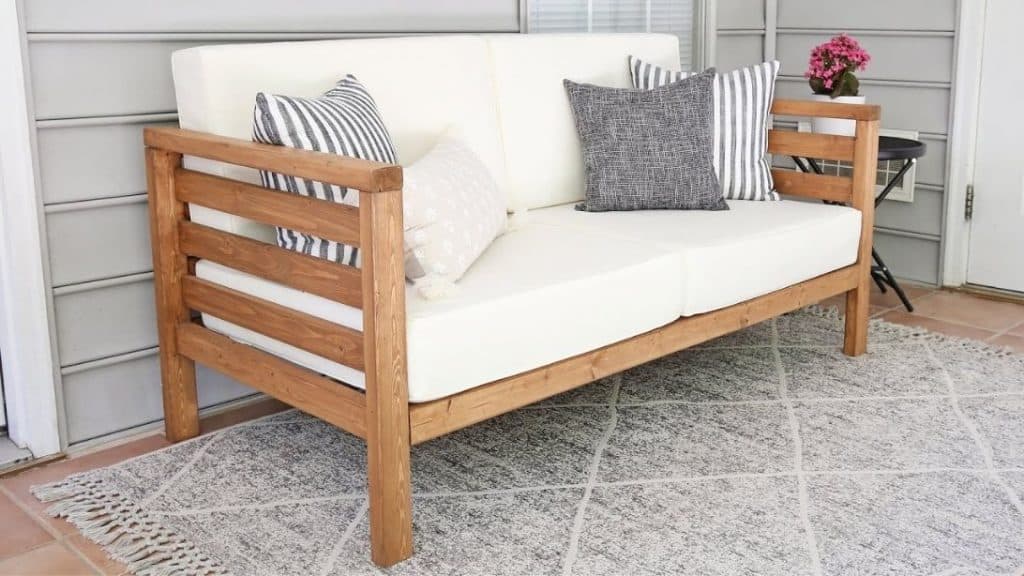
Here’s a fun woodworking project that you can try this week! Angela Marie Made on YouTube will teach you how to make a DIY outdoor couch for $45 or less with this super easy-to-follow tutorial.
Materials:
- 8 pieces of 2*3 @ 8ft framing lumber
- 2 pieces of 1*3 @ 8ft
- 2 pieces of ½ inch deck screws, optional
- 2 inches brad nails
- 2½ inches Kreg screws, weather-resistant
- Waterproof wood glue
- Stainable wood filler
- 2 sets of outdoor cushions
- Exterior wood stain
Other tools you’ll need
- Kreg Jig or Kreg Jig mini
- Miter saw
- Drill
- Brad nailer
- Clamps
- Tape measure
Directions:
Step 1
Using a miter saw, cut the 2×3 woods for your couch frame in the following sizes; 4 pieces of 24½″ and 2 pieces of 30¼″ for the side frames, 5 pieces of 57½″ for the back & front frames, and 8 pieces of 27¼″ for the side & bottom frames. Assemble the couch, start by adding 2 pocket holes to each end of the 27¼” pieces with a Kreg jig. Mark 10″ up from the bottom of the 24½” pieces, then attach one of the 27¼” pieces at the 10″ mark. Attach the two together using keg screws and wood glue. Repeat this process on the other side of the 27¼” piece. Attach one of the 30¼” boards to the top of the frame using deck or Kreg screws and wood glue. Do this on the back of the side frame piece as well. Then, repeat all of the above processes for the second side frame piece of the couch. Measure the distance between the two legs of the side frames, then cut 3 pieces of 1*3 to this size.
[social_warfare]
Step 2
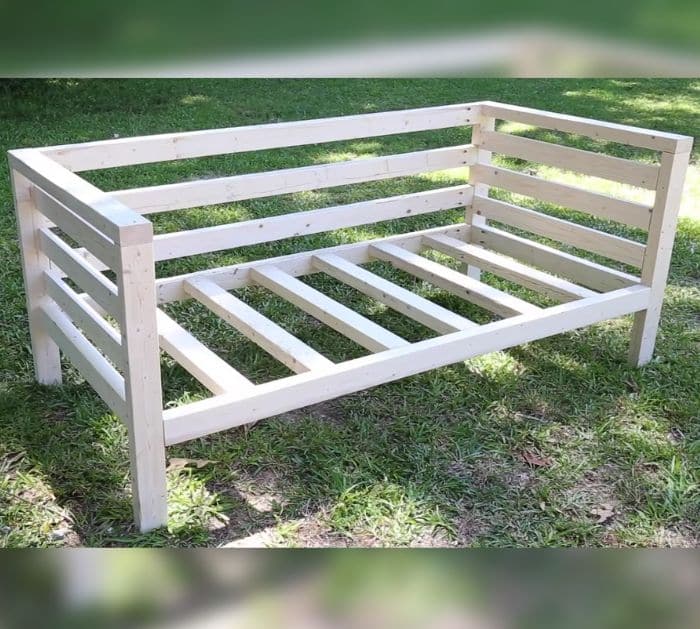
Attach the slat boards using brad nails making sure they’re 1¾” apart from each other. Repeat this process for the second side frame. Add pocket holes on both ends of the remaining 6 pieces of 27¼ and 5 pieces of 57½ boards. Use Kreg screws and wood glue to attach 4 pieces of the 27¼ perpendicularly to two of the 57½ boards. Space the 27¼″ boards about 6″ apart from each other and attach the first and fourth board about 14½″ up from the sideboard ends. Attach the bottom frame to the side frames 10″ up from the ground using Kreg screws and wood glue. Add the last 2 pieces of 27¼” boards on the bottom frame. Then, attach the remaining 3 pieces of 57½” boards to the side frames of the couch using screws and wood glue making sure that they are about 2¾” apart from each other. fill the holes with stainable wood filler, sand if needed, then stain your wooden couch.

*All these images are credited to Angela Marie Made via YouTube. Give her channel a visit and subscribe for more!
Easy DIY $45 Outdoor Couch Tutorial