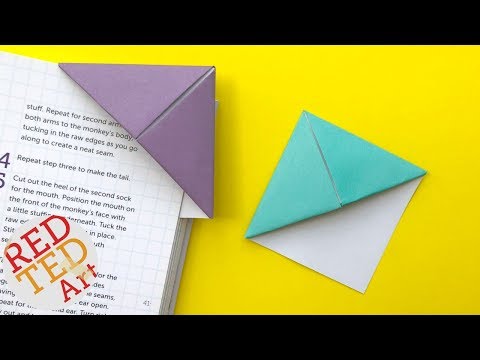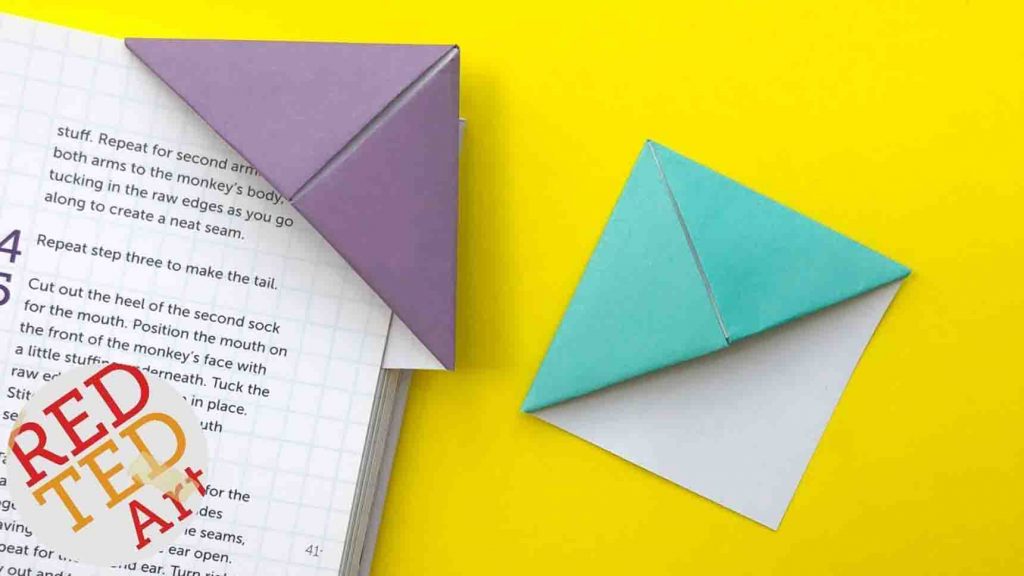
These corner bookmarks from Red Ted Art on Youtube are such fun ways to make DIY bookmarks! There are varieties of making these, and you can design each in any way you like. It’s also a great gift idea for your bookworm friends or family members. Gather your craft materials now and start making one today! Watch the video tutorial below to learn this.
Materials:
- white printer paper
- a pad of colored paper
- coloring pens
- scissors
- glue stick
Directions:
Step 1
Get your white printer paper (15 x 15 cm). First, twist it to make a diamond, then bring the bottom corner up to the top. Make a neat fold at the bottom. Now, bring the pointy corner up to the top and repeat on the other side. Always make nice neat creases because that will help you later on.

[social_warfare]
Step 2
Next, open up and bring one flap down, then bring the side flap over and tuck it under. Repeat to the other side. Your basic corner bookmark is now finished but you can decorate it at this point if you like.

Easy DIY Origami Corner Bookmark