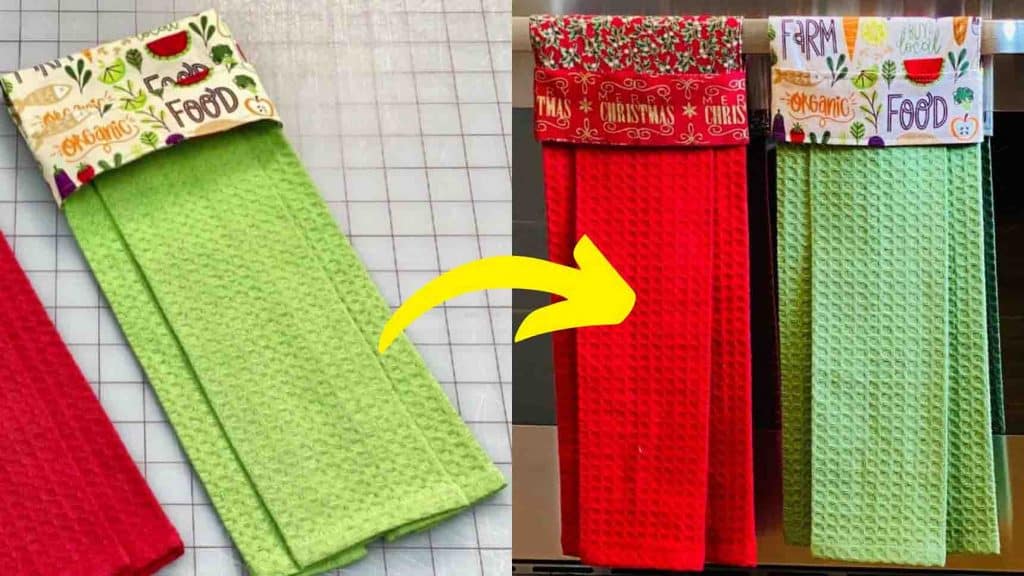
Are you looking for an easy personalized gift idea? Why not make this hanging tea towel from Notches Sewing on Youtube? It’s a sewing project perfect for beginners – an easy and straight-to-the-point tutorial. Make this a weekend sewing project by watching the video tutorial below.
Table of Contents
Materials:
- a half tea towel
- 7″ (17.8cm) wide x 15″ (38cm) long top fabric
- 7.5″ (19cm) wide x 8″ (20.3cm) long band cut
- translucent template plastic
- chalk or any marking tool
- scissors
- iron for pressing
Directions:
Step 1
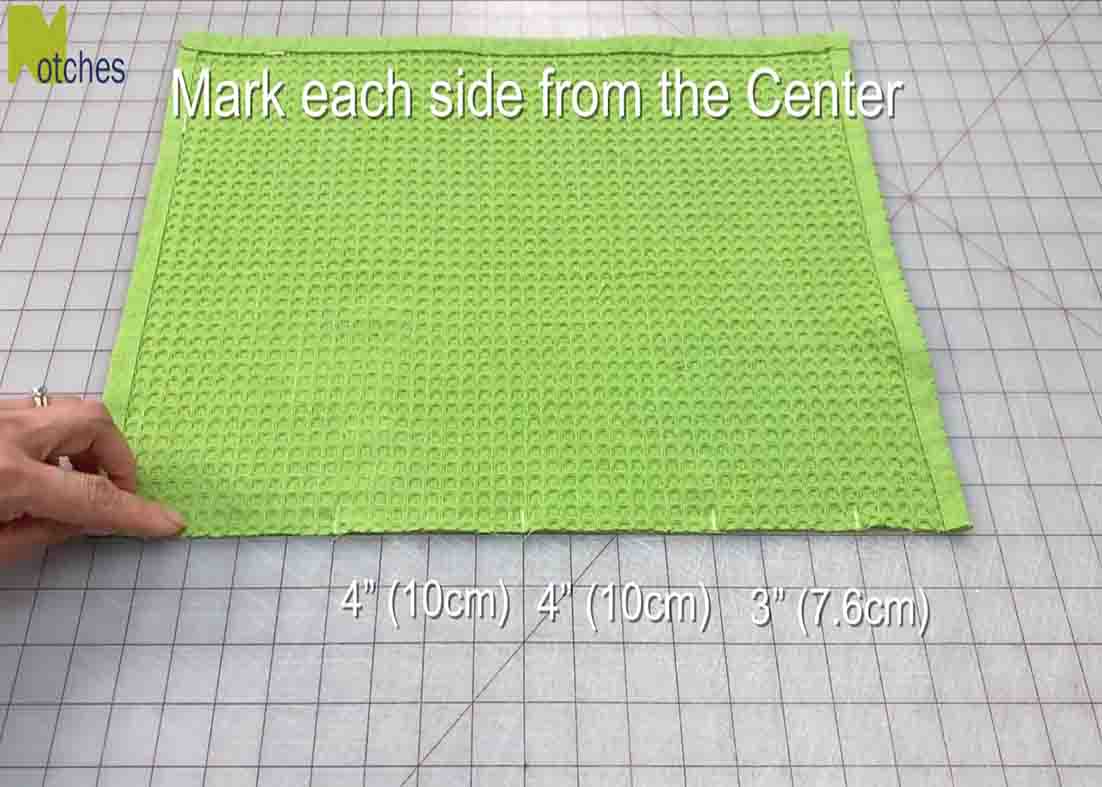
Fold the towel lengthwise in half and cut down the center. Separate the two halves, then fold one of the piece’s wrong sides together to find the center. Open the wrong sides up and use chalk to mark the center. From that center mark, mark 4″ and then another 3″. Repeat on the other side. Turn it sideways on the ironing board and then make two big pleats in the center on each side by matching the 4-inch marks to the center mark. Give it a light press, then turn the ends at the outer marks towards the back center. Clip it in place ad flip it over. (The center should measure 4 inches with an inch on each side so that it measures a total of 6 inches across.) Press it lightly.
[social_warfare]
Step 2
Cutting the fabric top, first, cut up the rough edges, square up one end, and then cut out a piece that’s 7 inches or 17.8cm wide by 15 inches or 38cm long. Fold the fabric lengthwise in half and cut little notches in the center. For the band, cut a piece that’s 7.5 inches or 19cm wide by 8 inches or 20.3cm long. This piece of fabric is going to be folded along its length into 4 sections. (This will be the part that shows in front.) If there is a special design you want to show on the front, make a pattern out of translucent template plastic. Divide it into 2-inch sections, and then mark up the section where the pattern will show, and also draw an arrow pointing down from that direction. Next, flip the fabric over and fold in half lengthwise and crease it with your finger. Bring the top and bottom edges together in the center and press it. Fold again matching the edges at the bottom and give it another press. After this, sew them together with a 1/4″ topstitch. Next, get the top piece, find the notches in the center, place the bottom corner of the band on the notch, line up the sides, then sew a holding stitch close to the edge. Now the band is slightly wider, so line up the sides again with the bottom corner at the notch, and stitch. Going back to the other side, fold the fabric over at the notch with the edge of the band. With the side edges even, use a half inch or 12mm seam allowance and stitch down about 2 and a half inches, just past the edge of the band, back tacking at the start and finish. Now, flip over and remove any of the excess band out of your way and fold over and stitch just like the other side.
Step 3
When the band is sewn in place, open up the fabric and locate the notch at the top. With the right side up, center the tea towel along the top edge of the fabric. Now, sew right on top of that stitching to hold it in place. (This step is optional.) Starting from the bottom, roll the tea towel tightly about halfway up, then line up the bottom edge of the fabric with the top edge. Stitch right across, back tacking at the start and finish, with 1/2″ seam allowance. Go back to the edge and fold the seam allowance towards the center against the edge of the towel, then sew right on top of the stitching with the back tack. Pull out the tea towel, and then pull on the seam allowances of the openings. Push out the rest of the fabric, then pull on each side of the band. At the side openings, straighten out the half-inch seam allowances and crease the folded edges with your fingers. Move the band out of the way of the top edge and start a quarter-inch top stitch at the center. Start by back tacking and stitch a 1/4: seam allowance. (Edge stitches the sides together.) Trim all the threads, flip the band to the back, and once it’s turned over, the pattern is shown in the front.

Easy DIY Hanging Tea Towel Tutorial
https://youtu.be/v-eRoUkyKSQ?si=7jL8o_AWBPiB8Aw7


