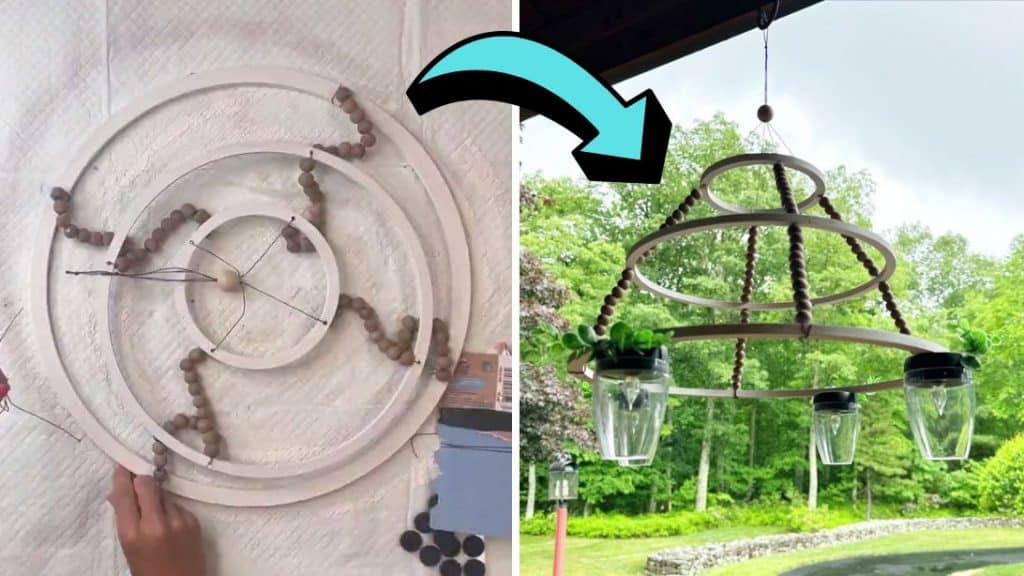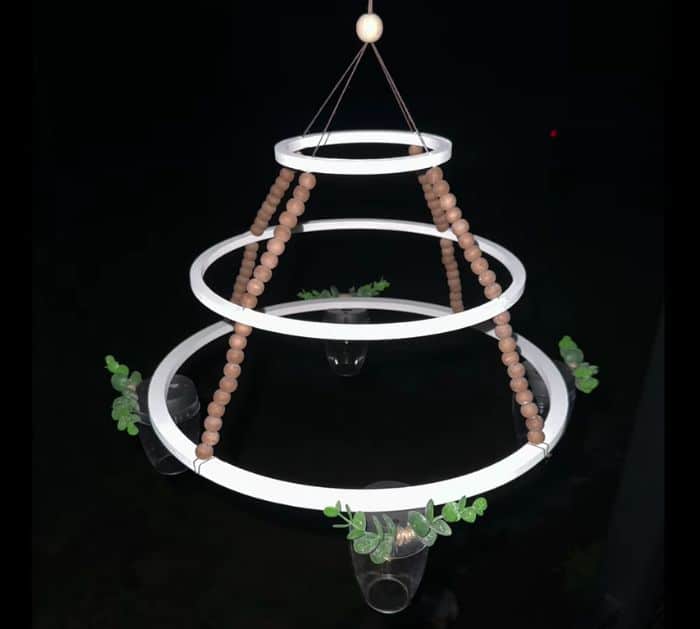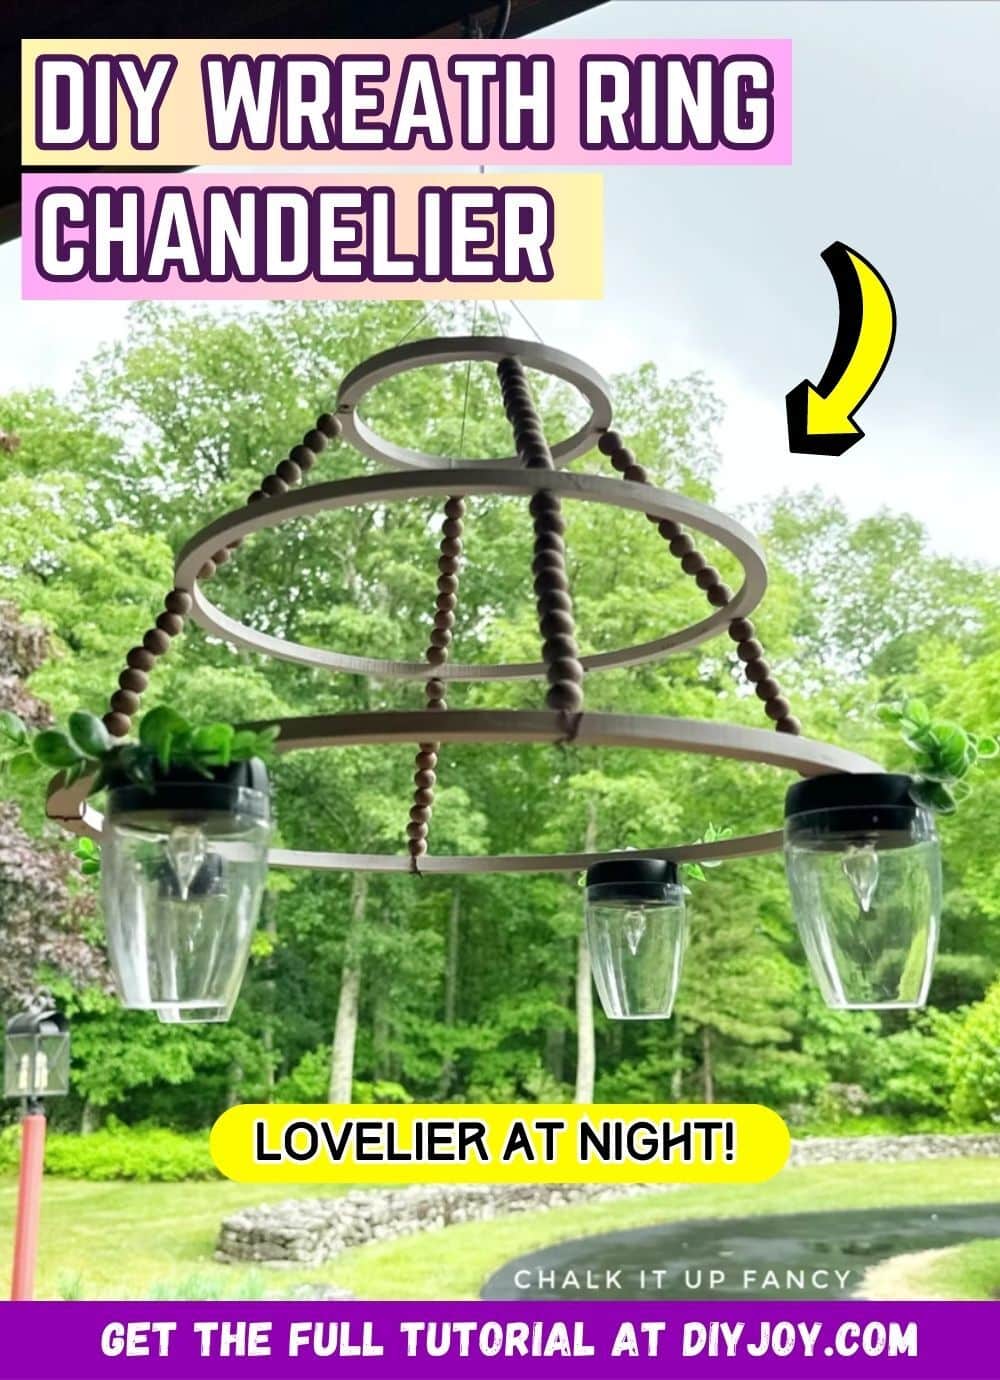
This DIY chandelier by Chalk It Up Fancy on YouTube is a great handmade project for decor, gift, or item to sell. It is super simple and easy to put together, and you can personalize it by adding whatever color or embellishment that you want to the chandelier. The materials are also very easy to find from the nearest Dollar store, so learn this project now, and try making your own version today.
Materials:
- 16-inch wreath ring
- 12-inch wreath ring
- 6-inch wreath ring
- Pen or pencil
- Straight ruler
- Drill
- String
- Needle
- Small wooden beads
- A large wooden bead
- Solar lights
- E6000 adhesive
- Scissors
- Paint, any color that you want
- Paintbrush
Directions:
Step 1
Lay the wreath rings out as shown in the video, then mark 4 sides evenly, and drill holes on those markings. Clean the wreath rings off any dust and debris, then apply paint all over it until nicely covered, and let it dry completely. Once dried, insert a string into the hole of the smallest ring, then add wooden beads to the string before inserting it through the next ring, and continue to do so until you reach the last wreath ring. Loop and tie the string around the wreath, then knot it securely and cut off the excess, and make sure to leave a long string on the top end for hanging later.

[social_warfare]
Step 2
Repeat the same steps for the rest of the holes, then once done, gather the long ends at the top, and insert them into a large wooden bead knotting them securely. Loop the top ends so that you can hang them and knot them in place, then flip the wreath over, and adhere the solar lights with adhesive. Once the adhesive has dried, flip the wreath right up, and add some decorations as desired. Hang it up wherever you want and turn the lights on.

*All these images are credited to Chalk It Up Fancy via YouTube. Give her channel a visit and subscribe for more!


