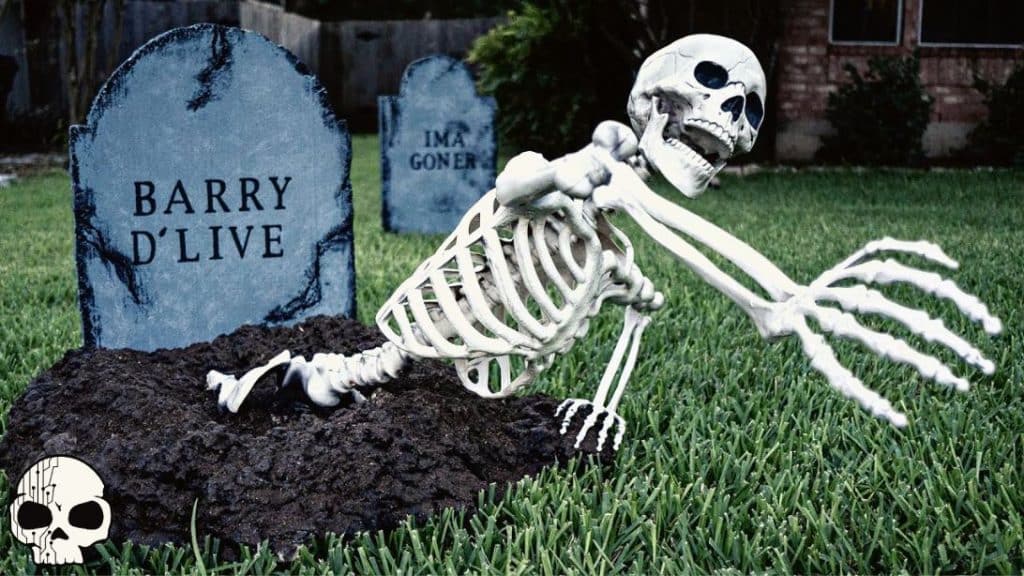
This project idea by Wicked Makers on YouTube is a great way to level up your Halloween decoration this year! What’s even better is that you can reuse this decor every year and it will surely look spooky and amazing every time. You can make this easier when you follow the steps written down below and watch the video tutorial as well for more details.
Materials:
- Plastic skeleton
- Spray foam
- Black spray paint
- A piece of board, for the base
- Trash bag
- Hot glue gun and glue sticks
- Spray adhesive
- Epoxy putty
- Latex gloves
- Painter’s tape
- Heat gun
- Wire
- Dirt
Directions:
Step 1
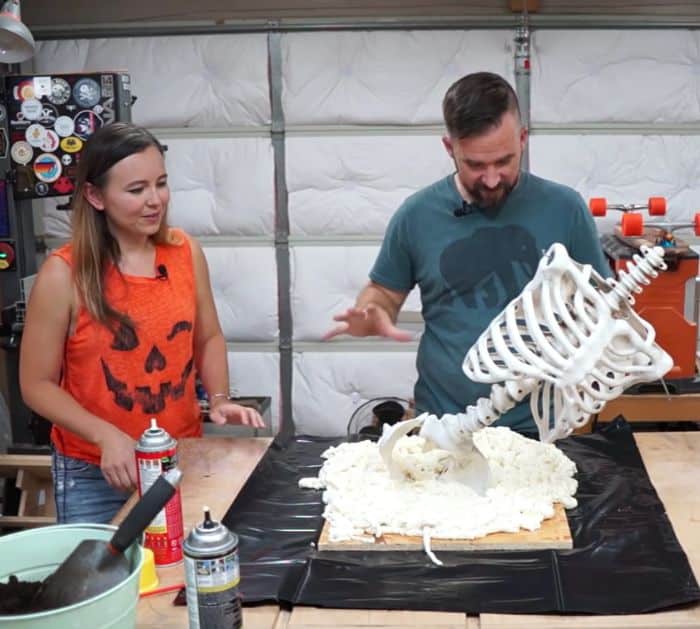
Disassemble the plastic skeleton leaving only the head, ribs, spine, and pelvis intact, then use a heat gun to soften the lower spine, and bend it. Use either a string or jute twine, then tie each end to the head and pelvis of the skeleton to hold it in place, and leave it for an hour. Mold some epoxy putty, then place it inside each of the shoulders, and insert a piece of wire on each clay. Drill a hole on a piece of wooden board and slightly on the side of the pelvis, then secure it to the board with a screw, and position it slightly slanted as shown in the video. Line the surface with a piece of the trash bag to catch any foam that would fall on the work surface, then place the board with the skeleton on top, and start spraying the base with lots of foam.

[social_warfare]
Step 2
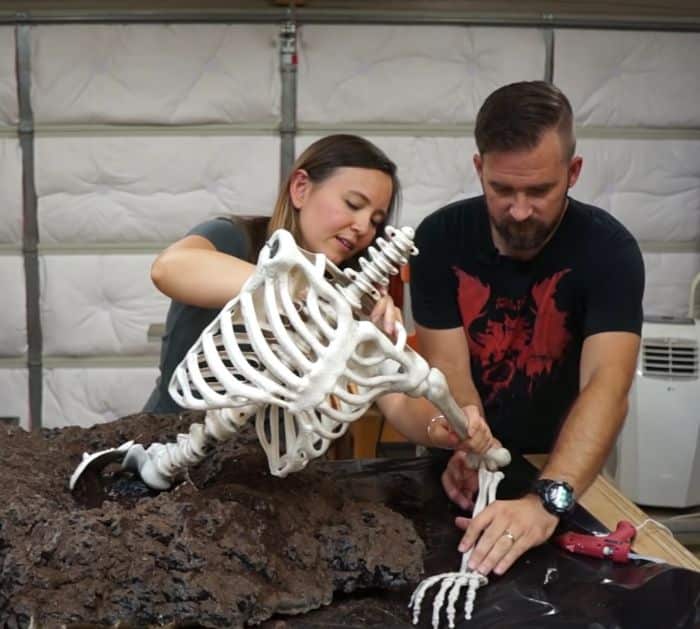
Spread some dirt on top of the foam until completely covered, then once the foam is solid, tap it upside down to remove all of the excess dirt. Spray more foam on top, then let it dry, and cover the skeleton with plastic and painter’s tape. Spray the whole base with black paint, let dry, then cover it with spray adhesive as you sprinkle dirt on top making sure it’s completely covered, and let dry completely. Tap away all of the excess dirt, then once dried, re-attach the arms of the skeleton making sure to form it as shown in the video, and secure it with hot glue. Display the skeleton outdoors with a decorative grave at the back.

*All image credit belongs to Wicked Makers via YouTube. Follow and subscribe to their channel for more!


