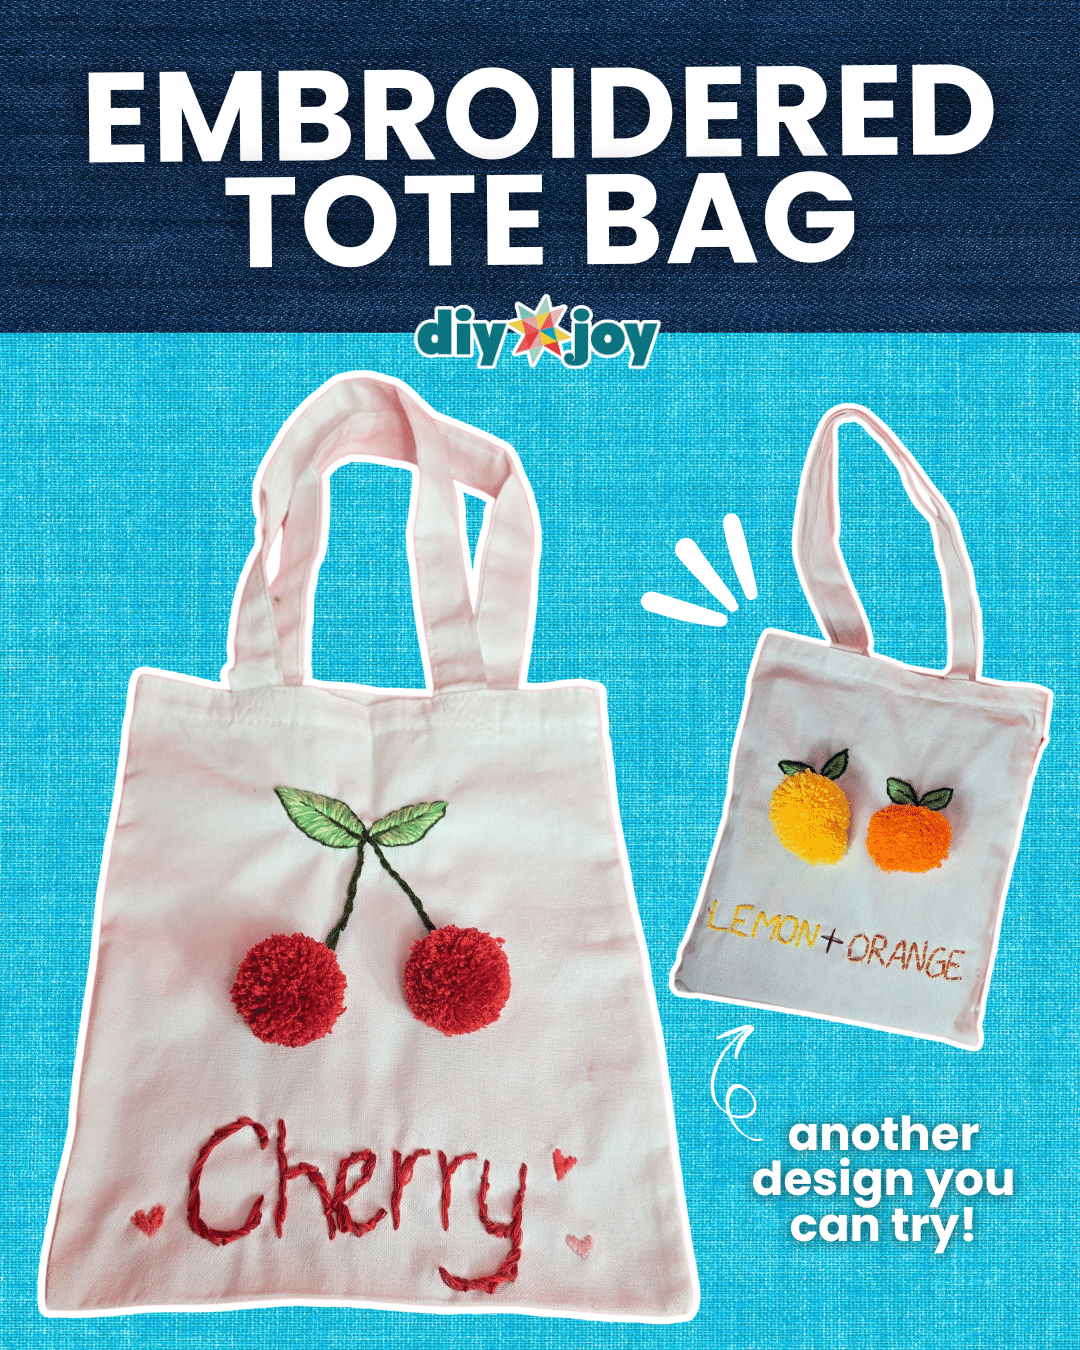
Are you ready for the best Summer craft ever? Well, you’ve come to the right place because today you will learn a fun and creative way to personalize your tote bag! This idea combines embroidery and pom pom making, which are two of our favorite summer craft trends!
Whether you’re upcycling an old bag or starting with a blank canvas, this cute DIY tote bag is the perfect project for beginners who want to try easy embroidery and add a splash of personality to their accessories.
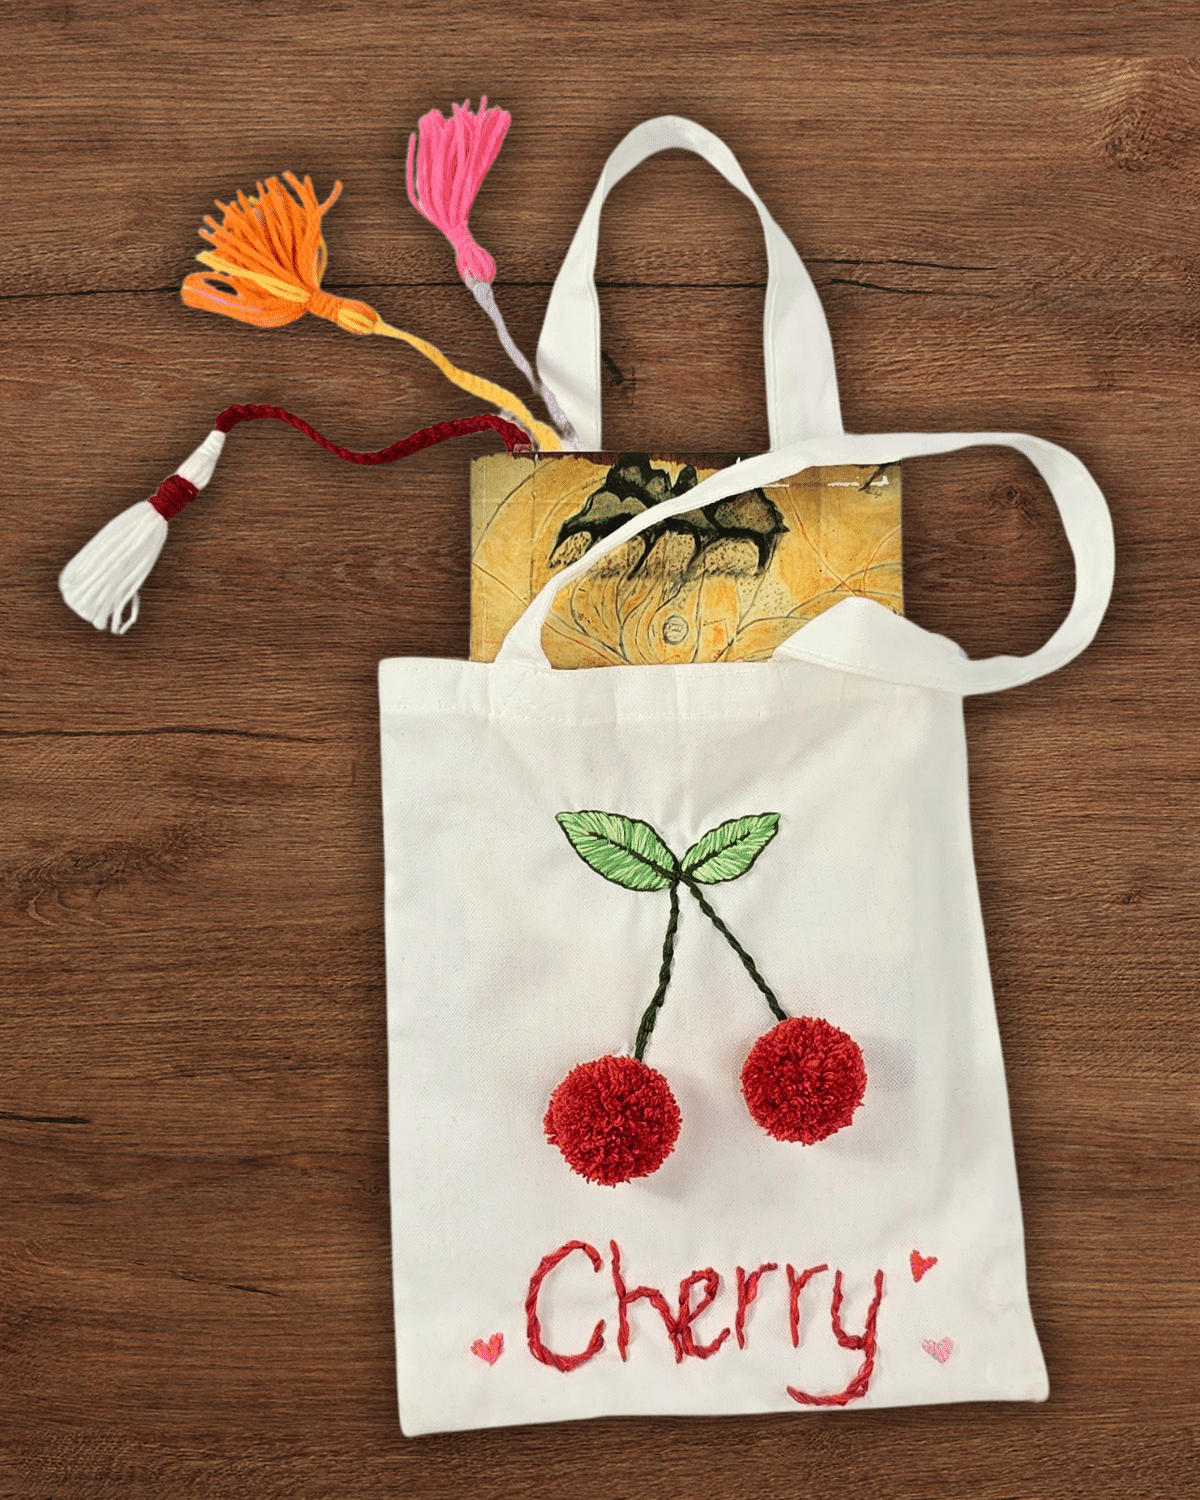
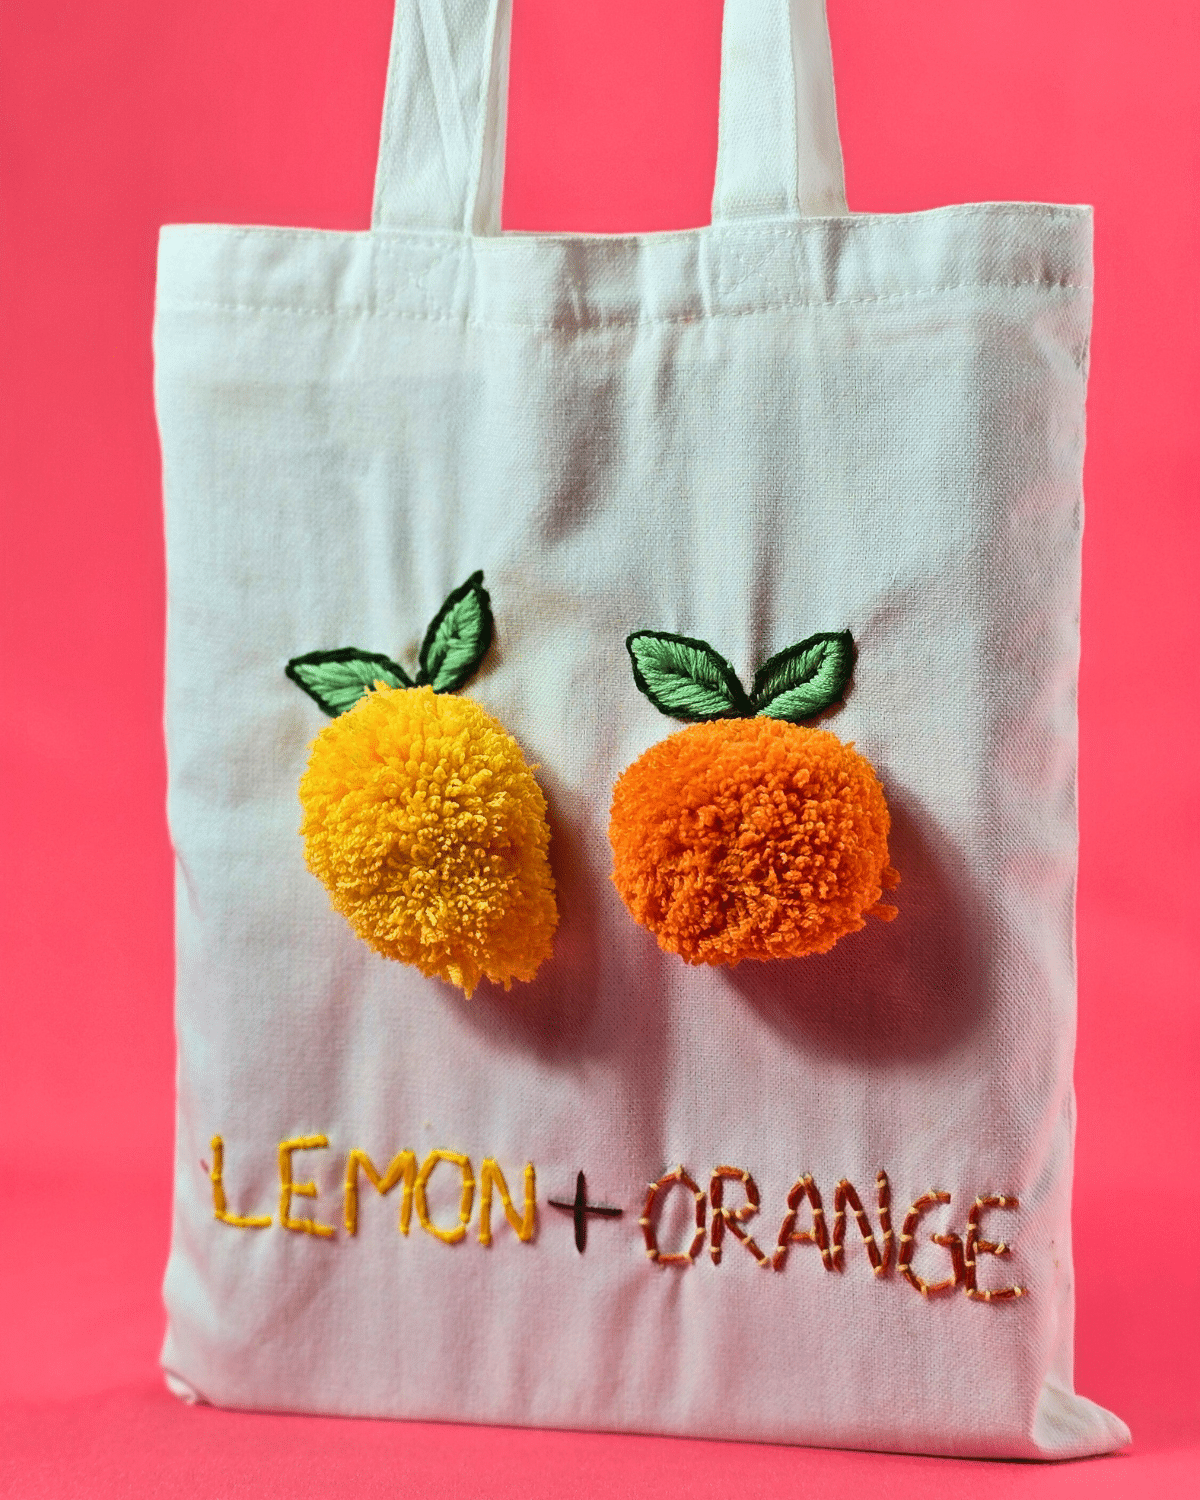
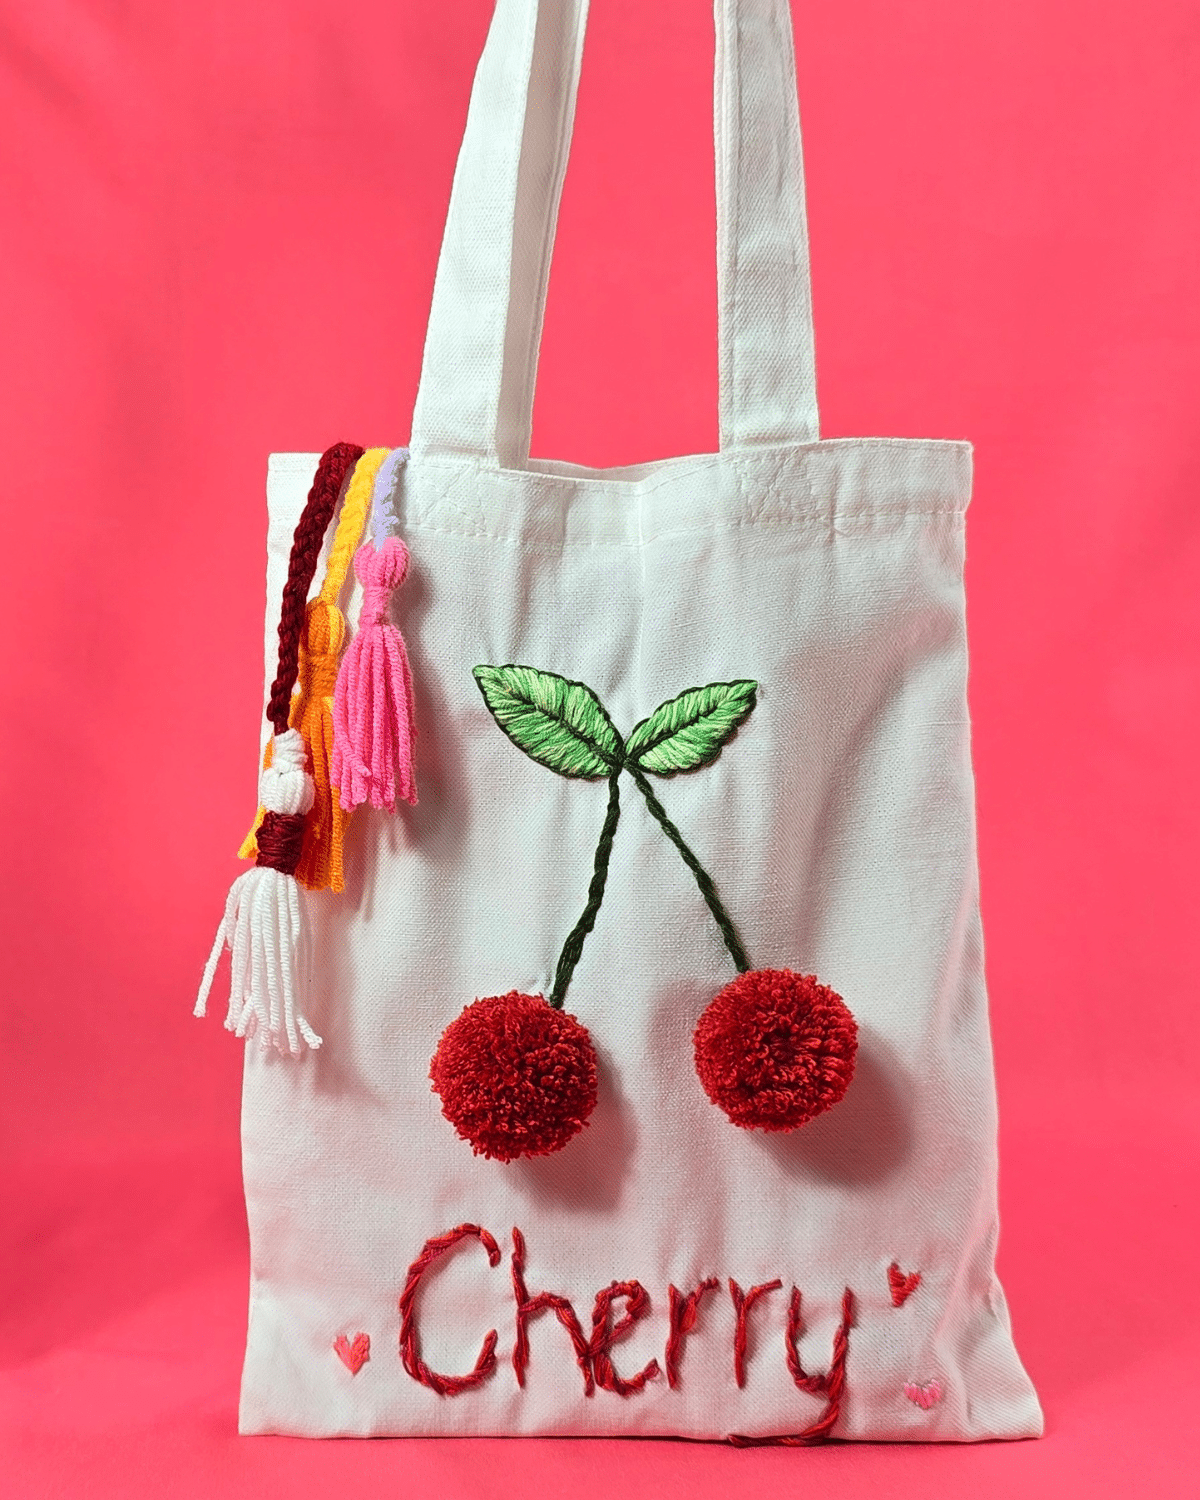
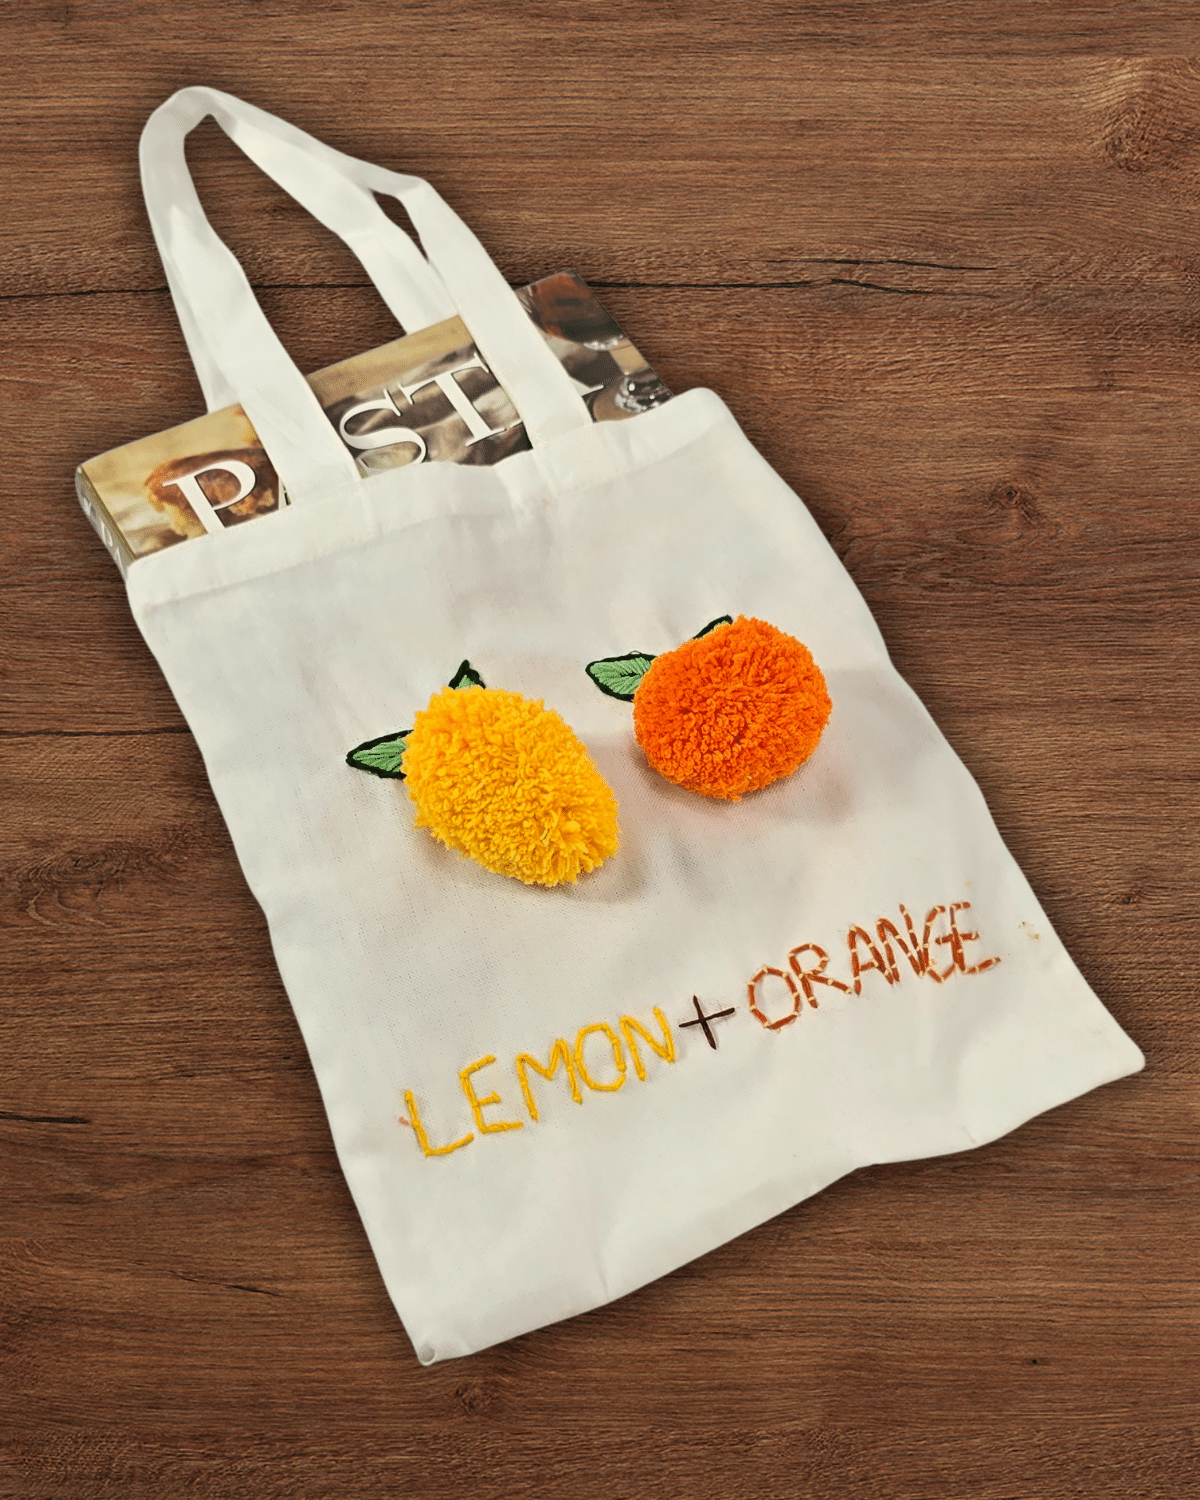
In this tutorial, you’ll learn how to easily embroider leaves and shape pom poms into fruits like cherries, lemons, or oranges. But you can try any fruit design that you want and use different yarns depending on the fruit of your choice, which is actually my favorite part of this project. So, if you’re loving this upcycled tote bag idea so far, then grab your thread, a blank tote bag canvas, and your yarn, and let’s get started!
Fruit Embroidered Tote Bag Instructions
Here’s an easy-to-follow step-by-step guide to making cute embroidered pom pom tote bags.
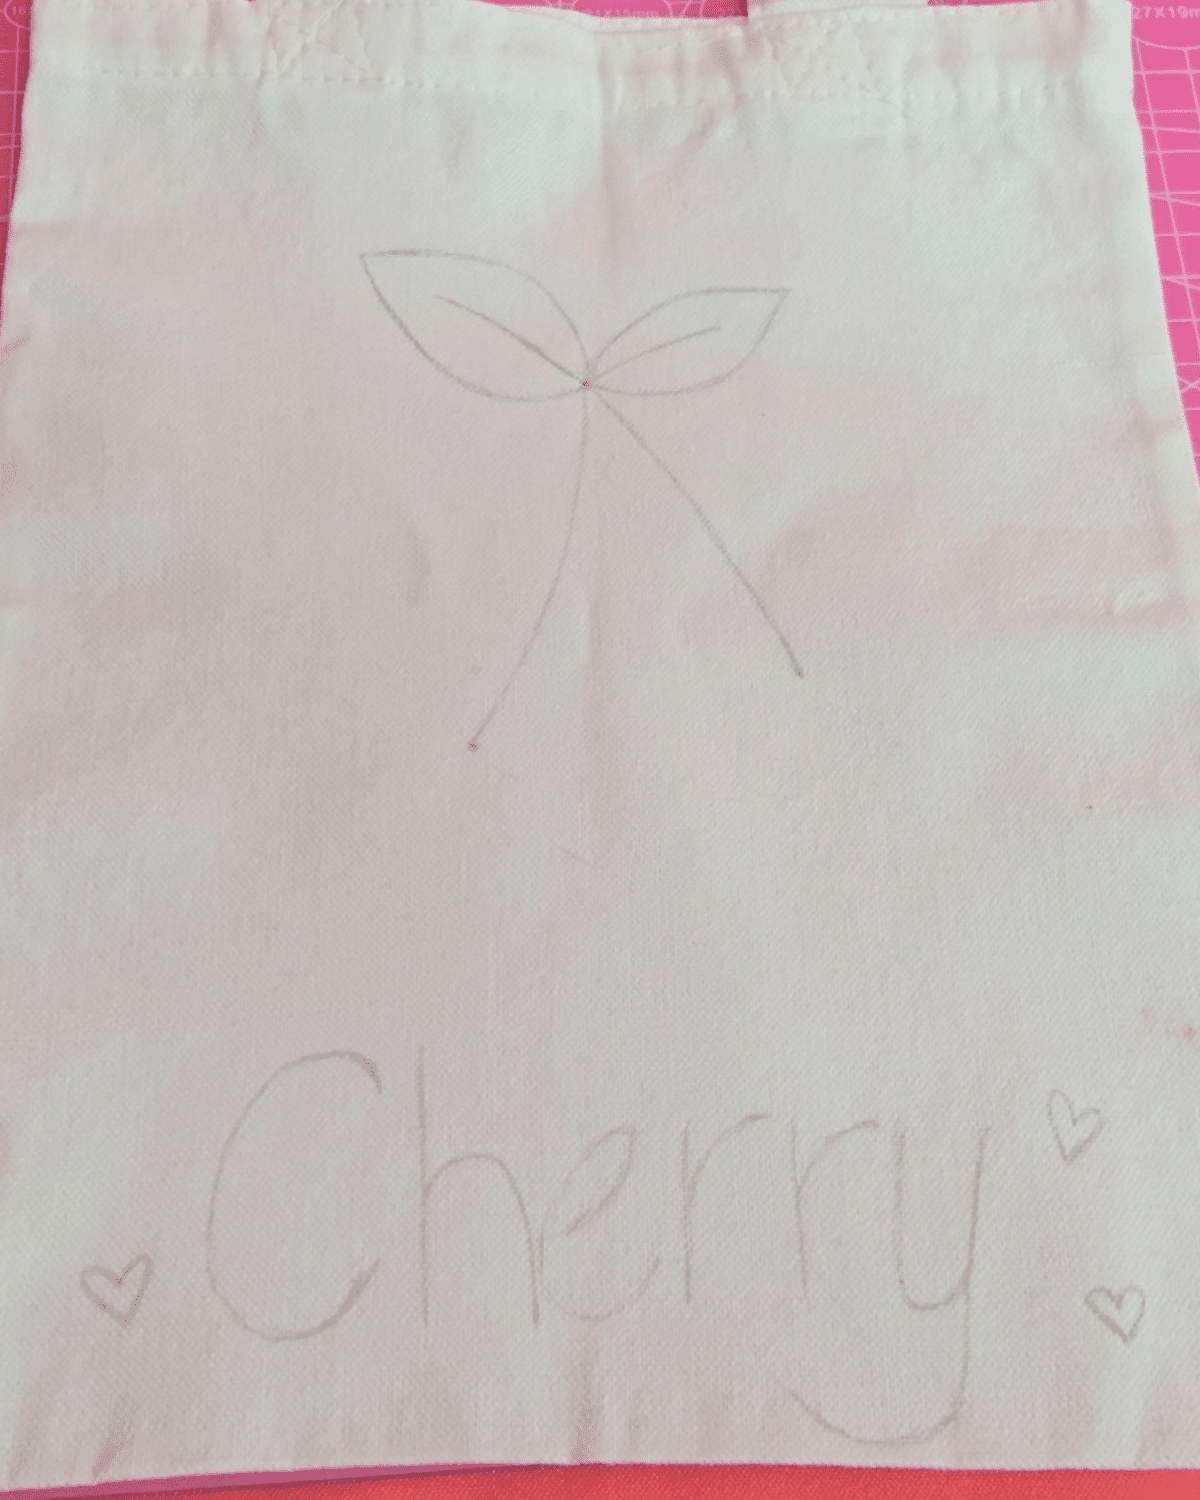
Draw Your Pattern
 Draw whatever design you want on your tote bag; it could be anything—your favorite fruit, character, a quote, or your name!
Make a Pom-Pom
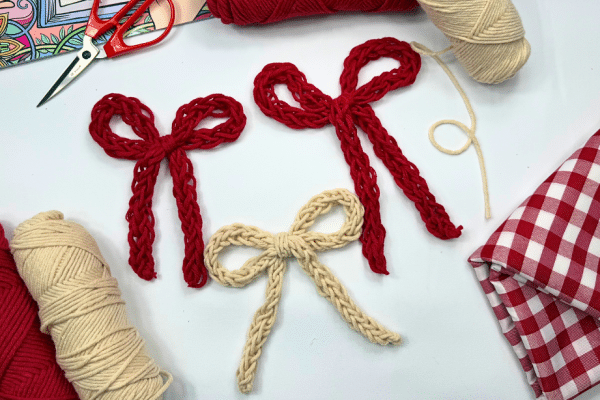
Wrap yarn around your 3 fingers about 100 times, then tie the loops tightly around the middle. Cut through the loops, then shape it into a round ball. Repeat the steps and make 2 pom poms.Outlining Your Drawing
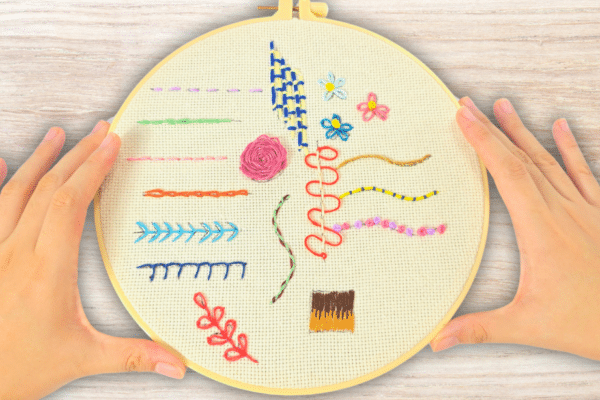
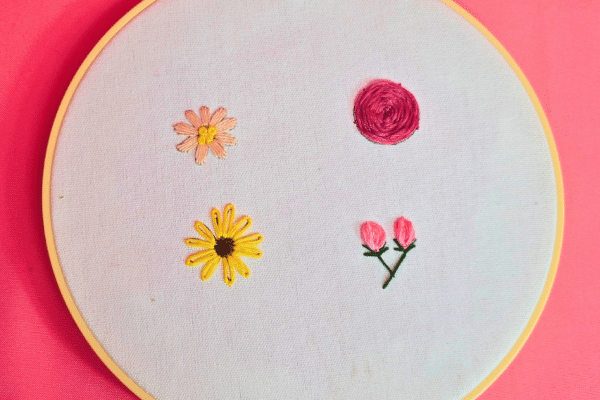
Outline whatever shape you drew, or in this case, the leaf, with a backstitch.Fill in the Outlined Shape
Embroider the stems of the cherry with a stem stitch, then fill in the leaves using satin stitch.Adding the Pom-Poms
Embroider the letters however you want, then hot glue the pom poms to the ends of each stem.
 Draw whatever design you want on your tote bag; it could be anything—your favorite fruit, character, a quote, or your name!
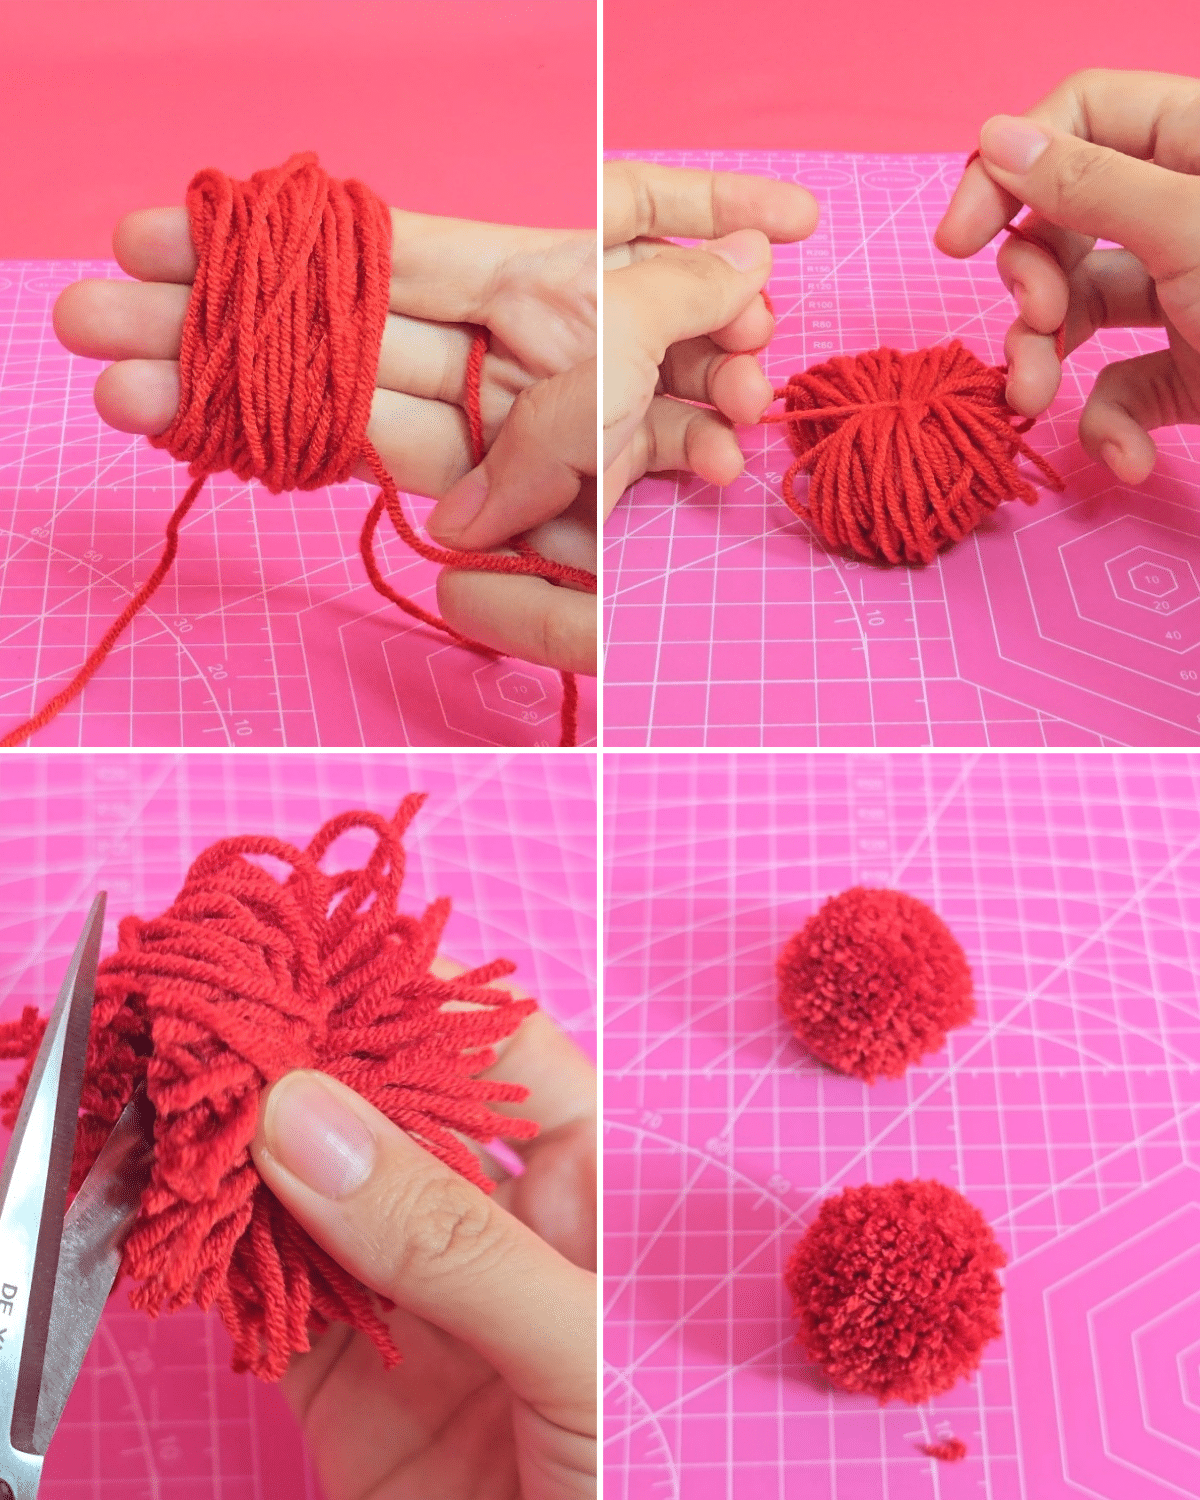 Wrap yarn around your 3 fingers about 100 times, then tie the loops tightly around the middle. Cut through the loops, then shape it into a round ball. Repeat the steps and make 2 pom poms.
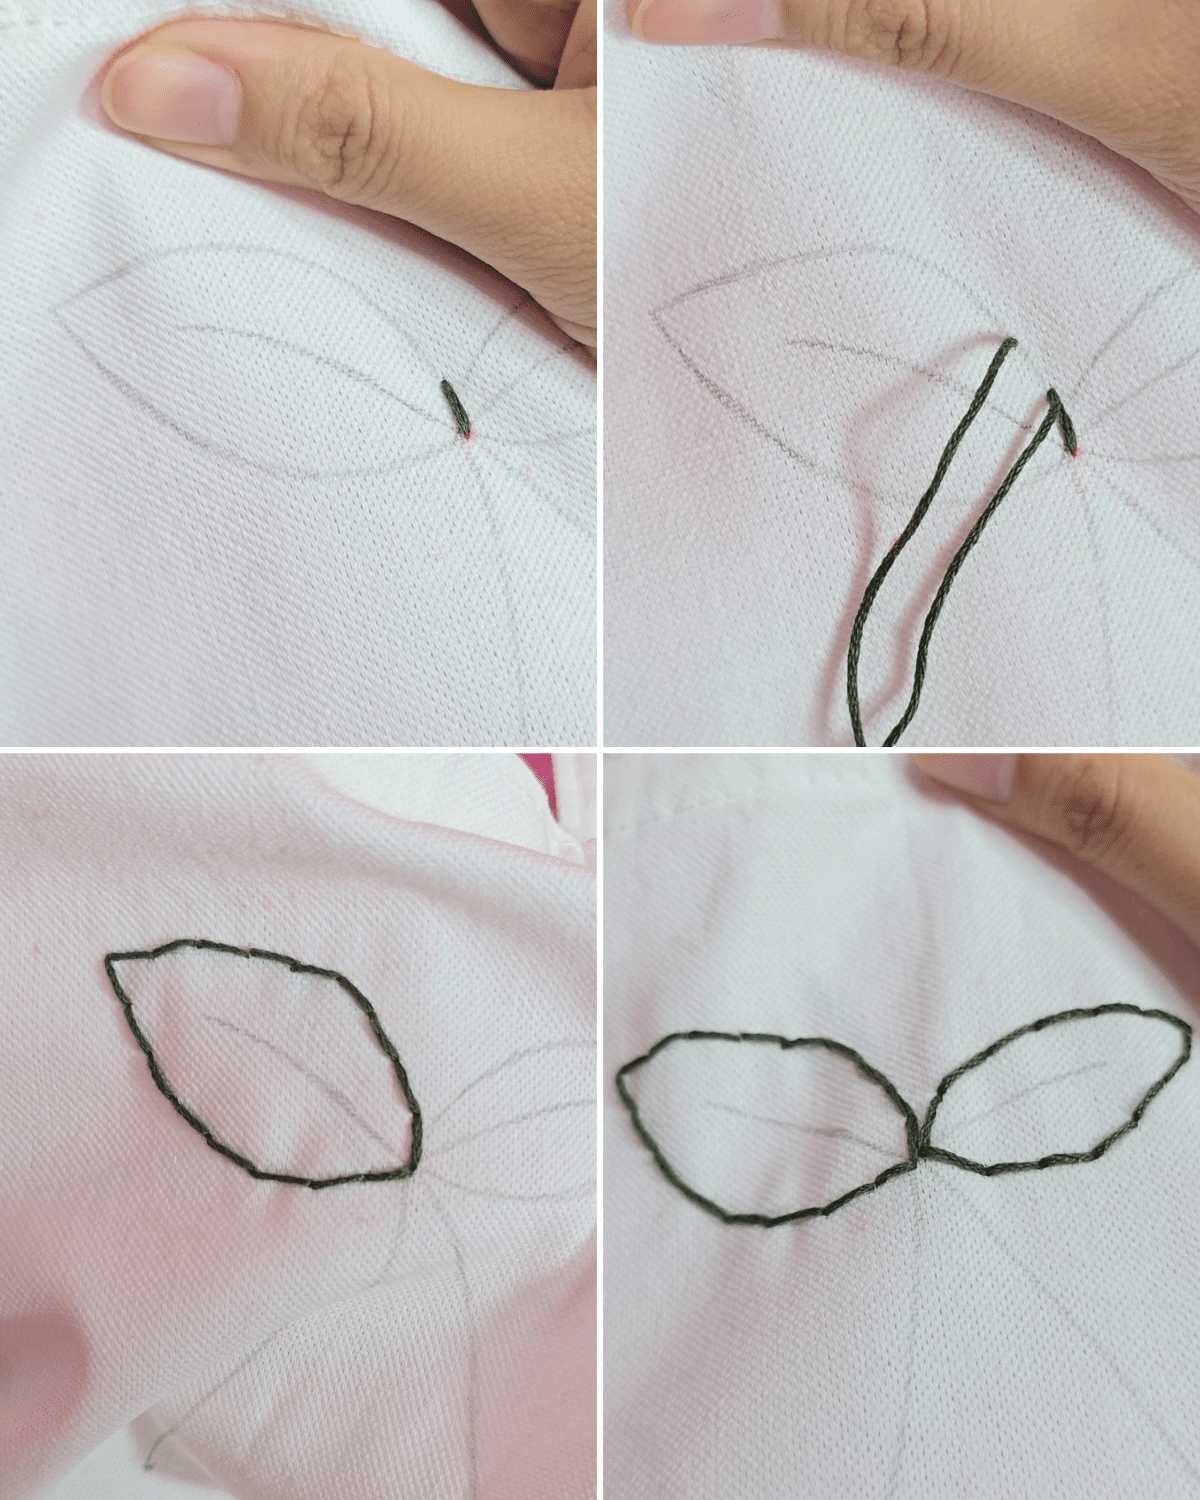 Outline whatever shape you drew, or in this case, the leaf, with a backstitch.
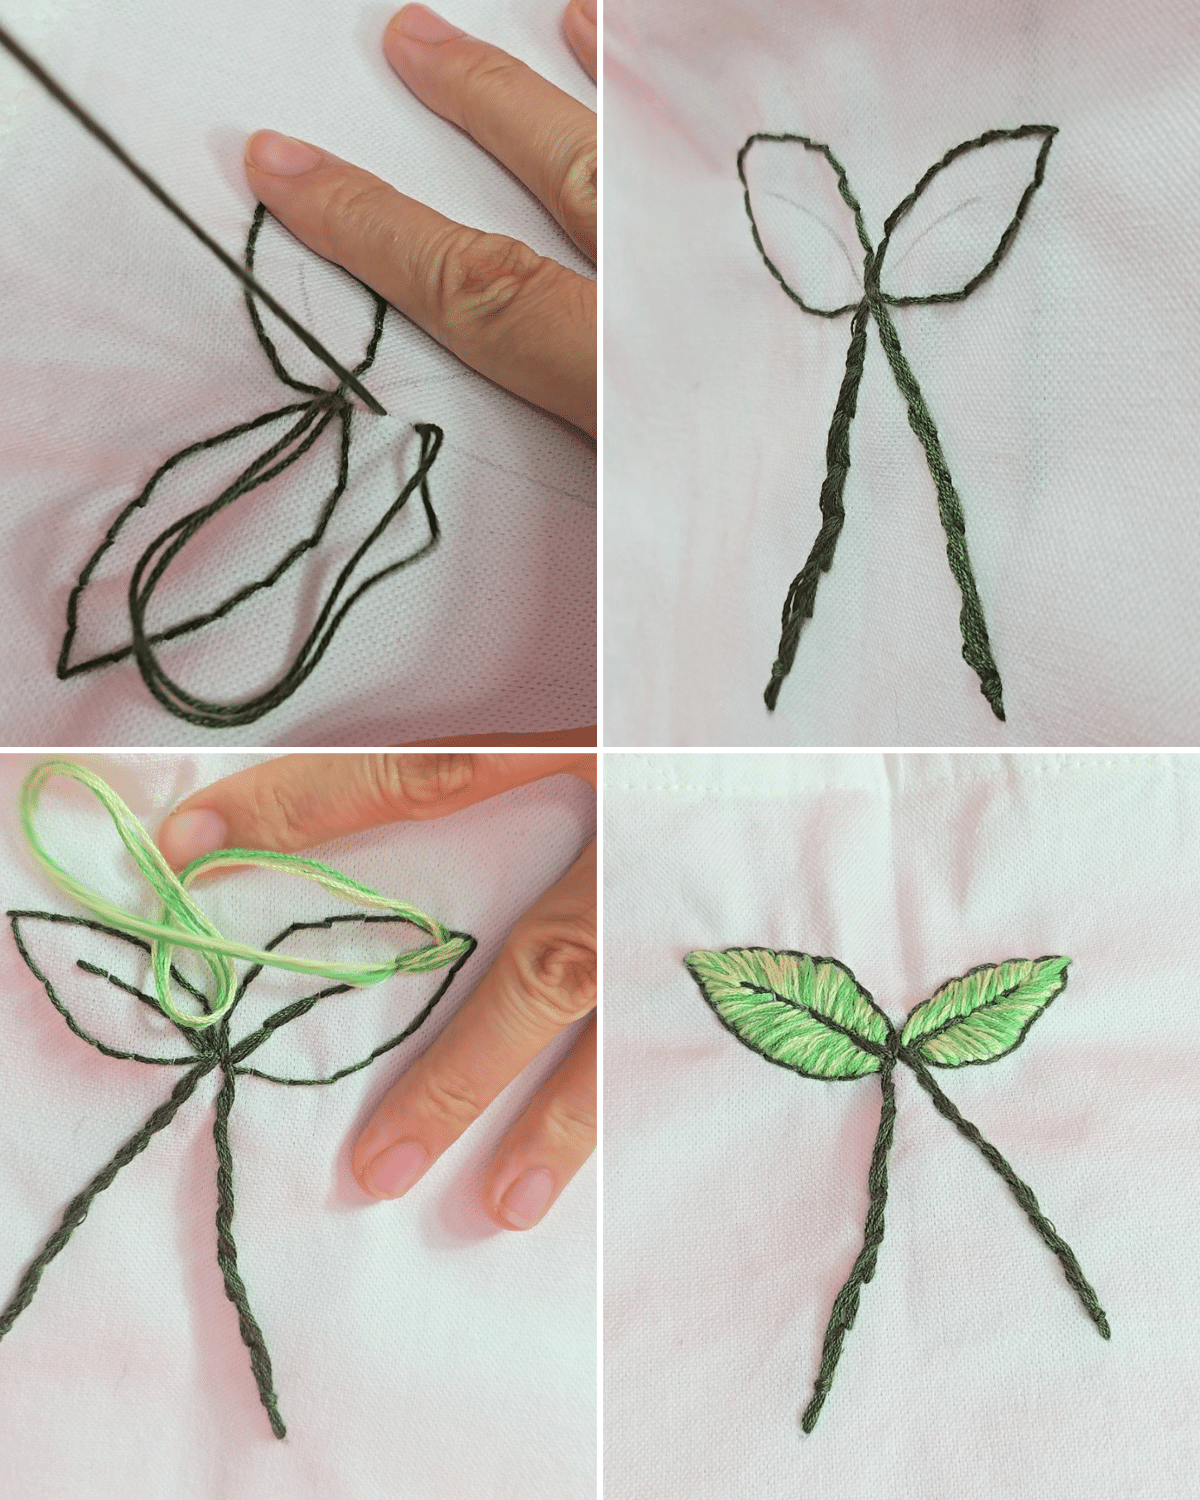 Embroider the stems of the cherry with a stem stitch, then fill in the leaves using satin stitch.
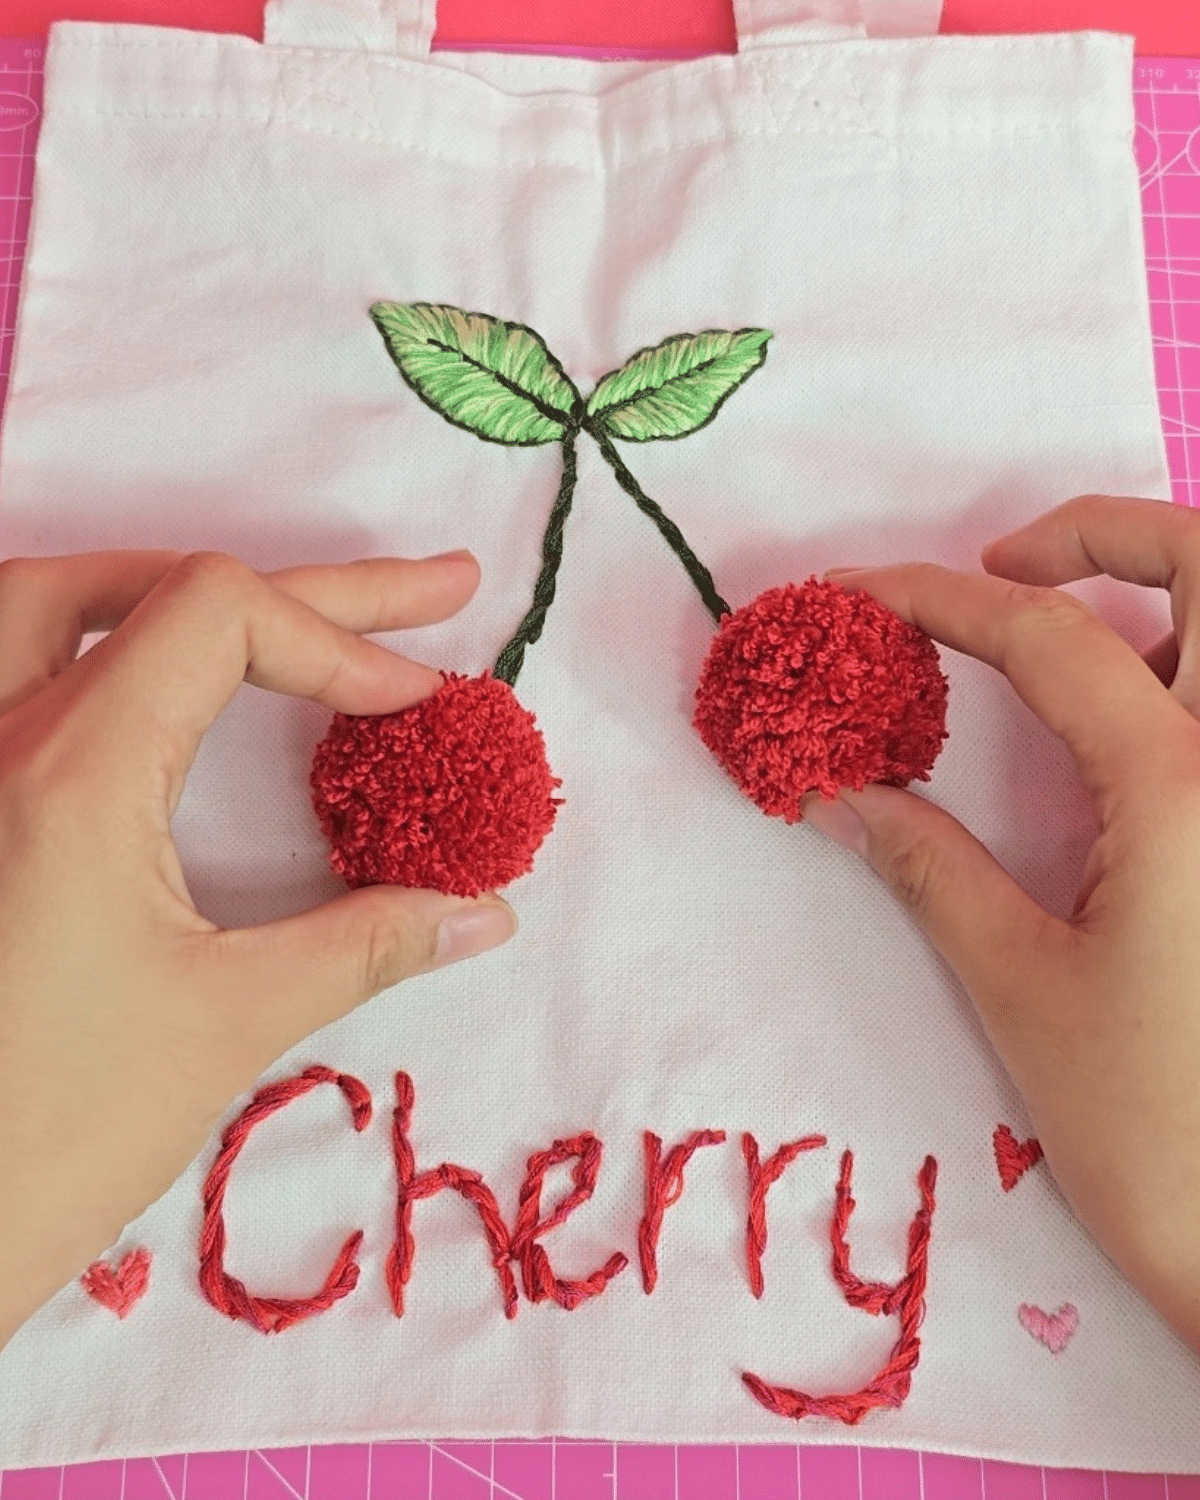 Embroider the letters however you want, then hot glue the pom poms to the ends of each stem.
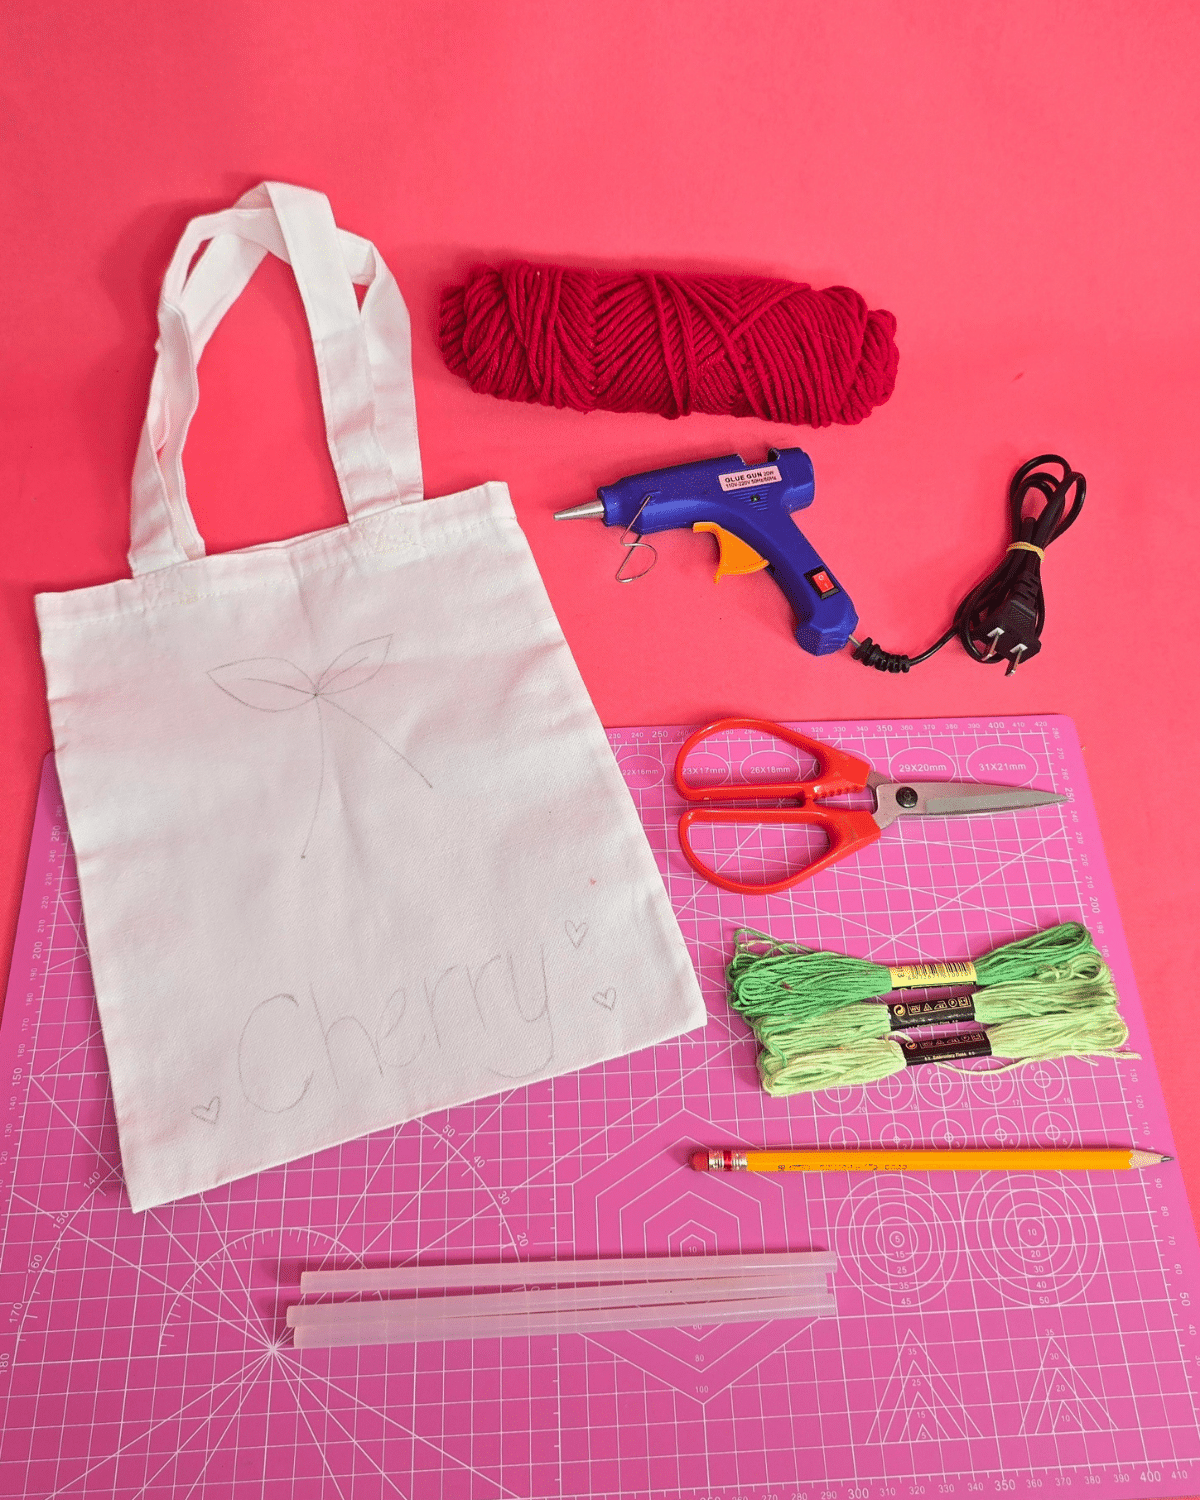
Materials
- Tote Bag
- Yarn
- Scissors
- Needle and Thread
- Pencil
- Glue gun and glue stick
![]()
Pro Tip
Combine 2 different colors of thread for a more striking look, just like what I did when I embroidered the leaves.
Though the thread might be too thick to pass through the eye of the needle, it’s best to divide the thread by half or into 3 strands each.
![]()
Why You’ll Love This DIY Project
It’s the ultimate summer tote bag craft that’s not only fun to make but also functional and stylish. Great as a personalized gift, a statement accessory, or just a creative afternoon project, this DIY embroidered tote bag is a must-try for crafters of all skill levels.
Other Crafts You Must Try!
Sewing Projects
Sewing Ideas
Sewing Ideas
Crafts
*If you love this craft, then visit our official website, follow our Facebook page, and subscribe to our YouTube channel for more!
Easy DIY Fruit Embroidered Tote Bag