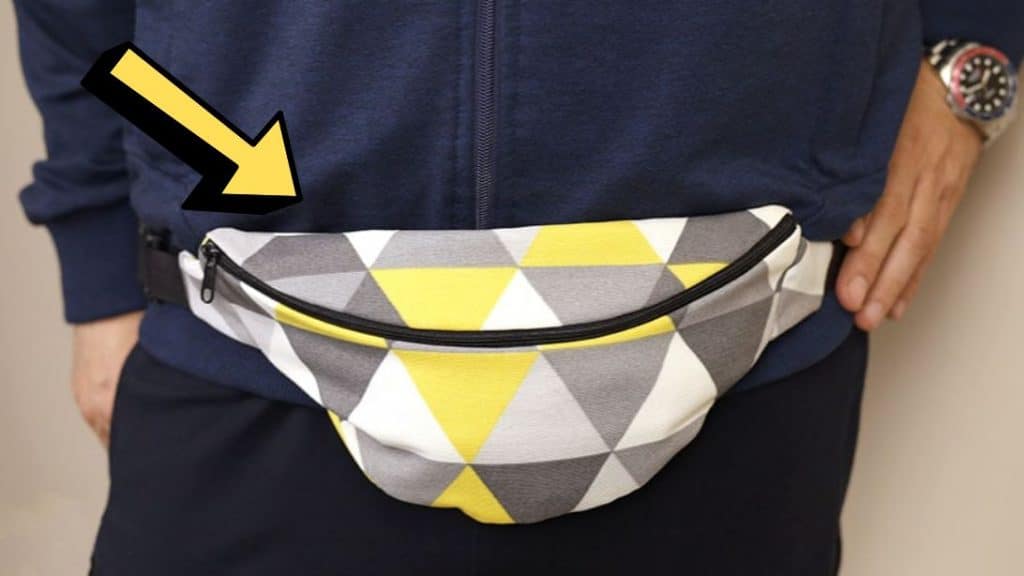
If you’re new to sewing and are looking for a fun and simple project to try your skills on, then this lovely fanny pack sewing tutorial by Hello Sewing is for you! This tutorial is super easy to follow and is pretty quick to put together, if you want to learn how to make this, then proceed to read the instructions down below and watch the video tutorial as well. Hope you love this sewing project as much as I did!
Materials:
- 18 x 22 inches medium-weight woven fabric
- 18 x 22 inches lightweight woven cotton fabric, for lining
- 1 yard of 1-inch webbing
- Plastic clip buckle
- Zipper
- Bias tape
- Needle and matching thread
- Scissors or rotary cutter and a cutting mat
- Ruler or measuring tape
- Iron, for pressing
- Sewing clips or pins
- Pattern (Click here to download and print the pattern)
Directions:
Step 1
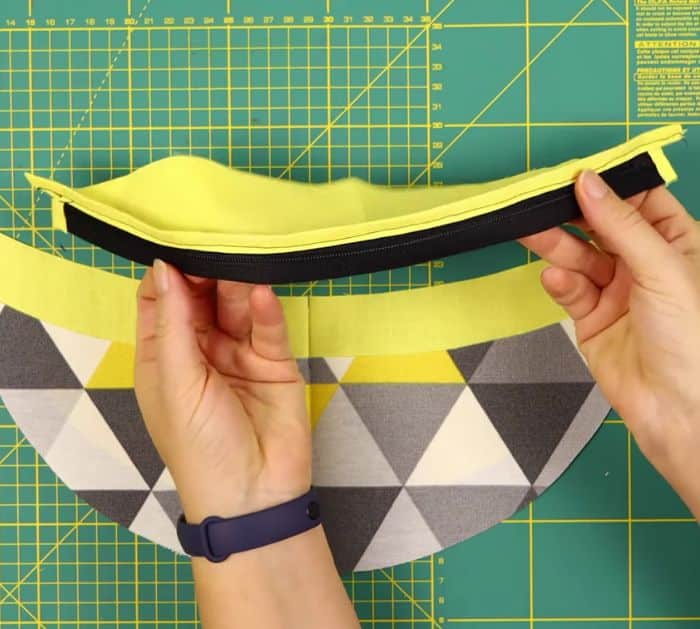
Download and print the pattern on paper, then cut the template pieces, trace them on the lining fabric, and cut. Repeat this for the main fabric and cut the 4 side pieces as well making sure to cut them mirrored. Mark the midpoint at the top and bottom of the fabric pieces, then cover the short ends of the zipper with bias tape, and sew them in place. Grab the lower front pieces, then lay the wrong sides of the lining and fabric together, and center the zipper on the curve with their right sides facing. Pin or clip along the curve and sew, then pin the bias tape to the raw edge of the zipper, and sew.

[social_warfare]
Step 2
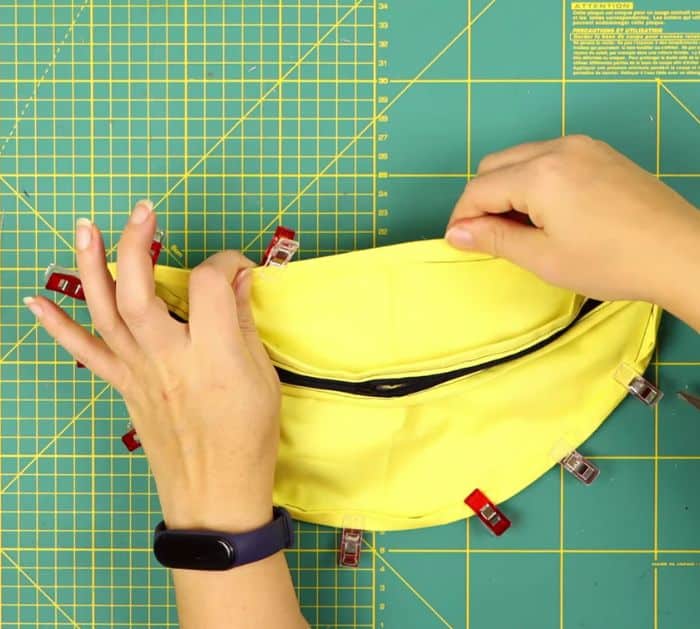
Next, grab the large front pieces and lay them together wrong sides facing, then lay the lower front piece on top with the zipper centered on the top curve, clip it around, and sew the zipper. Cover the other raw side of the zipper and sew it in place, then gather the excess fabric in the corners, and sew them by hand. Sew the side and belt pieces together, then sew them on each side of the back pieces, then place the front piece on top with their right sides together, and open the zipper halfway making sure to line up the midpoint markings as well. Sew all around the pieces, then turn it right side out through the zipper, and you’re done.

*All these images are credited to Hello Sewing via YouTube. Give her channel a visit and subscribe for more!


