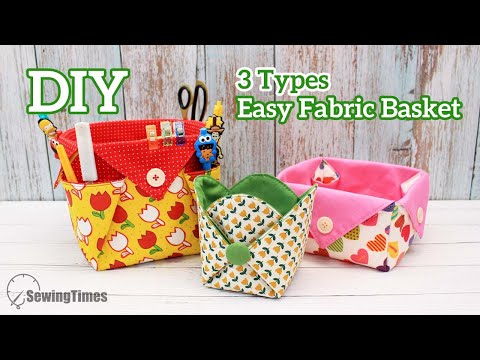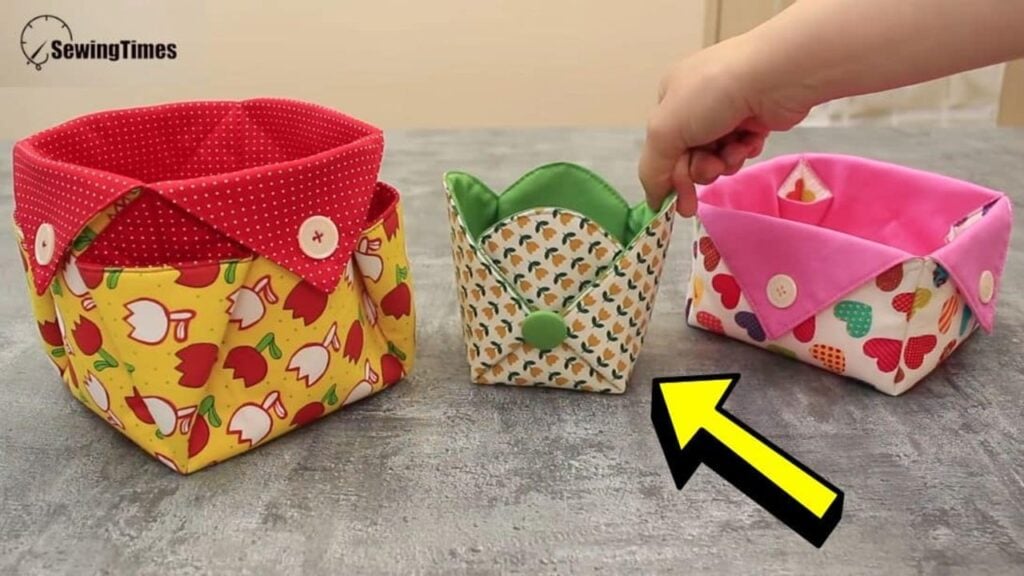
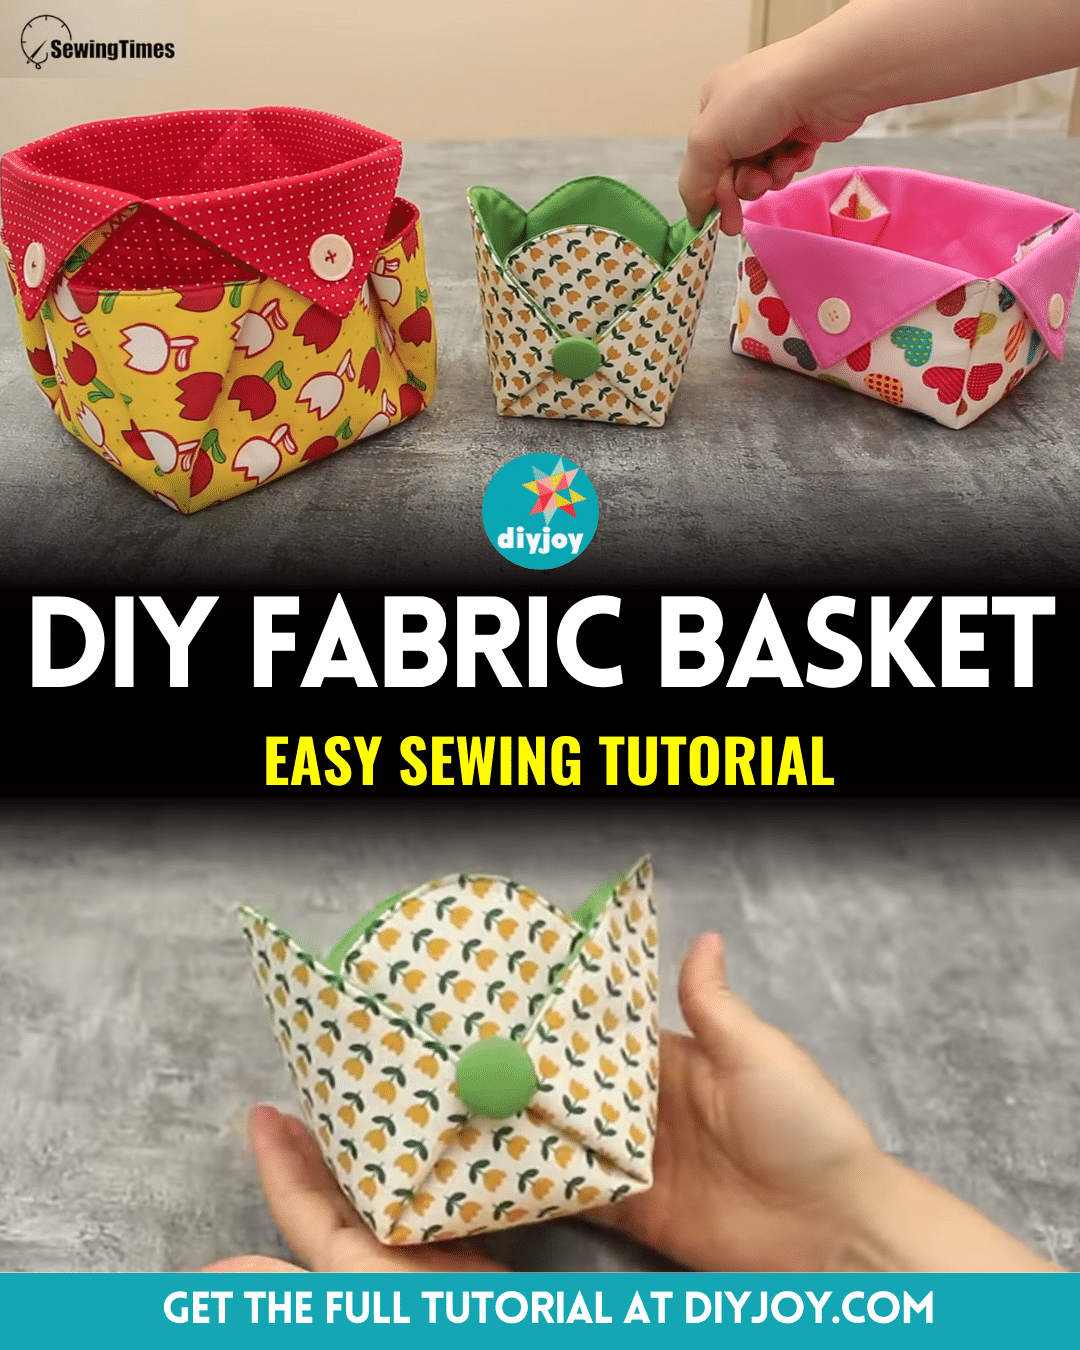
If you’re looking for a great sewing project to pass the time, then you might want to check out this lovely fabric basket by sewingtimes on YouTube. This basket is multi-purpose and you can use it to store your sewing tools, keys, pens, or whatever you want.
RELATED: Easy Mini Fabric Basket Sewing Tutorial For Beginners
It’s an easy and simple project that even beginners in sewing can try, you can make this with your favorite fabrics, and make it in any size that you prefer. Learn the steps now by reading the instructions below and be sure to watch the video tutorial as well for more details.
Materials for DIY Fabric Basket:
- Solid fabric, for the lining
- Print fabric, main
- Fusible fleece fabric
- Button covers
- Marking pen, pencil, or chalk
- Ruler
- Needle and thread
- Fabric clips
- Iron, for pressing
- Sewing machine
How to Make a DIY Fabric Basket:
Step 1
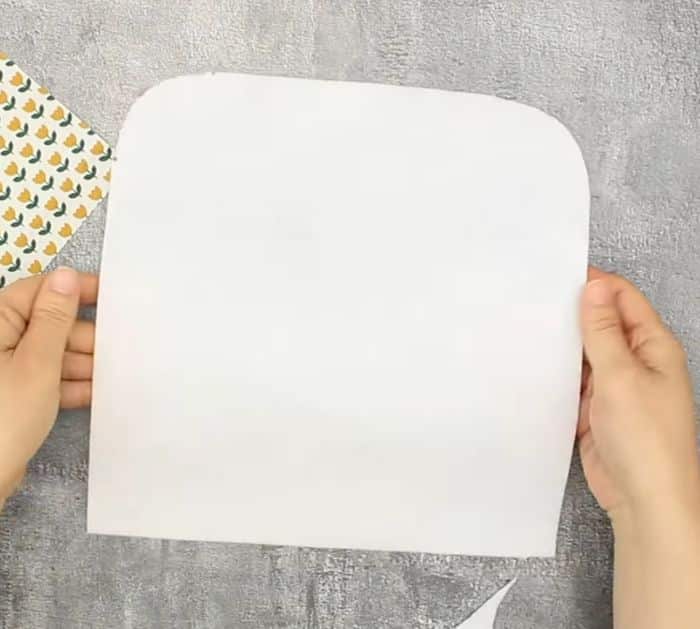
Cut the lining and main fabric into 10¾ inches square, then cut the fleece into 10 inches square, and then cut 2 lining fabrics into 2 inches squares. Get the fleece fabric, then mark the corner 2 inches across and 2 inches down, and connect those markings with a curved line. Cut along the curved line, then fold the fleece in half lining up the edges nicely, and cut the fabric following the curved corner on the upper layer. Unfold the fabric and fold it again in the opposite way, then cut the corners following the curves on the upper layer, and unfold the fleece.
Step 2
Put the fleece on top of the main fabric making sure it’s centered, then press it down to fuse, and lay it on top of the lining fabric with their right sides facing. Stitch around the edges of the fleece, then leave about 2 inches of opening on one side, and backstitch at the start and finish. Trim off the excess fabric and curve the corners, then turn it right side out through the hole, and poke the corners. Press it down nicely, then tuck the fabric on the opening, and clip it in place.
Step 3
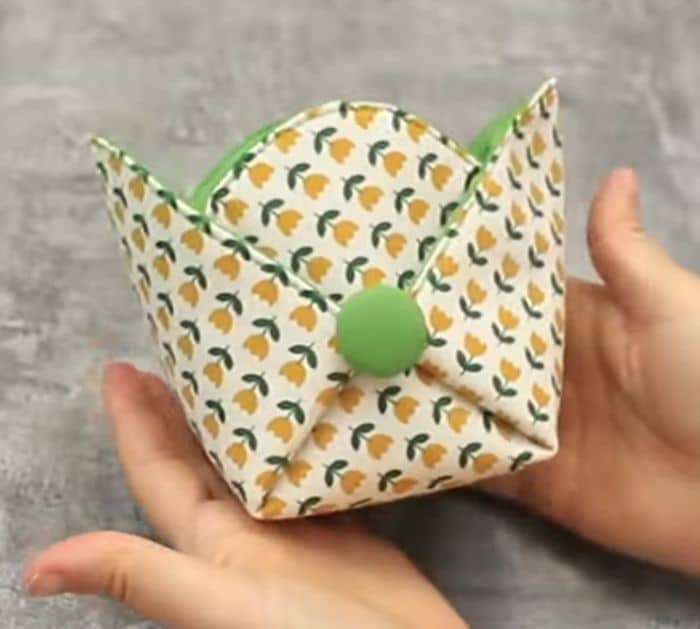
Topstitch all the way around the fabric near the edges, then fold the piece in half in a rectangle, and line along the fold with chalk. Fold it the other way and line along that fold as well, then line the inside of the fabric as demonstrated in the video, and fold it along the lines clipping it in place. Fold the corners together at the side, then stitch them together, prepare the buttons, and attach them to the sides of the fabric box.
*All image credit belongs to sewingtimes via YouTube. Follow and subscribe to her channel for more!
Simple DIY Fabric Basket Sewing Tutorial