I’ve been making DIY jewelry for quite some time now, and I can honestly say that once I discovered the joy of creating handmade jewelry pieces, I couldn’t stop. I was constantly looking for new designs and fresh inspiration to make my own versions. Over time, I’ve made earrings, bracelets, and necklaces—and now, I’m finally making my very first DIY ring.
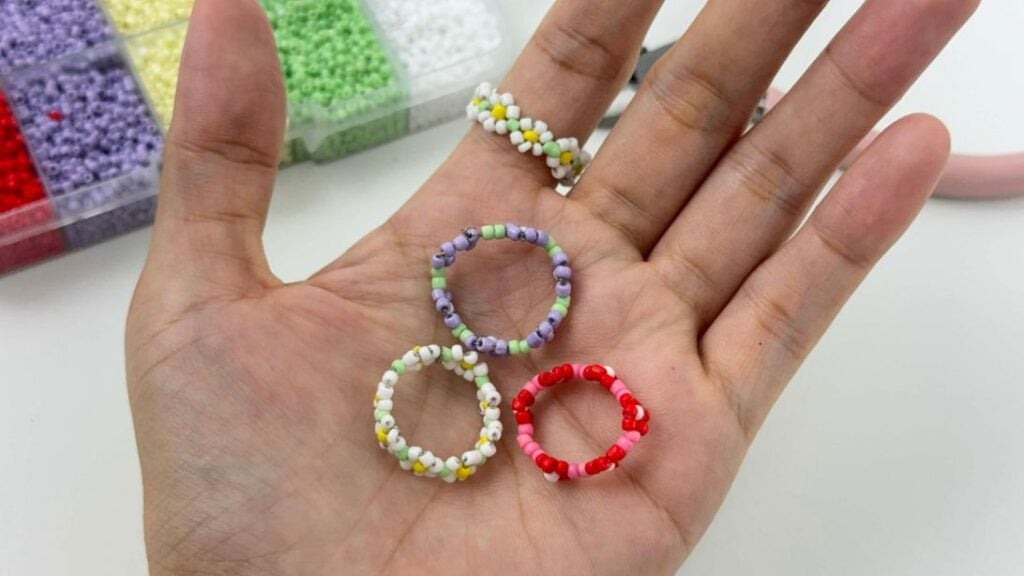
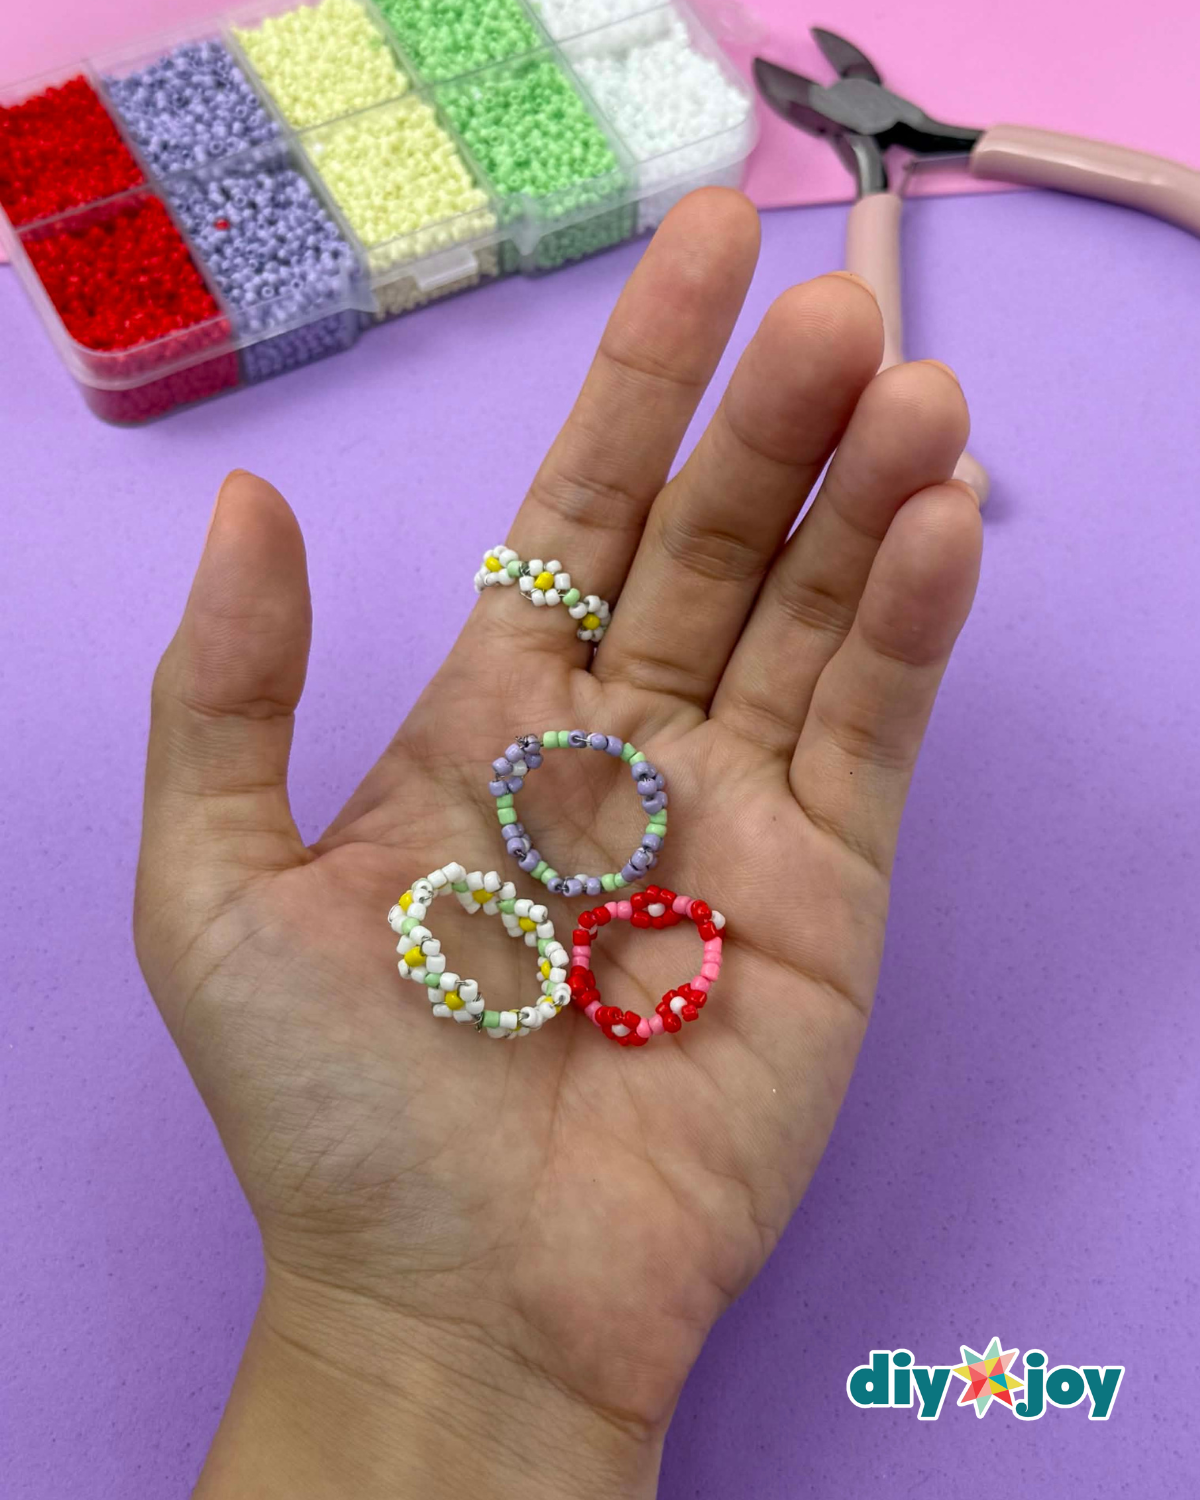
Working with beads is especially fun because of how versatile they are. They come in a wide variety of colors, shapes, and sizes, giving you endless creative possibilities. You can experiment with different styles, patterns, and textures, and shape them into almost anything you imagine. In this project, you’ll learn how to make a bead ring featuring a sweet daisy design that’s playful, eye-catching, and perfect for everyday wear.
At first glance, this DIY bead daisy ring might look a bit intimidating. Trust me—I felt the same way when I started. You might think it’s either too complicated or deceptively simple, only to run into a few hiccups along the way. Don’t let that discourage you. Once you understand the pattern and get the rhythm of the steps, you’ll find yourself breezing through each ring you make, and it only gets easier with practice.
RELATED: Easy Flower Bead Bracelet for Beginners
This DIY bead ring also makes a wonderful handmade gift. Since it’s fully customizable, you can choose colors that match the recipient’s style, making it a thoughtful and personalized present. It’s also a fun activity to do with friends or family. If you’re making these rings with kids, be sure to swap the wire for fishing line for safety, or supervise closely while crafting.
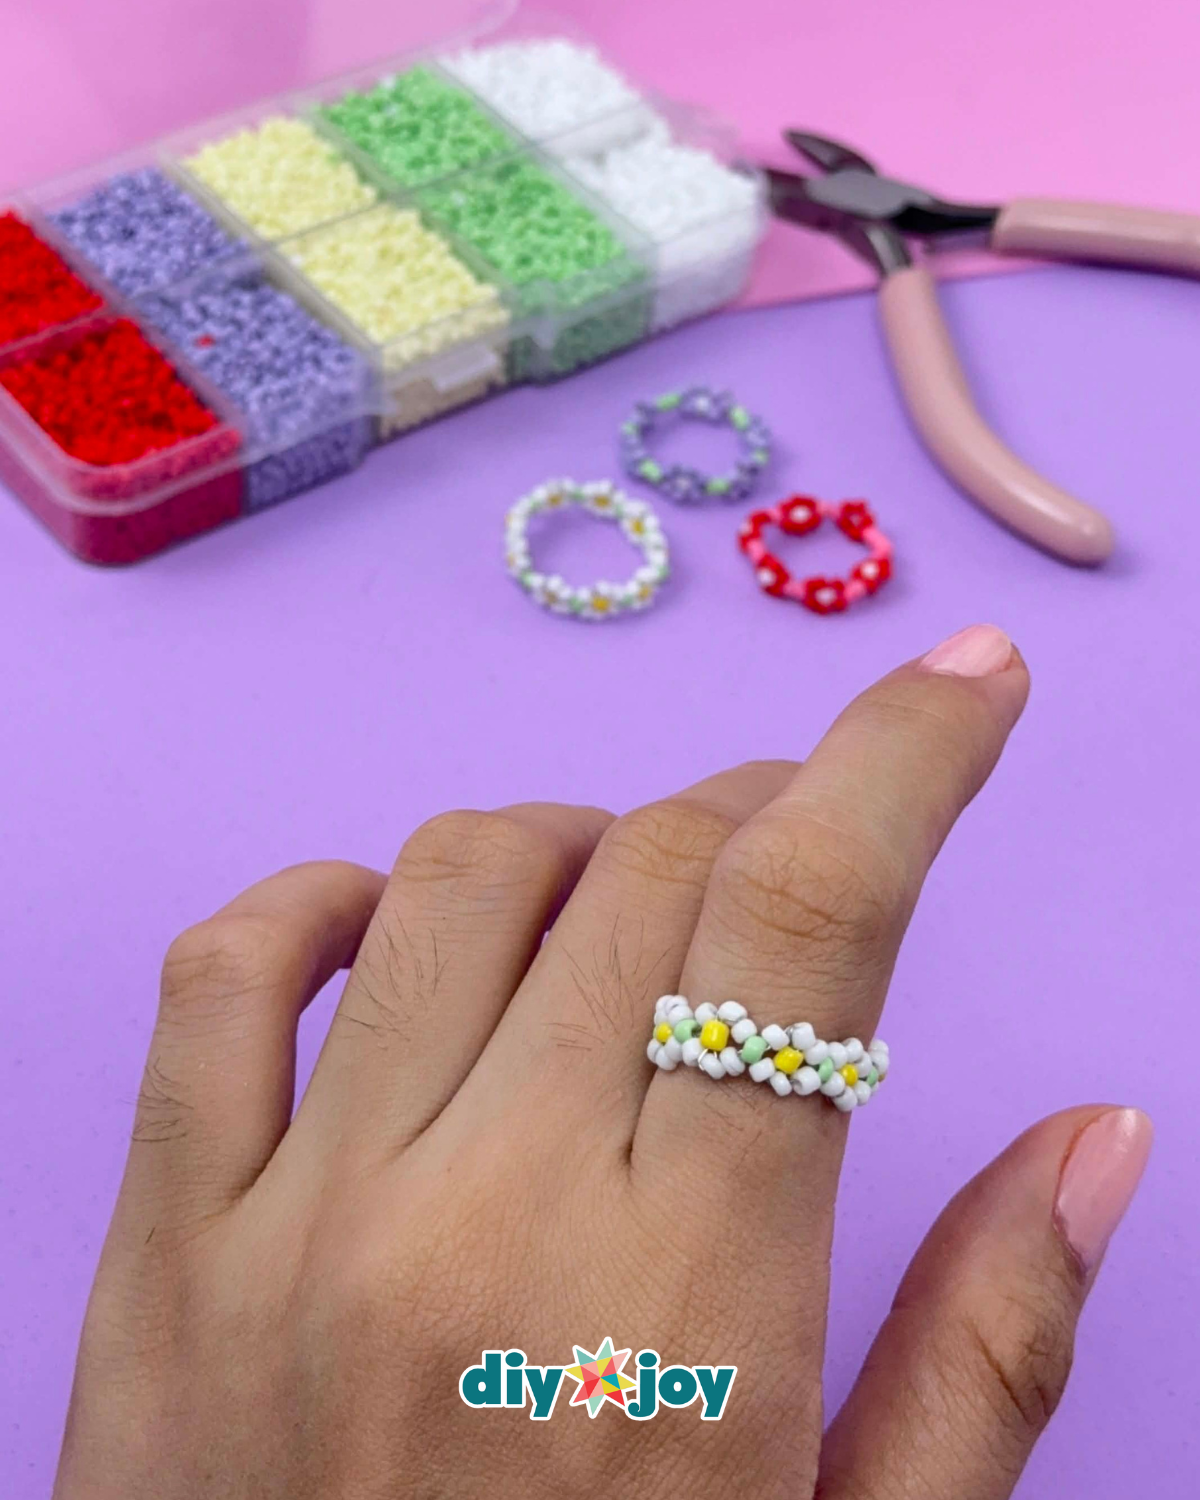
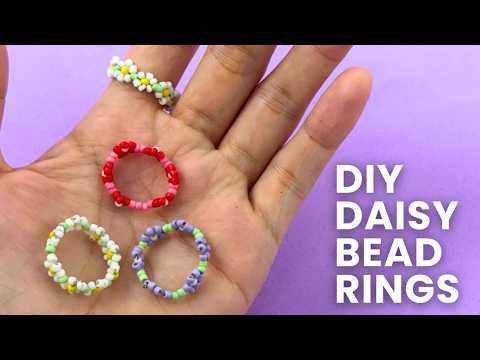
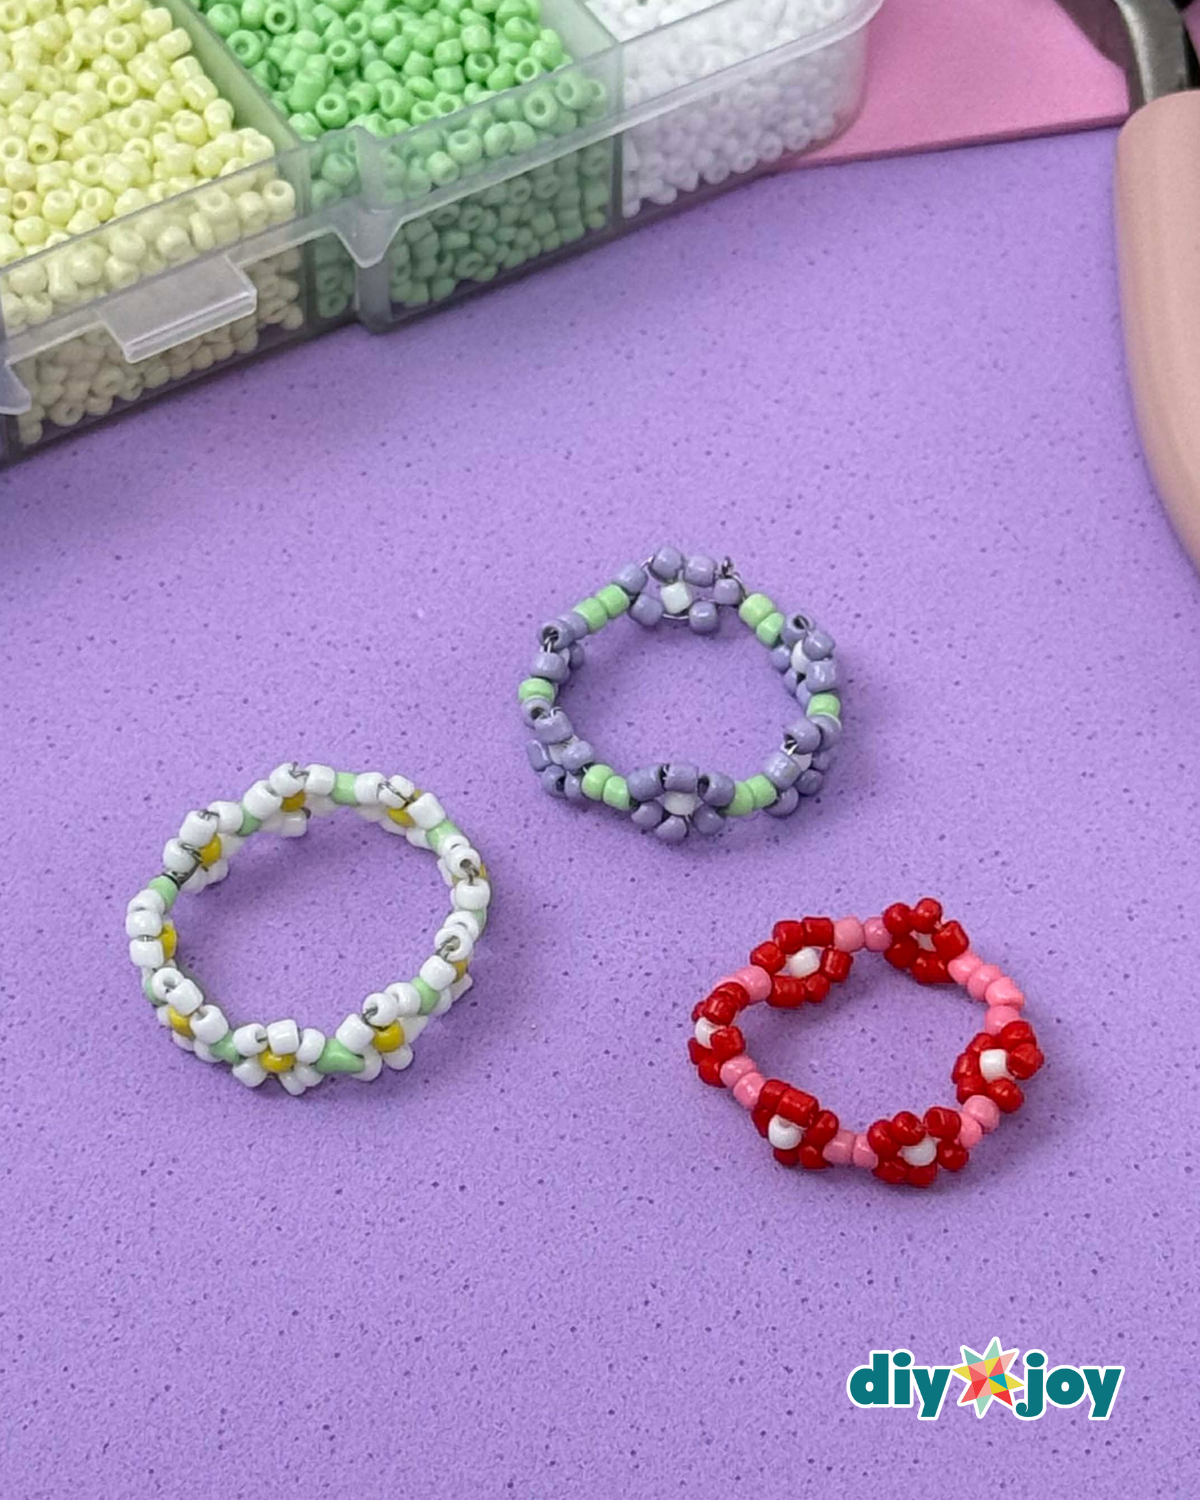
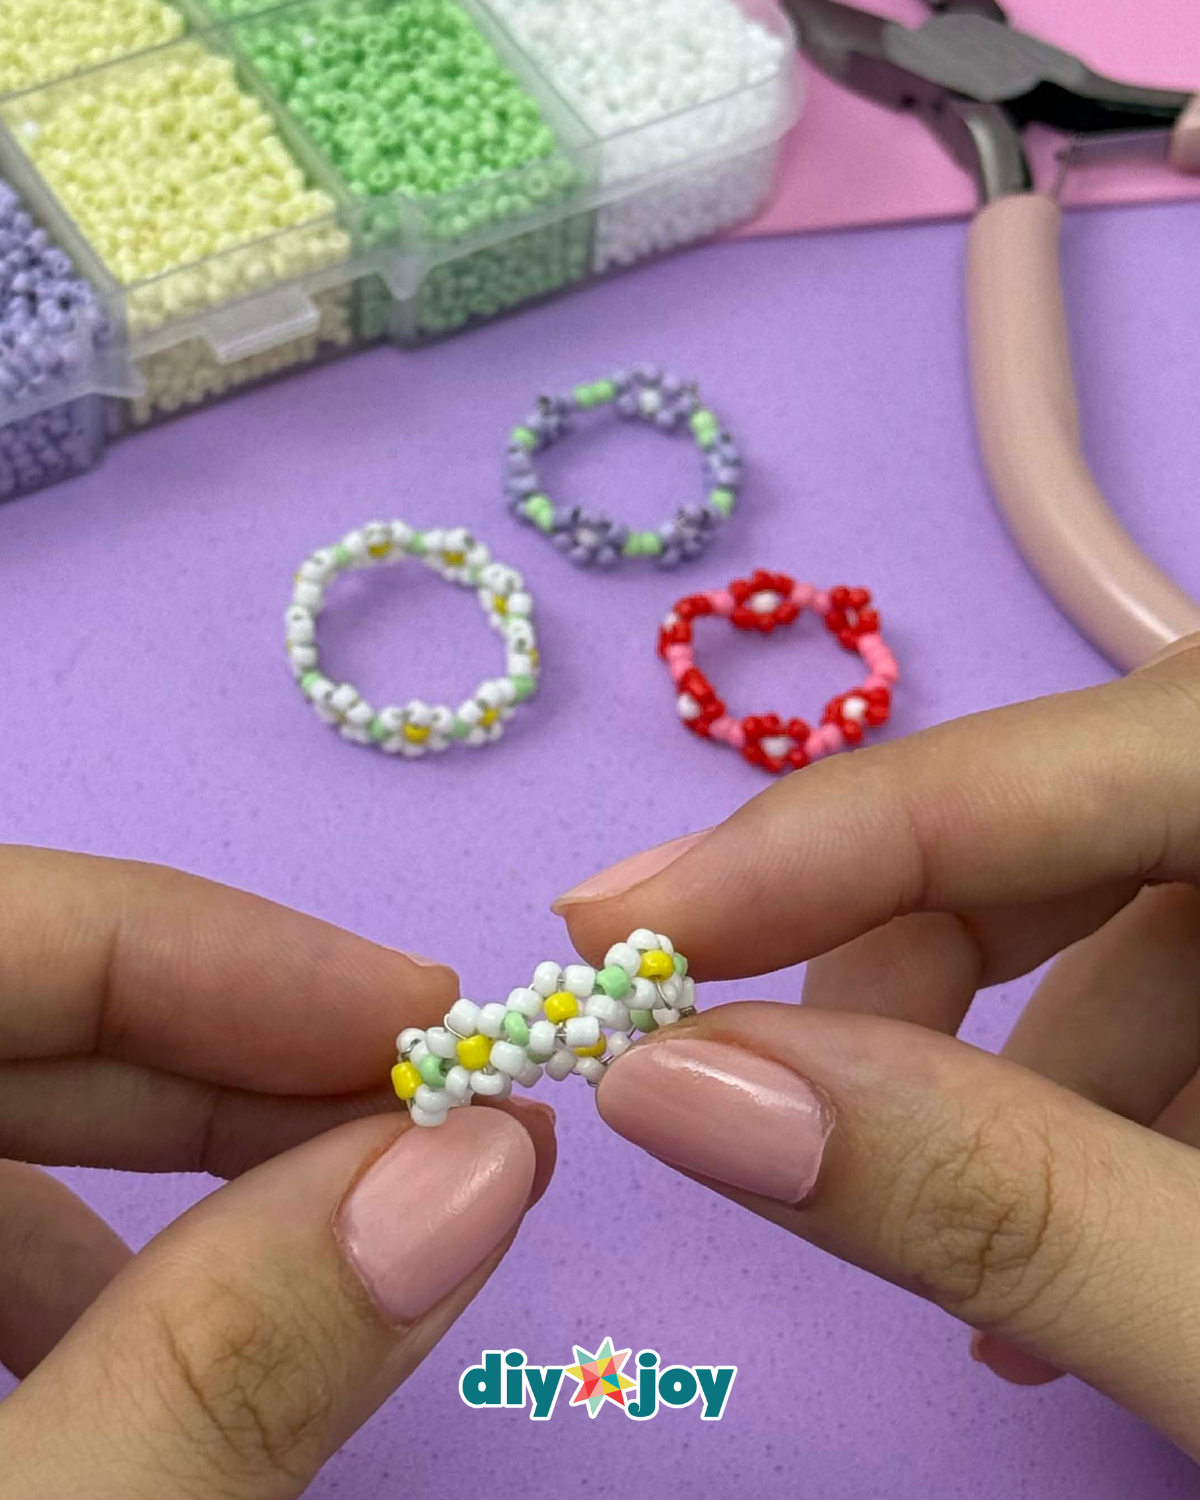
Learn how to make this beautiful bead daisy ring by following the step-by-step instructions below, complete with photos to guide you along. You can also watch the video tutorial for more detailed visuals. I hope you enjoy making this ring as much as I did—happy crafting!
How to Make a Daisy Bead Ring
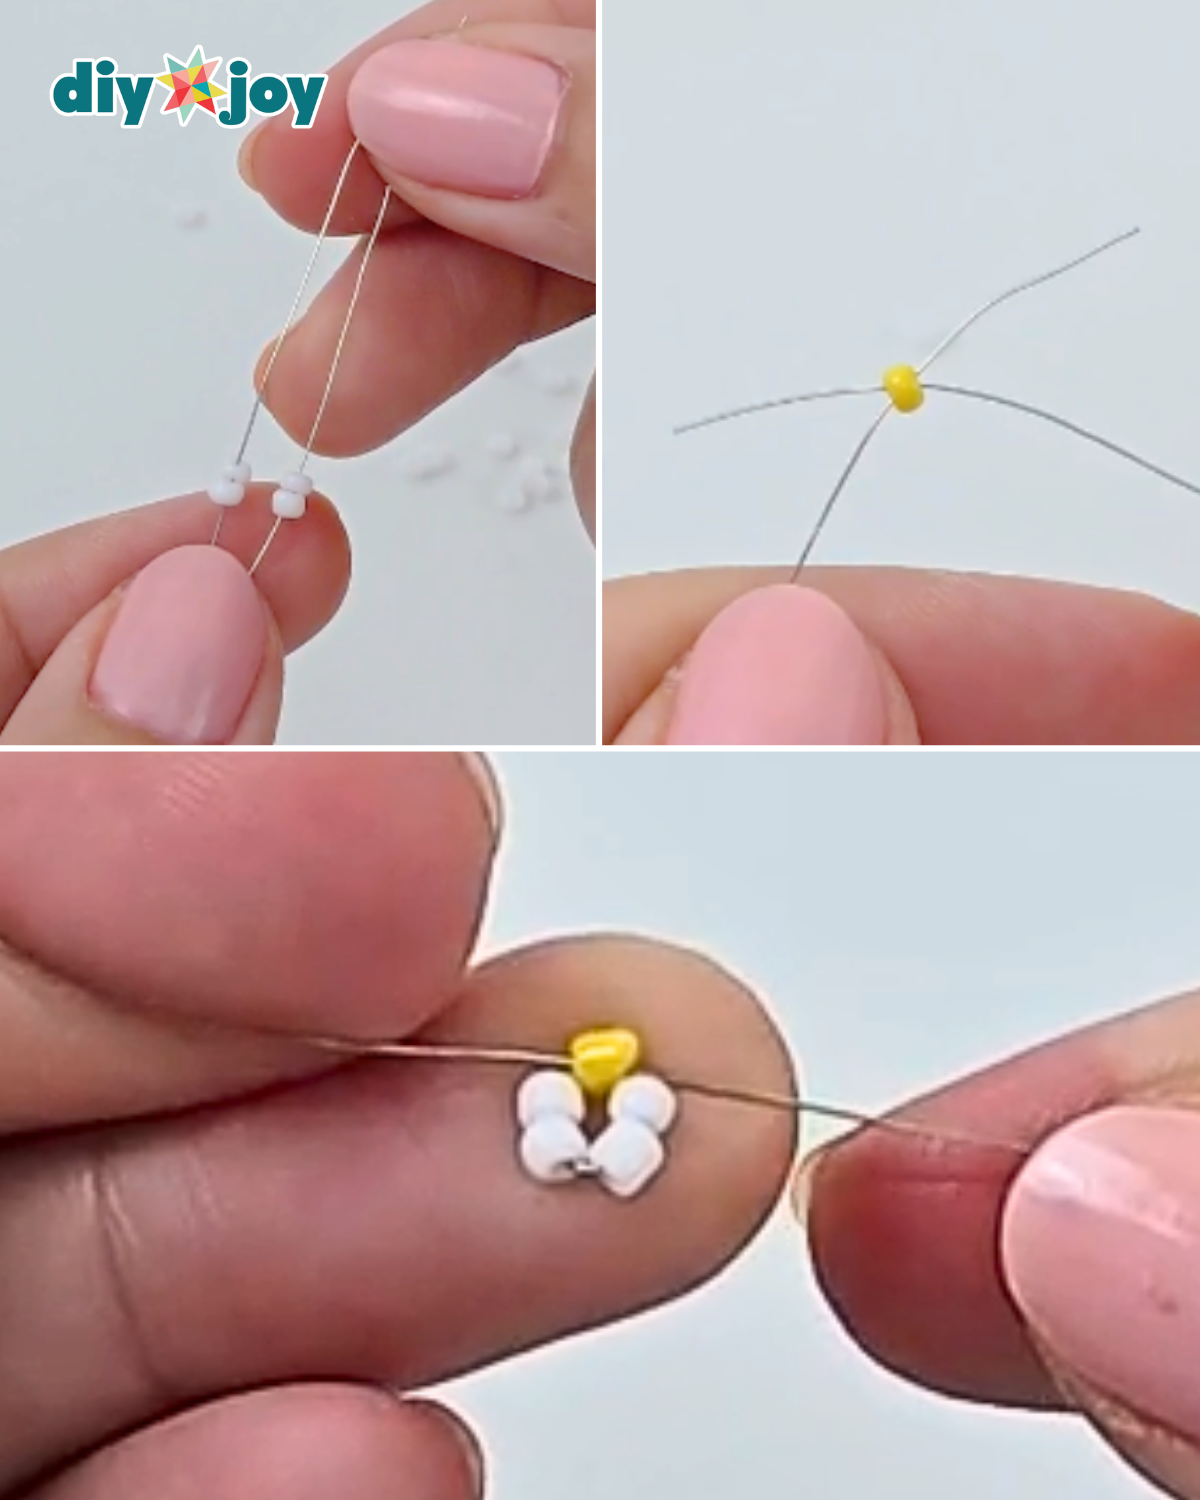
Step 1: Prepare the Base

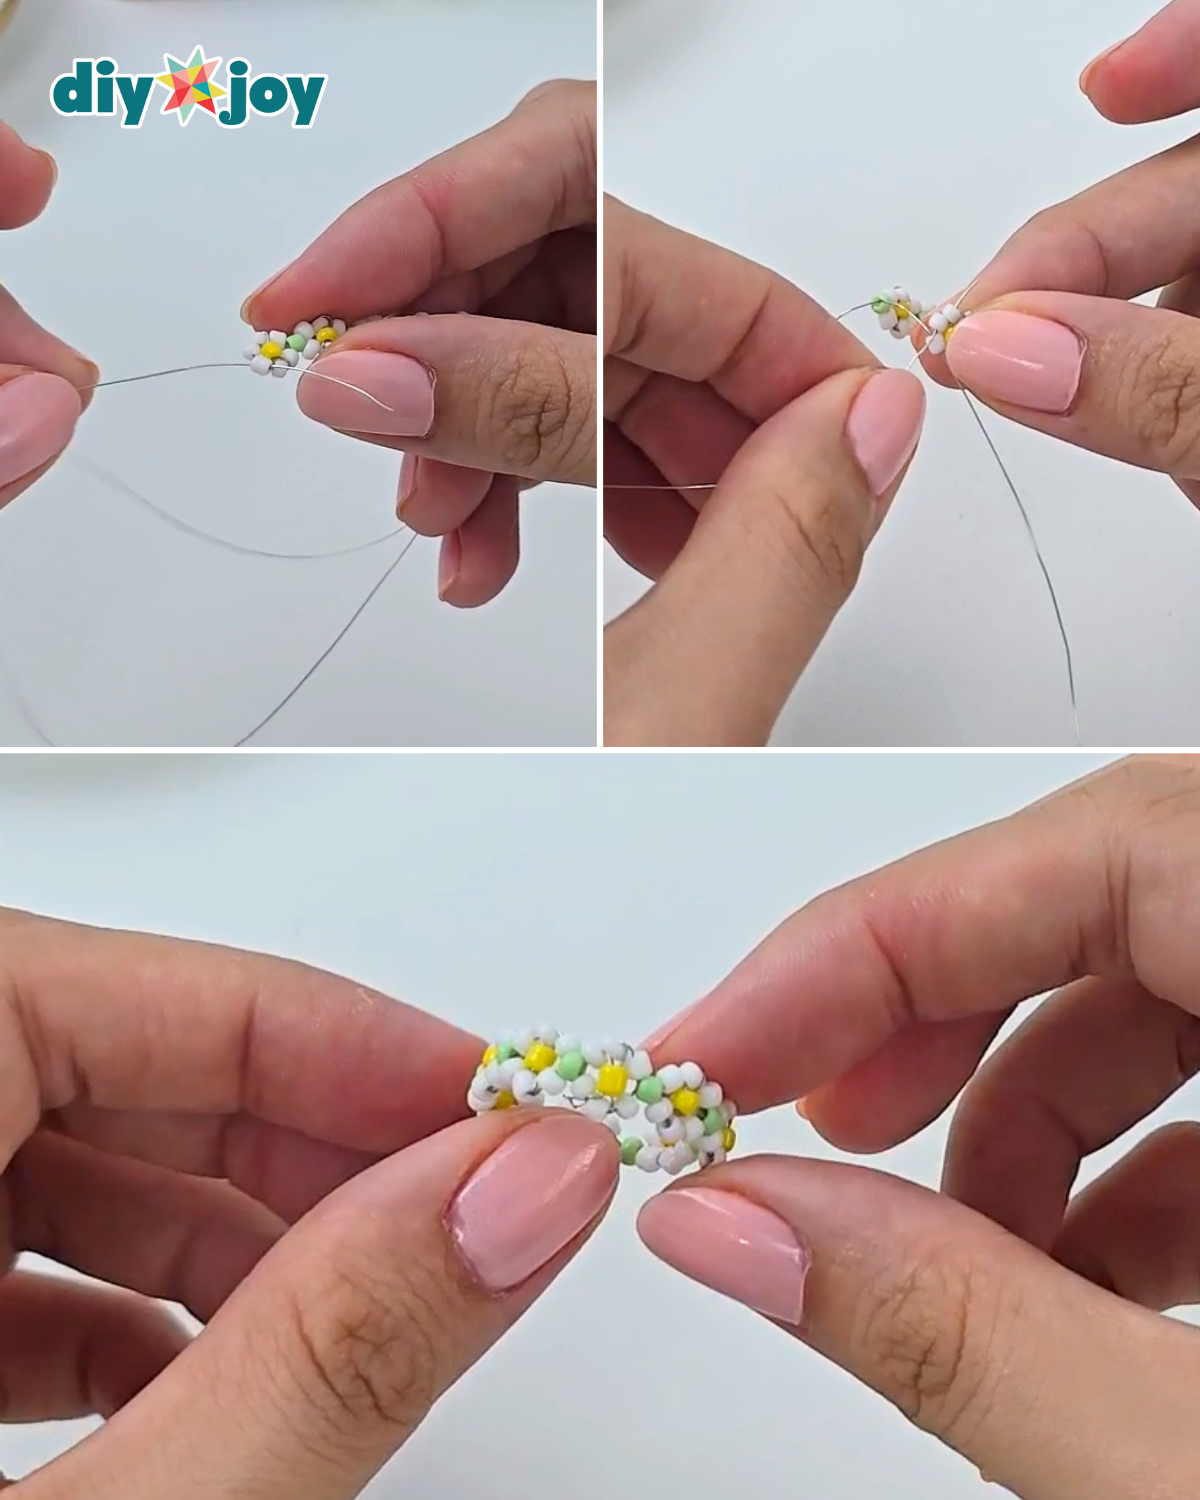
Cut a length of jewelry wire and fold it in half. Thread 2 white beads onto each tail, then add a yellow bead to one tail. Cross both ends of the wire through a single seed bead and gently pull to lock the yellow bead on top of the white beads.Step 2: Form the Flower Center
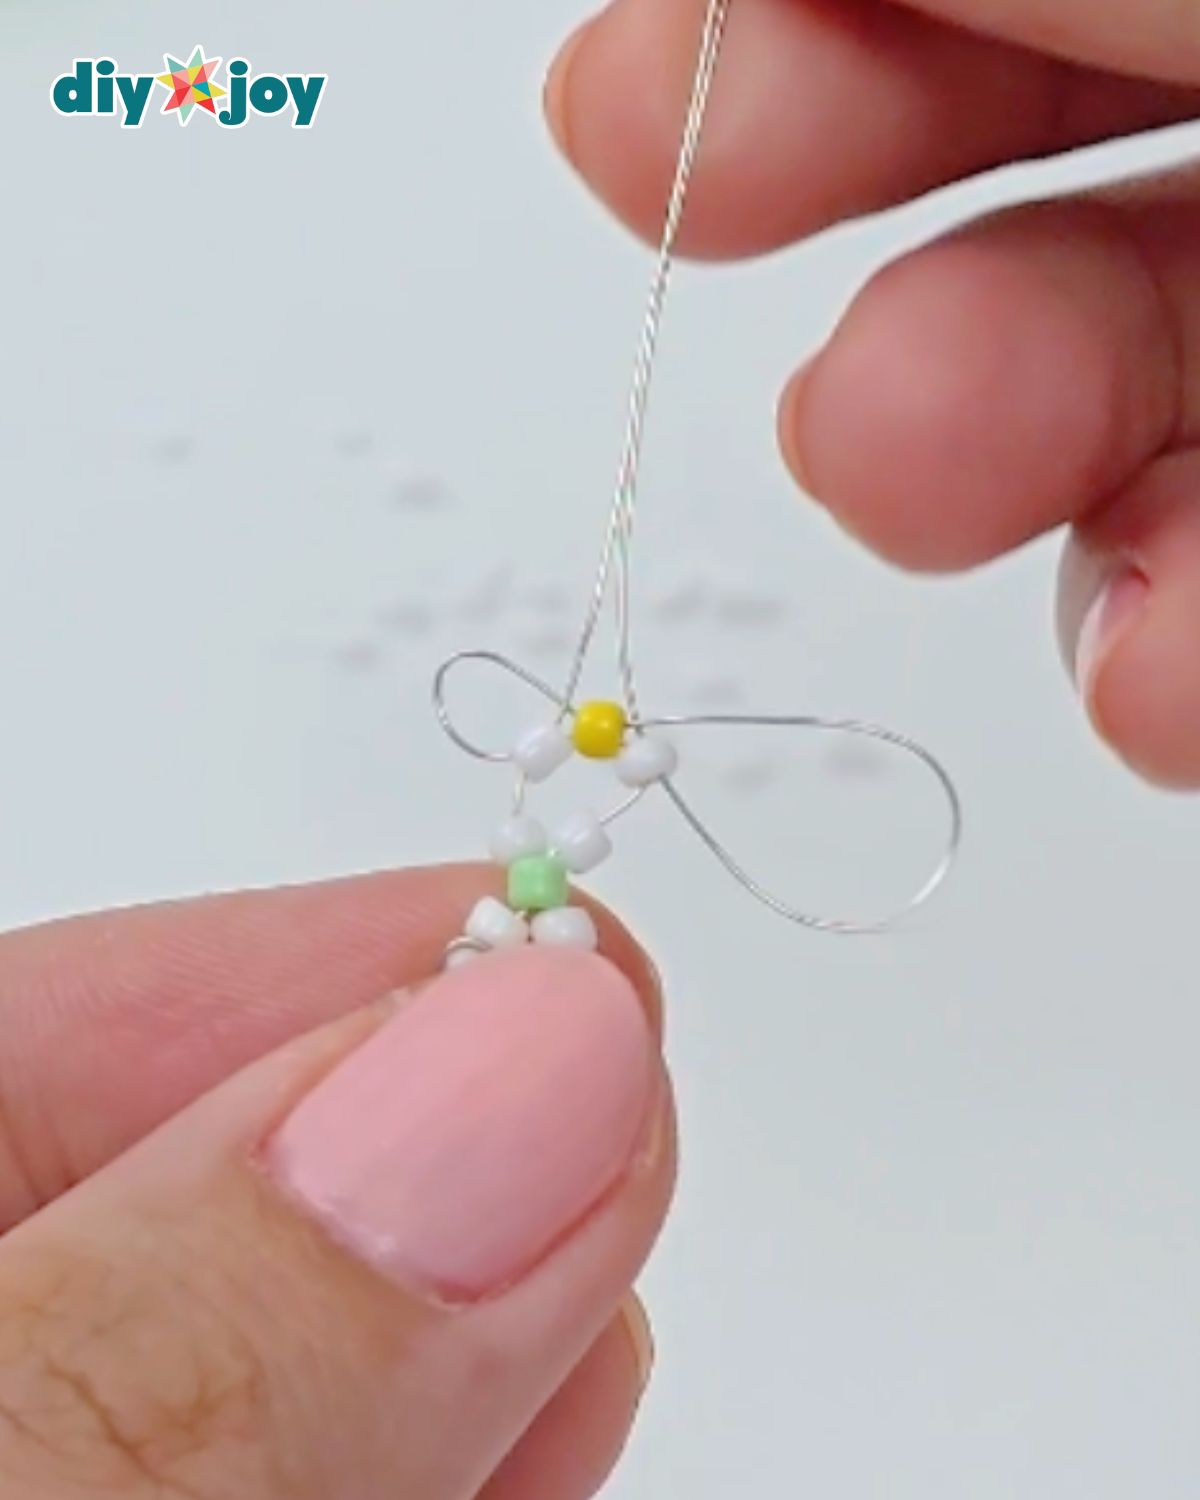
Thread both ends of the wire back through the white beads closest to the yellow bead and gently pull. The yellow bead will slide into the center as the flower’s core, with the white beads forming petals around it.Step 3: Secure the Daisy
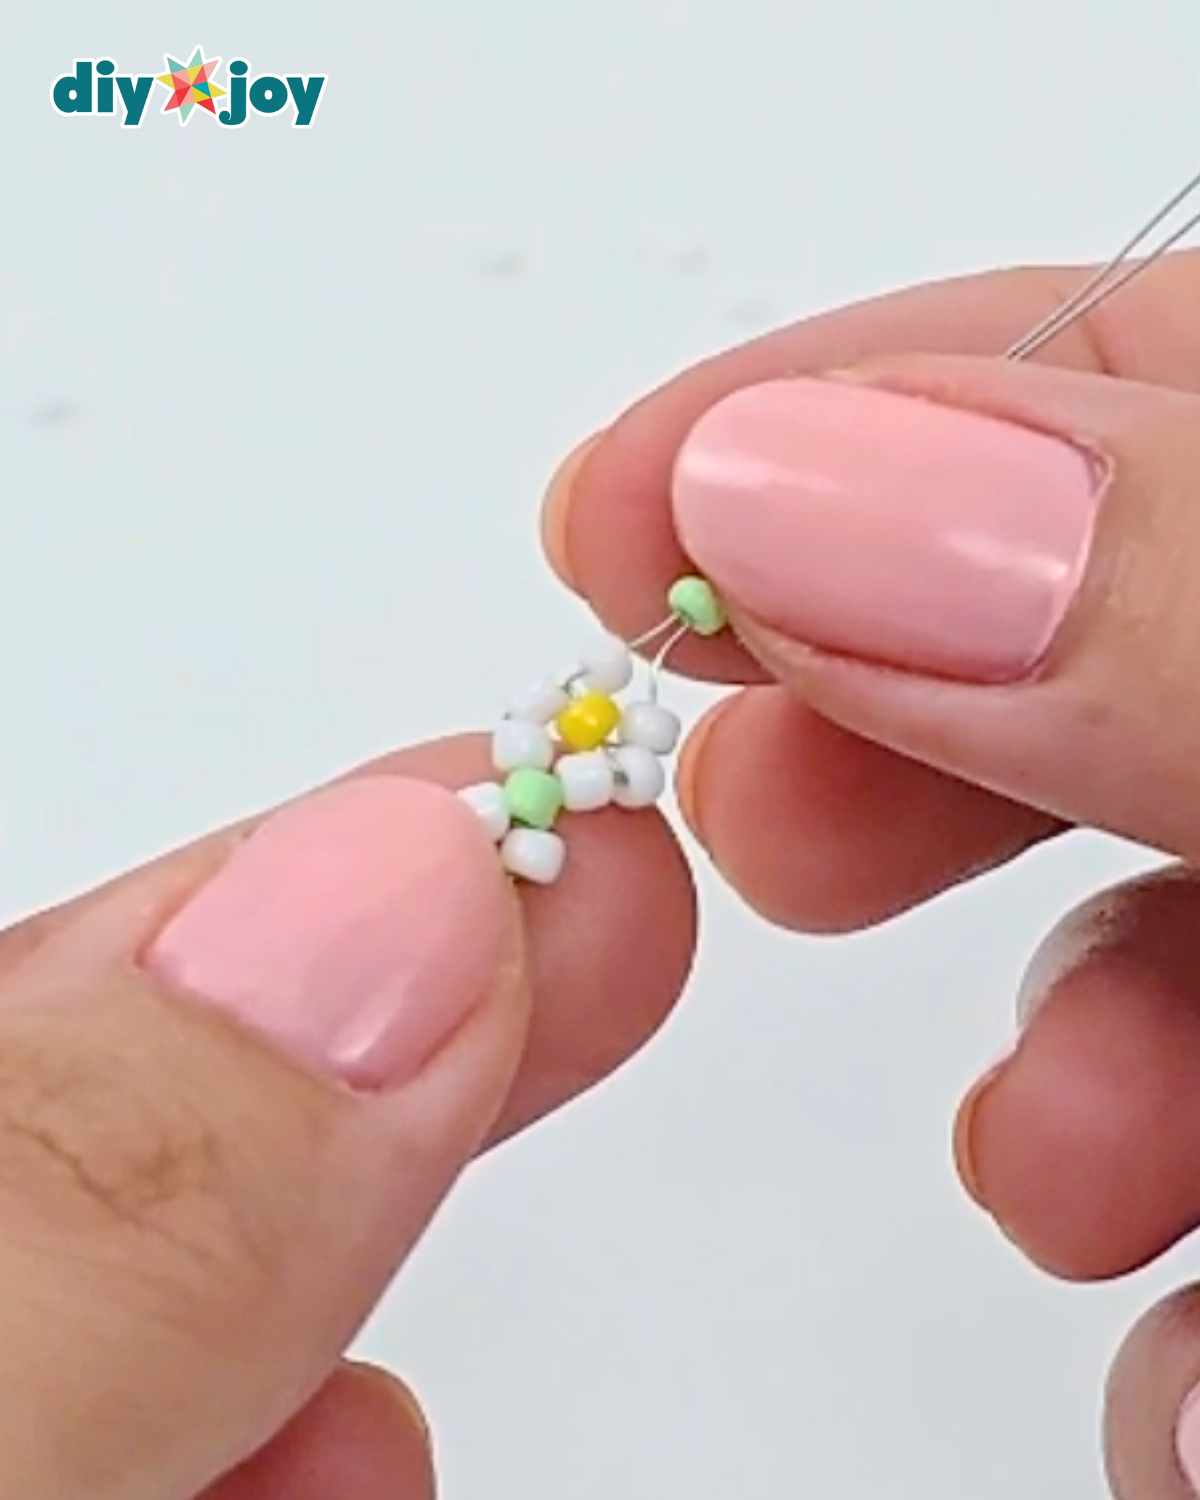
Add 1 white bead to each tail, then thread a green bead onto both tails to create the daisy flower’s leaf and also lock it in place. Repeat the same steps and make a couple more flowers until it’s long enough to cover your entire finger.Step 4: Form the Bead Ring
Insert one tail into the first flower bead to lock it, gently pulling to form the bead ring. Insert the other tail into the next flower bead to secure, then twist, tie, and knot tightly. Adjust the position of the other daisy flowers as needed.
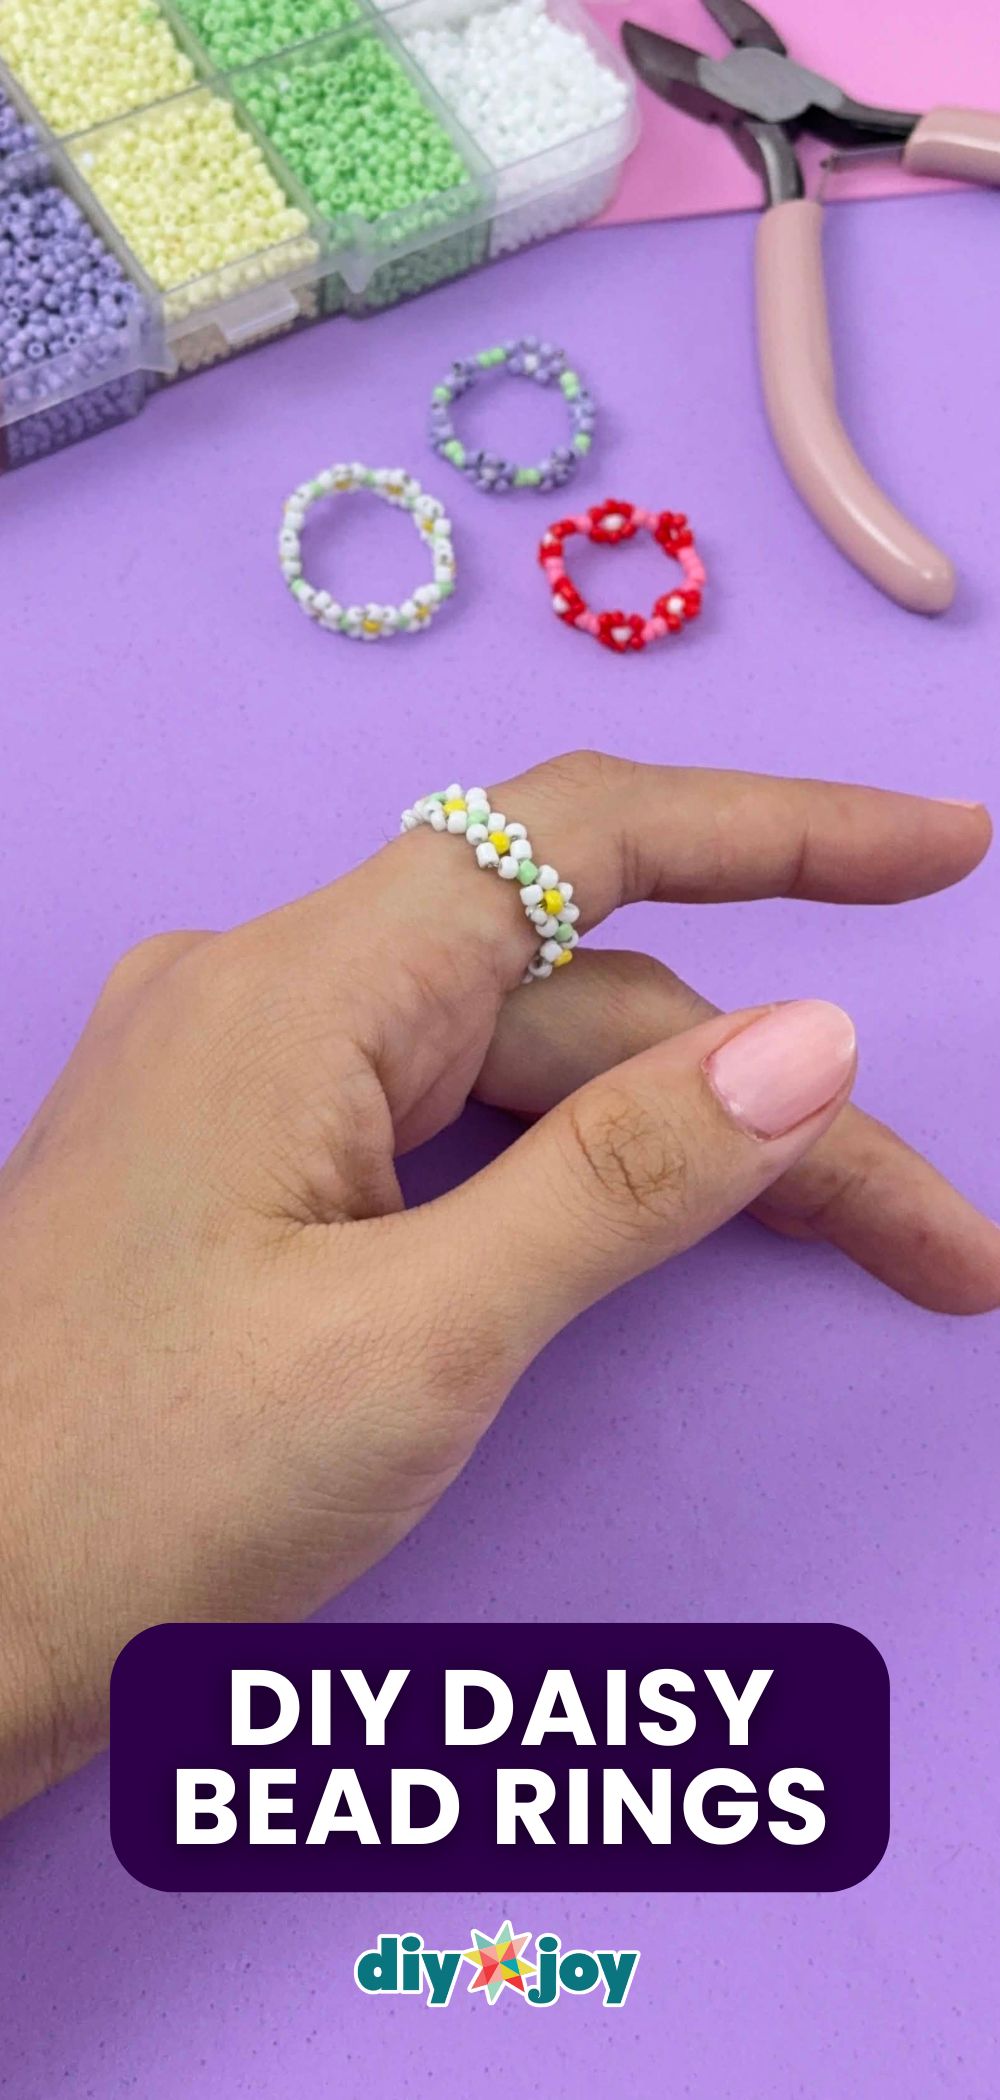
Materials
- Jewelry
- Beads, white, green, and yellow
- Wire cutter
![]()
Why You’ll Love This
Fun & Creative: Designing your own daisy patterns allows you to express your personal style
Customizable: Change bead colors, sizes, or number of flowers for a unique look
Perfect Gift Idea: Handmade rings make thoughtful, personalized gifts for friends and loved ones
Beginner-Friendly: Easy to follow, and once you get the hang of it, making multiple rings is a breeze
What’s Viral Today

Painting & Art

Paper Crafts

Paper Crafts
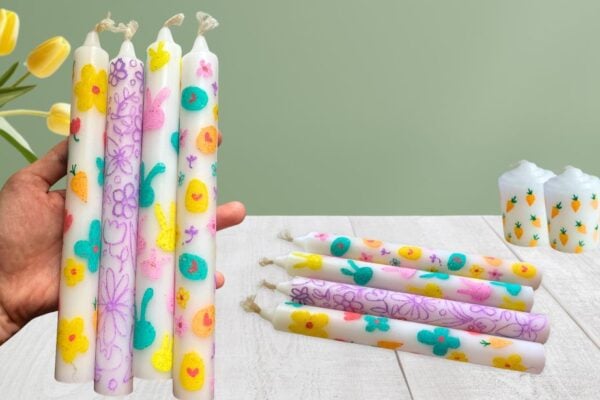
Candles & Soap
*If you love this craft, then visit our official website, follow our Facebook page, and subscribe to our YouTube channel for more!
Simple DIY Daisy Bead Rings