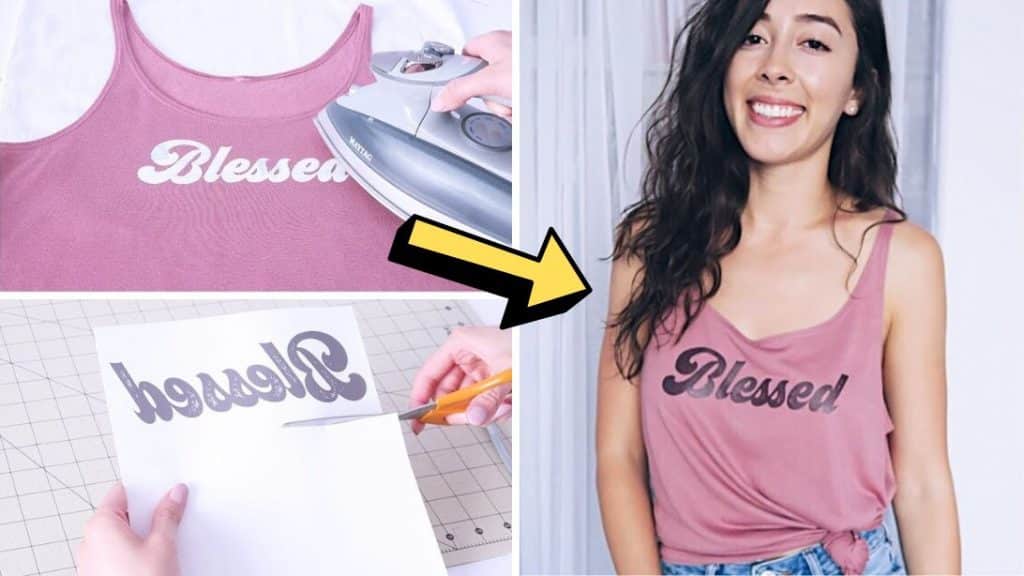
Tired of your old blank shirt and want to level it up? Why don’t you try printing a design or image on it at a cheaper and easier method? This beginner-friendly guide by Amanda Love Santos on YouTube will show you how to do it step-by-step using only transfer paper and an iron!
Materials:
- Blank shirt
- Iron on fabric transfer paper
- Iron (steam off)
- Pillowcase
- Scissors
- Exacto knife
- Inkjet printer
Directions:
Step 1
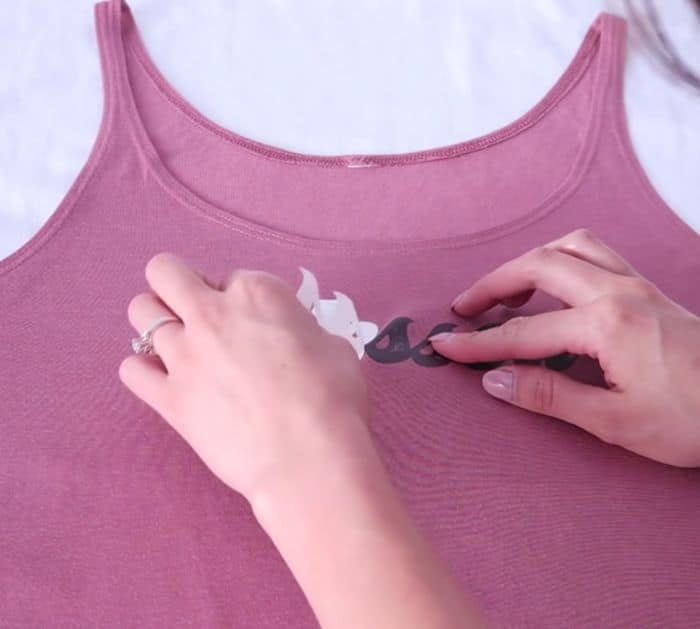
The first thing that you have to do is to decide and choose your design, then edit and flip the image so that it will be reversed once printed. Print it out on a regular paper first to check for adjustments and set the quality to best before printing it on the actual transfer paper. Start cutting the design out, then use an exact knife for areas that are hard to reach with just regular scissors. Lay a thick pillowcase on a flat surface, give it a nice press to rid of any wrinkles before placing the blank shirt on top, and give it a nice press as well. Grab the design cutouts and arrange them on top of the shirt properly this time.

[social_warfare]
Step 2
Next, place the iron above the transfer paper and leave it for a few seconds, then glide the iron back and forth all over the paper using a good amount of pressure. Make sure to use the hottest setting for cotton, then press them for about 1 minute if your design consists of only a few letters. Press it for 3 minutes if it’s a full page of design, 90 seconds for half a page, and 45 seconds for a fourth of a page. After iron pressing the design, let it cool for about 2 minutes before you start peeling off the backing paper beginning from one corner to the other. Make sure to wash this shirt on cold and hang dry, however, if you want to tumble dry then use low heat. You’re all done!

*These amazing images are all credited to Amanda Love Santos via YouTube. Check her other content and follow for more!


