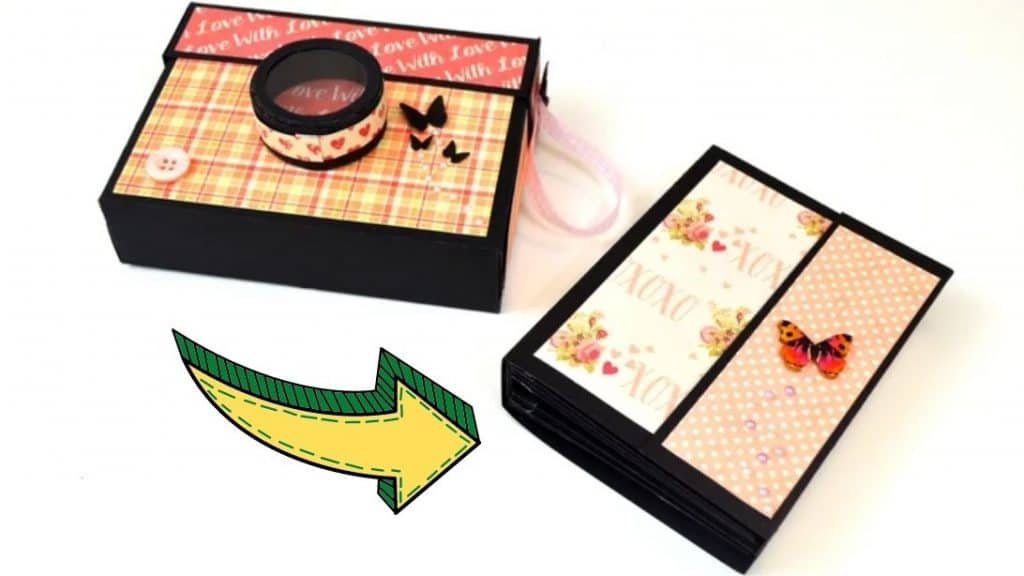
I never thought that making my photo album could be such a fun activity! This adorable DIY photo album resembles a camera which definitely fits the concept. If you want to learn how easy it is to make this, then watch this video tutorial by DIY Paper Crafts – Giulia’s Art on YouTube! Not only do they look absolutely adorable but they are actually quite spacey too, so you can surely store a lot of photos, plus, you can personalize them as well. Proceed to read down below for the instructions and watch the video tutorial as well for even more detailed directions.
Materials:
- Double-sided tape
- Glue
- Black cardstock
- Scissors
- Ruler
- Pencil
- Decorative paper
- Transparent sheet
Directions:
Step 1
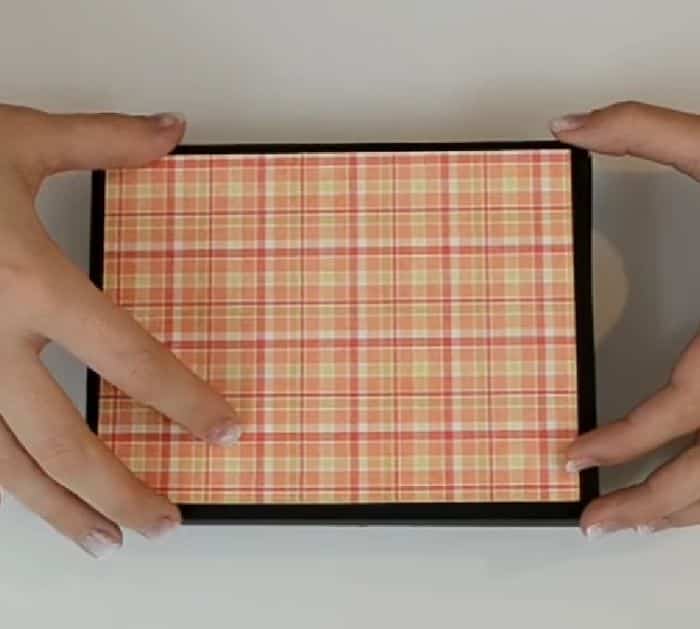
Mark the cardstock on the long side, connect those marks with a line, then repeat the process on the short side. Refer to the video for the measurements. Cut V-shapes on the small rectangles, then fold along those lines. Add some adhesive tapes, then start folding and assembling the card to create the body of the camera box. Repeat the process for the lid of the box making sure to refer to the video for the exact measurements. Add some decorative paper to the body as well as the lid.

[social_warfare]
Step 2
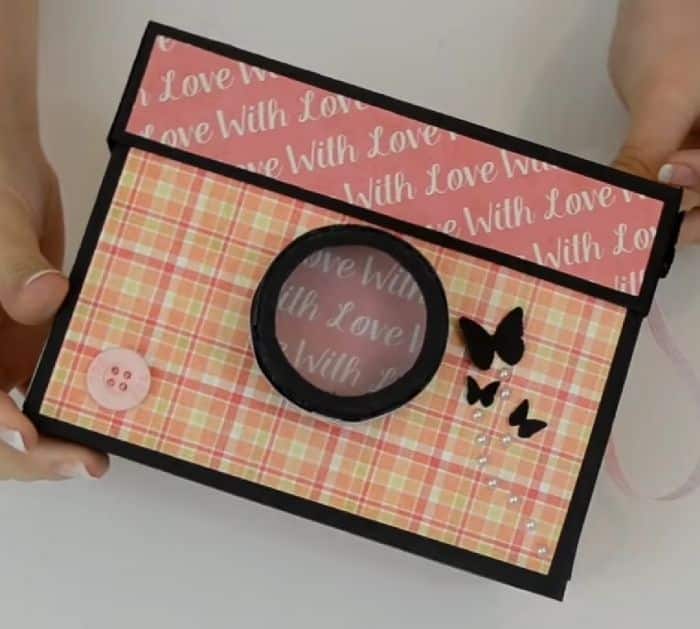
Draw two concentric circles on black cardstock, then cut small triangles, and fold them in. Cut out the inside of the circle, put adhesive tape, then attach a transparent circle for the lens. Attach the lens to the box, then decorate it with some buttons or butterflies. Insert your photo album and you’re done! Watch the video tutorial for more details.

*These amazing images are all credited to DIY Paper Crafts – Giulia’s Art via YouTube. Check their other content and follow for more!


