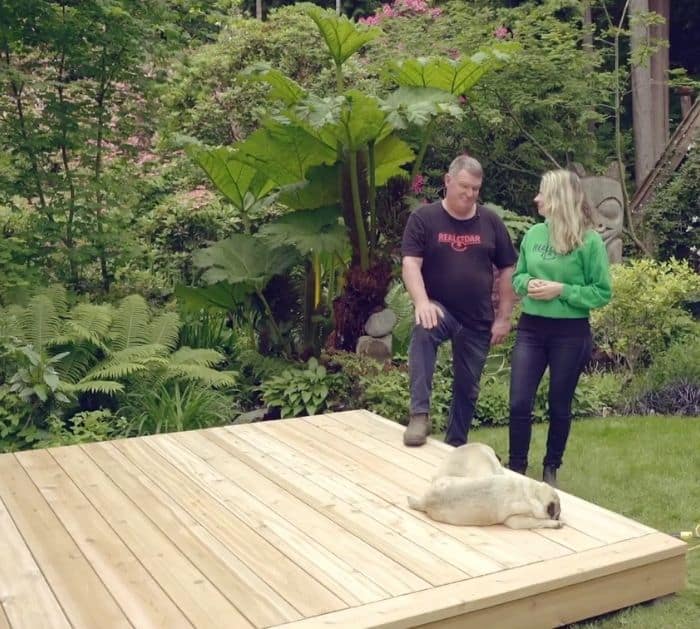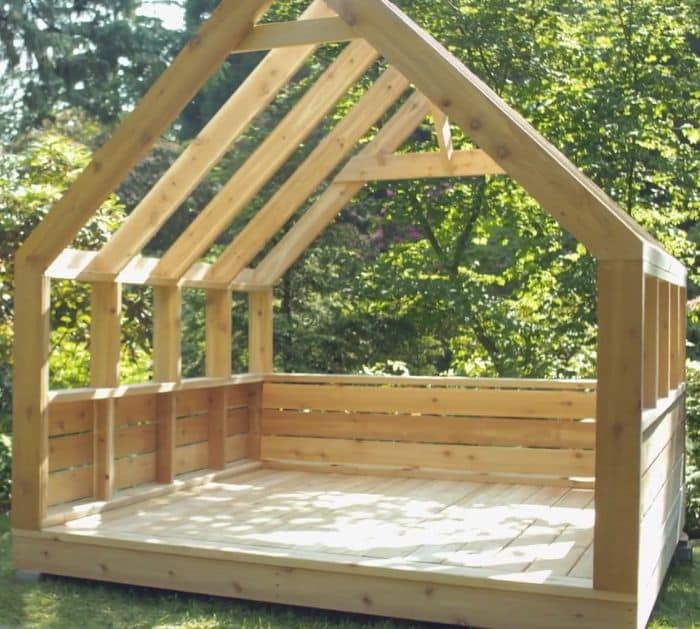
Do you have a wide area in front or at the back of your house and don’t know what to put in there? Why don’t you try this woodworking project by REAL CEDAR – DESIGN INSPIRATION & DIY PLANS on YouTube? This fun and easy project can be a good area for you to relax or even do your exercises.
Materials:
- Western red cedar wood
- Drill
- Screws
- Tape measure
- Pencil
- Plan (click here to download the pdf file of the plan and specific measurements)
Directions:
Step 1
Go to their website by clicking this link, then download and print the PDF instructions for the exact plan and measurements. Start by installing the deck on a flat surface. Attach two trimmers to one trimmer, then fill them in with seven evenly spaced joists, and add the second trimmer to complete the square frame. Install the decking boards making sure to leave ¼” between each piece. Then, attach the trim to the top of the decking. Build a frame for each wall, then install five evenly spaced braces, and top it with another brace before inserting three more top row braces.

[social_warfare]
Step 2
Complete the rectangle shape with the second frame. To build the headboard, attach six evenly spaced vertical supports along with the frame and then top it with a frame. Complete installing the three wall slats on the back of the frame. Now, you can install the roof as well as the walls, simply attach the side walls to the decking of the bed before attaching the headboard to the decking and the sidewall. Complete the sidewalls by installing supports. Next, build the roof frames and finish them by adding the collar ties. More details can be found here.

*All these images are credited to REAL CEDAR – DESIGN INSPIRATION & DIY PLANS via YouTube. Give their channel a visit and subscribe for more!


