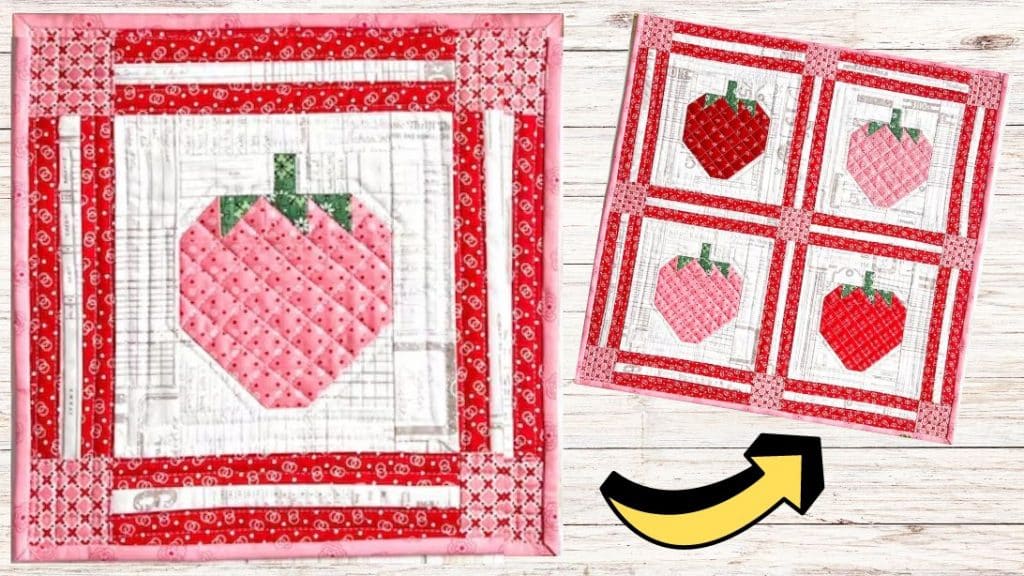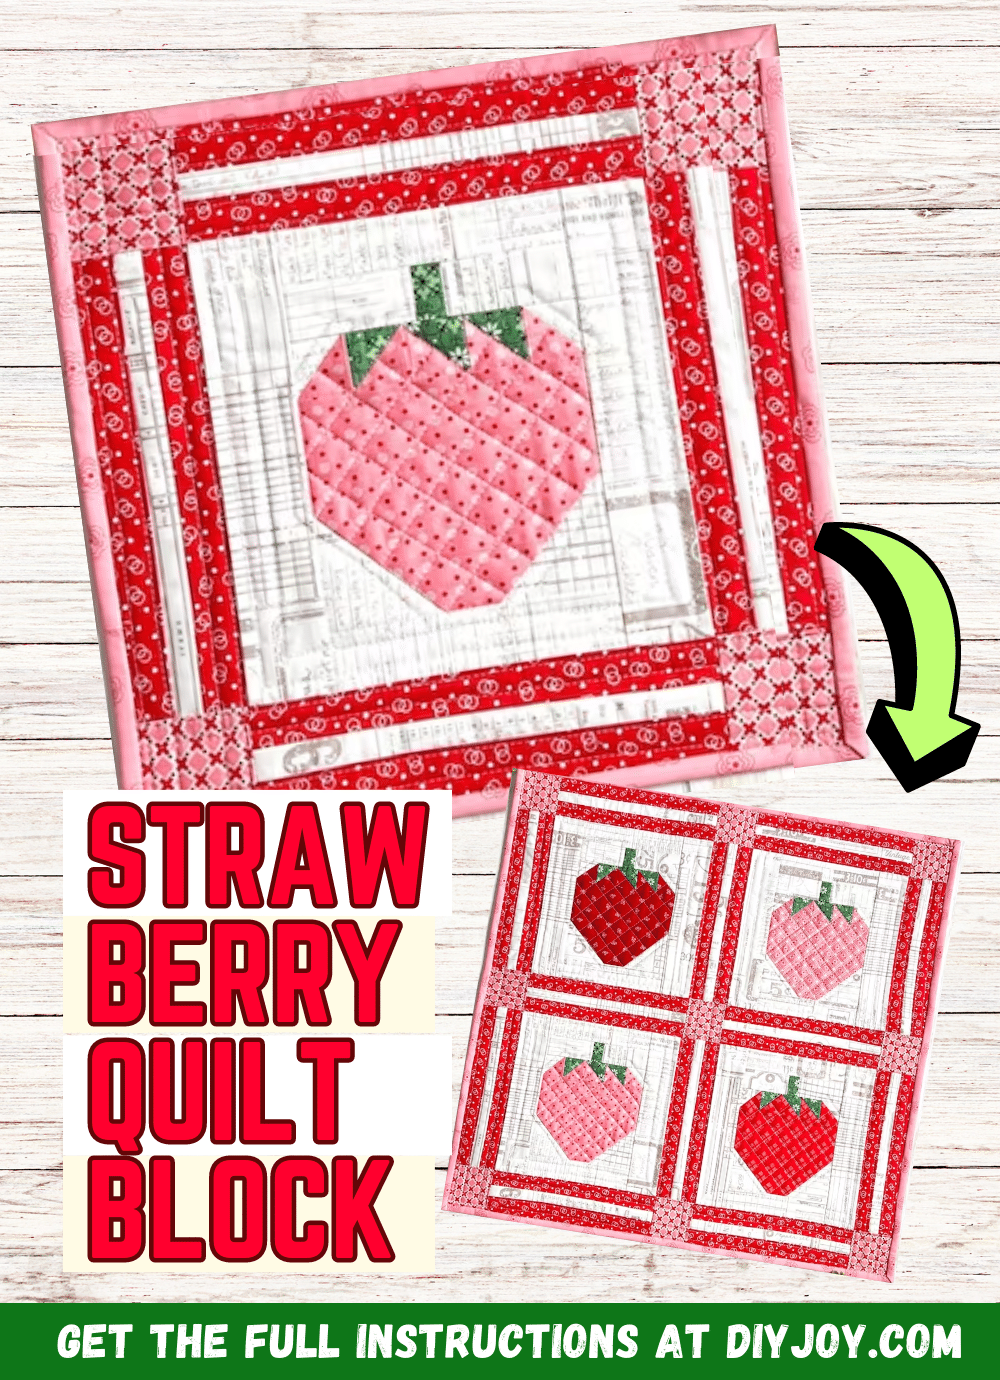
A few weeks ago, my niece asked me if I could make a cute quilt for her with her favorite fruit in it, which is strawberry! I haven’t tried making one before and I’m not about to turn her down, so I went ahead and searched the internet for a tutorial that I can watch, and then try it on my own once I’ve learned the steps. Luckily, I stumbled upon this video tutorial by Riley Blake Designs on YouTube which is super easy to follow, and this version is easier and quicker to make, too.
Materials:
- Main fabric, for the strawberry
- Green fabric, for the leaf
- Brown fabric, for the stem
- Background fabric
- Marking pen, pencil, or chalk
- Ruler
- Needle and thread
- Scissors or rotary cutter and a cutting mat
- Sewing machine
- Pattern (Click here to download the pattern)
Step 1
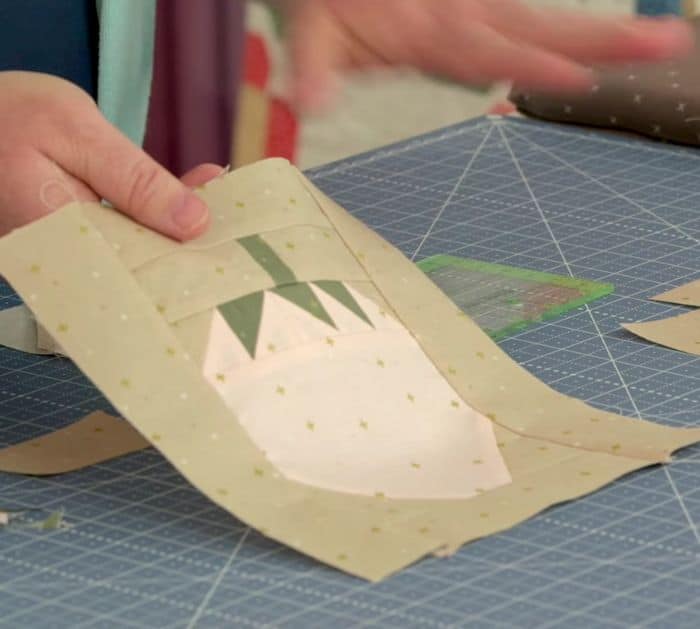
Cut the fabrics according to size as required in the pattern, then take 2 background squares, and draw a diagonal line on the wrong side from corner to corner. Place a lined background square on the lower corner of the large main fabric with their right sides facing, then sew over the marked line, and trim away the excess ¼ inch away from the stitching line. Flip the sewn corner open and press it flat, then repeat the same process on the opposite lower corner of the main fabric with the other background square.
[social_warfare]
Step 2
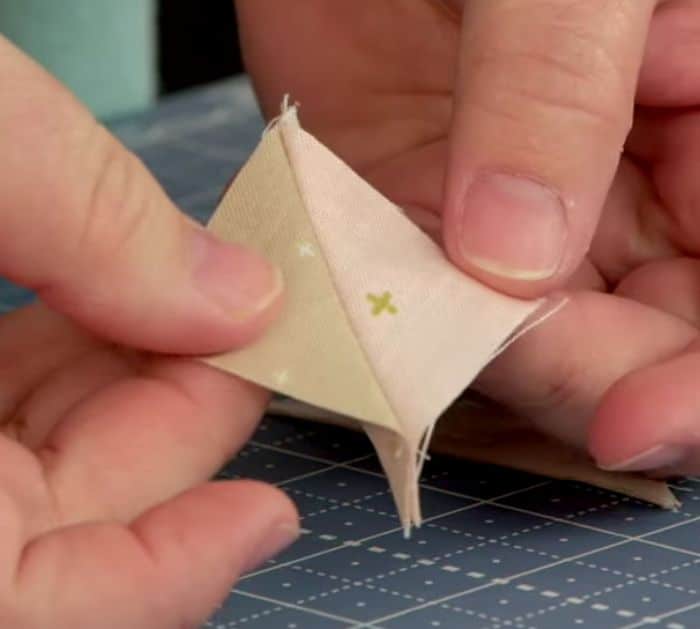
Get 3 main fabric squares and 3 green squares, then line the wrong side of the background squares diagonally from corner to corner, and lay each of them together with the main and green squares making sure their right sides are facing. Sew them together with ¼ inch allowance on each side of the line, then cut them in half along the marked line, and press them open.

Step 3
Make sure to trim off the excess and square the half-square triangles nicely, then start to line them up to assemble the strip unit for the leaf, and sew them together making sure to press the seams open. Piece together the stem unit, then assemble all of the units and fill the rest of the spaces with the remaining background fabric pieces. Refer to the diagram to lay out the block properly, then sew them together, and make sure to press the seams open as you go.

*All image credit belongs to Riley Blake Designs via YouTube. Follow and subscribe to her channel for more!


