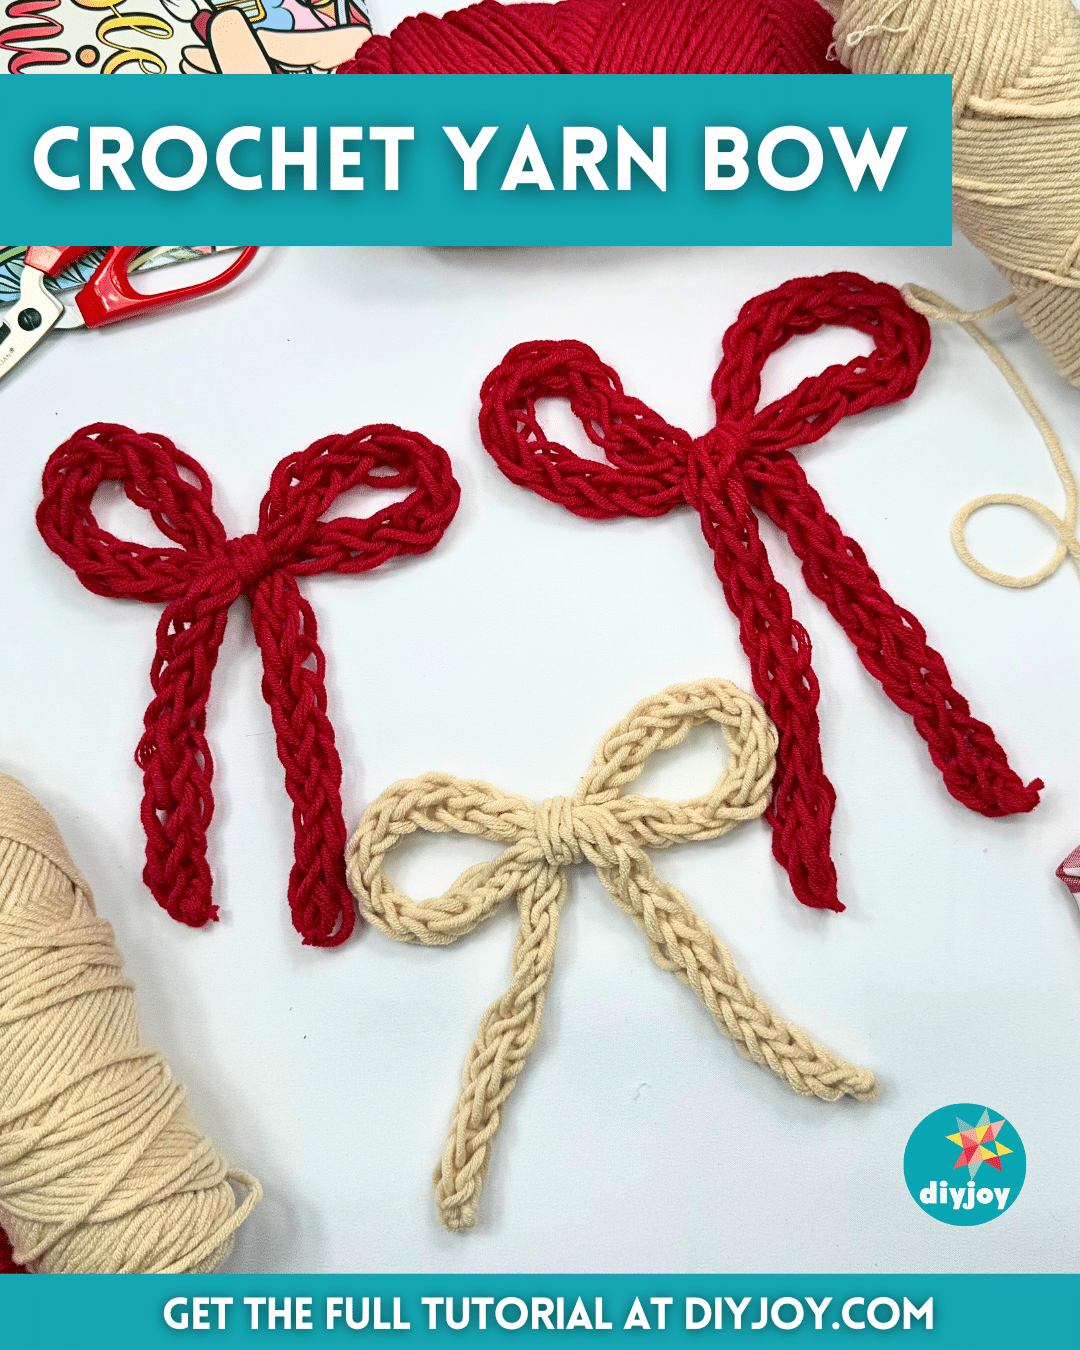
This easy yarn bow finger crochet will be your new favorite project for sure. There are a lot of interesting crochet ideas that you can find online and I’ve seen a few pretty ones before, but they often require a lot of time or effort. Some of them can also be intimidating, especially for beginners in crochet. But not every crochet project has to be hard or require a lot of skills, there are a couple of ideas that you can try, even as a newbie, just like this DIY yarn bow!
RELATED: How to Make a Paper Bow
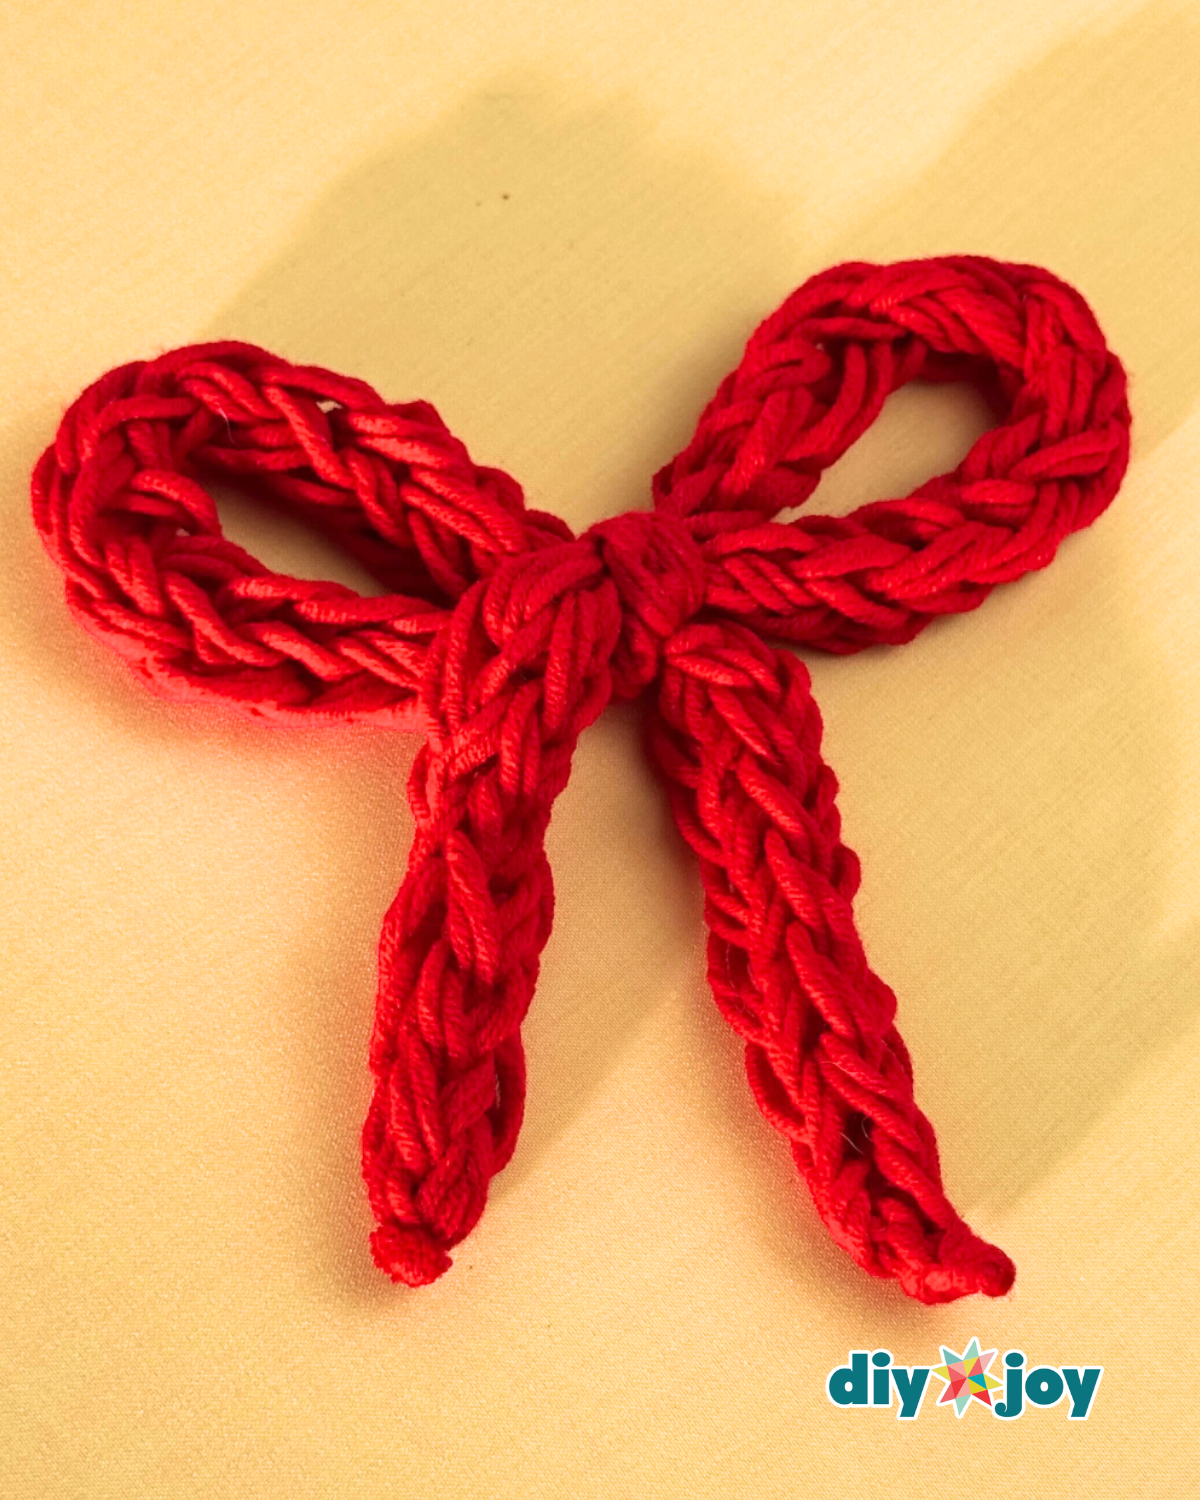
This pretty yarn bow does not require you to use a crochet hook and you also don’t have to go through a lot of difficult loops or stitches. You can crochet this entire project all in your fingers and it wouldn’t even take hours to finish. Whether you’re a newbie or seasoned crocheter, this finger crochet project is a must-try. I’m sure you will find this fun to make and trust me, the bow looks even cuter in person!
If you think you’re ready for a more challenging finger crochet project, then you might find this interesting: How To Finger Crochet A Blanket In An Hour
How to Finger Crochet a Yarn Bow
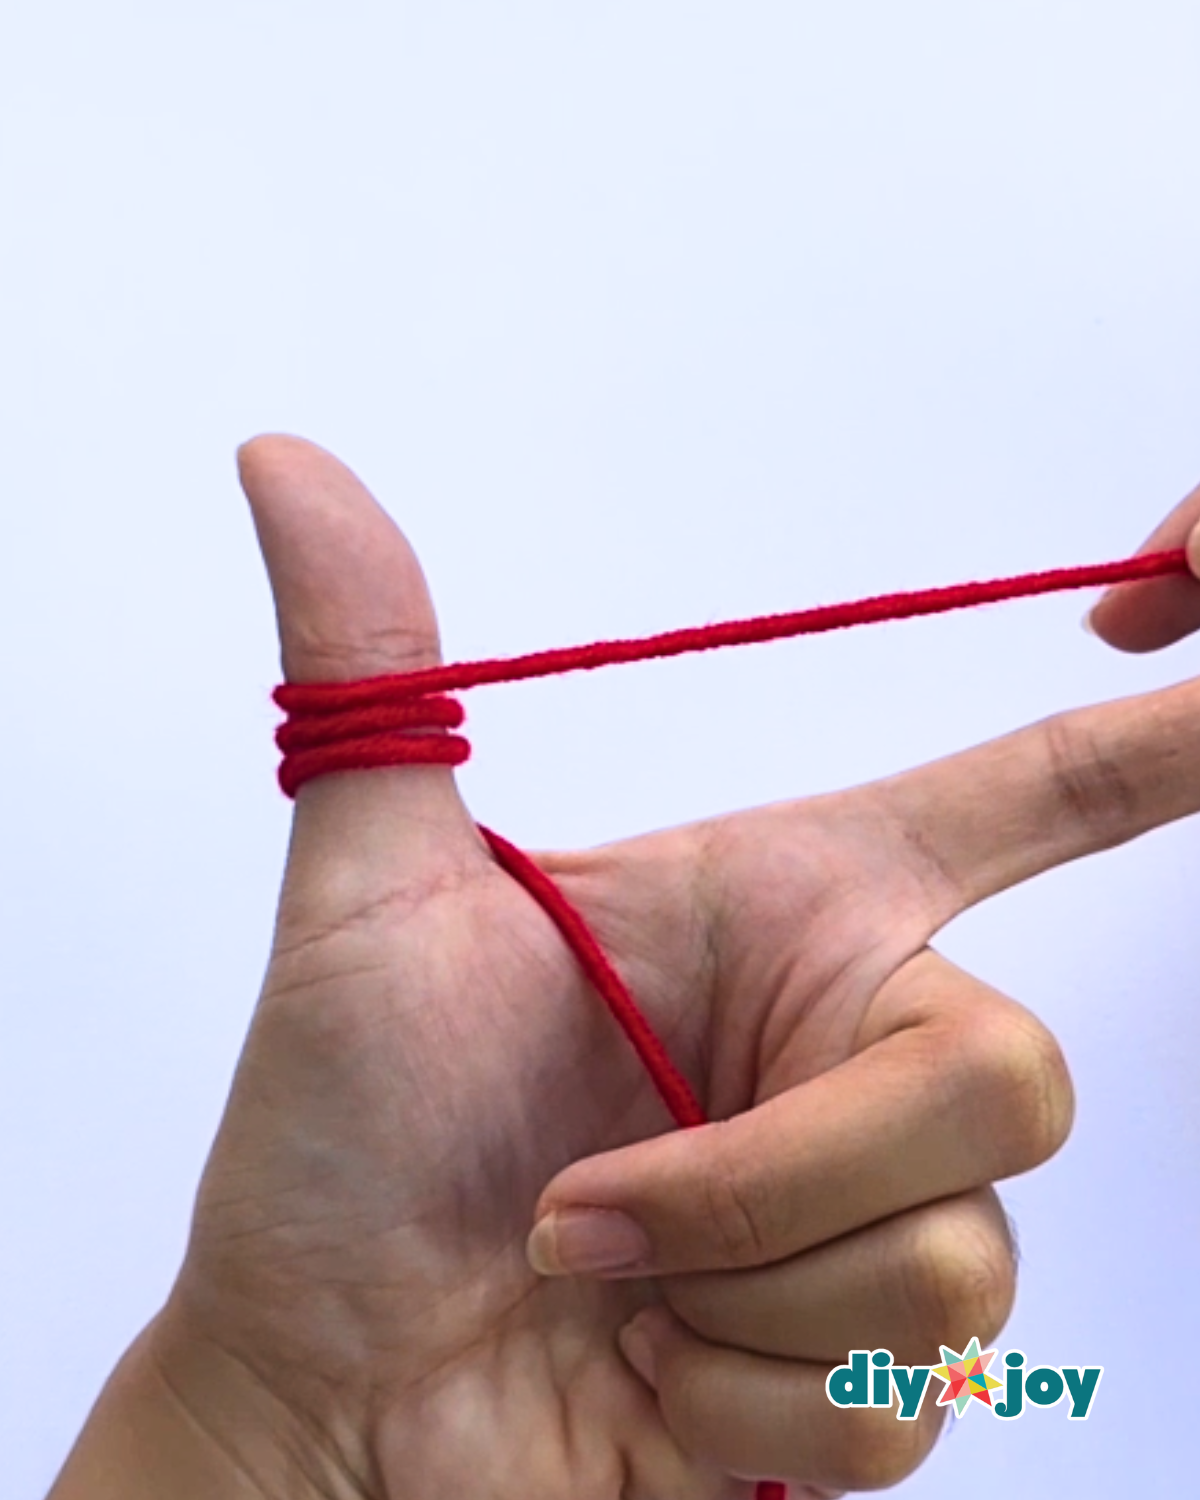
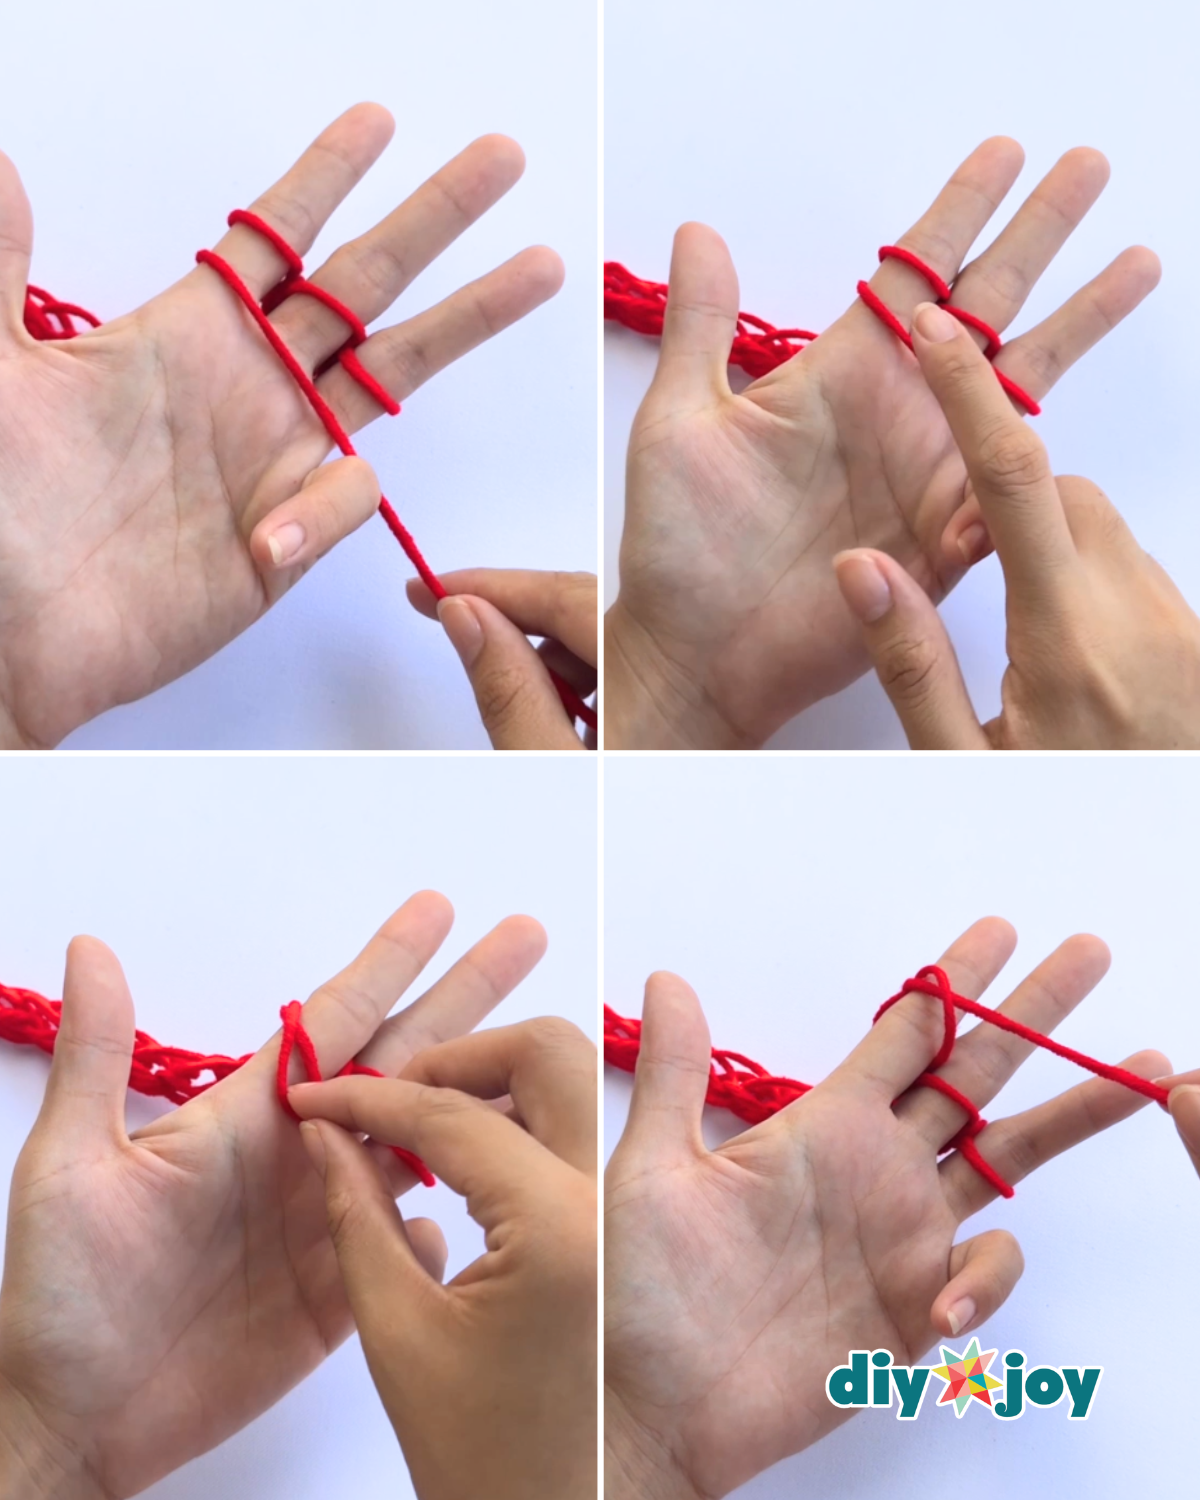
Step 1: Wrap the Yarn Around the Thumb

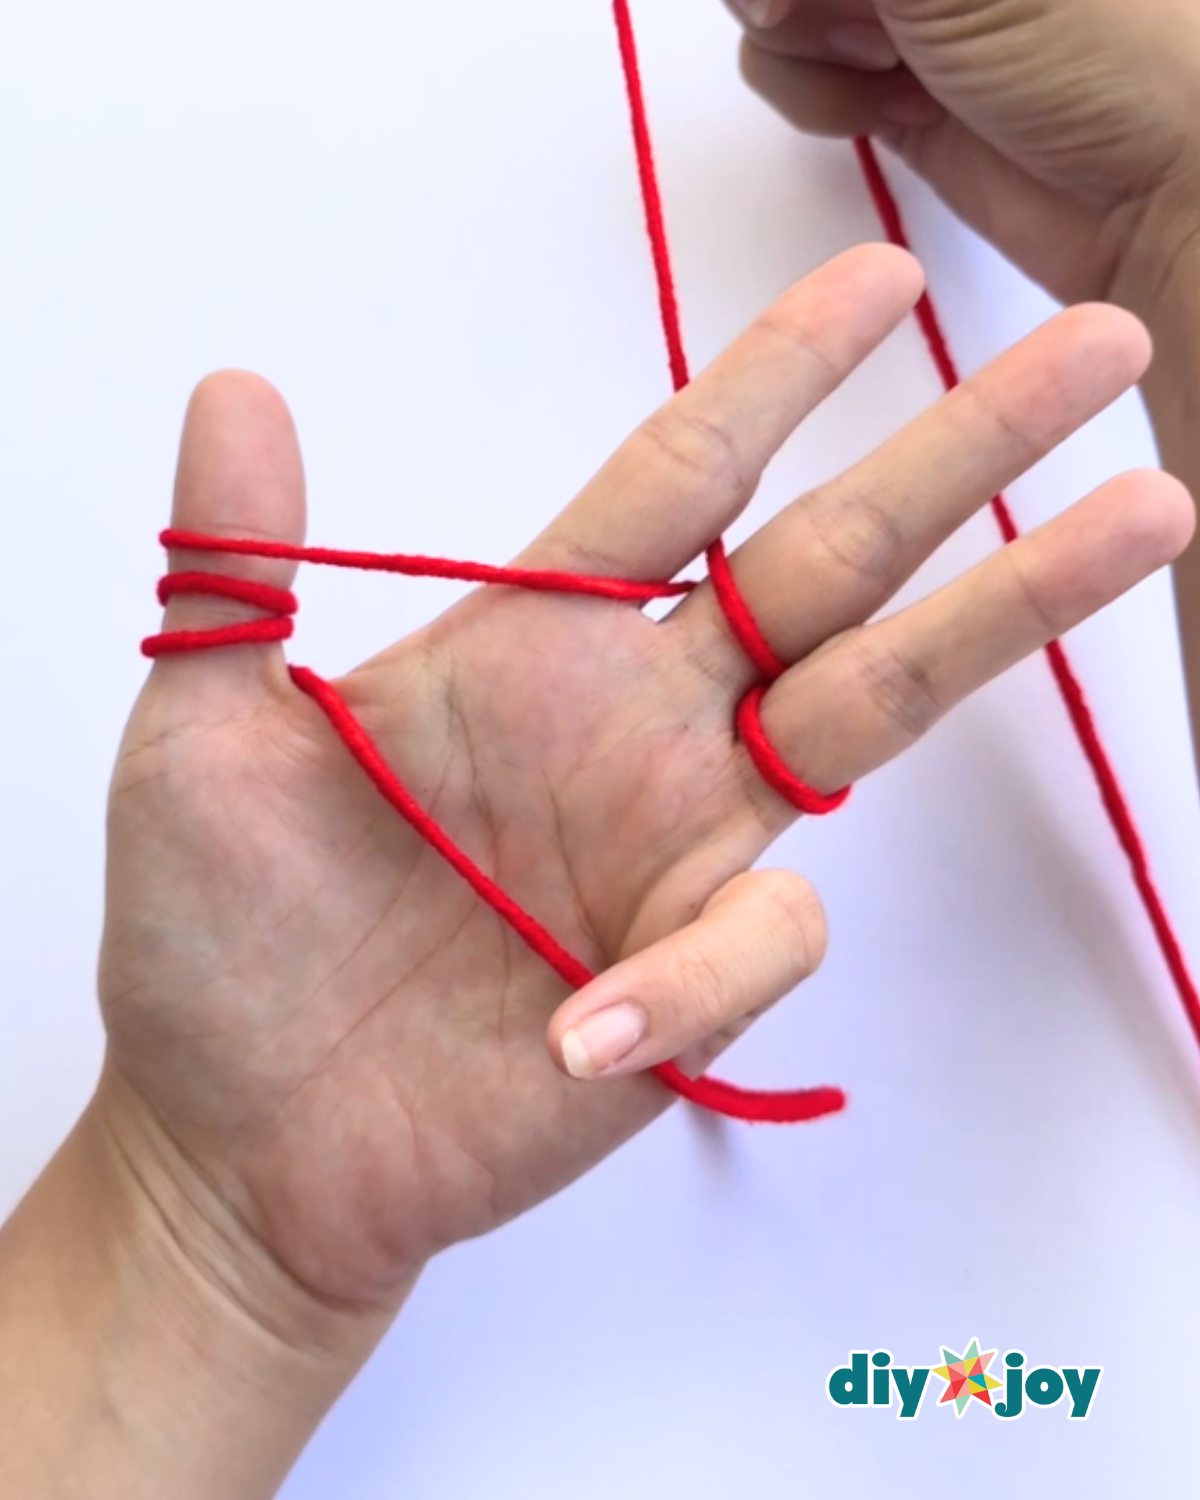
Wrap the yarn around your thumb three times, keeping the loops snug but not too tight.Step 2: Weave the Yarn Across the Fingers
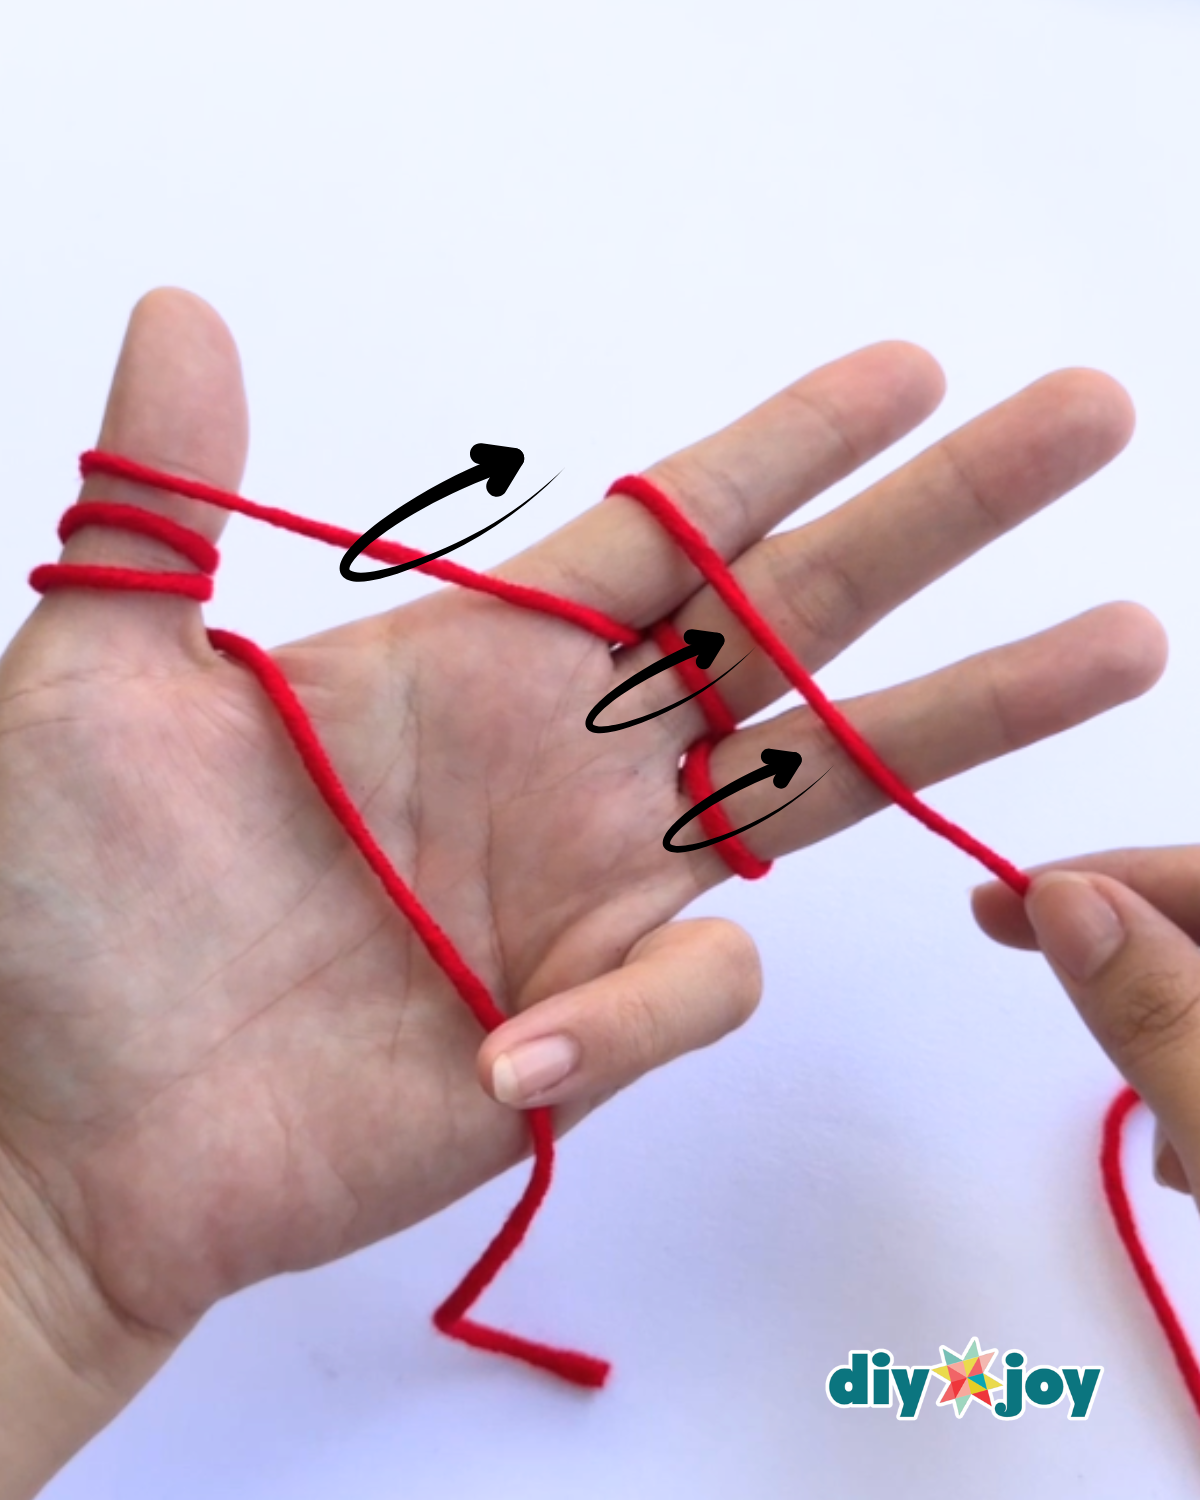
Bring the yarn to the front of the index finger, then guide it to the back of the middle finger. Bring it to the front of the ring finger, and then to the back of the pinky finger.Step 3: Create the Second Row of Weaving
Pull the yarn around the back of your fingers, then bring it across the front, and back again to form a second row of loops.Step 4: Lift the Bottom Loops
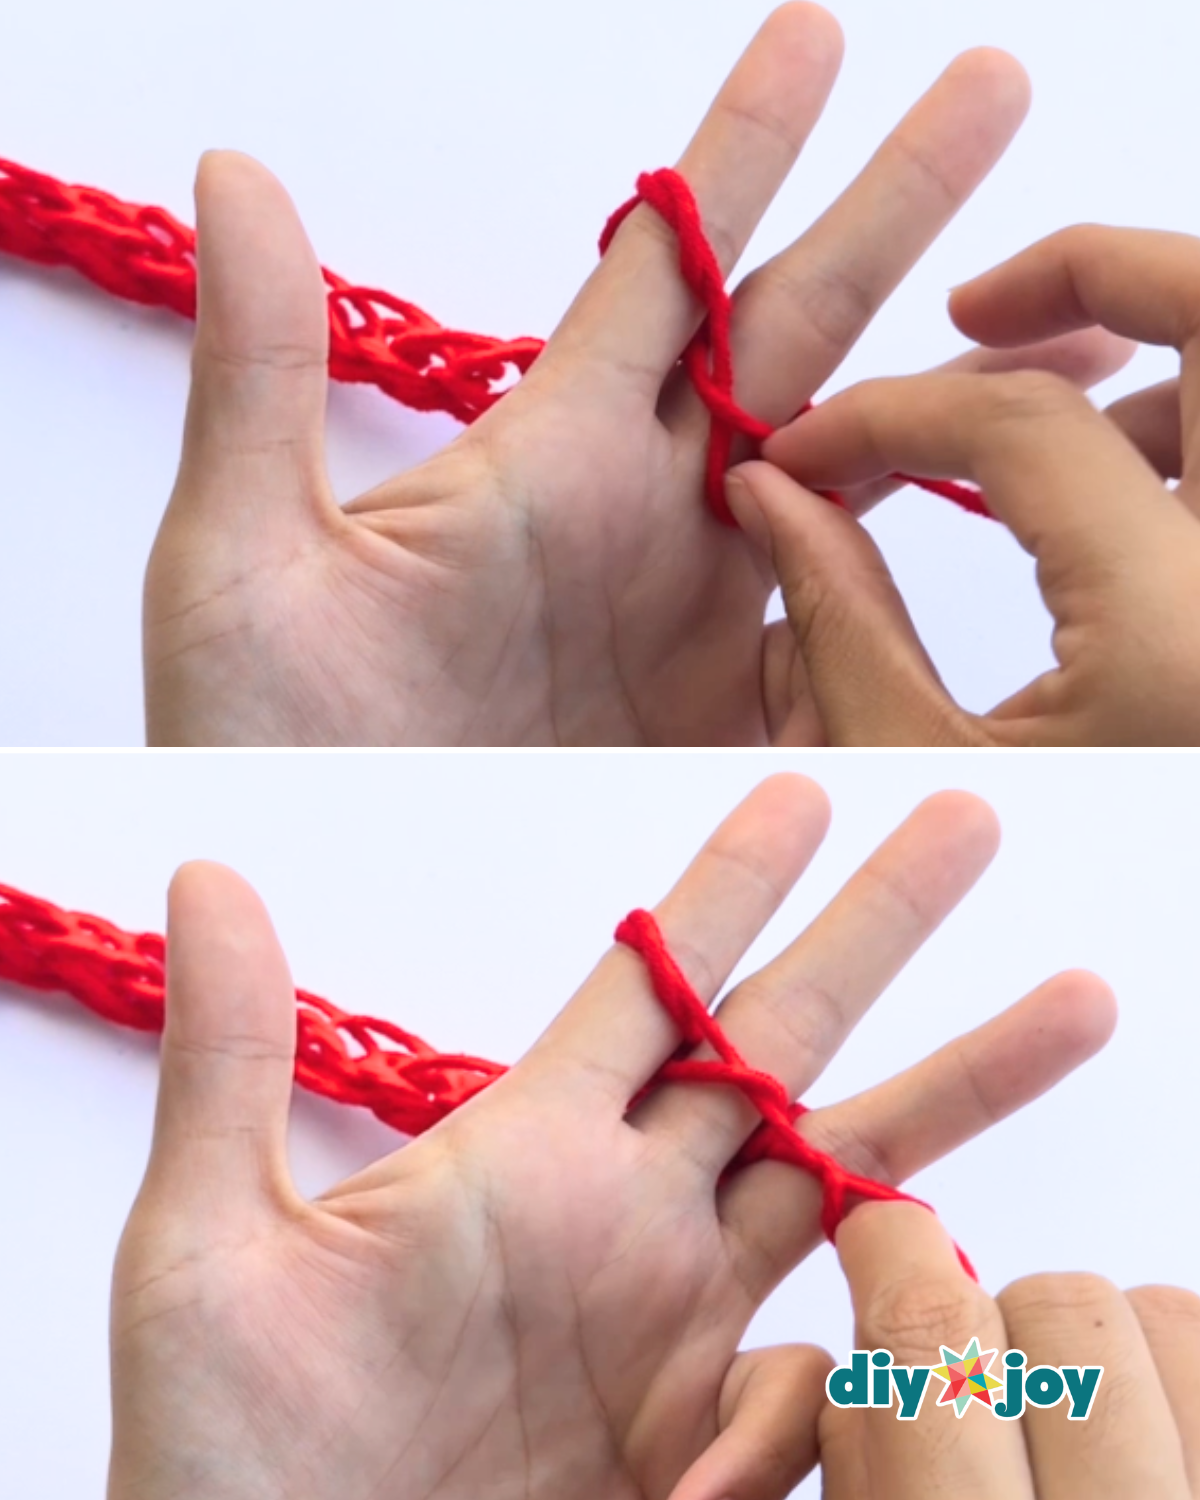
Wrap the yarn around to create a new top loop. Starting at the index finger, pull the bottom loop up and over the loop above it. Repeat the same step on the middle finger. Then gently pull the bottom loop open and insert your finger through the hole to continue the stitch.Step 5: Continue Weaving and Finish the Crochet
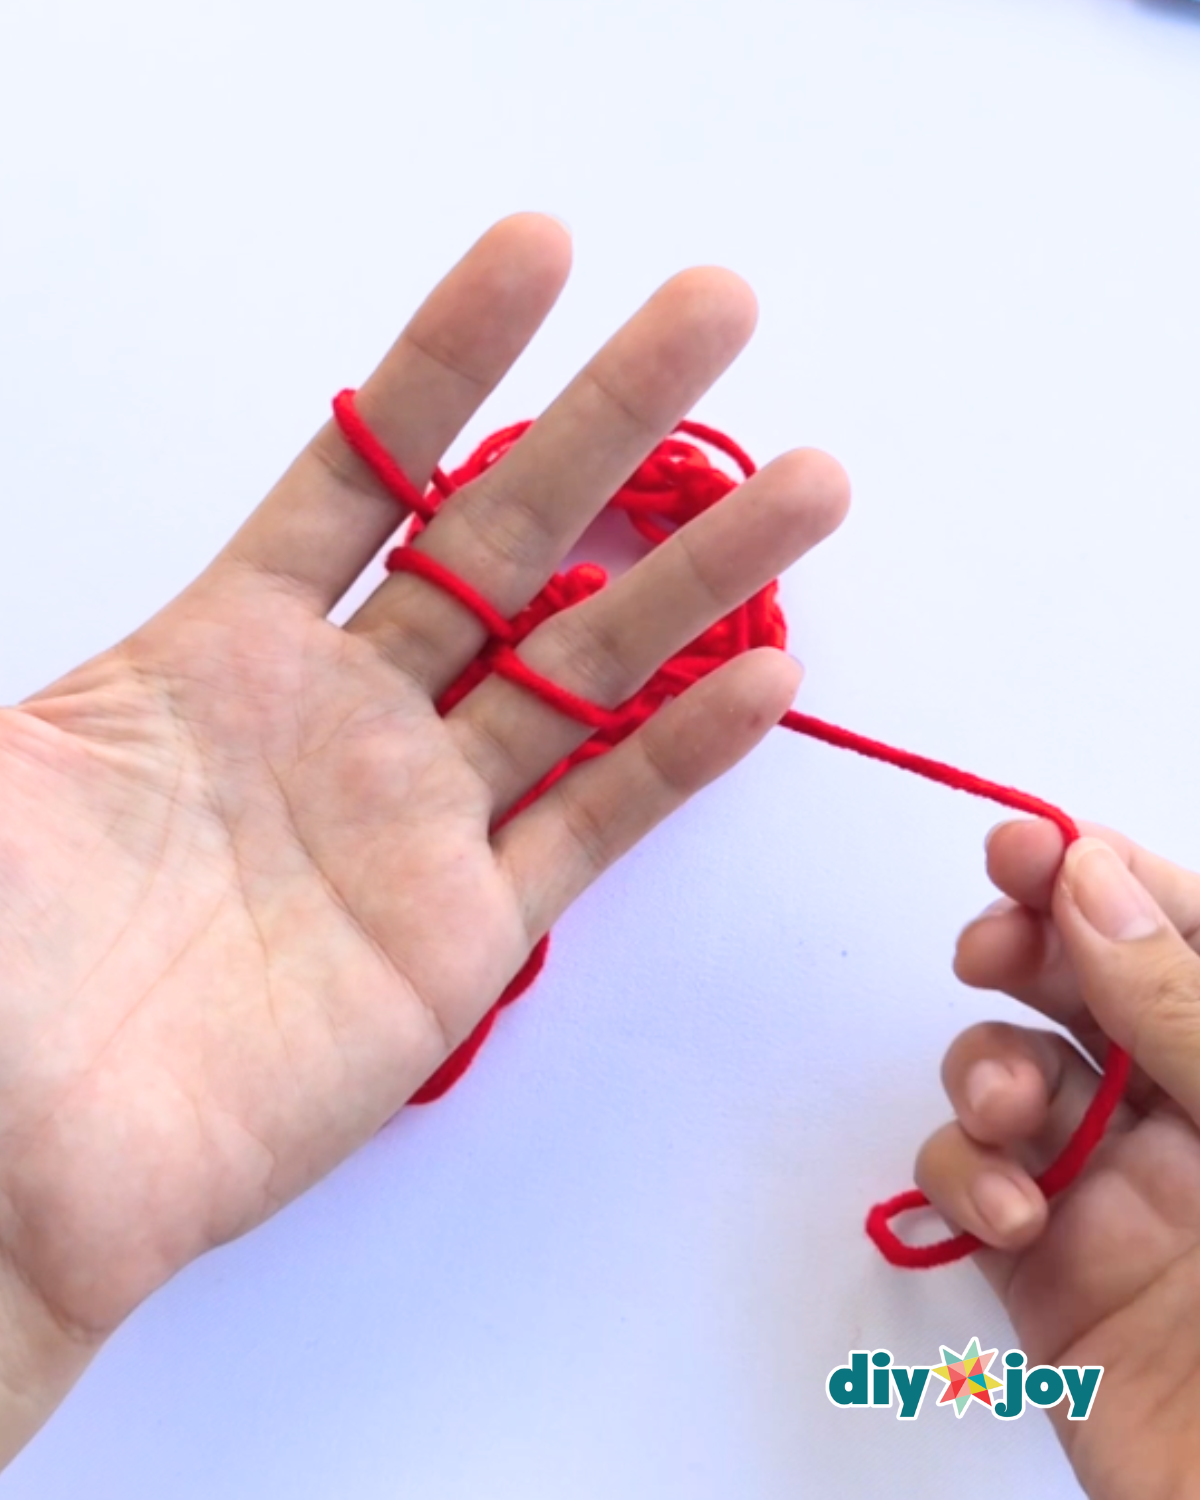
Continue making new loops and weaving until the crochet reaches your desired length. Cut the excess yarn, leaving a tail long enough to secure the end.Step 6: Secure the Final Loop
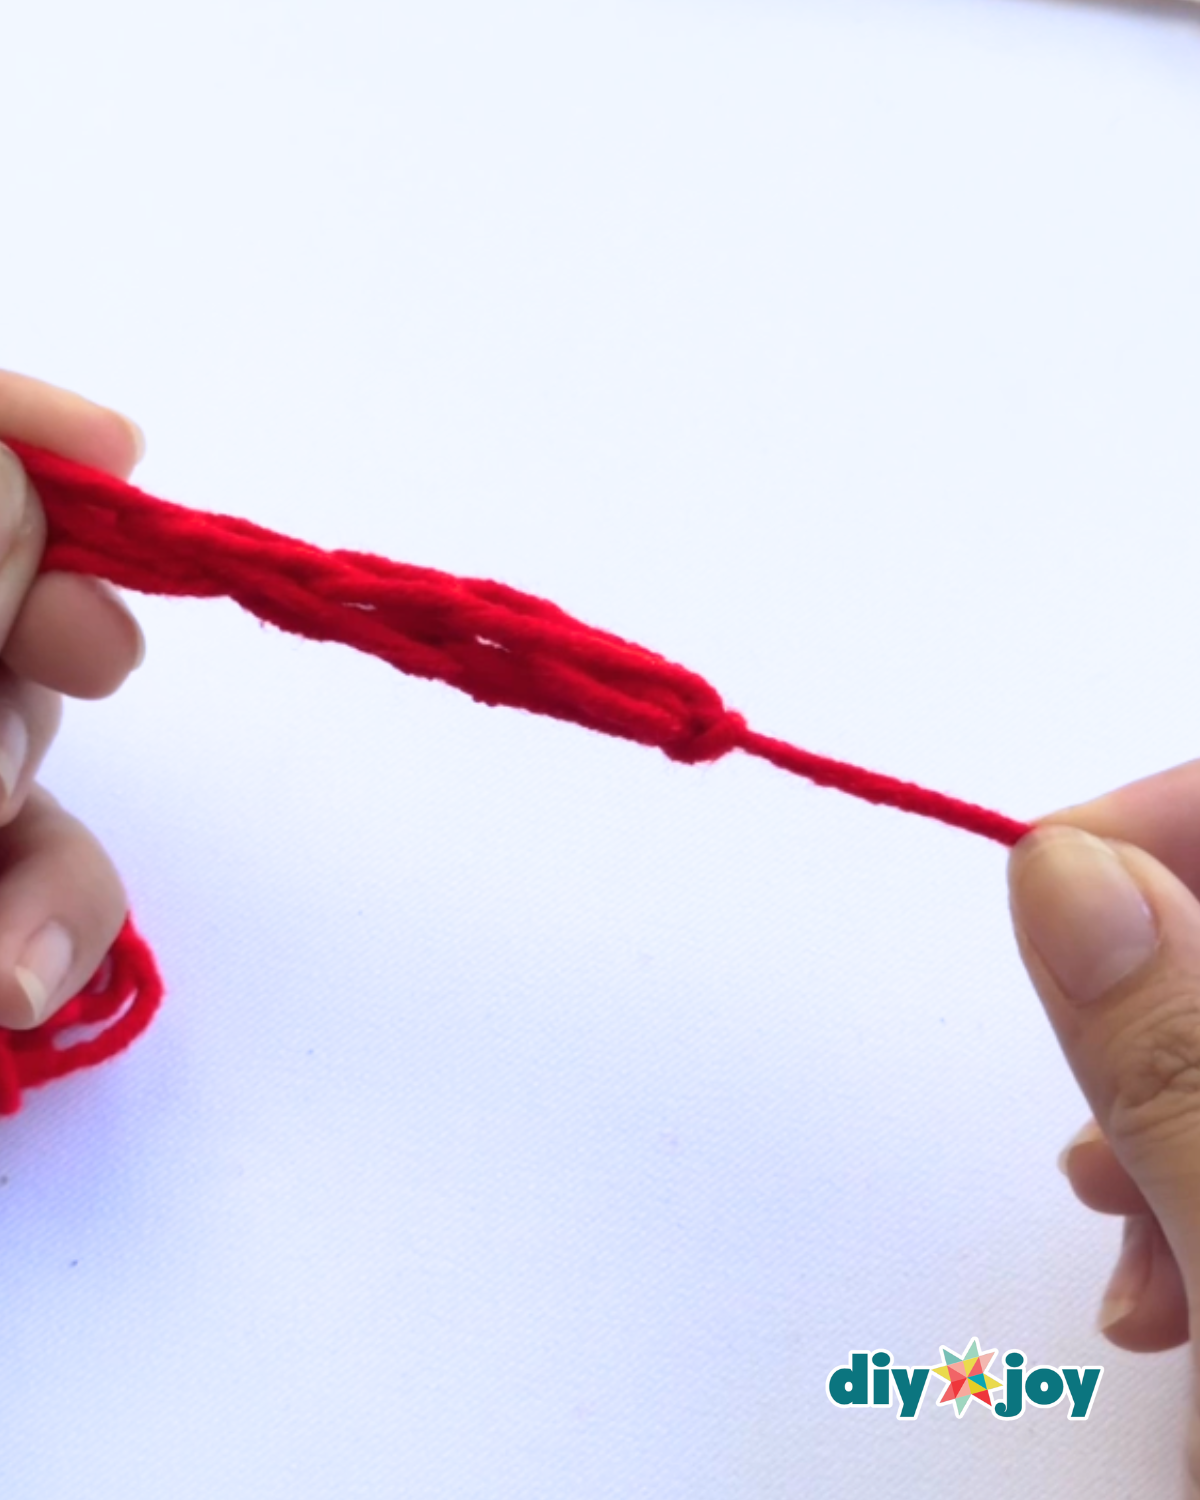
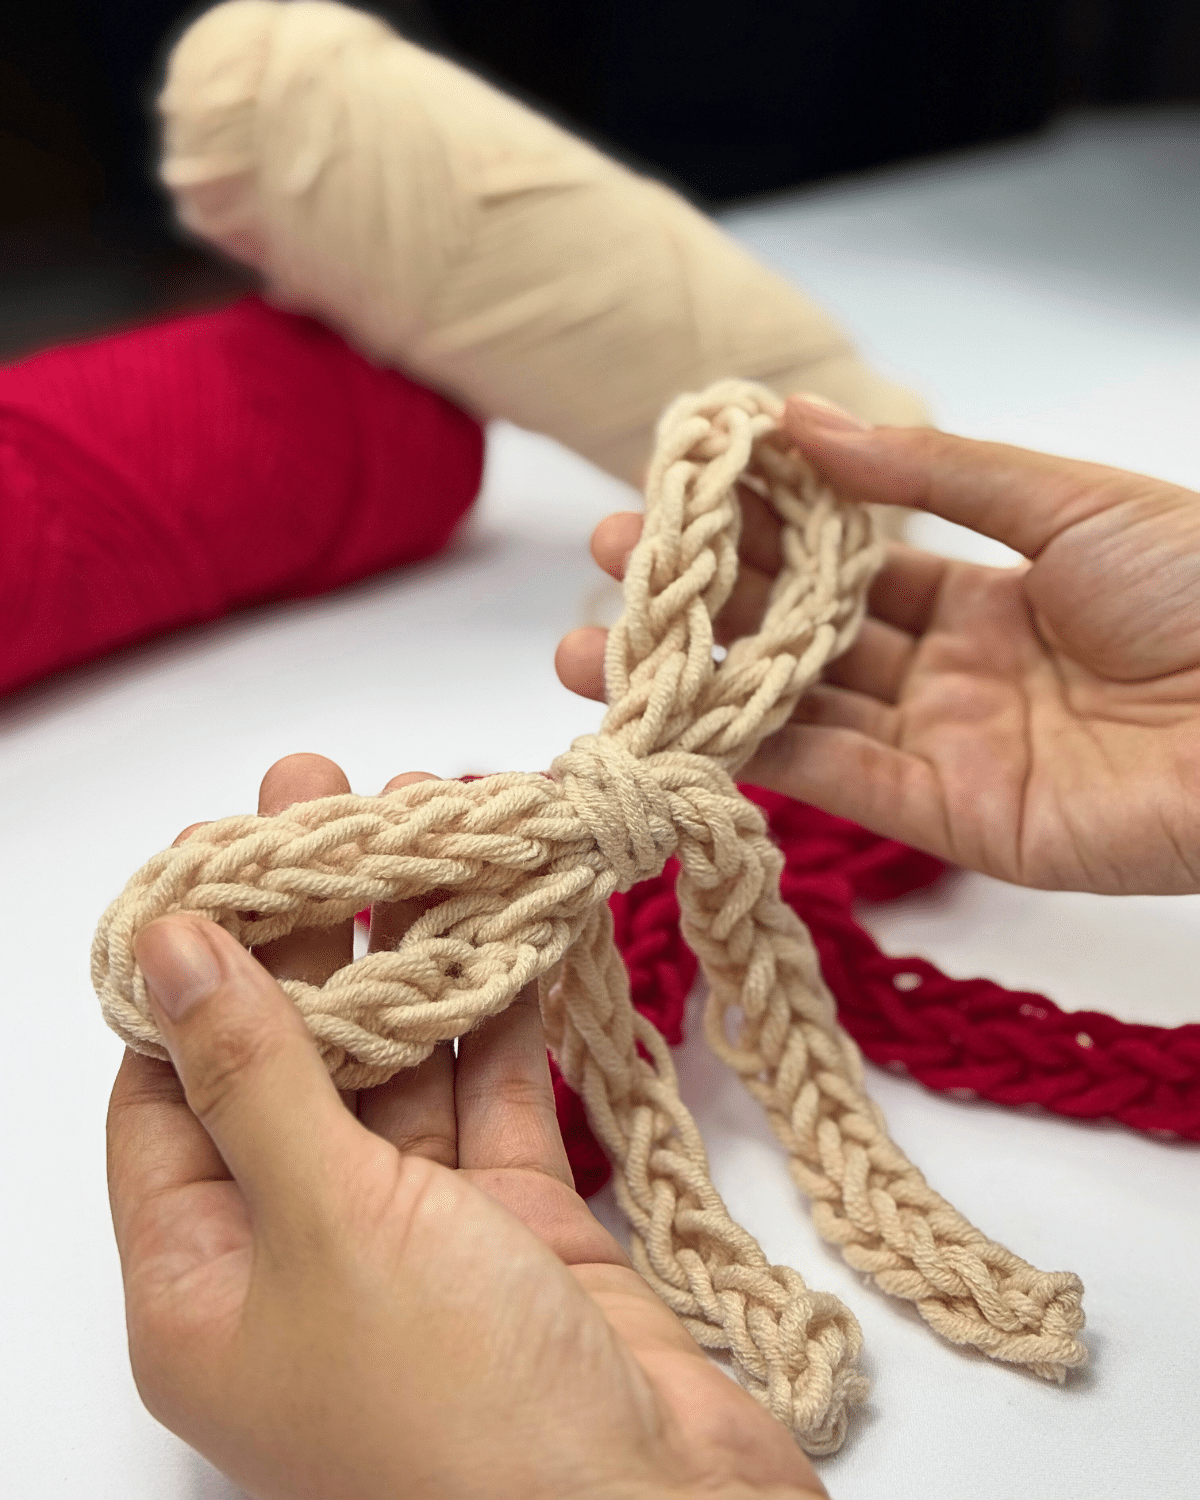
Bring the yarn tail around and position it below the loops. Pull the yarn under and through the bottom loop to secure the stitch.Step 7: Lock the Remaining Loops
Pull the yarn tail under and through the top of the second loop. Then pull it under and through the bottom of the last loop to fully secure the crochet.Step 8: Remove and Tighten to Secure
Hold the yarn tail securely, then carefully slide the loops off your fingers. Pull the yarn tail tightly to knot the loops in place and secure the crochet.

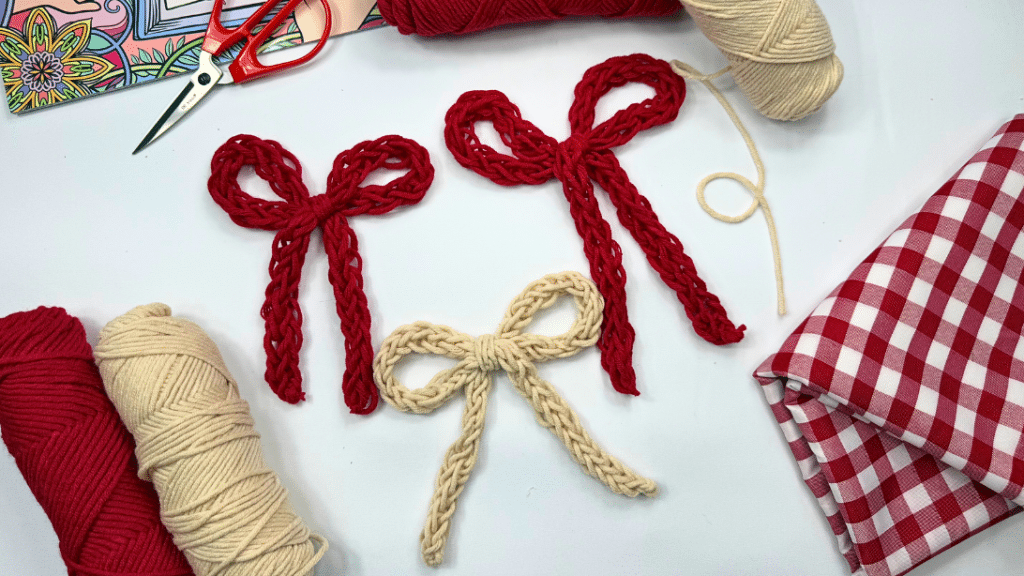
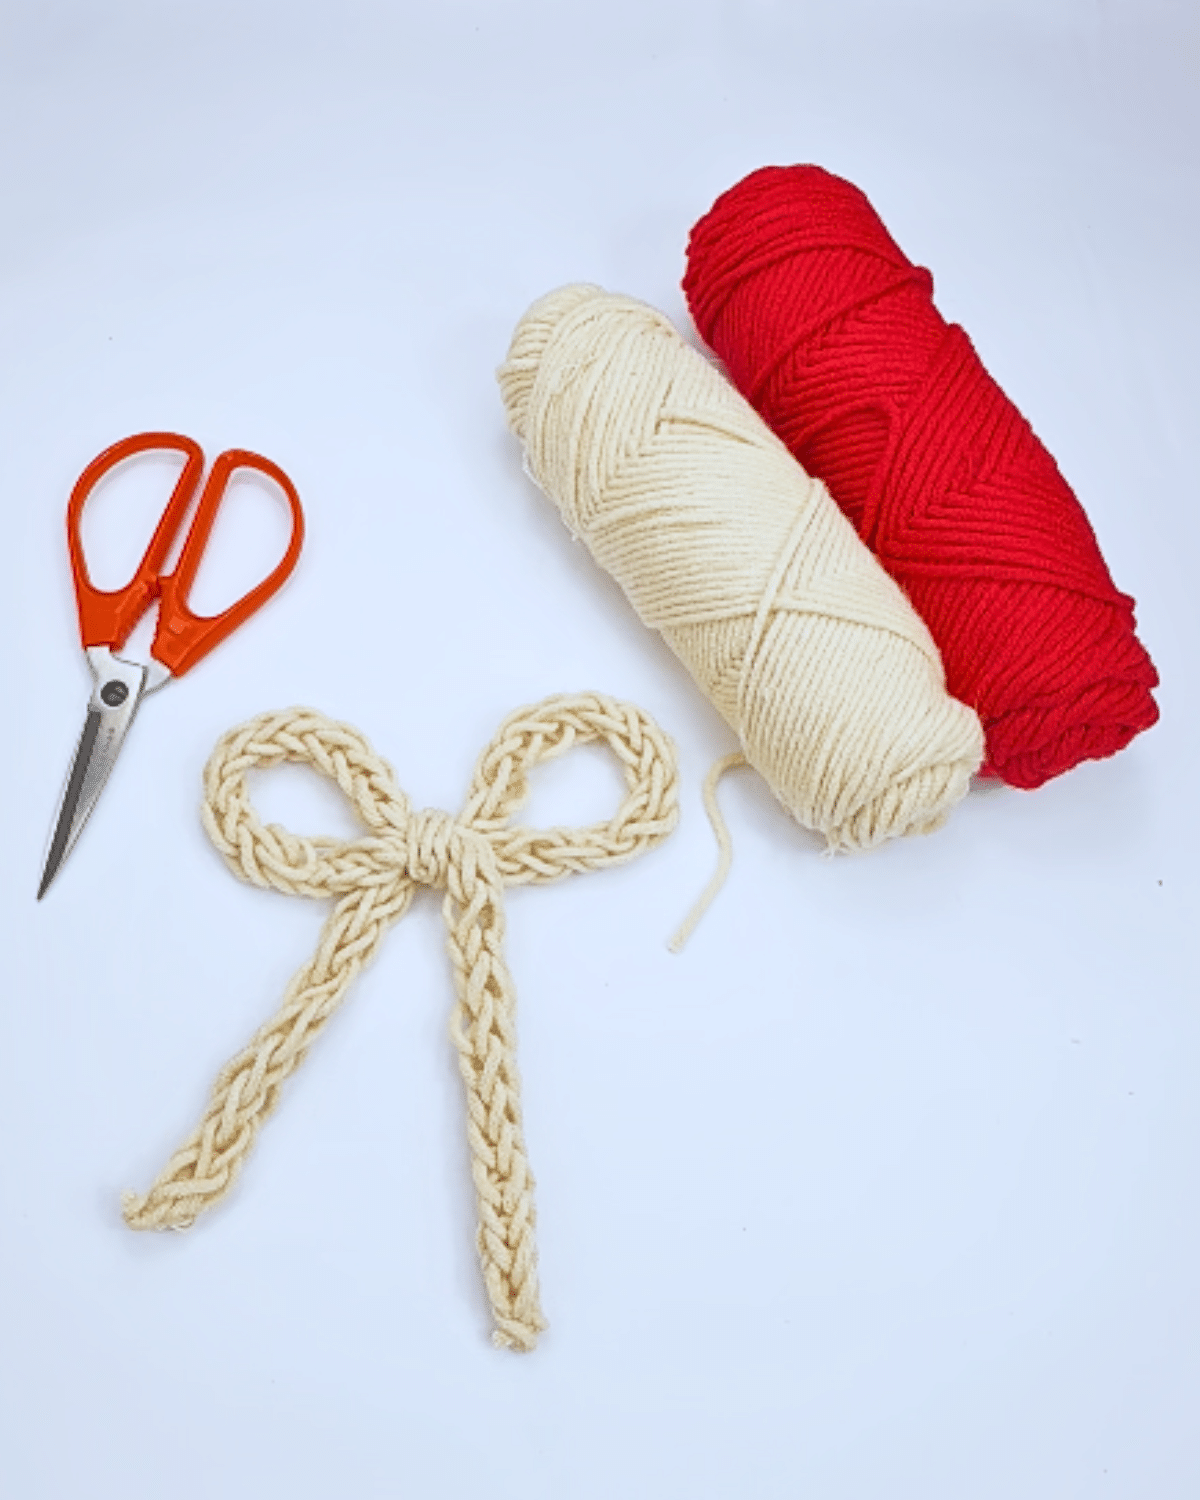
Materials
- 3mm milk cotton yarn, any color or thickness you want
- Scissors
![]()
Where To Use This Yarn Bow?
Pretty Hair Accessory
Attach it to a hair clip or headband for an easy and stylish addition to your hairdo.
Home Decor
Use them to embellish cushions, curtains, or even create a garland.
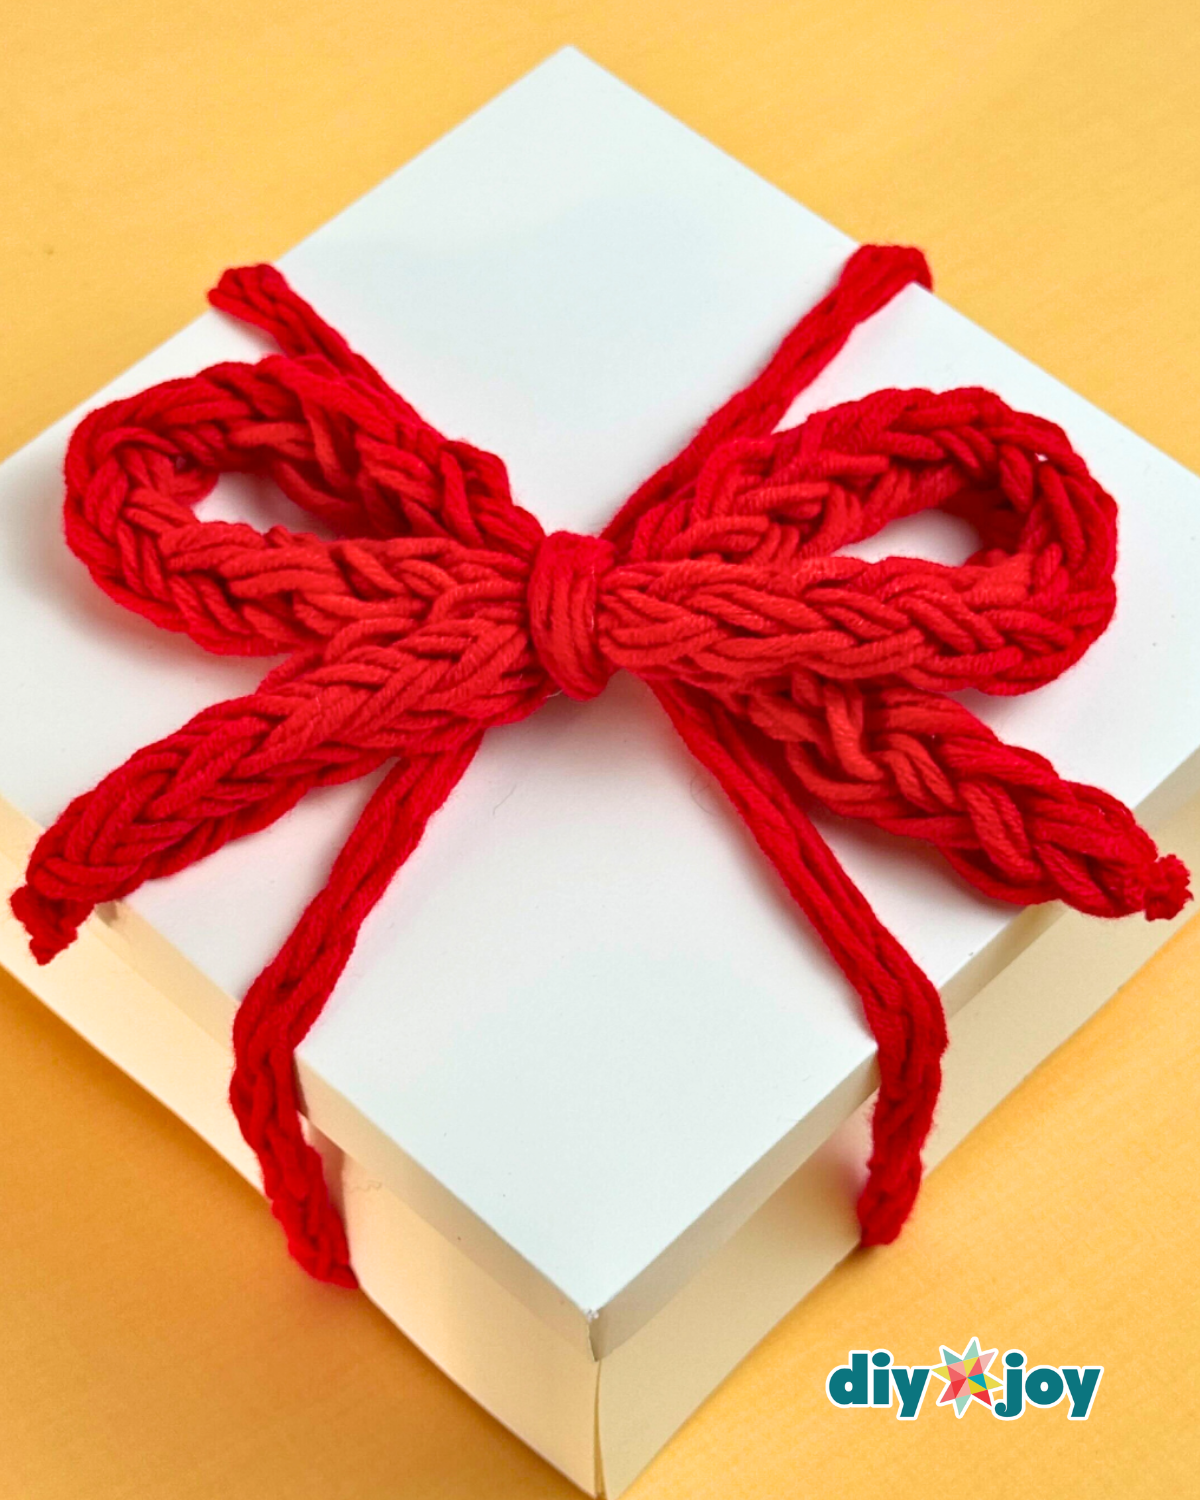
Handmade Gift
Adorn your wrapped presents or give them as a standalone token. It’s ideal for birthdays, holidays, or to surprise someone special.
Craft for Sale
They can be a delightful addition to your product lineup at craft fairs or online shops.
![]()
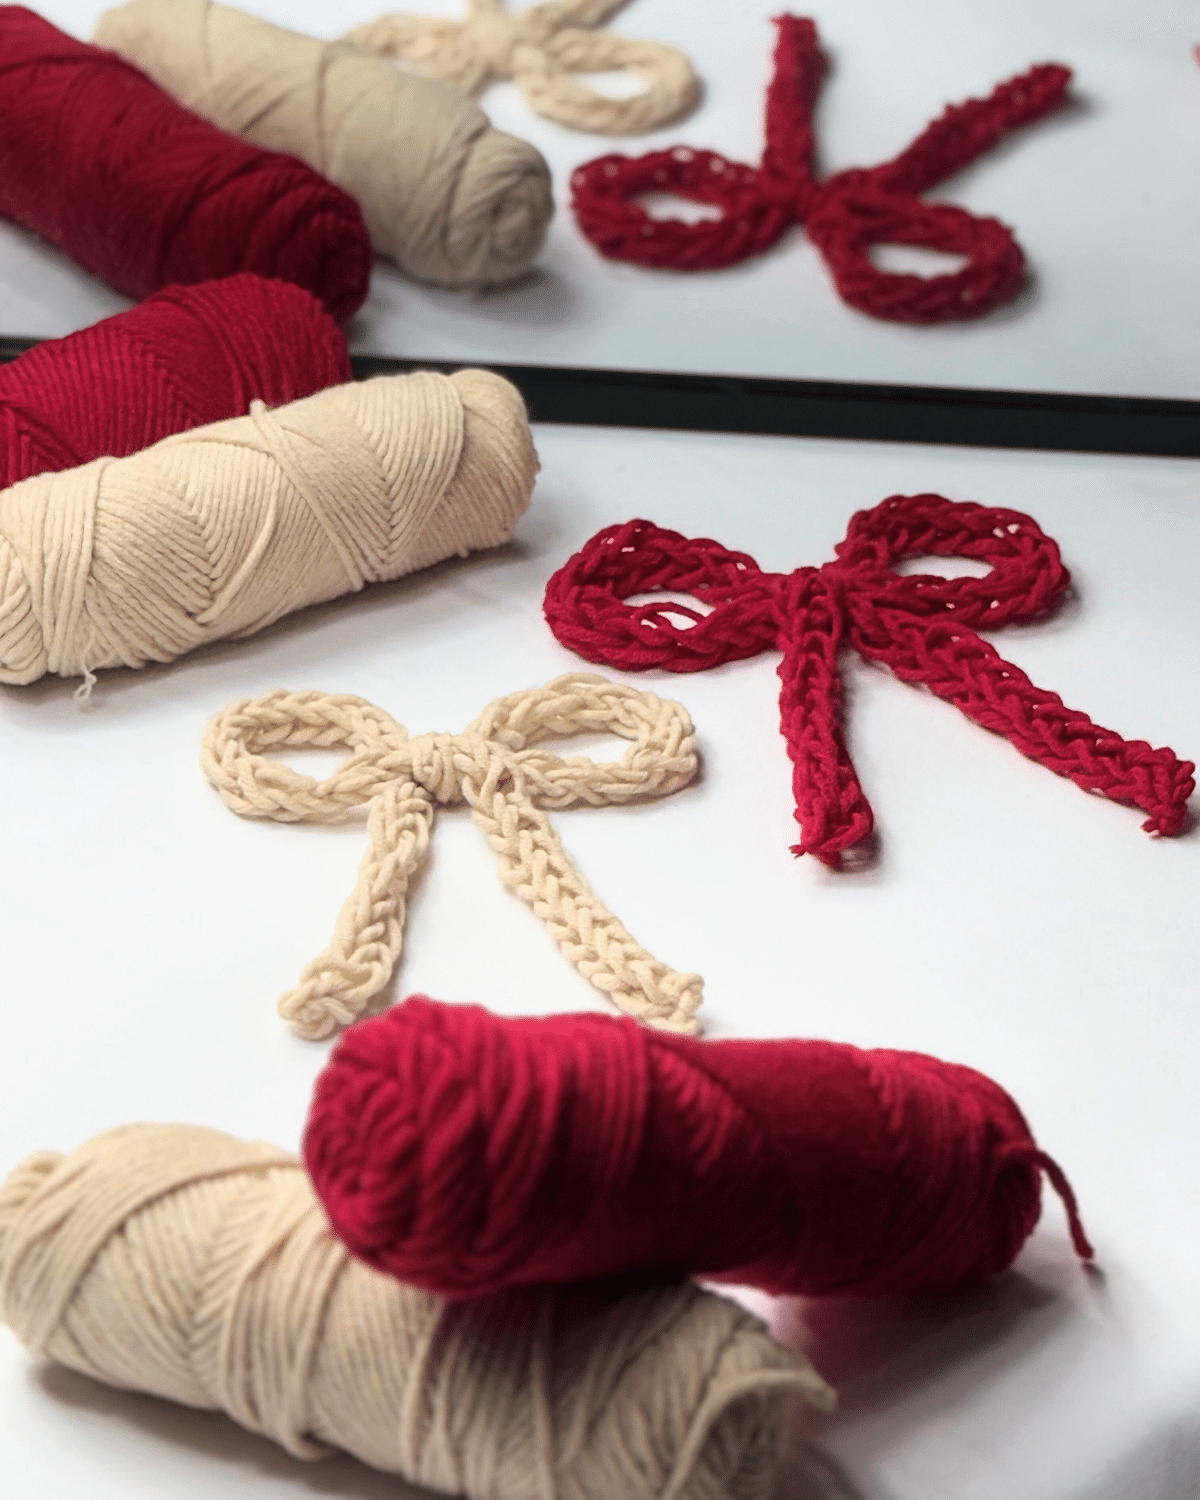
Pro Tip
You can use any kind of yarn that you want, but the thicker the better it holds the shape.
You might also want to pull tightly as you go to make the bow look thicker.
*If you love this craft, then visit our official website, follow our Facebook page, and subscribe to our YouTube channel for more!
Easy Crochet Yarn Bow Tutorial