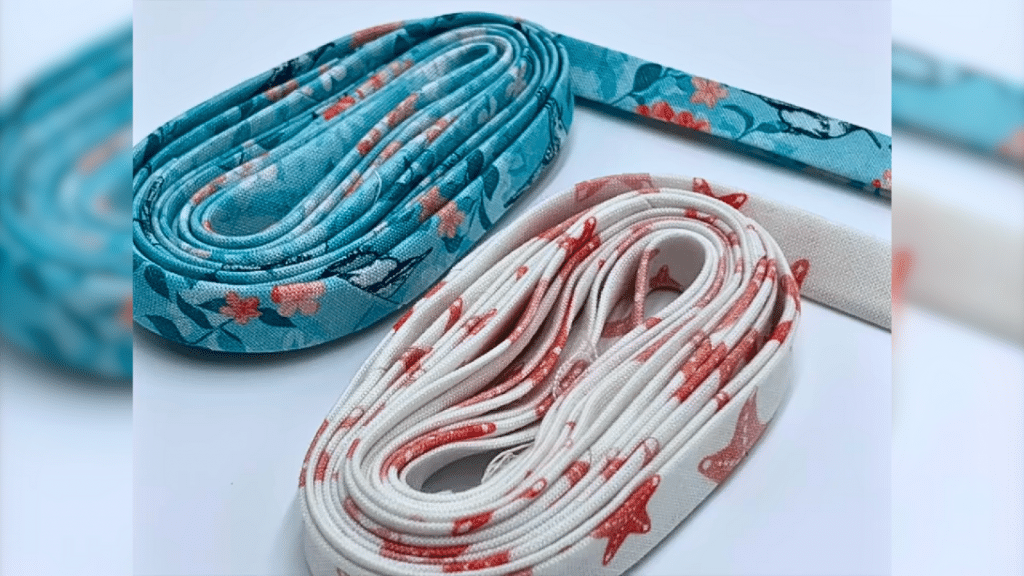
When I was still new to sewing, one thing that I didn’t learn early on was how to make a continuous bias tape and the moment I learned it was one of the best things that ever happened to me. You can make bias tape out of any fabric that you want and an 8-inch square can produce about 4.8 yards of bias tape!
RELATED: 6 Smart Sewing Tips & Tricks For Beginners
Making this is super easy and doesn’t require a specific skill or tool, all you need is to watch this video tutorial by Teresa DownUnder on YouTube and give it a go to see for yourself! I hope you enjoy this tutorial and find it as helpful as I did.
Materials for Continuous Bias Tape:
- Fabric
- Marking pen or pencil
- Ruler
- Scissors or rotary cutter and a cutting mat
- Needle and thread
- Fabric pins
- Iron, for pressing
- Sewing machine
How to Make a Continuous Bias Tape:
Step 1
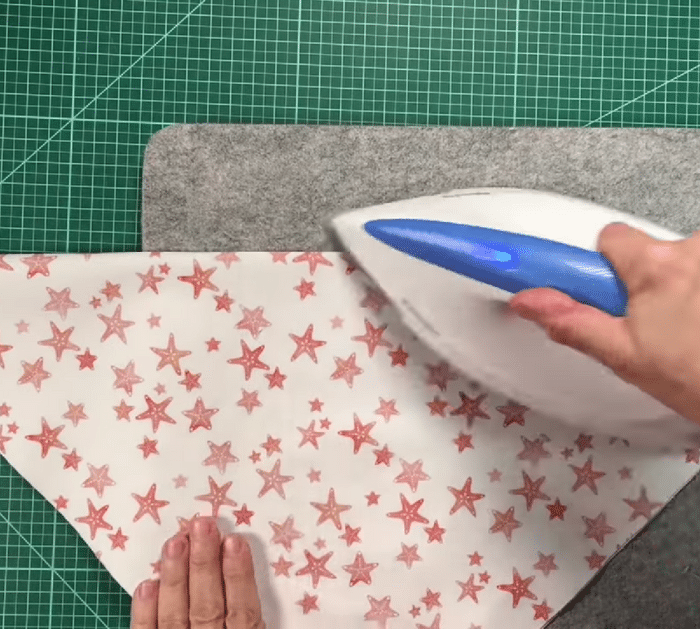
Cut a fabric into an 18×18-inch square, then fold it in half diagonally matching the edges, and press it nicely. Unfold, then cut along the crease, and lay them on top of each other with their right sides facing and position them as shown in the video.
Step 2
Stitch them with ¼ inch seam allowance, then press the seams open, and draw lines over the wrong side making sure they are 1¾ inches apart. Cut off the excess fabric, then fold the fabric so that their diagonal edges meet, and make sure their right sides are facing and align the drawn lines.
Step 3
Pin over the lines at ¼ inch from the edge, then sew the edges together, and press the seams open. Cut along the lines, then fold the strip in half wrong sides facing, and press. Unfold the strip, then fold both edges so that they meet at the center, and press nicely. Fold it in half for the last time and press it again flatly.
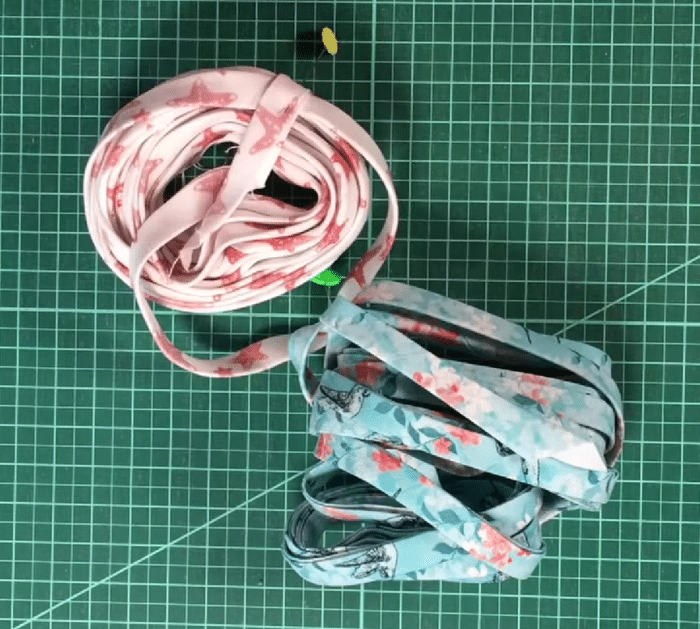
*All image credit belongs to Teresa DownUnder via YouTube. Follow and subscribe to her channel for more!
