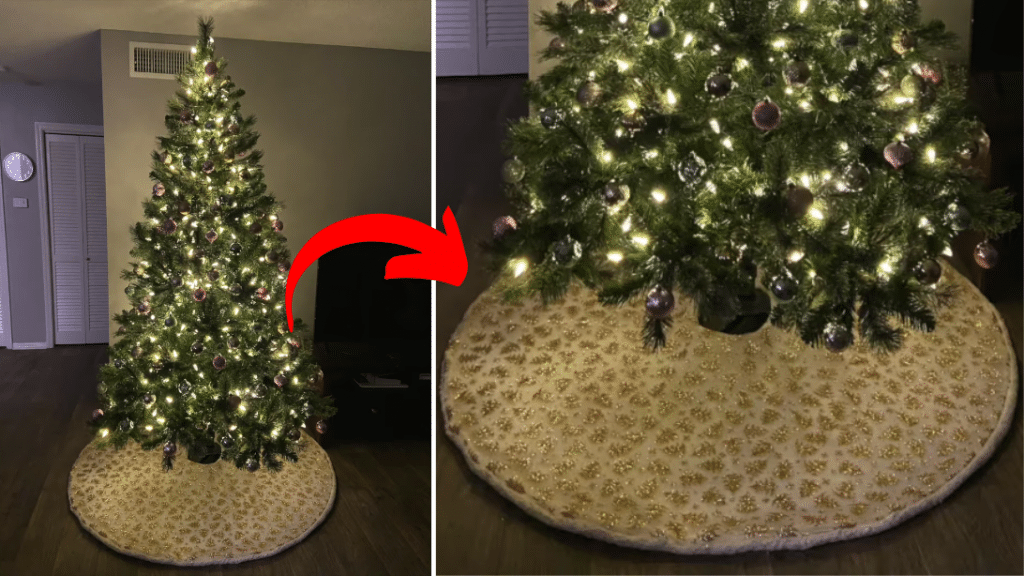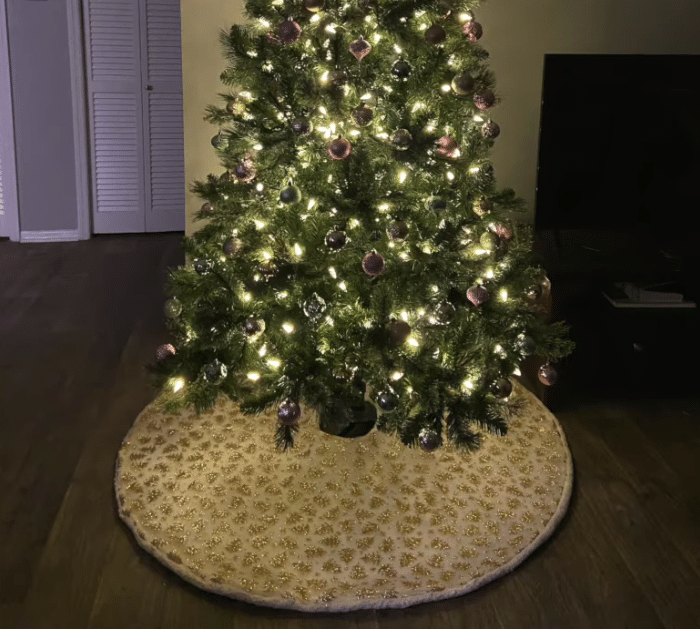
One tradition that most families do during the Christmas season is putting up a tree, there are a lot of ways to decorate your tree depending on your preference, it can be very simple or extravagant. But, one thing that you shouldn’t forget is to put a skirt around the base of your tree.
RELATED: How To Sew A Christmas Tree Skirt
You can either buy it from the store or make one in your own using any fabric that you like. You can also make yours extra special by adding any design or embellishment that you want. Learn how now by watching this video tutorial by ElenaMarieSewing on YouTube.
Materials for Christmas Tree Skirt:
- Sparkly organza
- Sherpa
- Ribbon
- Marking pen, pencil, or chalk
- Ruler
- Scissors or rotary cutter and a cutting mat
- Fabric pins
- Needle and thread
- Iron, for pressing
- Sewing machine
How to Make Christmas Tree Skirt:

Step 1
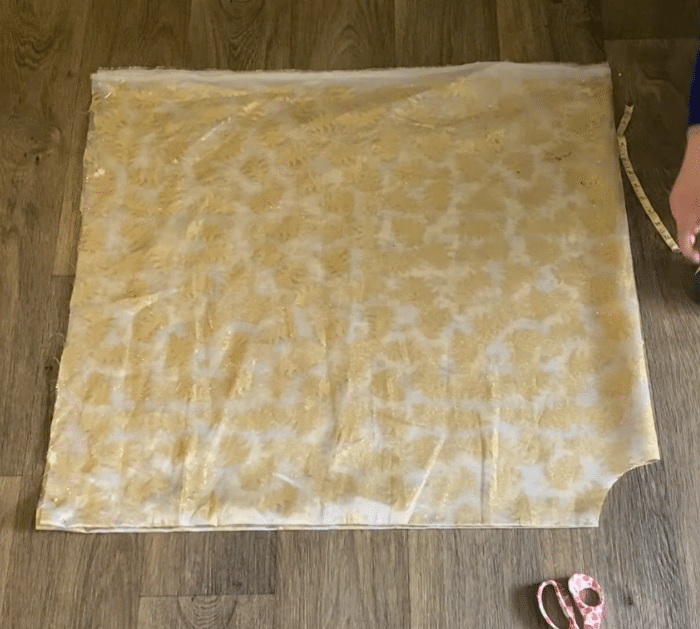
Fold the sparkly organza fabric in half twice to make it into a square, then cut out the folded corner for the center circle, and cut out the edges in a curve to shape the skirt.
Step 2
Fold the sherpa in half twice, then place the folded cut sparkly organza on top, and line them up nicely. Cut out the sherpa following the shape of the fabric on top, then unfold both fabrics, lay the sherpa on the floor, and smooth it out.
Step 3
Lay the sparkly organza fabric on top, then make sure the edges are lined up and their right sides are facing, and trim off any excess on the edges.
Step 4
Pin them together, then pick a spot on any side of the tree skirt, and cut a line from the outer edge straight to the inner circle. Cut the ribbon into pieces to tie the skirt later, then insert the ribbons between the fabric layers, and pin them in place.
Step 5
Start stitching all of the edges together, leaving a small gap at one side, then turn the tree skirt right side out, tuck the edges of the opening, and stitch it close.

*All these amazing images are thanks to ElenaMarieSewing via YouTube. Do visit her channel to see more videos like this!


