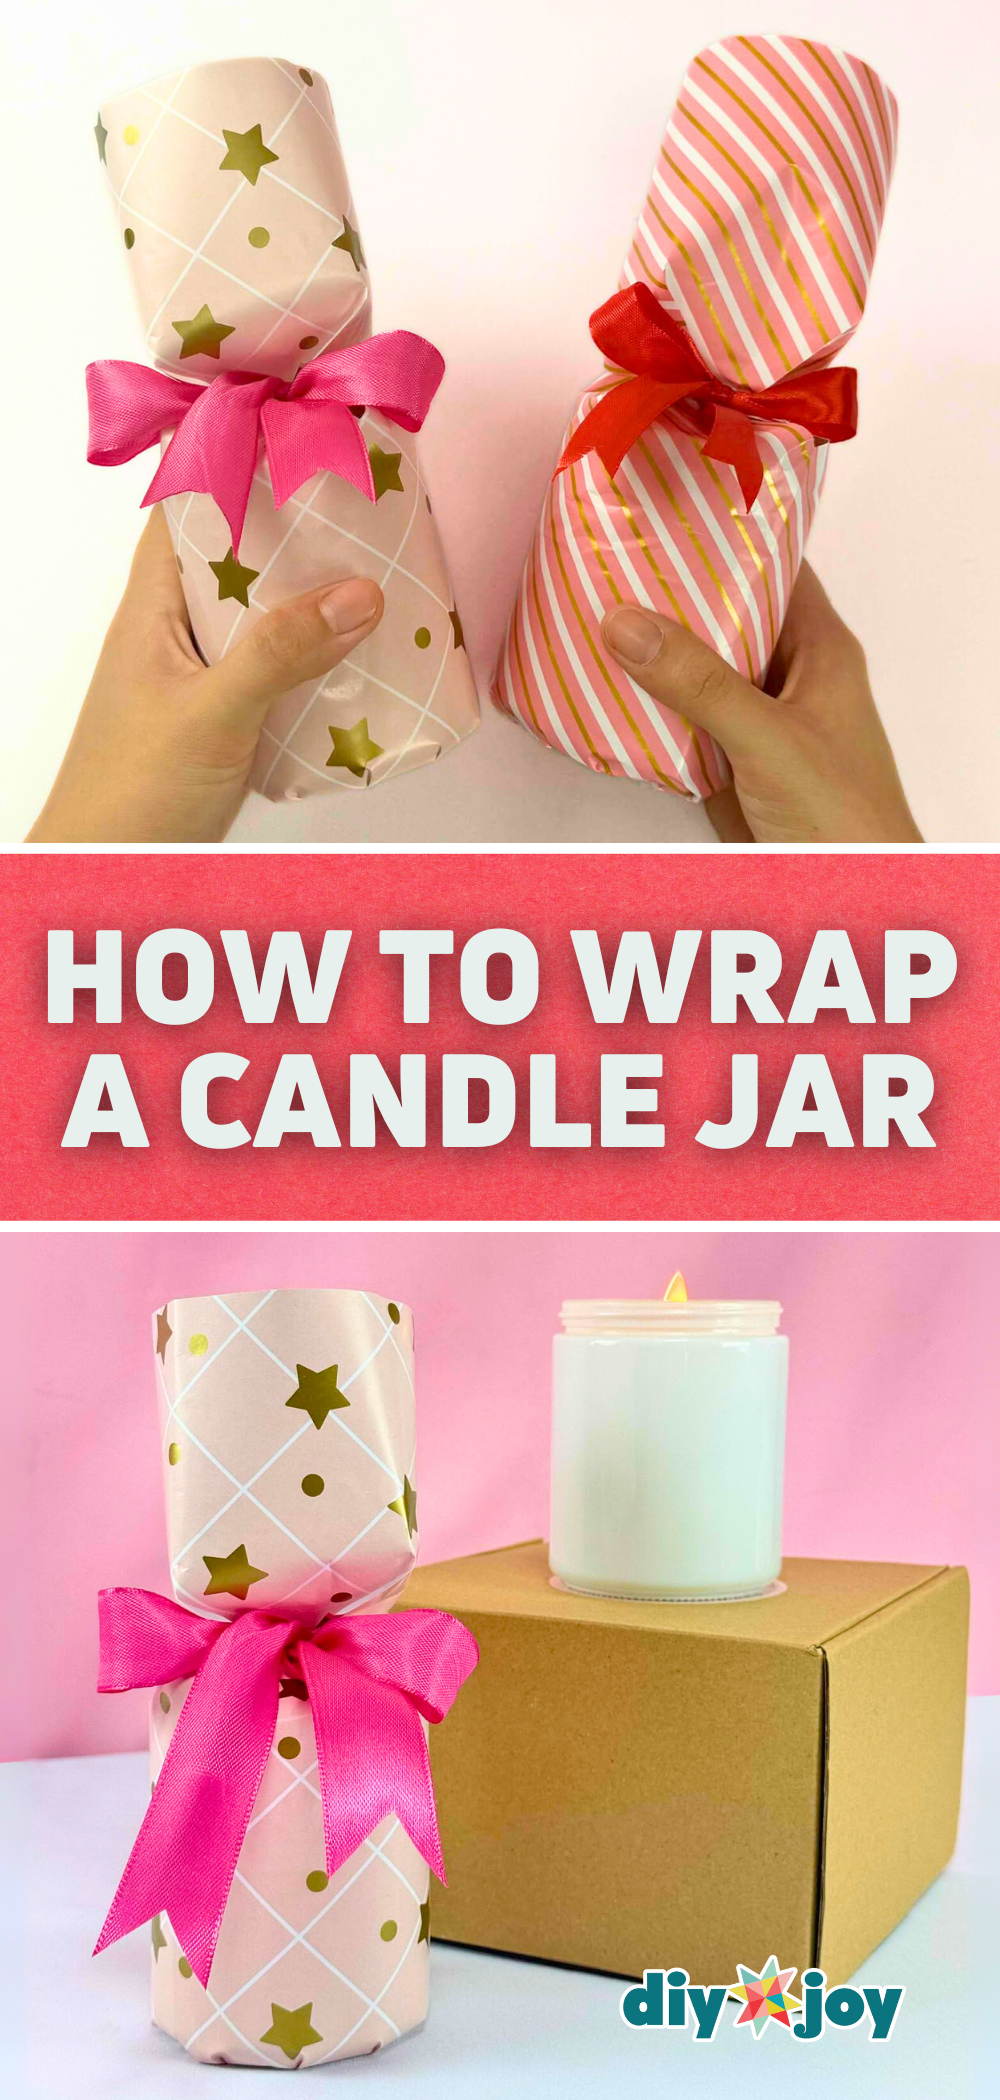
Gift-giving is one of the best ways to show love and appreciation, but sometimes deciding on what to give can feel overwhelming. One type of present that never fails is something practical and usable in the home. That’s why scented candles have become one of my go-to gifts. They’re thoughtful, versatile, and always appreciated, whether for a birthday, holiday, or just a small gesture of kindness.
As much as I enjoy buying candles, I’ve often found myself facing one little challenge: how to wrap them beautifully. While some candle brands package their jars in neat little boxes, others only provide a simple bag. And if you’ve ever tried wrapping a round candle jar on its own, you know it can be tricky and sometimes frustrating. Odd-shaped gifts are already tough enough to wrap, and a heavy glass jar can make things even more difficult.
RELATED: How to Wrap Gifts with Short Paper
The good news is, I’ve discovered a clever trick that makes wrapping candle jars simple, elegant, and stress-free. This easy DIY wrapping method gives your candle gift a polished finish that looks intentional and fancy, even without a store-bought box. Not only does it save you time, but it also works perfectly for last-minute gift wrapping when you want your present to look thoughtful and put together.
In this tutorial, I’ll show you step-by-step how to wrap a candle jar in a way that’s both practical and stylish. By the end, you’ll see just how quick and doable this hack is — and you might even start using it for other round or oddly shaped gifts. Keep reading for the full instructions, and don’t forget to check out the video tutorial for an easy-to-follow visual guide.
How to Wrap a Candle Jar
Step 1: Prepare the Wrapping Paper

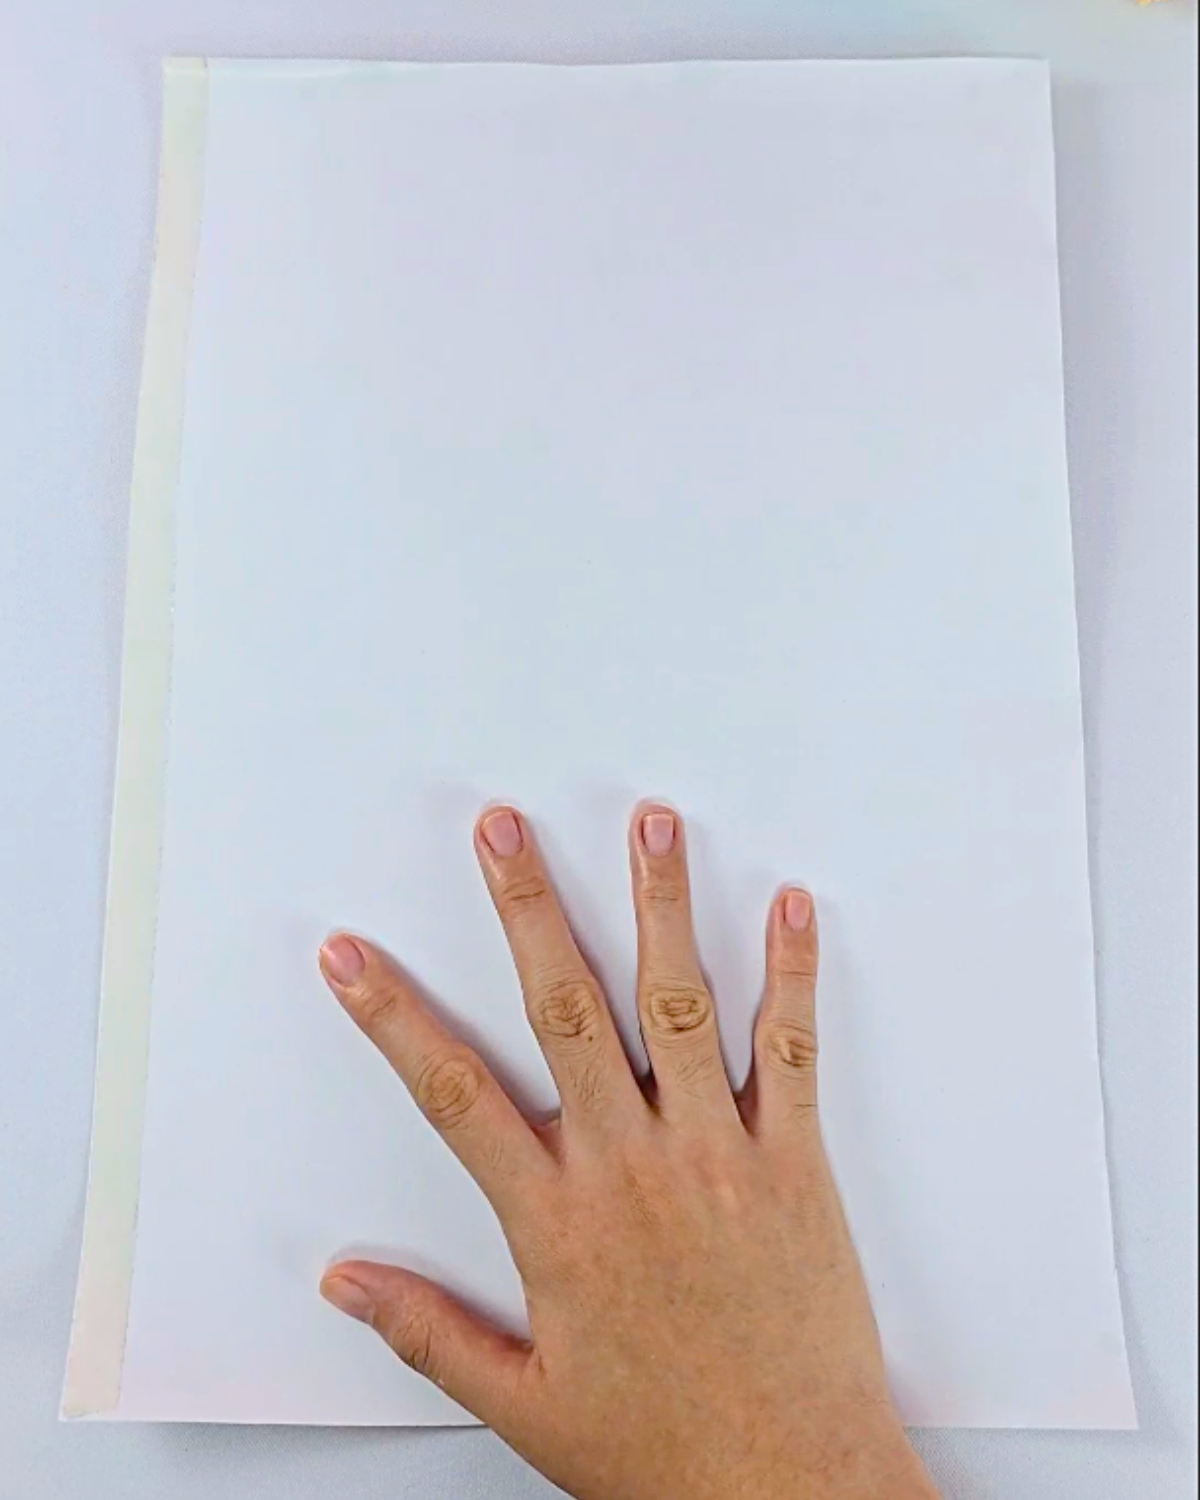
Cut your wrapping paper wide enough to cover the full diameter of the candle jar, leaving a slight overlap. The length should be about twice the height of the jar, plus a little extra for allowance. Place a strip of double-sided tape vertically along one edge of the paper.Step 2: Wrap the Candle Jar
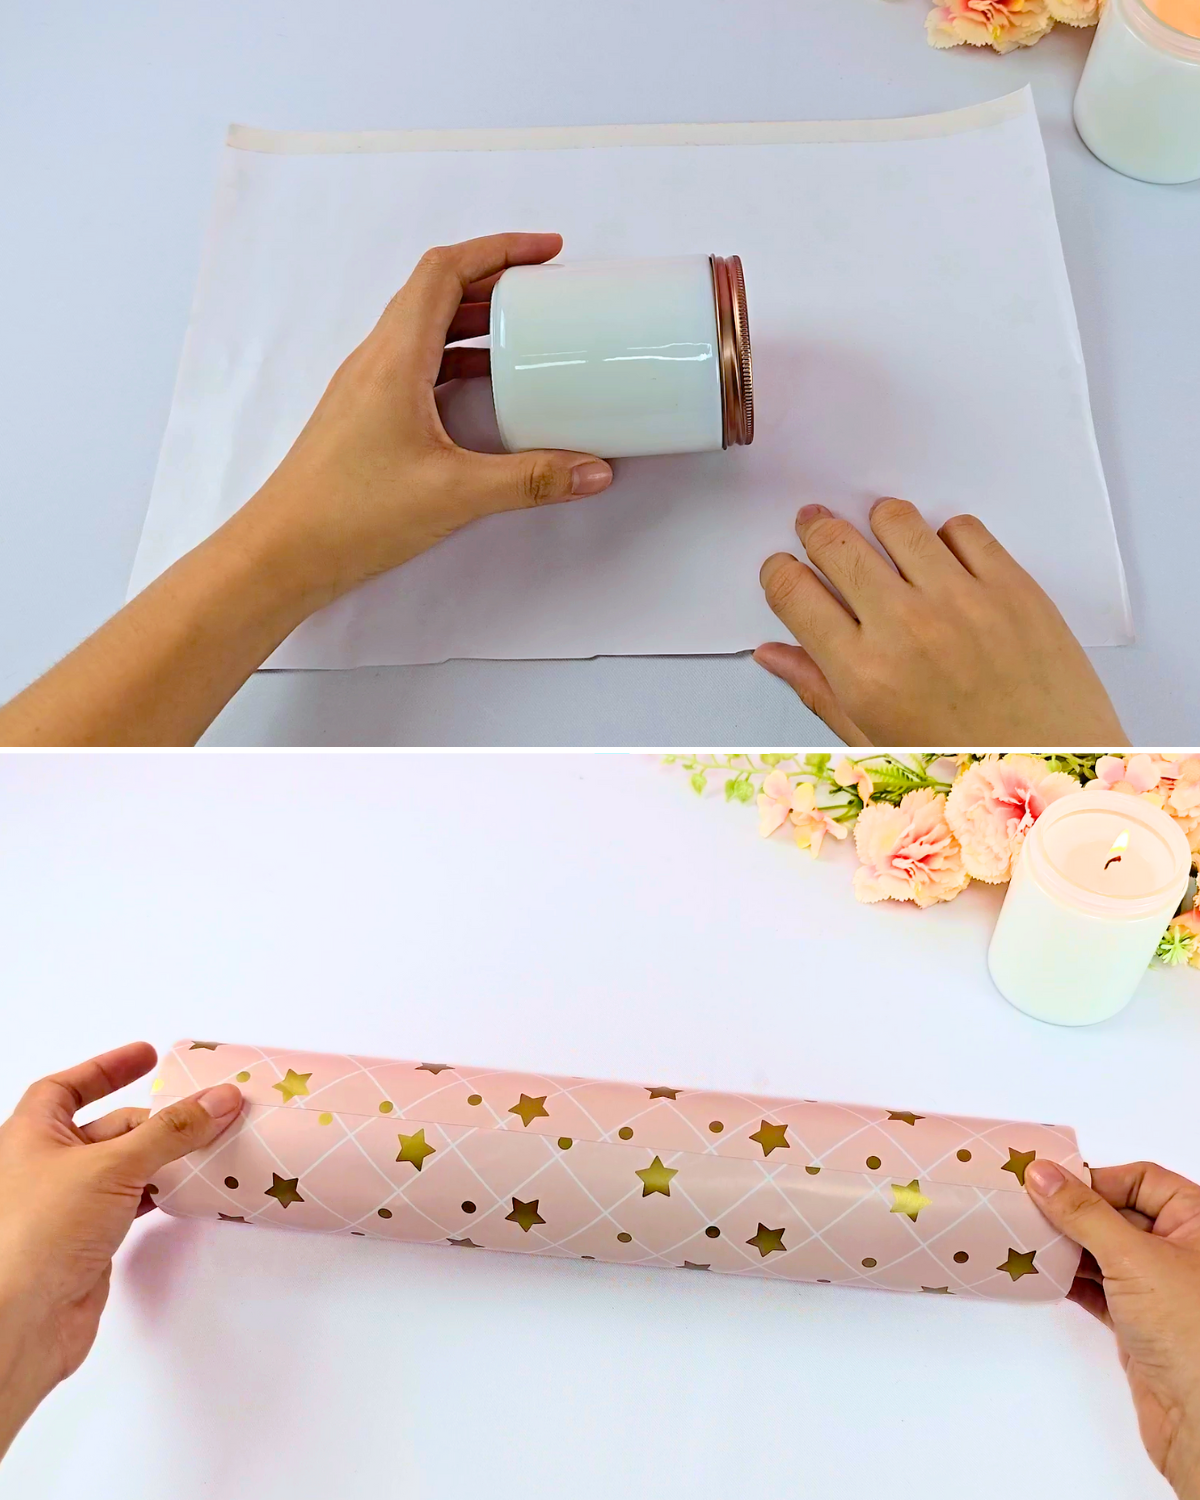
Peel off the backing from the double-sided tape, then place the candle jar in the center of the wrapping paper. Bring both ends of the paper together and press them onto the tape, securing neatly for a smooth seam.
Tip: Smooth out the paper as you press to avoid wrinkles and keep the wrap looking polished.Step 3: Fold the Top and Bottom Edges
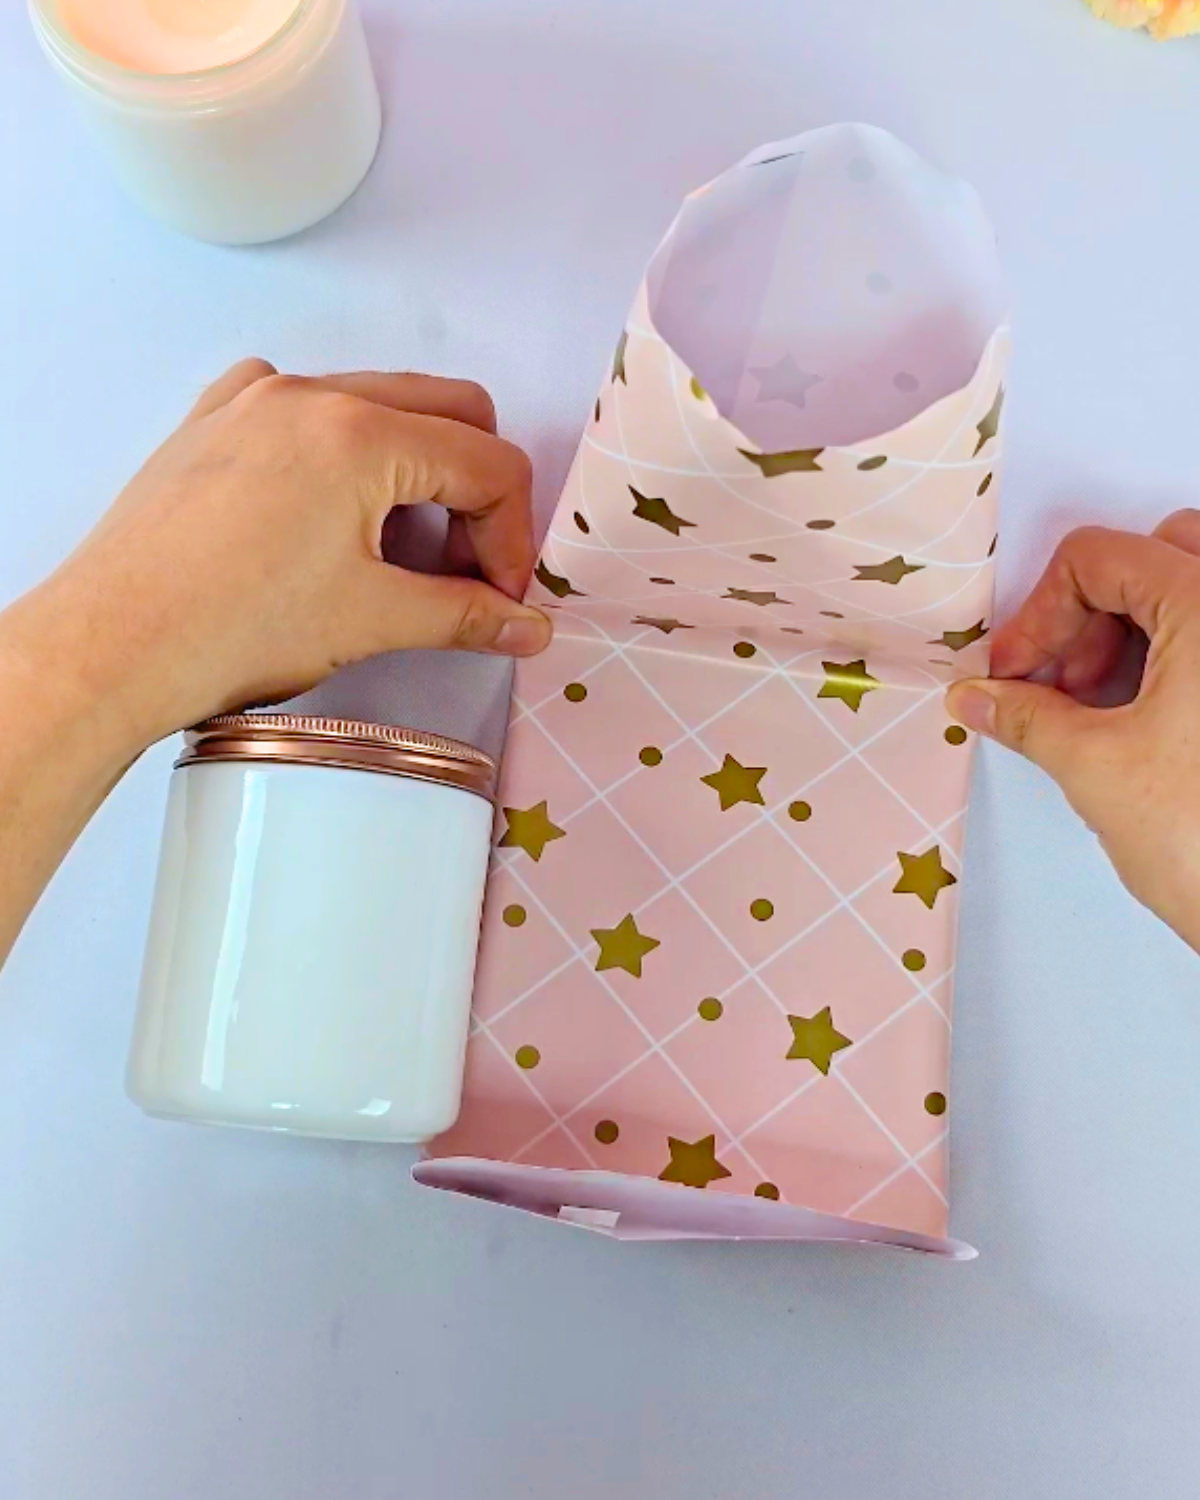
Gently slide the candle jar out of the wrapper and place it beside the paper. Use the jar as a guide to fold both the top and bottom edges. The bottom fold should cover a little more than half of the jar’s base, while the top fold should extend slightly above the jar’s height to leave a bit of headspace.Step 4: Cut the Folds
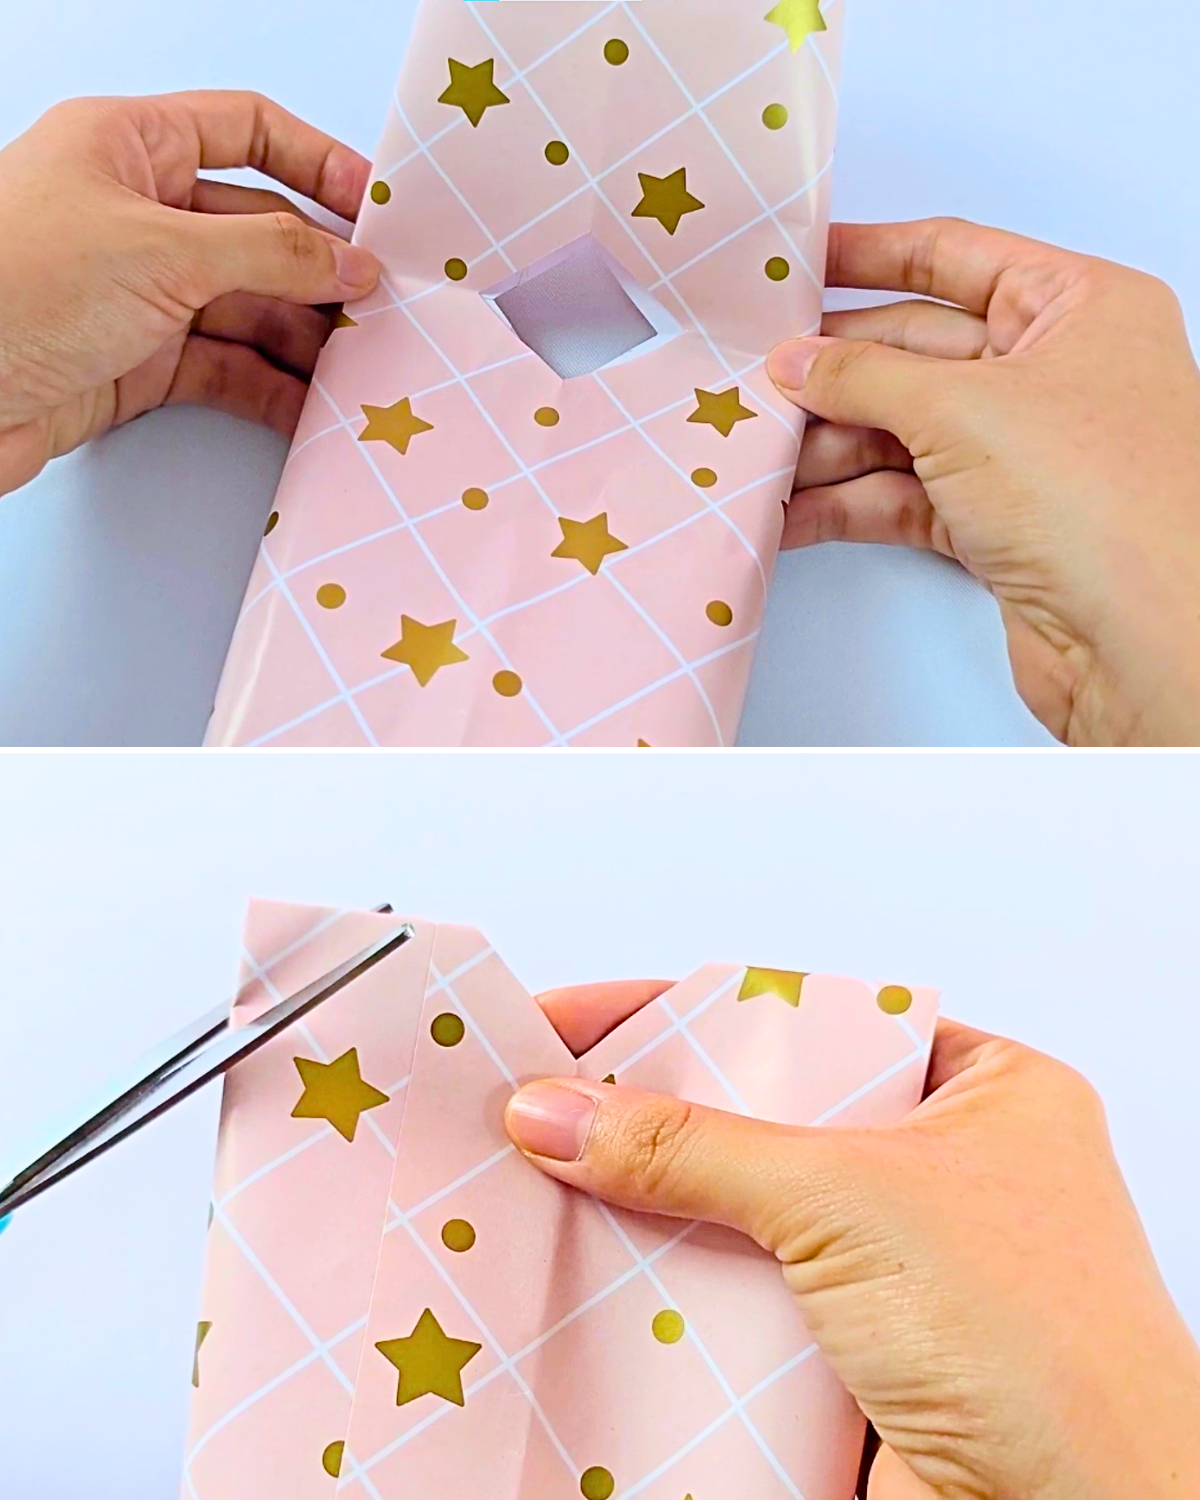
On the bottom fold, cut small slits evenly spaced along the edge—this will make it easier to fold the paper neatly under the jar. On the folded top, trim both sides at an angle.Step 5: Cutting Diamond Shapes
Unfold the top edge of the paper, then refold it so that the angled cuts you made earlier line up, forming a diamond shape. Fold the flap down again and repeat the process—cutting both sides at an angle once more—to create a second set of diamond shapes.Step 6: Secure the Bottom of the Candle
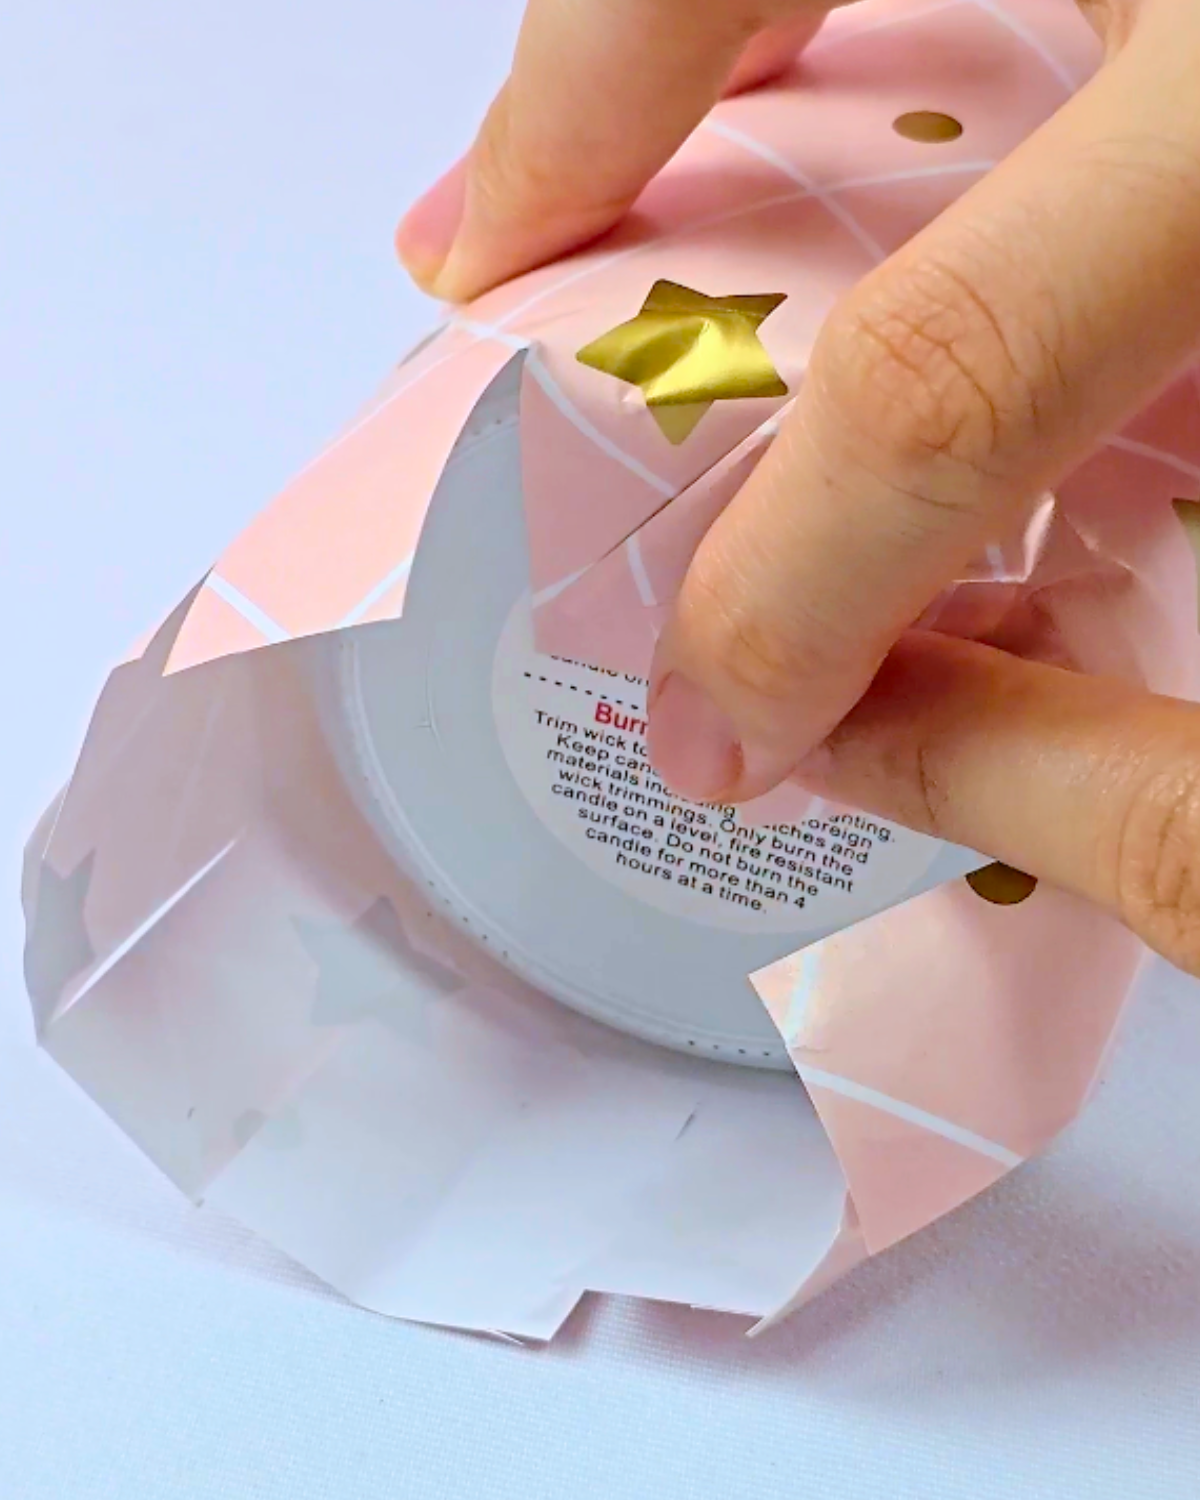
Place the candle jar back inside the wrapper. At the bottom, fold and gather the slit sections inward one by one until the paper lies flat against the base. Secure everything neatly with tape to hold it in place.Step 7: Finish the Top with a Ribbon Bow
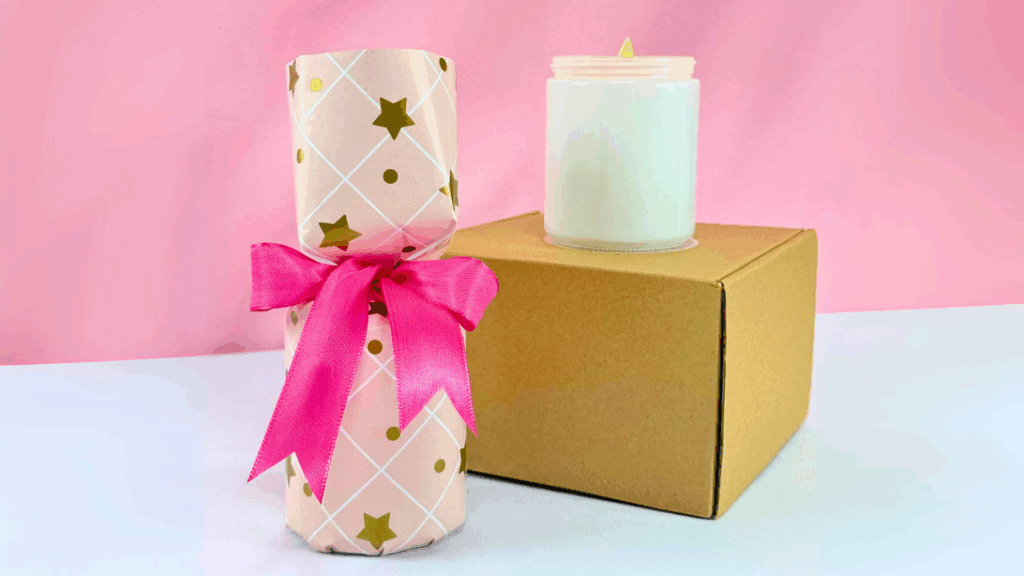
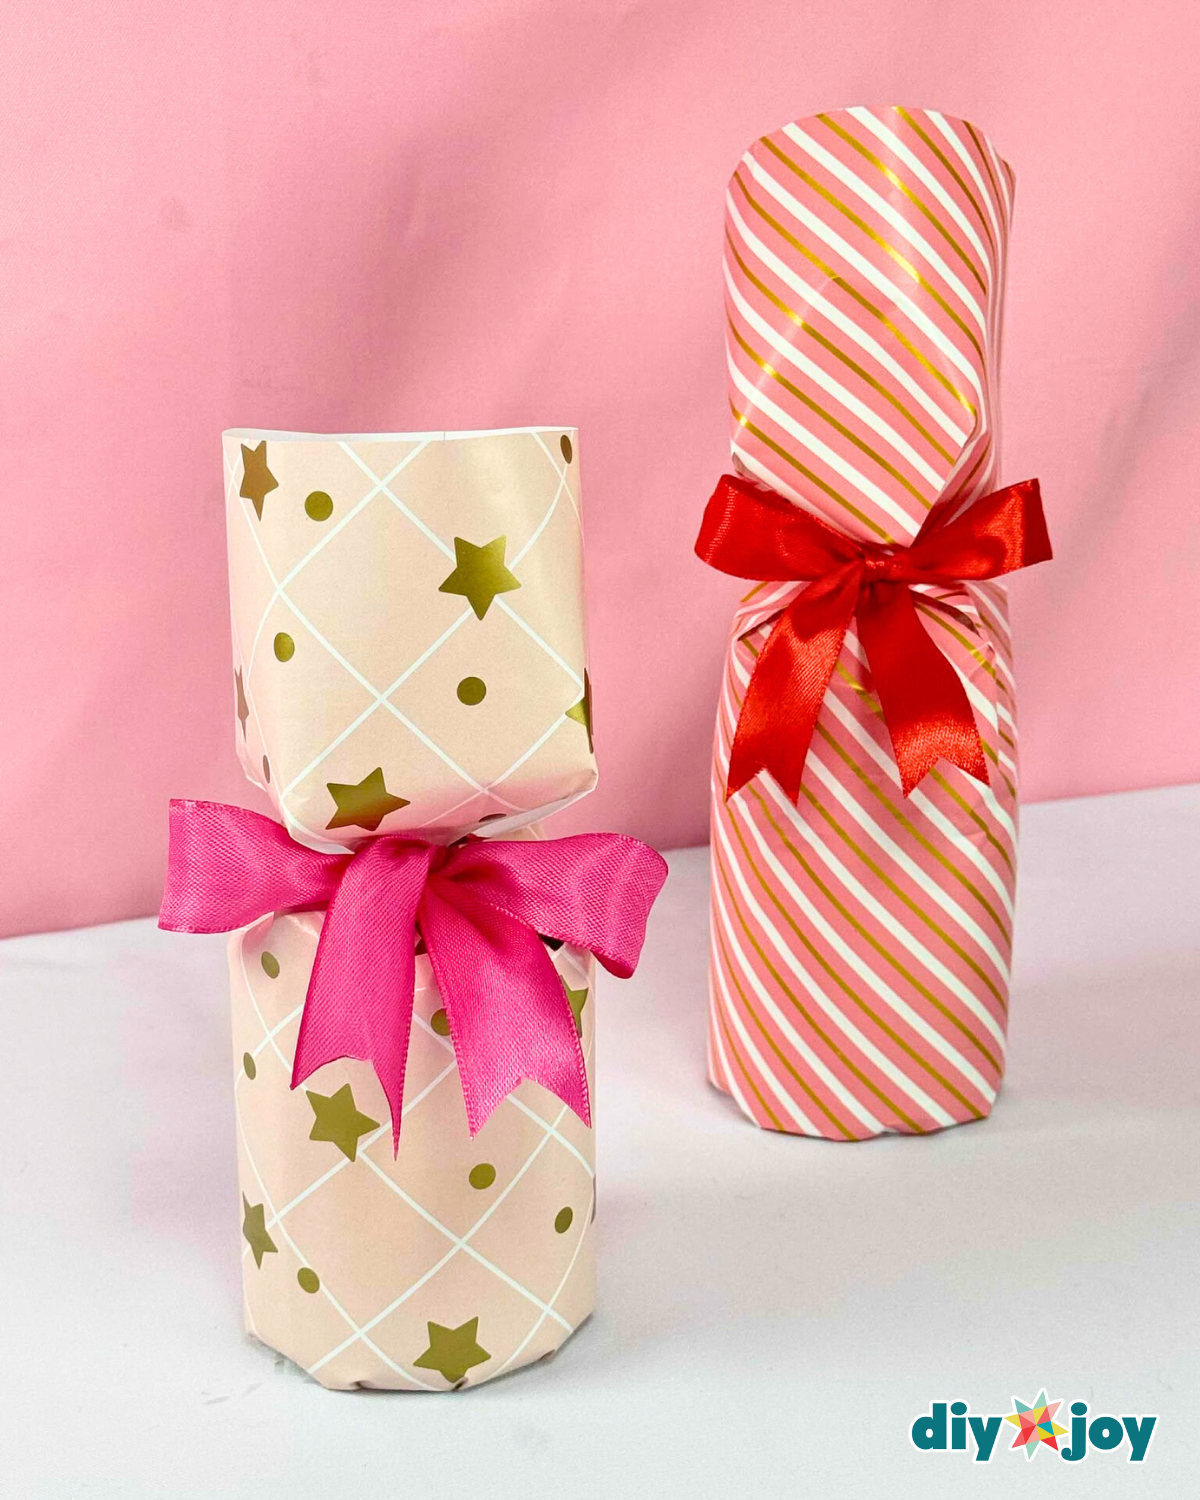
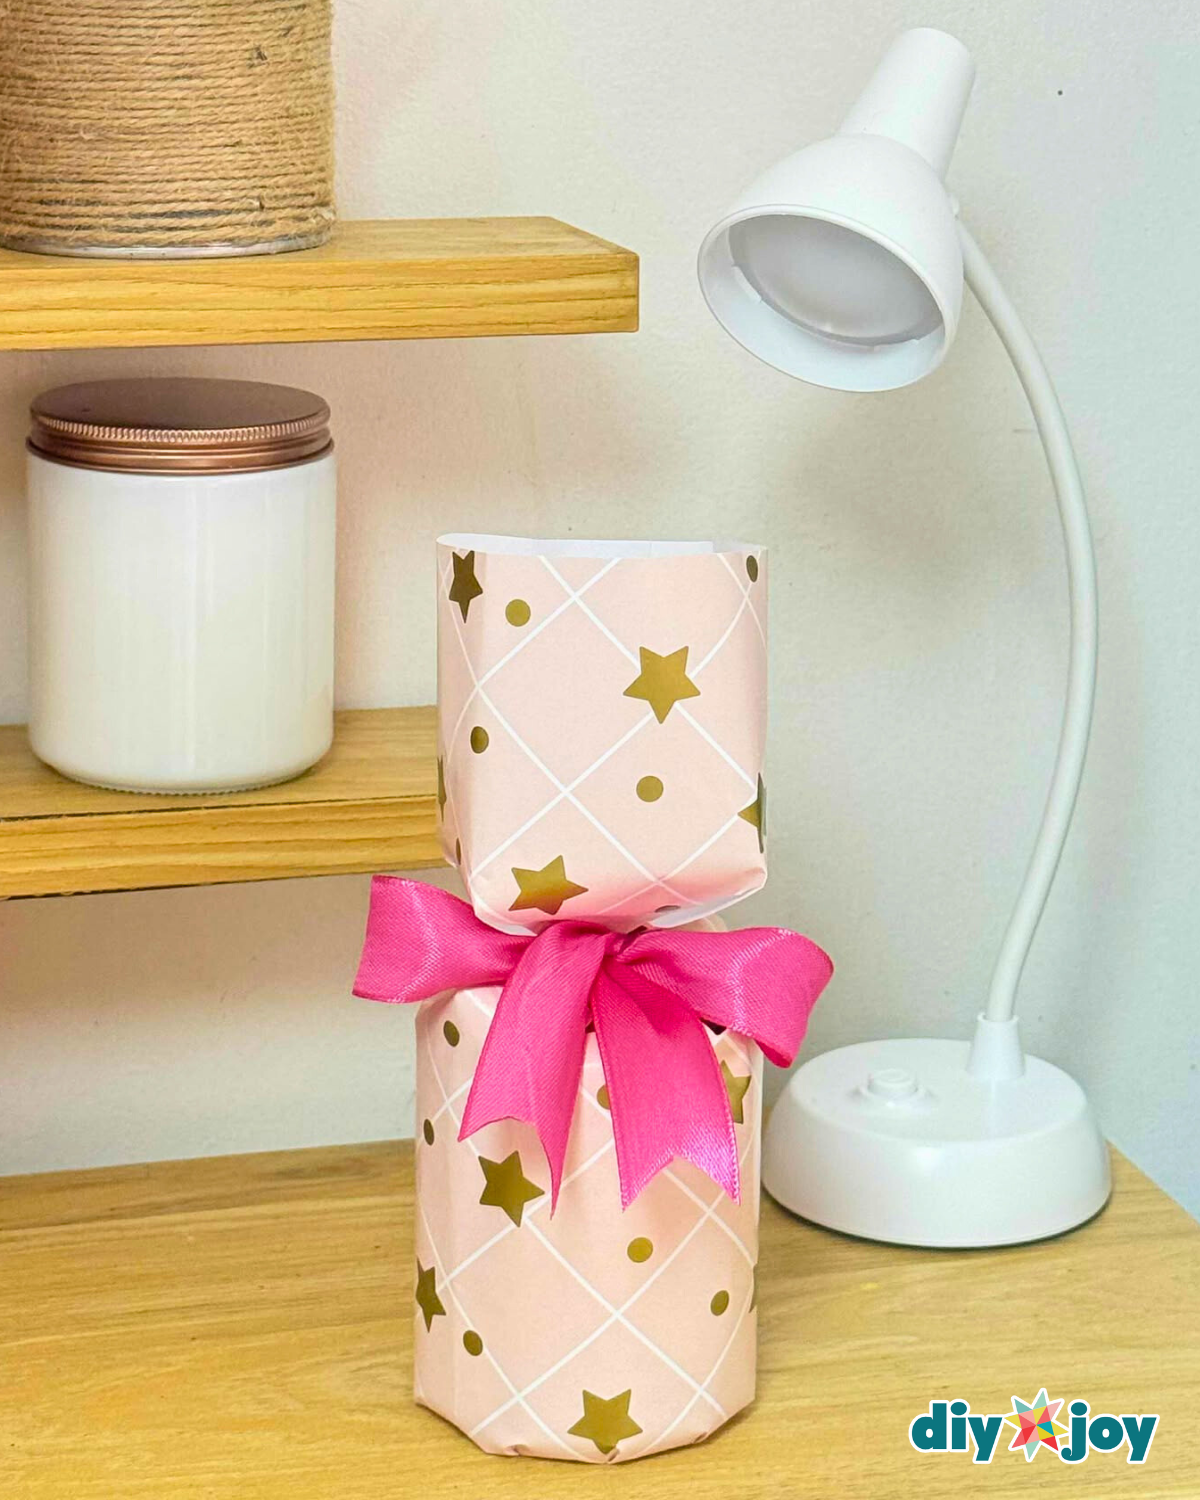
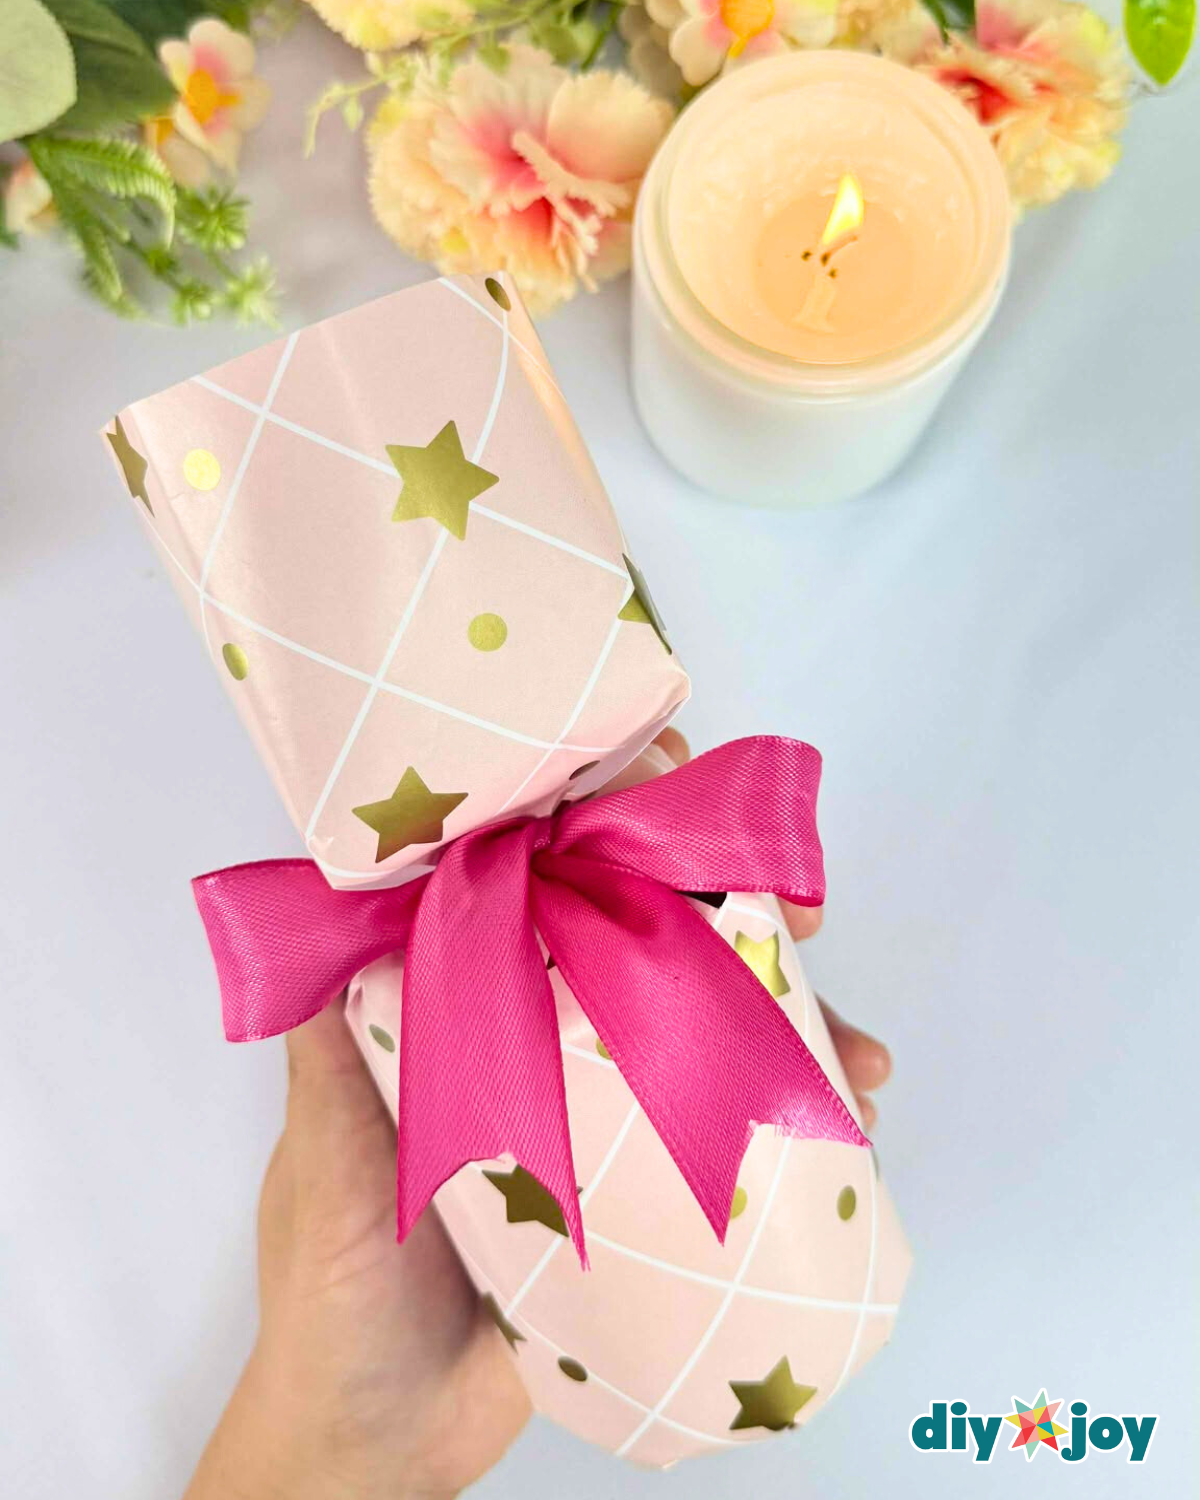
Gather the wrapper neatly at the top of the jar—the diamond-shaped cuts will make this step easier. Wrap a ribbon around the gathered paper and tie it into a neat bow. Trim the ribbon tails to your desired length, cutting the edges at an angle for a polished finish.


Materials
- Wrapping Paper
- Scissors
- Ruler
- Clear Tape
- Double-Sided Tape
- Ribbon
![]()
Pro Tip 💡
- Choose the right paper: Thicker wrapping paper holds folds better, while thinner paper is easier to gather at the top.
- Mind the measurements: Always cut the paper a little larger than needed—you can trim the excess, but you can’t add more once it’s short.
- Keep folds sharp: Use your fingernail or the edge of a ruler to crease folds cleanly for a more professional look.
- Secure with style: Instead of tape at the bottom, try using a round sticker or a wax seal for a decorative touch.
- Ribbon upgrades: Curl ribbon tails with scissors, layer two ribbons, or add a small ornament for a more festive finish.
More Craft Ideas You’ll Love

Paper Flowers

Crafts

Paper Flowers

Crafts
*If you love this craft, then visit our official website, follow our Facebook page, and subscribe to our YouTube channel for more!
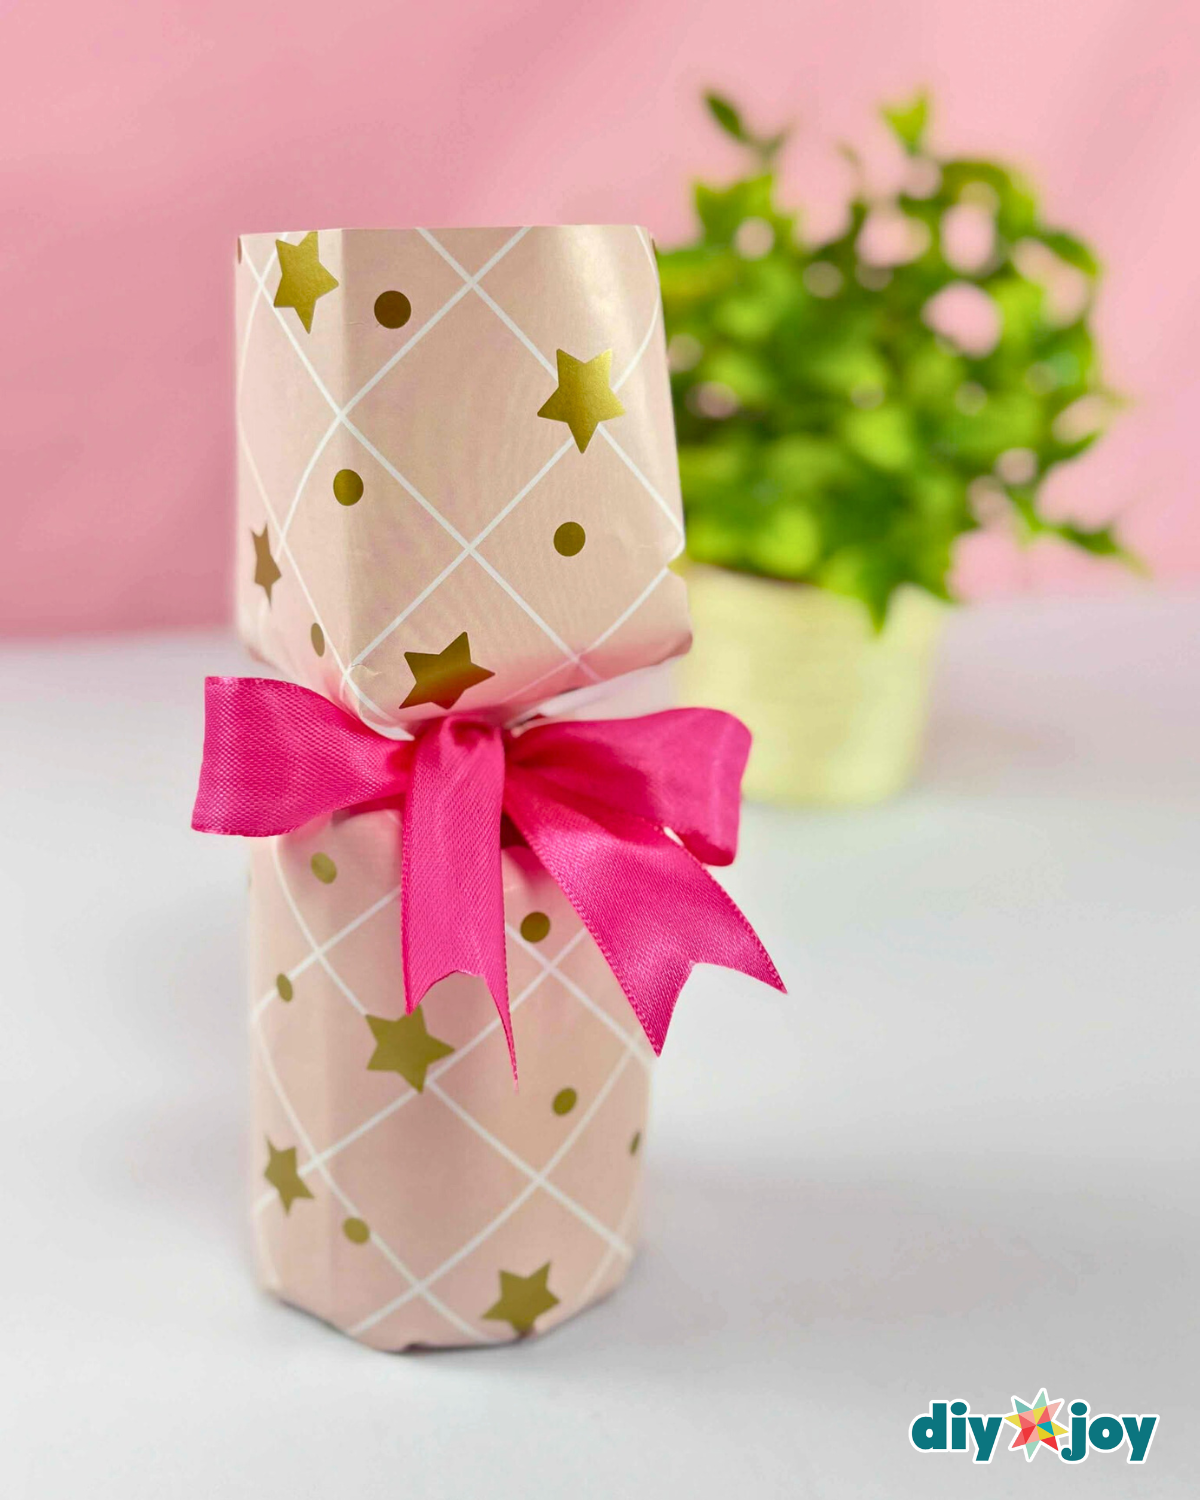
Easy Candle Jar Gift Wrapping Hack