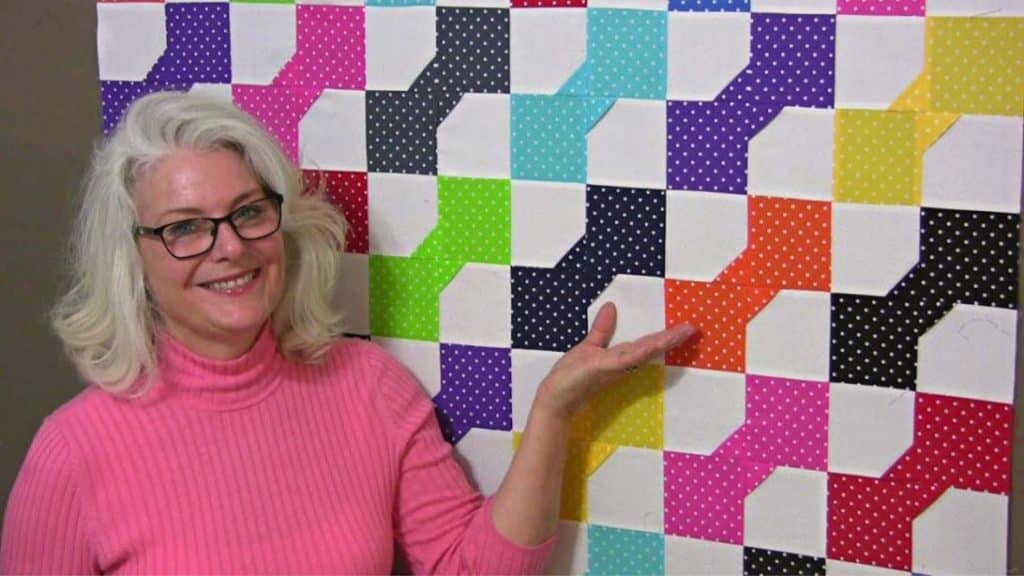
I always thought that making a bow quilt was difficult especially when I was still a beginner, but when I saw this video tutorial by SewVeryEasy on YouTube, I realized how easy and quick it actually is to make, all you need is the right technique and method. That’s why I’m sharing this with you so that you can try it out, too. I hope you do find this tutorial as helpful as I did, enjoy quilting!
Materials:
- 11 different colors
- 1½ yards of background fabric, the excess will be used for border
- Crib size batting
- Backing fabric to match
- Scissors or rotary cutter and a cutting mat
- Fabric pins or clips
- Needle and thread
- Sewing machine
Directions:
Step 1
Cut the fabric pieces into small and large squares, then fold the small squares into triangles, and pile them according to their matching colors and shapes. Now, take one colored square, then place the triangle on top of one corner, and gently place the background fabric matching the edges nicely. Sew them together down one side, then without cutting off the thread, continue sewing the rest of the pieces repeating the same steps, and once done, snip the thread between the blocks nicely.
[social_warfare]
Step 2
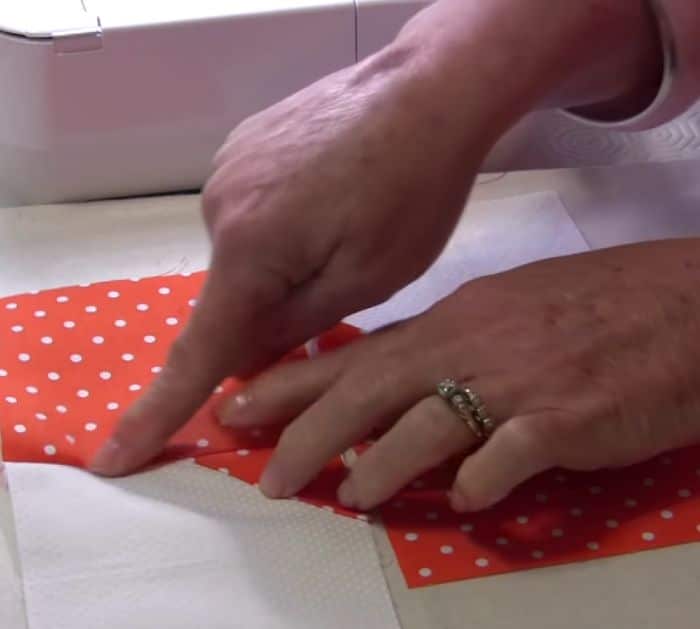
Keep them in order and make a stack, then take 2 units from the block, open them up, and move the triangle towards the background fabric side finger pressing them at the same time. Next, lay them on top of each other with the colored and background fabric side opposite from each other, then make sure that their right sides are facing and their edges match and then match the center seams before adding a pin to hold them in place.

Step 3
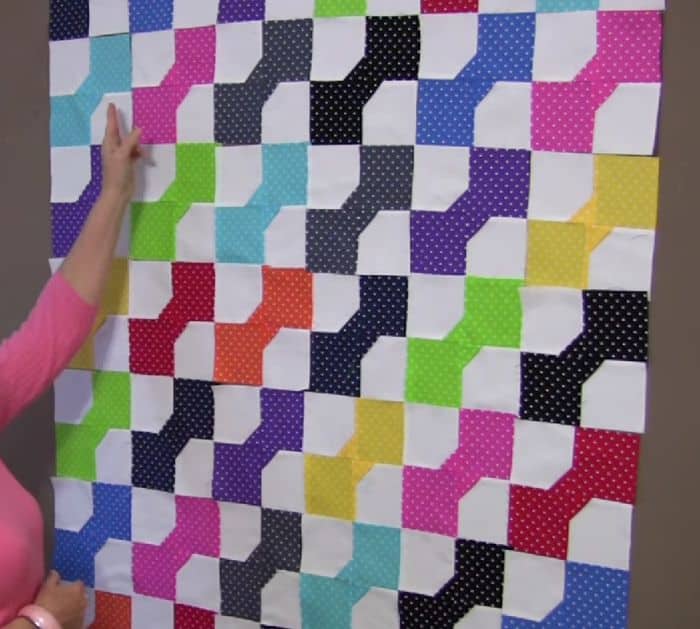
With one triangle on each side, sew them together straight on the longer side where the triangles are positioned, then repeat the steps with the rest of the pieces, and open the blocks. Press lightly and flatten the seams going towards the white side, then open the seam at the center, and start assembling the blocks together with 6 across and 7 downward. Choose whatever layout you want as shown in the video and finish your quilt however you want.

*These amazing images are all credited to SewVeryEasy via YouTube. Check her other content and follow for more!


