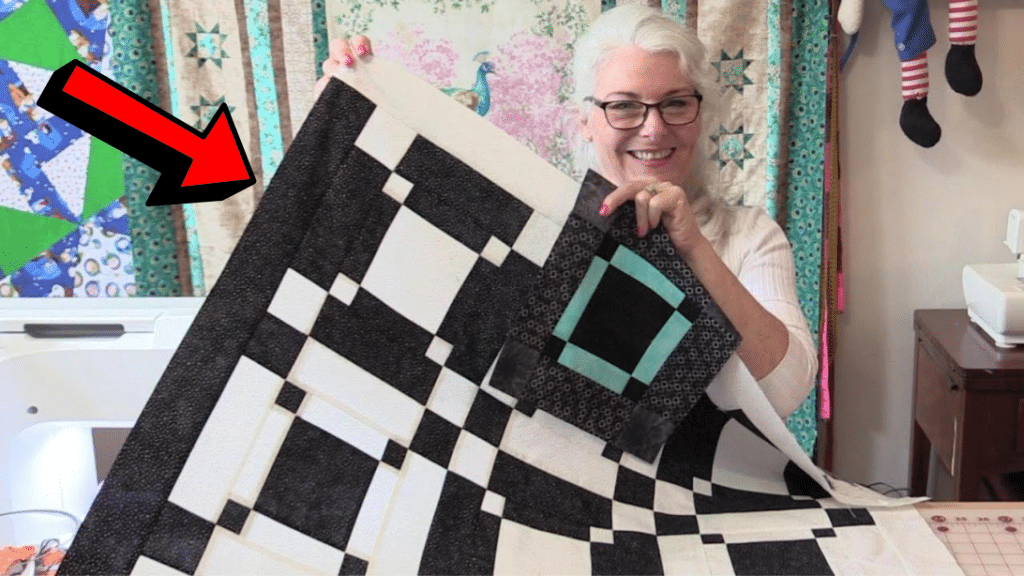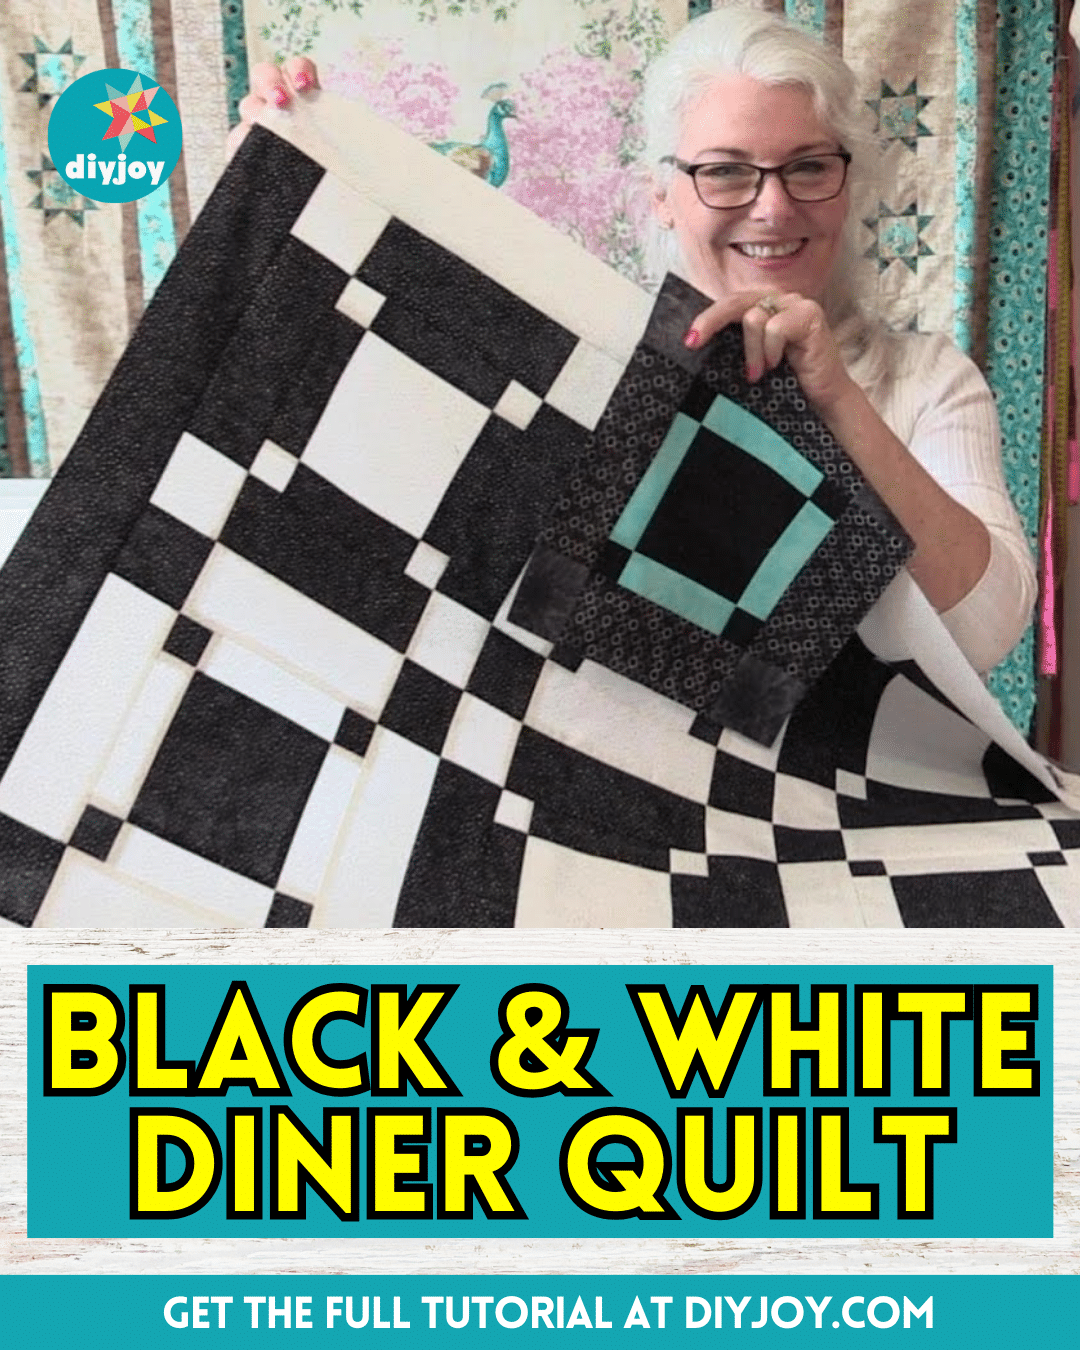
I’ve always been drawn to two-colored quilts and out of all the quilt projects I’ve done before, most of them always use only two colors of fabric, but I still enjoy making colorful ones because they are equally fun to make.
RELATED: Vintage Road to Oklahoma Quilt Block Tutorial (with Free Pattern)
If you are a beginner quilter or you’re simply looking for a quilt that has a simple and neat pattern, then this project by SewVeryEasy on YouTube is perfect for you! Watch the video tutorial now to learn how and then give it a try.
Materials for Black and White Diner Quilt:
- Plain black fabric
- Print blue fabric
- Print black fabric
- Matching print black fabric
*you could also just use black and white fabric for this project
- Marking pen, pencil, or chalk
- Ruler
- Scissors or rotary cutter and a cutting mat
- Needle and thread
- Iron, for pressing
- Sewing machine
Fabric cut measurements:
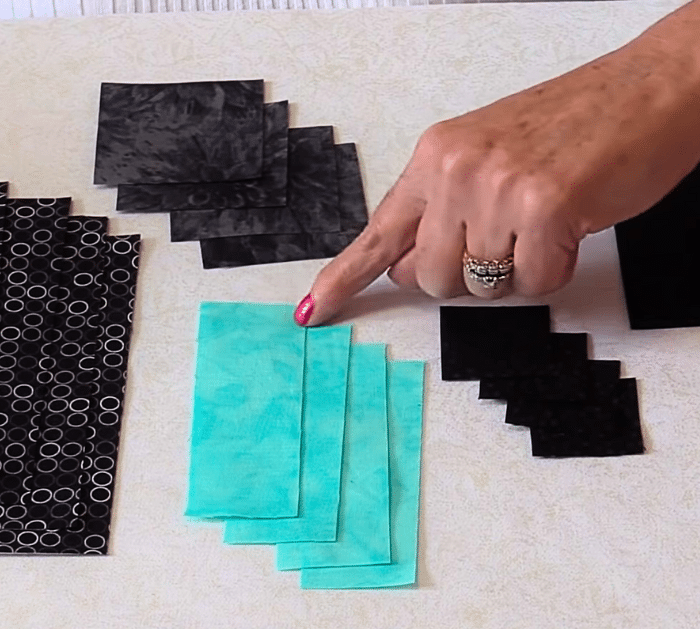
Plain black fabric
- (1) 4½” square
- (4) 1½” square, cornerstone
Print blue fabric:
- (4) 1½” x 4½”
Print black fabric:
- (4) 2½” square, cornerstone
Matching print black fabric:
- (4) 2½” x 6½”
How to Make a Black and White Diner Quilt:

Step 1
Take the blue strips and the largest plain black square, then lay them on your work surface with the black square at the center and the blue strips at the top and bottom. Stitch them together and press the seams outward, then lay the other blue strip vertically, and place a small black square at the top and bottom.
Step 2
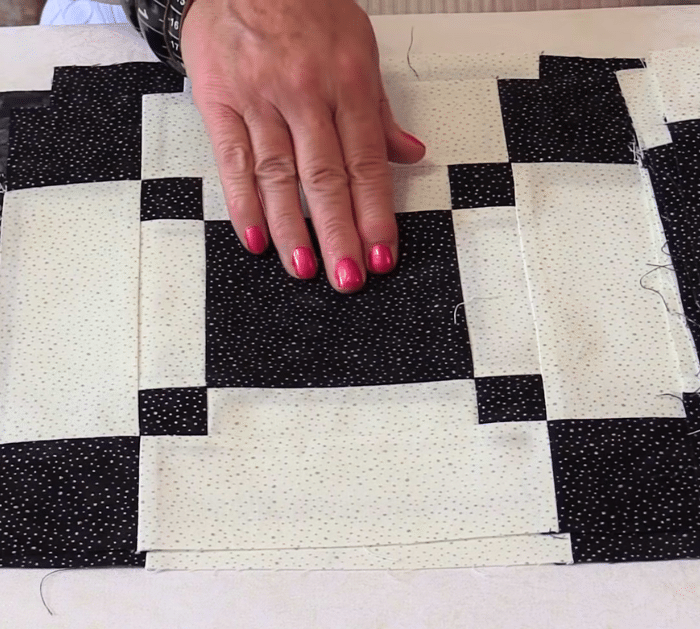
Stitch them together, then make another identical piece, and stitch them to each side of the center block. Make sure to press them nicely, then place a large print strip at the top and bottom, stitch them, and press the seams.
Step 3
Place the remaining large print strips on each side, then fill the empty corners with the print squares, and stitch them into strip units. Stitch the strip units to each side of the block, then give them a good press, and you’re done! You can now make more blocks, then piece them together, and finish your quilt however you want.

*All image credit belongs to SewVeryEasy via YouTube. Follow and subscribe to her channel for more!


