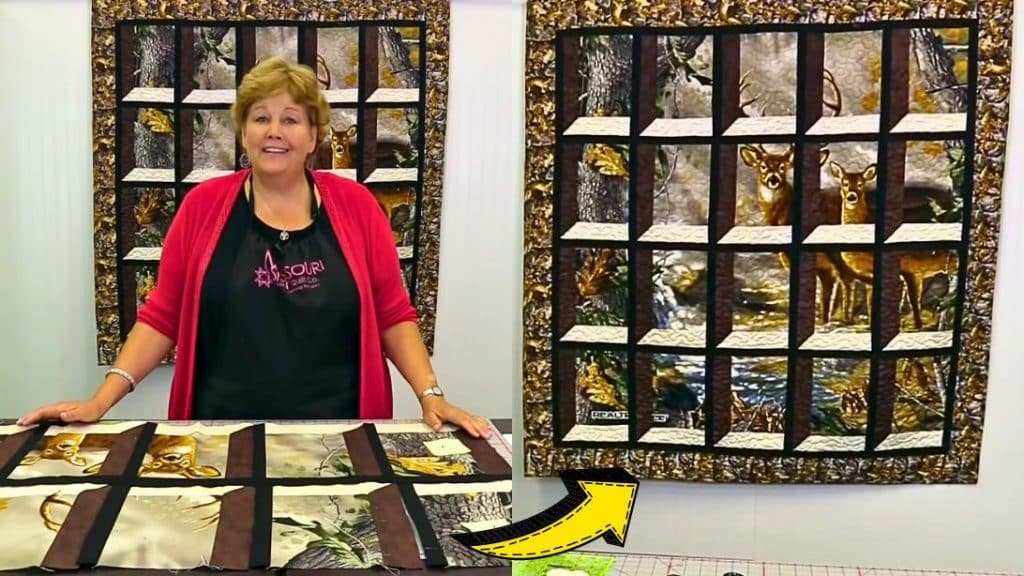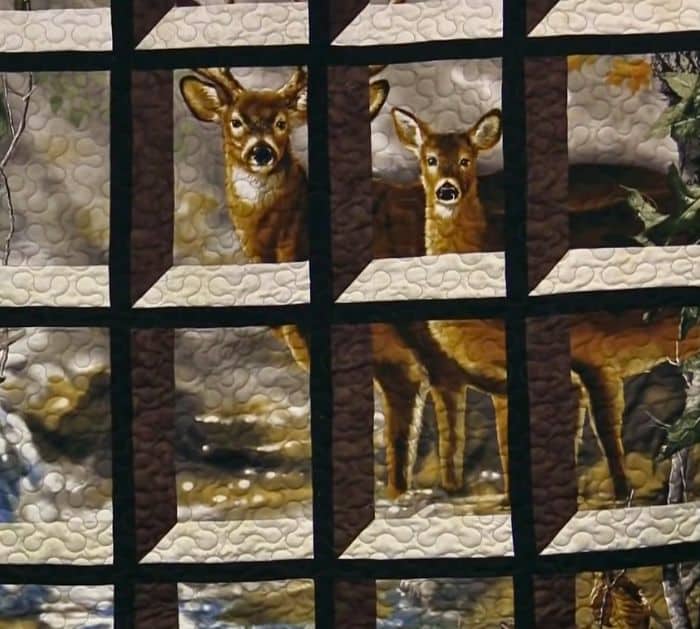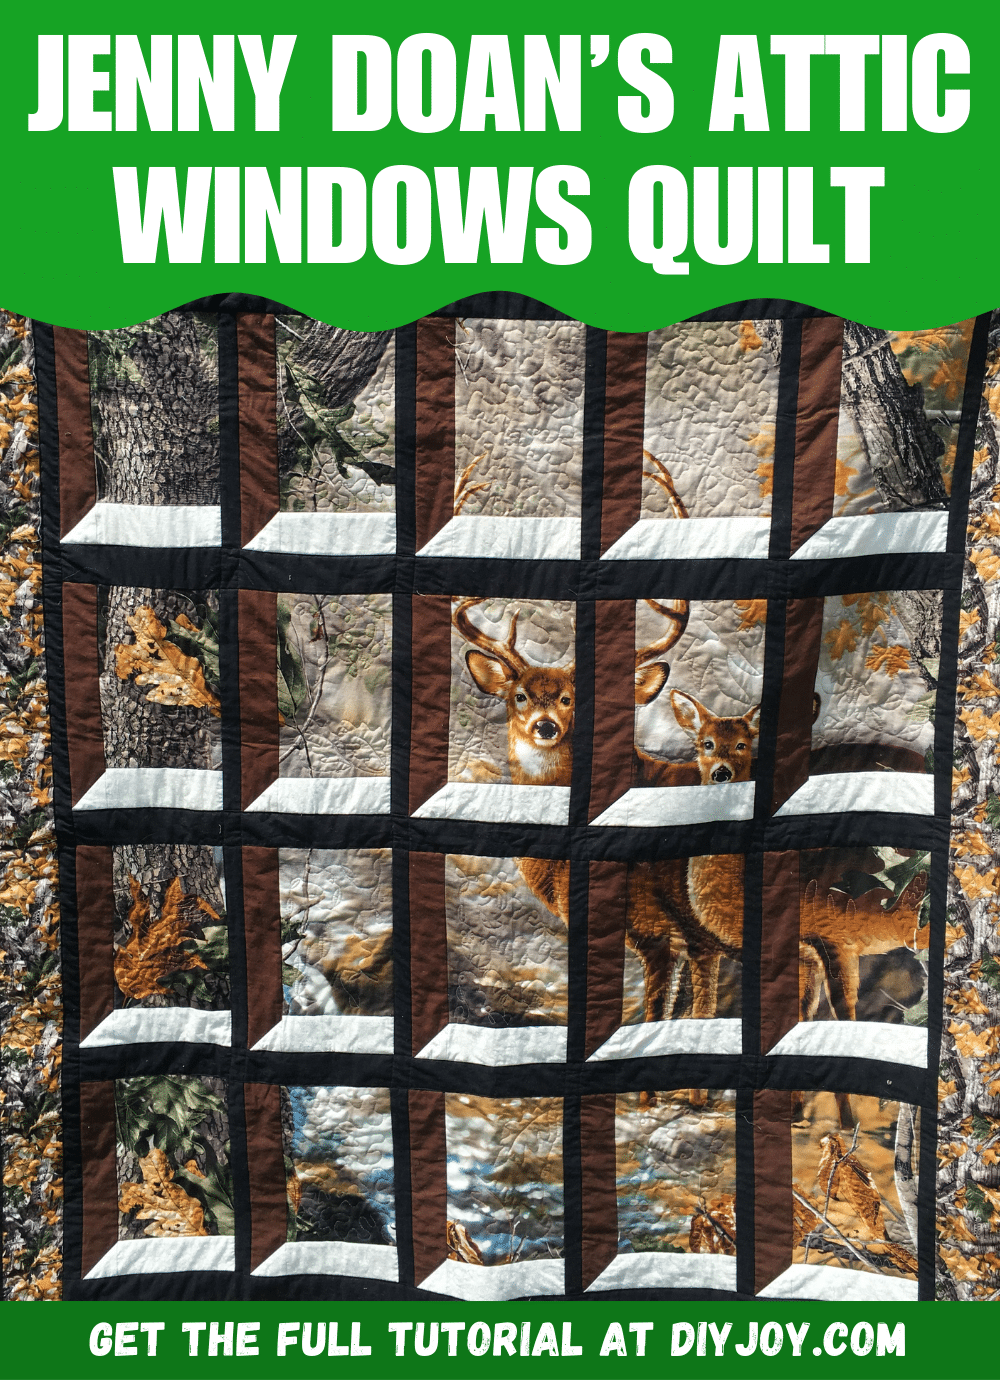
Panel quilts are one of the easiest and simplest projects that you can try, especially if you’re a beginner. This is also pretty fun to make and you can also use any panel fabric that you want once you’ve learned this technique. Learn how now with this video tutorial by Jenny Doan via Missouri Star on YouTube.
Materials:
- 1 fabric panel
- ½ yard of light window fabric
- ¾ yard of dark window fabric
- ¾ yard of black fabric, for the sashing and inner border
- ¾ yard of fabric, for the outer border
- Marking pen, pencil, or chalk
- Needle and thread
- Fabric pins
- Sewing machine
Directions:
Step 1
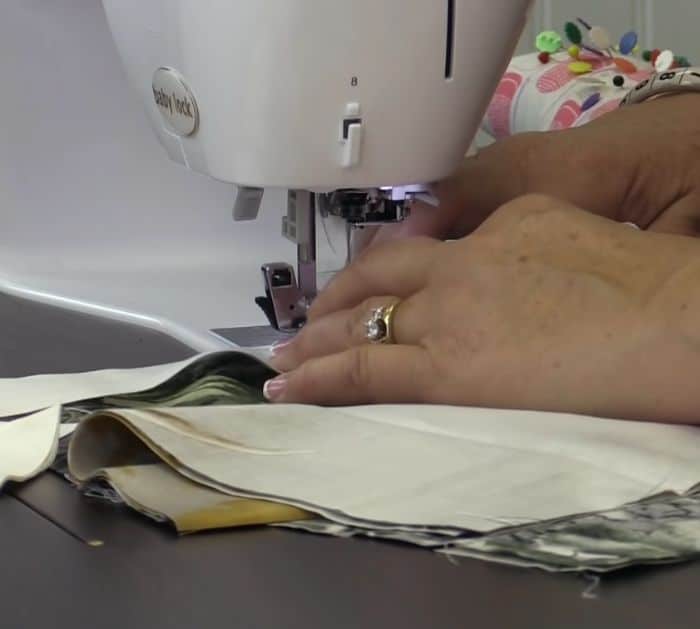
Cut the selvage parts of the panel, then cut the panel to size, and label each row. Stack 2 rows together with their edges even, then cut each row as shown in the video, and stack the cut pieces of the rows on top of each other. Pin the row pieces together and set them aside, then repeat with the rest of the rows, and cut the fabric to size. Cut the solid white strip, then sew them to each short side of the panel, and press them open.

[social_warfare]
Step 2
Cut the darker side pieces, then sew a small white square to one side of the strip diagonally from corner to corner, and press it open before trimming off the excess. Sew the pieced strip to the long side of the panel, then press it open, and then sew the sashing to the other long side. Trim off the excess fabric, then press it open, and lay out the rows together. Start sewing the blocks per row, then sew the rows to each other, and make sure to press them open every now and then. Finish your quilt by adding the border and binding, and quilt however you want.

*All image credit belongs to Missouri Star via YouTube. Follow and subscribe to her channel for more!


