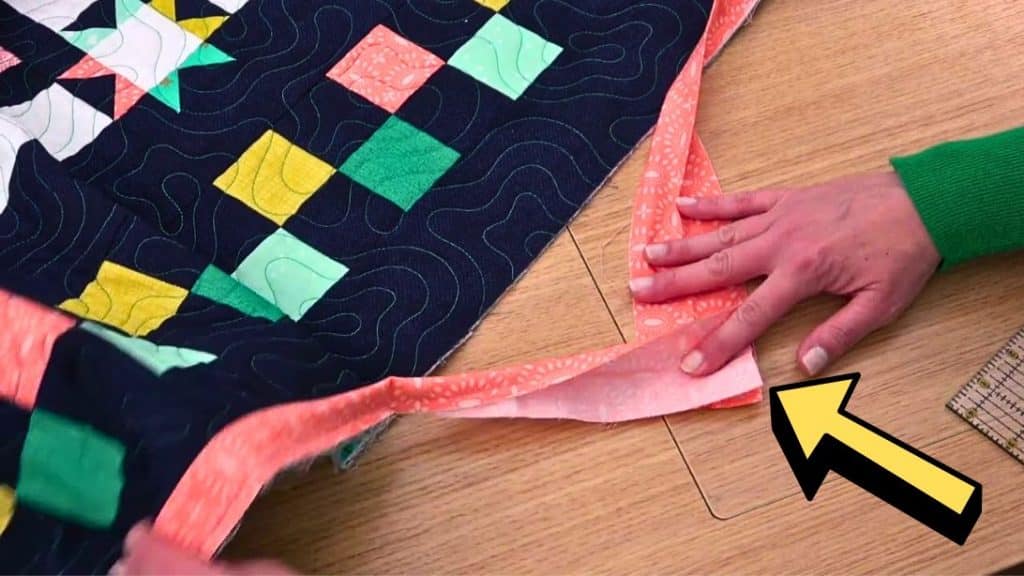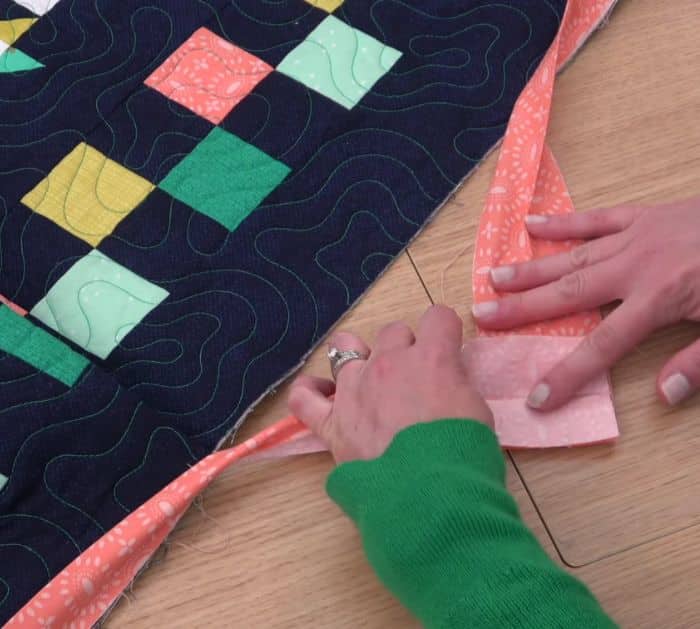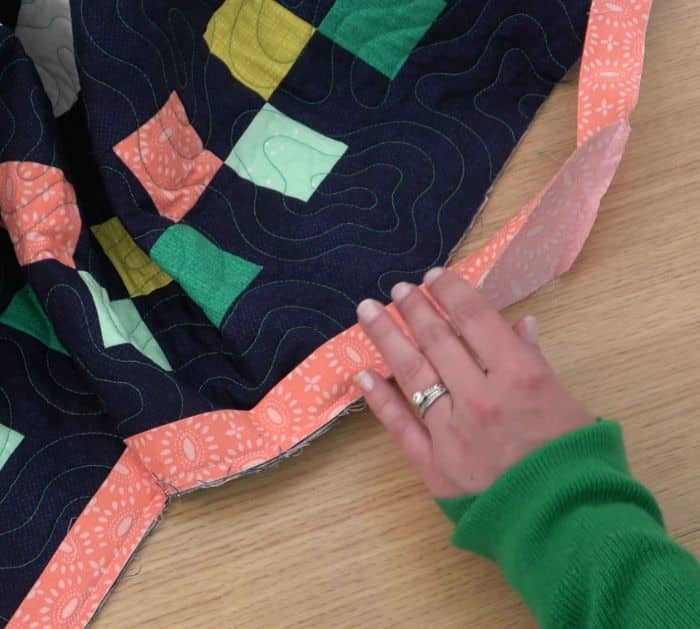
This simple technique by American Patchwork & Quilting on YouTube will show you an easier and more efficient way of joining the ends of your binding fabric when you’re making your quilt. This method showcases a more neat finish and reduces the bulk as well, plus, the instructions are pretty easy to follow, too. Watch the video tutorial now and read the instructions as well to see for yourself.
Materials:
- Needle and thread
- Ruler
- Marking pen or pencil
- Scissors or rotary cutter and a cutting mat
- Iron, for pressing
- Sewing machine
Directions:
Step 1
After sewing the binding almost all the way around your quilt, leave a good amount of binding unsewn or remove some stitches to give yourself a little more slack. Overlap the two ends of the binding strip, then measure, and mark an overlap the same length as the width of your binding strip, so if you have a 2½ inches wide strip, then you’ll also have to cut the excess binding leaving only about 2½ inches long.
[social_warfare]
Step 2
Make sure to pull the fabric tighter when measuring, then unfold the binding, and bring it towards you with its right side facing up. Next, grab and unfold the other end of the binding strip, then pull it towards you with its right side facing down, and match its edges nicely as shown in the video.

Step 3
Place a small ruler above the binding, then mark it at a 45-degree angle, and pin them in place. Sew over the drawn line, then remove the pin, and cut off the excess fabric ¼ inch away from the seam. Press the seams open and flat, then fold the binding again to its original fold, and line it up on the edge of your quilt as you did earlier. Complete stitching the binding to your quilt and you’re done!

*These amazing images are all credited to American Patchwork & Quilting via YouTube. Check her other content and follow for more!


