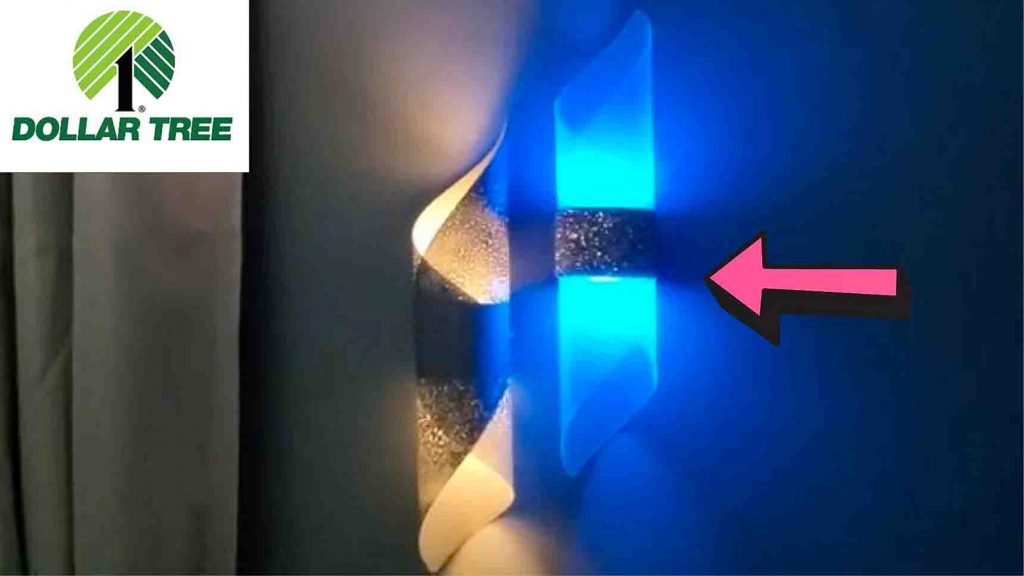
I always love DIY things, especially if it’s something related to elevating the overall vibe of your place. I especially love DIY wall lights, and recently, I found the easiest DIY wall light I can do! It’s from Budget Friendly Creations on Youtube. Can you believe you can use chopping mats to make something amazing, like these wall lights? I made these with my friends the other day, and the result just blew our minds. It’s so pretty; we immediately put them up! The materials are also easily available in Dollar Tree, so it’s also pretty inexpensive to make. Make these wall lights today by watching the video tutorial below for the step-by-step instructions. All thanks to Budget Friendly Creations for creating this wonderful tutorial!
Materials:
- two chopping mats
- rechargeable push lights
- rhinestone ribbon
- silver hammered spray paint
- tape roll
- velcro (or command strips)
Directions:
Step 1
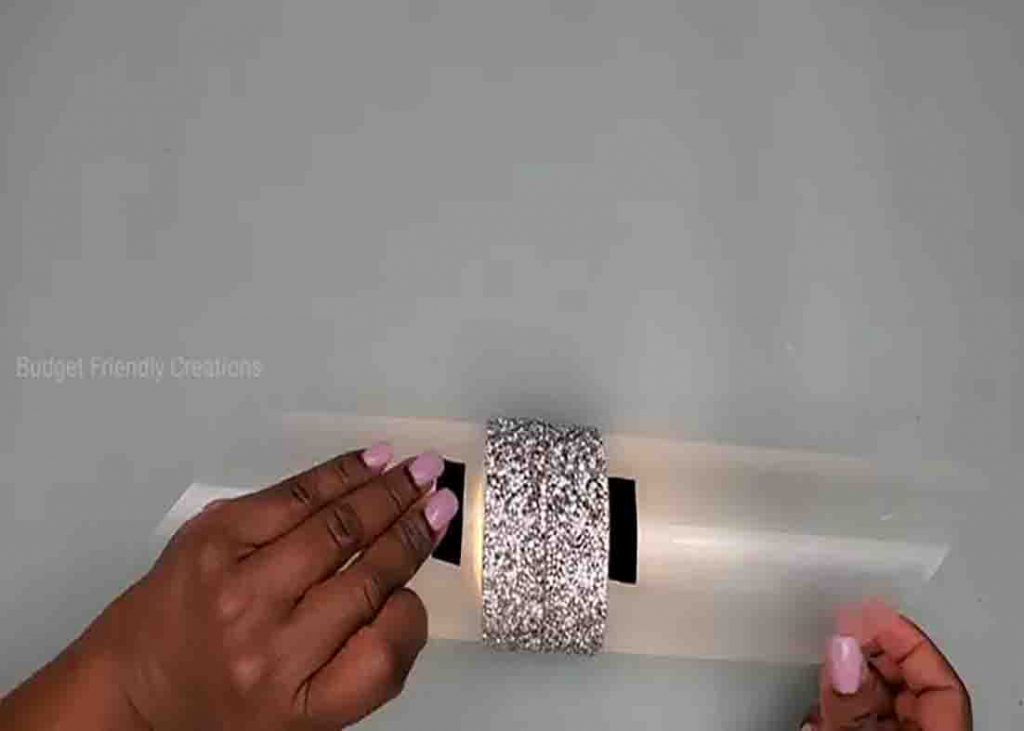
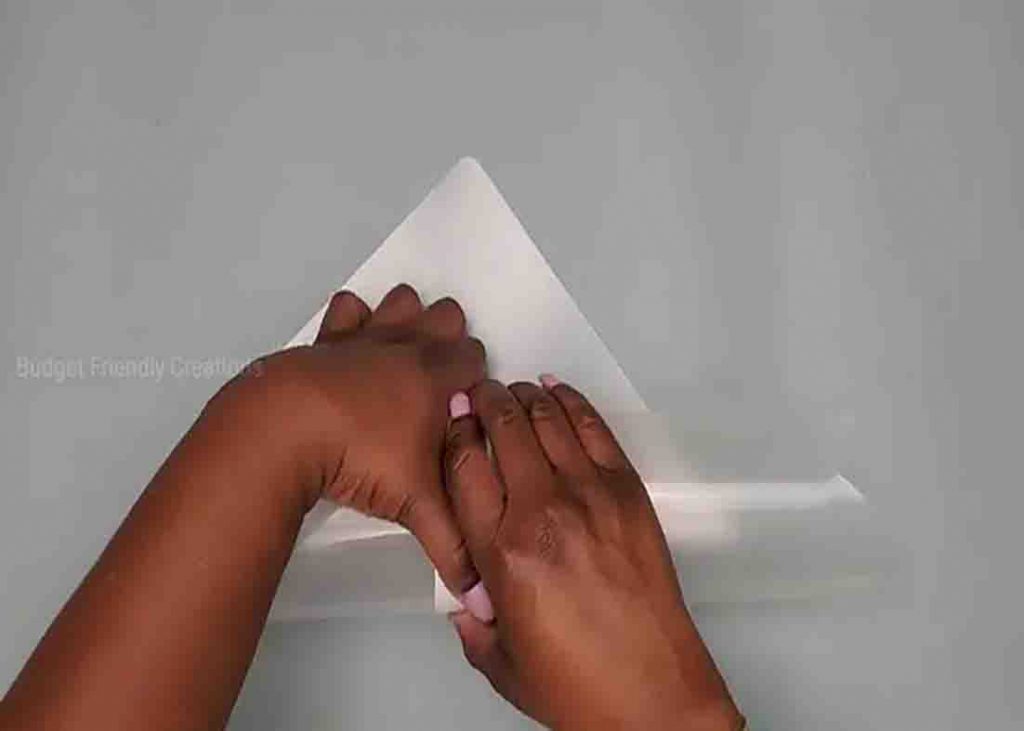
To start, spray paint one of your chopping mats with hammered silver color. Set aside. Next, roll the other chopping mat in a tape roll tightly, then secure it with scotch tape. After taping it, remove the tape roll, then insert the rechargeable push light. Secure by taping it in place. Once the lights are secured, start decorating the wall light with some rhinestone ribbon or anything you like, totally up to you (be creative!)
[social_warfare]
Step 2
Once you are satisfied with the design, go ahead and work on the other chopping mat that you spray-painted by repeating the same process. After you’re done with everything, cut some velcro strips and attach them to the back of the wall lights, then put them in your desired place. Your DIY wall lights are now finished!
