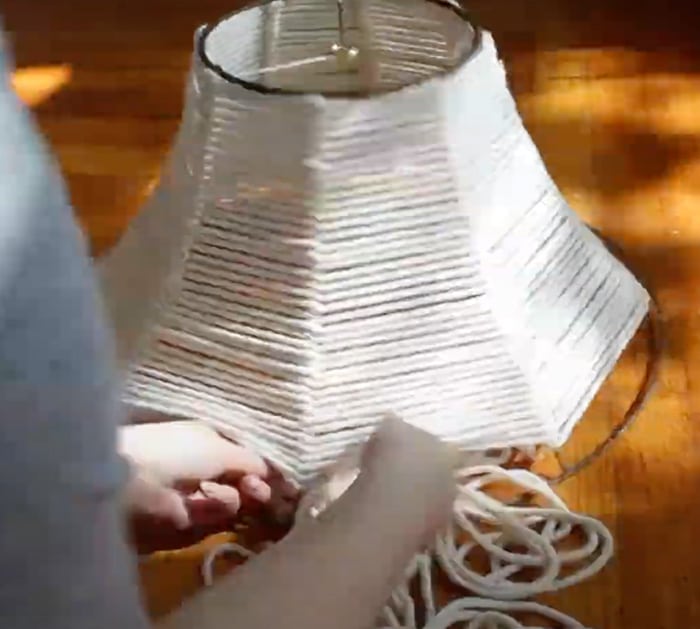
A few weeks ago, I purchased a pair of lovely lamps sans shades from my preferred local retailer. I discovered A Butterfly House on Youtube and followed the tutorial. With a little tweaking, I was able to find ones that were just the right size and shape to match my new lamps. I spent many hours and 400 yards of cord making new lampshades.
Materials:
- Lamp
- wire
- fabric
- cords
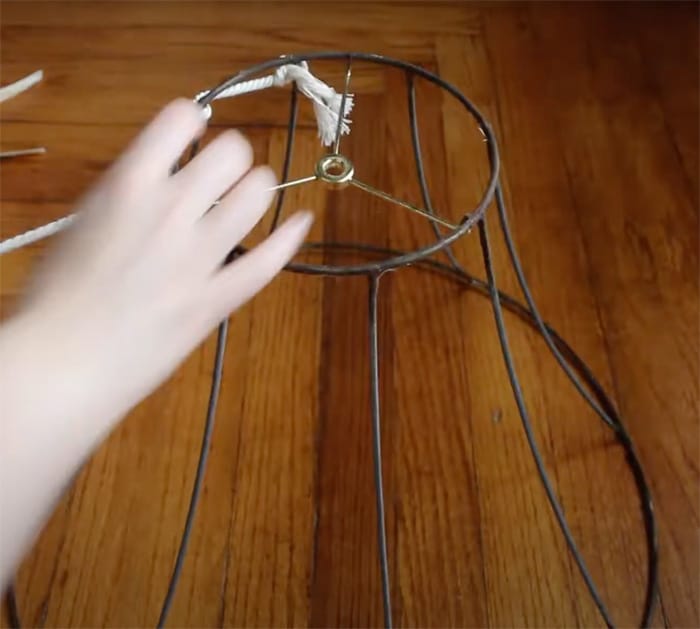
Step 1: First, remove the cloth off the lampshade by cutting and shredding it. The cord should next be tied to the top of one of the vertical wires and secured. Wrap the string around the lampshade and then you’re done.

Wrap the cable around the vertical wire once every time you reach for it. Then continue on. Estimate how much more stirring you will need when you get to the bottom of the shade, and then cut that much cord. Overestimate your supplies so that you won’t run out in the middle of a project. Make a simple knot with the string and re-tie it after you’ve reached the bottom of the shade. Next, work on the horizontal pieces, making a slipknot on either the top wire or the top cord for each piece. The ends of the lampshade should be tucked into the middle of the shade and brought back to the front about two-thirds of the way through. Then, tie each rope in a simple knot at the shade’s bottom.
Step 2: For each segment, put six cords on the top wire section and five cords on the top corded portion. What matters most is that you tie the bottom knots exactly the same way every time. Make certain you have a few extra inches of cord to serve as fringe. That will be removed in the following phase.

Step 3: Once you’ve decided on a fringe length, trim all the pieces to the same length. Cut your hair like you would if you were at a salon having it done by a professional. Once the trim has been cut, unravel the ends for a softer appearance before attaching the shade to the lamp.


