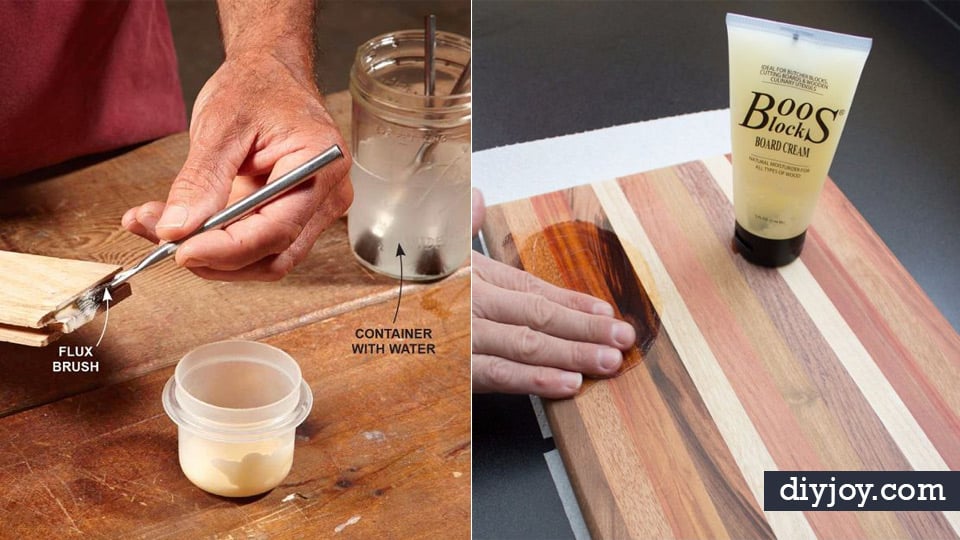
If you love DIY, odds are you have either tried your hand at woodworking by now or daydream of being able to. A bit daunting for the DIY newbie, and even the average person, woodworking projects are some of the best, and when it comes to home improvement and repair, unavoidable. Learn how to be an expert when it come to these seemingly complicated projects by checking out our awesome list of woodworking tips. From the best power tool tips, ways to avoid mistakes, create your own wood finishes and stains, refinish and refurb furniture to techniques for applying wood products perfectly, you will find you have much to learn. I wish I’d know about some of these years ago, but am super happy to know now.
Here are tips for you to avoid 9 pocket hole mistakes. You don’t want to re start doing something when you’re already too far ahead right? This simple tips from Saws on skates will help you avoid those mistakes like how to avoid the end grain, how to change the setup for different wood thickness, how to adjust drill bit for plywood, how to replace worn bits, the use of wood glue and a few more.
Here’s what you can do to improve your woodwork and get better quality glue connections. You can get a lot of tips from this Blog like; what’s the best wood glue, how long a wood glue lasts, how long a wood glue takes to dry, what types of wood glue to use for each woodwork, how to properly use and apply wood glue. Check out this really helpful tips from the Family Handyman!
Checkout this blog from Not Just a Housewife to learn how you can properly clean and sanitize a reclaimed wood. First, if the reclaimed wood is from outside you have to hose it down first then once its dry, start with the sand paper to make I smooth, then follow each and every step in the step-by-step tutorial to get a clean and sanitized reclaimed wood.
Here’s how you can give your woodwork a perfect finish, it’s really easy to make, it’s easy to apply and it’s almost impossible for you to mess it up. This works best on side tables, decorative items like frames or wood boxes and shelves. All you need is a Gloss Spar Varnish, Boiled Linseed Oil and a Paint Thinner. Check out the recipe on how you can make Bob’s Miracle DIY Finish for Wood.
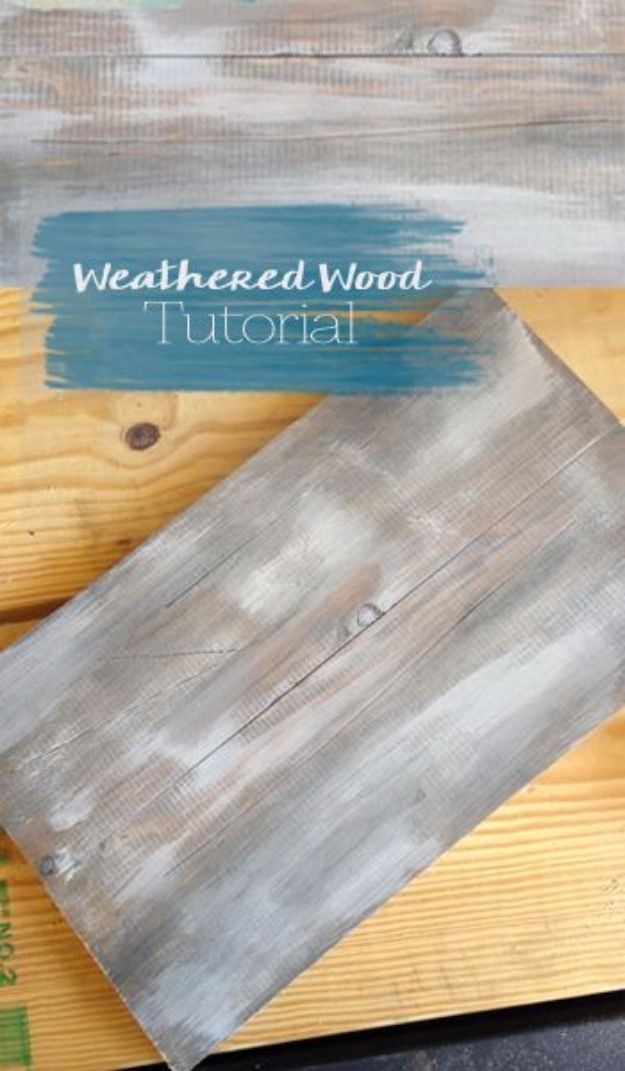
In this next tutorial you will learn how to make a weathered wood look. It will give your home the fresh vibe that you need and you will only need a few materials such as; gloves, protective eye wear, steel wool, white acrylic paint, a minwax dark walnut stain and a do it yourself wood stain. You have all the instructions that you will be needing on this Blog from Cherished Bliss.
In this next tutorial you will learn how you can make a simple circular saw guide to make a more accurate straight cut using a circular saw so you will no longer have to redo a cut and make sure you have done it perfectly the first time. Check out this very helpful step-by-step tutorial from popular mechanics and you will never have to struggle on cutting a straight using a circular saw.
Check out this 14 tips that The Family Handyman has for you on how to use a shim to cut a back bevel for a perfect and tight miter. This is a really helpful tutorial for those of you who enjoys creating or inventing new things for your home or if you like making new changes every now and then to keep your home in shape. Check out the complete step-by-step tutorial that we have for you now.
This next tutorial that we have for you will help you learn how to paint almost everything in your house if you think your home needs a makeover from top to bottom. Check out these tutorials from Martha Stewart on how to paint a wood barrister bookcase, how to spray paint a metal lamp, how to paint a brick fireplace, how to paint a glass vase and how to paint a lot more furniture that you have at home. Go check it out!
Here’s how you can create a perfectly stained wood from Angela Marie Made. Check it out and learn from the step-by-step tutorial on how to make a perfectly stained wood with just the use of a few materials like; an orbital palm sander, a tack cloth, wood stain, Pre-stain wood conditioner, gloves (rubber or chemical resistant) and a lint free rag.
If you are planning on repainting those old cabinets that you have at home, you must check out this Blog from Craving Some Creativity to help you get better results on painting, because this step-by-step tutorial will definitely help learn how to get rid those wood grain texture that those old cabinets have so you can have smoother and a lot more beautiful results.