If you love DIY, odds are you have either tried your hand at woodworking by now or daydream of being able to. A bit daunting for the DIY newbie, and even the average person, woodworking projects are some of the best, and when it comes to home improvement and repair, unavoidable. Learn how to be an expert when it come to these seemingly complicated projects by checking out our awesome list of woodworking tips. From the best power tool tips, ways to avoid mistakes, create your own wood finishes and stains, refinish and refurb furniture to techniques for applying wood products perfectly, you will find you have much to learn. I wish I’d know about some of these years ago, but am super happy to know now.
Woodworking Tips
1. Avoid Pocket Hole Mistakes

Here are tips for you to avoid 9 pocket hole mistakes. You don’t want to re start doing something when you’re already too far ahead right? This simple tips from Saws on skates will help you avoid those mistakes like how to avoid the end grain, how to change the setup for different wood thickness, how to adjust drill bit for plywood, how to replace worn bits, the use of wood glue and a few more.
3. Clean And Sanitize Reclaimed Wood

Checkout this blog from Not Just a Housewife to learn how you can properly clean and sanitize a reclaimed wood. First, if the reclaimed wood is from outside you have to hose it down first then once its dry, start with the sand paper to make I smooth, then follow each and every step in the step-by-step tutorial to get a clean and sanitized reclaimed wood.
4. DIY Finish for Wood

Here’s how you can give your woodwork a perfect finish, it’s really easy to make, it’s easy to apply and it’s almost impossible for you to mess it up. This works best on side tables, decorative items like frames or wood boxes and shelves. All you need is a Gloss Spar Varnish, Boiled Linseed Oil and a Paint Thinner. Check out the recipe on how you can make Bob’s Miracle DIY Finish for Wood.
Woodworking Tutorials
5. Get The Weathered Wood Look

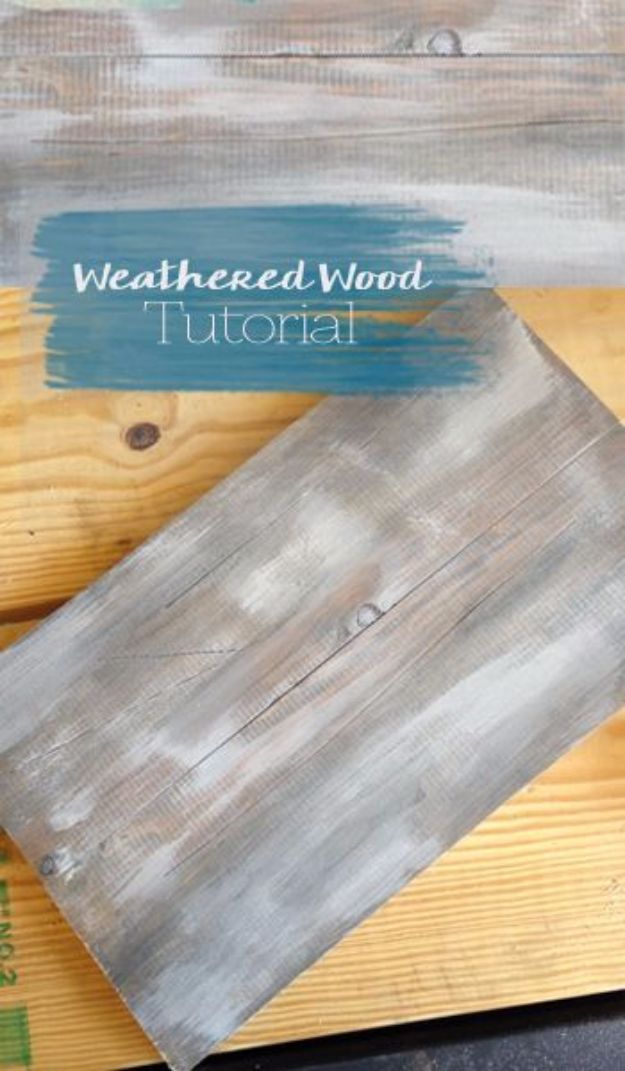
In this next tutorial you will learn how to make a weathered wood look. It will give your home the fresh vibe that you need and you will only need a few materials such as; gloves, protective eye wear, steel wool, white acrylic paint, a minwax dark walnut stain and a do it yourself wood stain. You have all the instructions that you will be needing on this Blog from Cherished Bliss.
6. Build a Simple Circular Saw Guide for Straighter Cuts

In this next tutorial you will learn how you can make a simple circular saw guide to make a more accurate straight cut using a circular saw so you will no longer have to redo a cut and make sure you have done it perfectly the first time. Check out this very helpful step-by-step tutorial from popular mechanics and you will never have to struggle on cutting a straight using a circular saw.


20. Build a Crown Moulding Shelf with Hooks
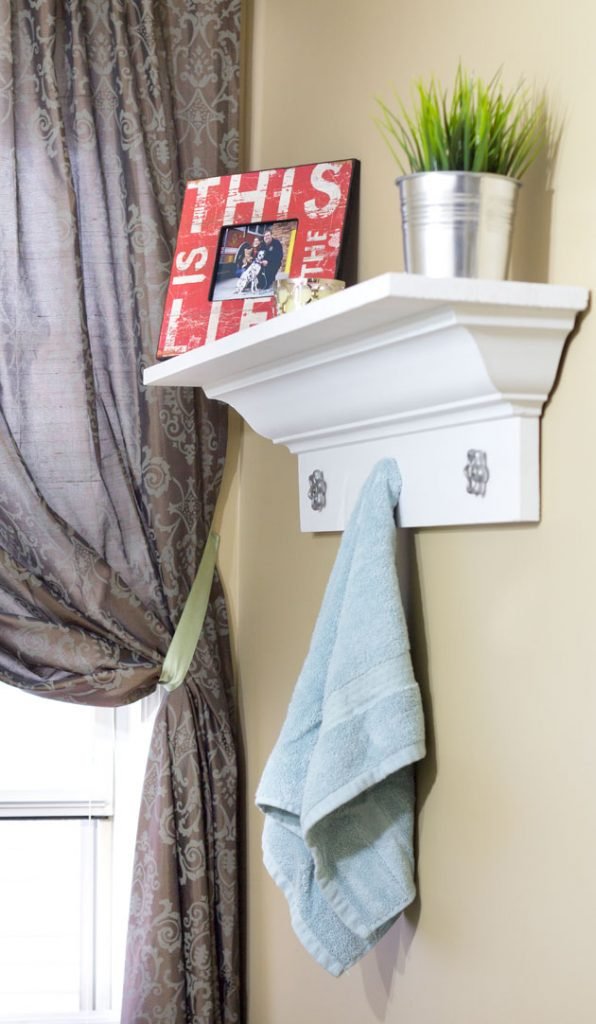
This crown moulding shelf looks like it came off a fancy millwork catalog page, and it starts with two 1×6 pine boards and about 5 feet of crown molding for under $30. You join the top and back with pocket-hole screws, then cut one long front piece and two short returns, each needing just one 45-degree outside cut (the Kreg Crown Pro holds the molding upside down so your brain doesn’t have to). Glue, nail, caulk and paint it white, then screw wheel handles to the backboard for hooks. Hang it in the entry for keys and bags or in the bathroom for towels. Fair warning, everyone will ask where you bought it.
Get the full tutorial at Pretty Handy Girl.

26. DIY Barn Wood Cabinets
thehoneycombhome


30. Table Saw Safety Tips and a DIY Push Stick
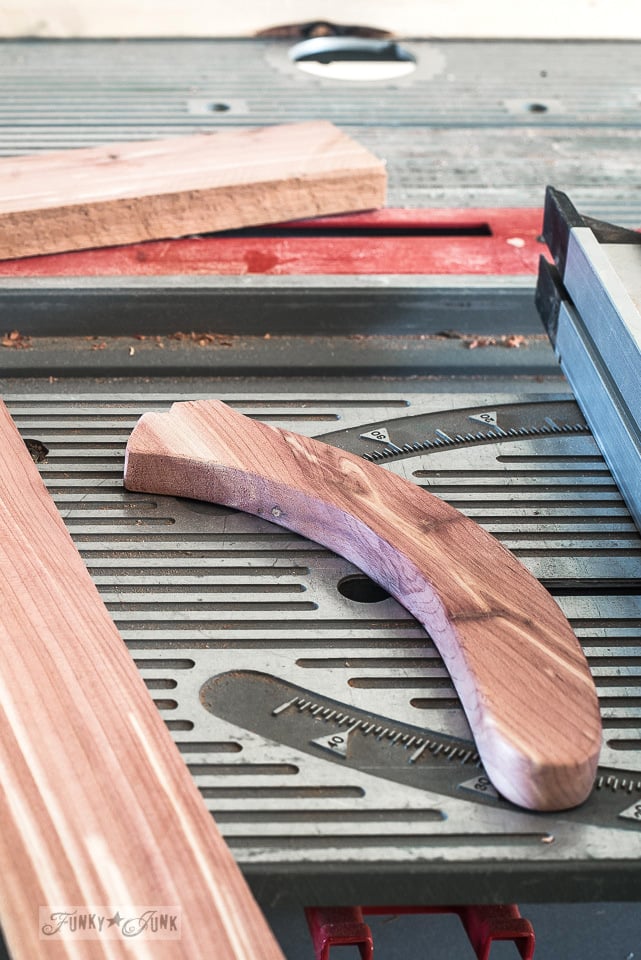
New to the table saw and a little nervous? Same goes for plenty of beginners, and these tips make it feel a lot friendlier. Set the blade so it sits just above the top gullet over the wood, plan your cuts, check for knots and listen to the blade. If it starts to drag, back off. Then make your own push stick from red cedar! Trace a store bought one, cut it with a jigsaw, sand with 80 and then 320 grit and round the edges so the grain shows off.
Get the full tutorial at Funky Junk Interiors.