My friend built an entire backyard office out of pallets, so when I saw this DIY on Youtube I had to tell him right away! He said get over here and we will make this because he was really wanting to start a garden this year, but he wanted to do something fun for his nieces and nephews to teach them about gardening. So he had plenty of pallets, I was in charge of the plants and craft stain we needed for the project. When I got over to my friend’s house he had all the tools laid out. A power Drill, Circular Saw, Pry Bar, Hammer, Wood Drill Bits, Measuring Tape, Chalk Line, Obe Pallet Per Tree, Paint, Paint Brushes, Sandpaper, Safety Glasses, wood stain, and weed cloth. The best part about using pallets is the fact that they are usually free, you can find them by asking your local hardware store or grocery store if they have spares laying around they are usually happy to accommodate.
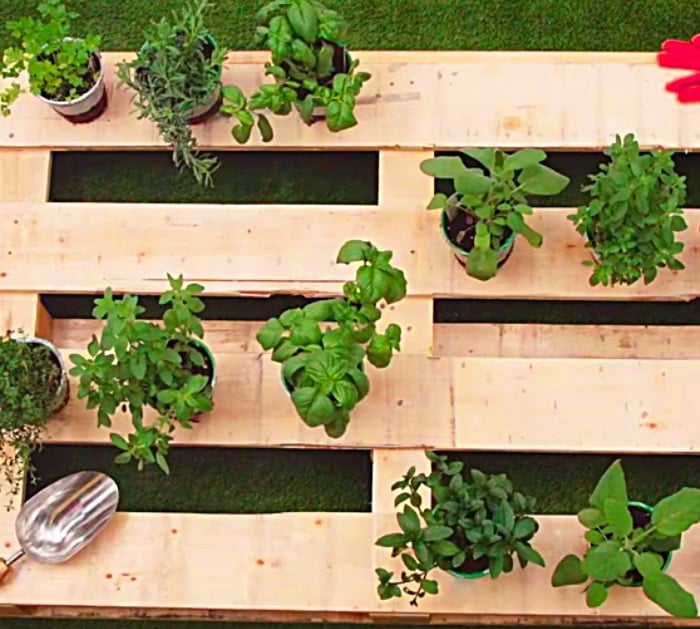
We first laid out our plant schematic idea
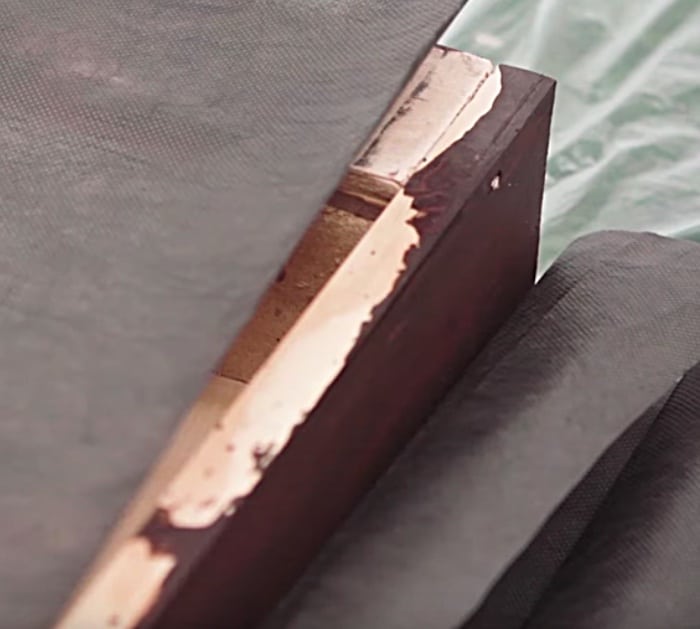
Then we stained the pallet.
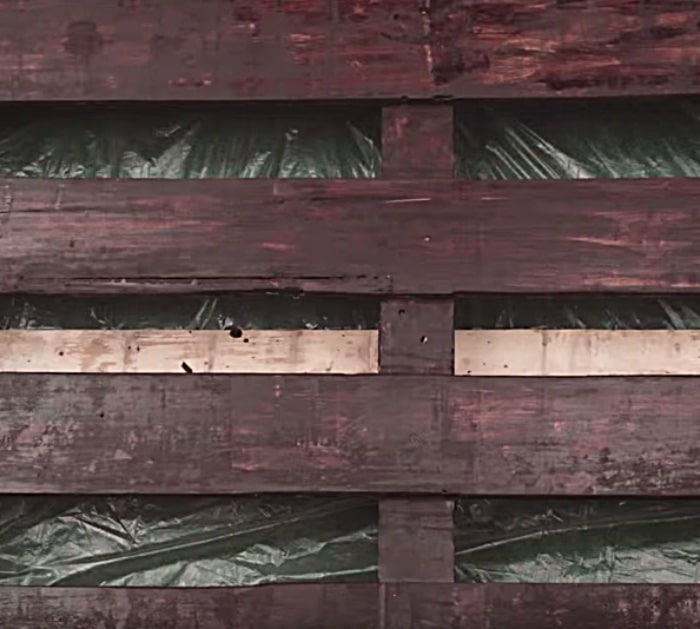
Then we covered the back in Weed Cloth, stapling it securely with a staple gun, ( you can use a hammer and nails as well)
Then we added a plywood back to the planter and screwed it in securely. Then we just flipped it over added our potting soil, then our plants, carefully arranging them as per our original schematic.

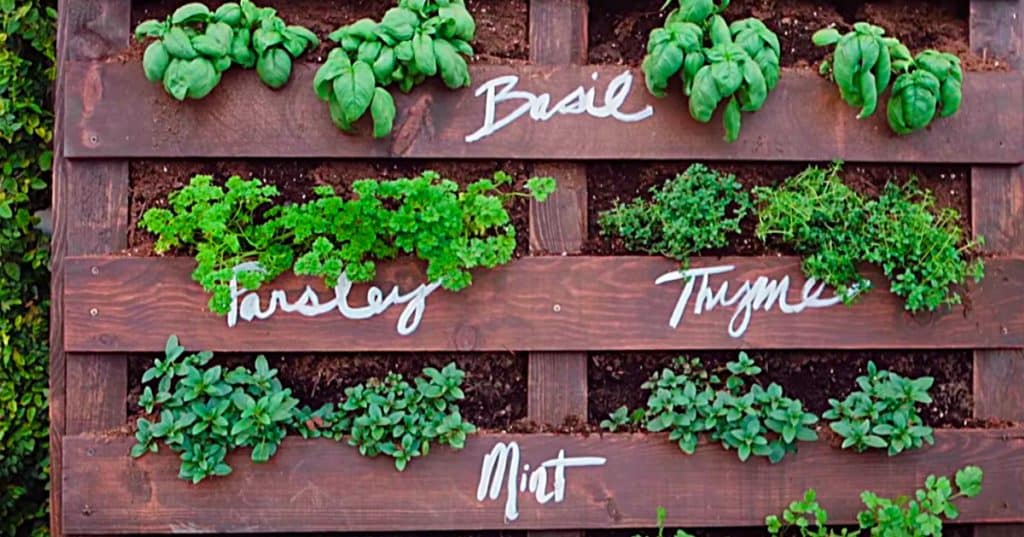
Then we wrote the names of the plants in white craft paint, but this is completely optional, it just gives it a bit more of a rustic farmhouse look. This is a great project, I just love it.
DIY Upcycled Pallet Herb Garden


